| Previous
Page |
PCLinuxOS
Magazine |
PCLinuxOS |
Article List |
Disclaimer |
Next Page |
Inkscape Tutorial: Create A Paint Splatter |
|
by Meemaw
You can start by choosing your page size (he uses A4) and making it Landscape orientation, with a black background. Then you need to make your splatter blobs. You can use a circle, but it will look more realistic if the blob is a bit irregular. The easiest way is to draw two or three circles and stack them unevenly, then combine them by selecting them all and using Path > Combine. Duplicate them and resize so you have at least three different sizes (paint doesn't all splatter the same size). 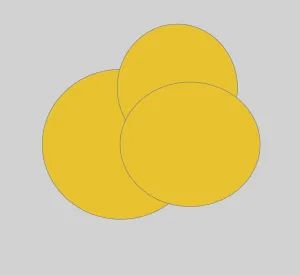
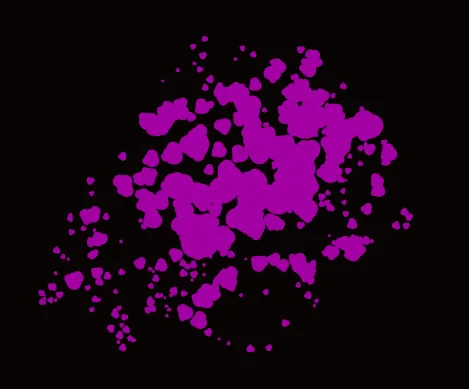
To use the Spray Can, you have to first select the item you want to spray, so choose the biggest blob first, then select the tool. You will see an options bar at the top of Inkscape. (Loads of options!) The first three are “Spray copies of the initial selection”, “Spray clones of the initial selection” and “Spray in a straight line”. You can spray copies of your blob, but it's more useful to spray clones. Spraying in a straight line might be useful, but not for this project. The next tools are parameters for your spray: Width, Amount (of blobs sprayed), Rotation, Scale, Scatter & Focus. IronEcho uses these settings: Width — 10, Amount — 50, Rotation — 50, Scale — 50, Scatter — 10 and Focus — 1. You can play with these. Using your tool, spray clones of your blob. Then, using the other two sizes, spray more. 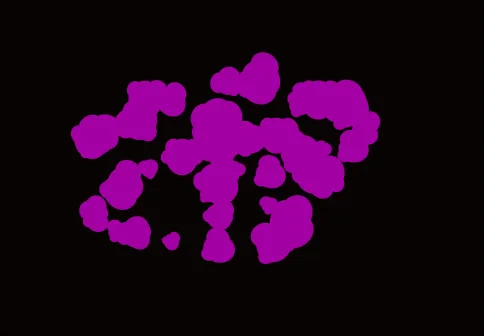
The reason we sprayed clones is that if we want to change the color of some of our blobs, we only have to change the color of the original blob. 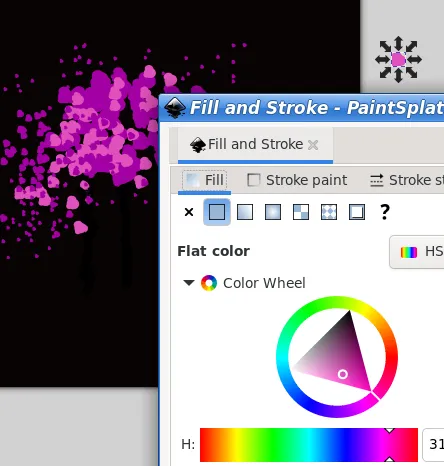
If you get a splatter you don't like, you can do  Now, a paint splatter wouldn't be realistic without a couple of drips. We do that with the Tweak/Sculpt tool. First, however, we need to get rid of the clone aspect, or the sculpt tool won't work. Select everything, and click Edit > Clone > Unlink clones recursively. That changes all the clones to individual blobs. Choose one, and then click on the Sculpt tool. Again you will see a toolbar. Most of the choices involve pushing objects toward or away from something, shrink or rotate objects, roughen or blur or even delete objects. One of the tools looks like two lines that rise in the center, and is called “Push parts of paths in any direction”. We'll use that. Settings should be Width — 2, Force — 50, Fidelity — 75 or more. Grab the bottom of one of your blobs and drag down. 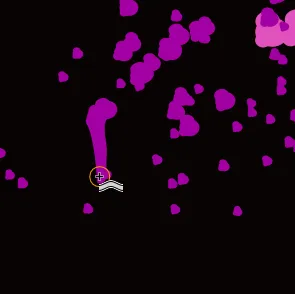 You might have to pull twice to get the length you want, and with a little practice, you can form a rounded drop at the bottom. You might push against the sides later to make the drip a bit thinner.  If you're happy with it, you're finished! Note that if you export it to use elsewhere, only the splatter will export. However, if you use it in some sort of paint-themed image or something like graffiti, it will work out great. 
|