
| Previous
Page |
PCLinuxOS
Magazine |
PCLinuxOS |
Article List |
Disclaimer |
Next Page |
GIMP Tutorial: Playing With G'MIC, Part 3 |
|
by Meemaw
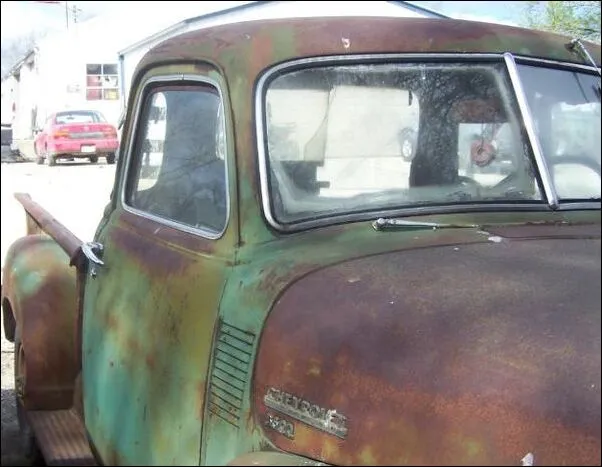 One of the filters is Details > Simple Local Contrast. This one sharpens the photo, and has several settings. There are 13 other sharpening filters in that section, and I'm sure something in that section can work with your photo. 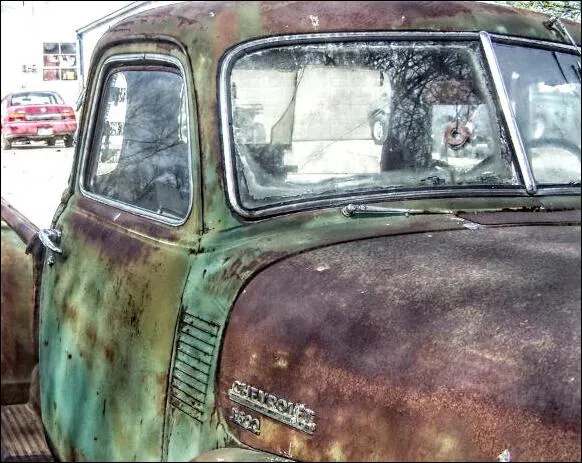 The next section is called Frame, and it has several different ways you can frame your photo. The three I picked were Blur, Droste and Fuzzy. Blur puts a smaller version of your photo in the center, with a frame around the photo and the original blurred out around the edge. Droste also puts a smaller version of your photo in the center, but the edges aren't blurry. Fuzzy puts a white border around your photo with a roughed-up edge. All are shown below. 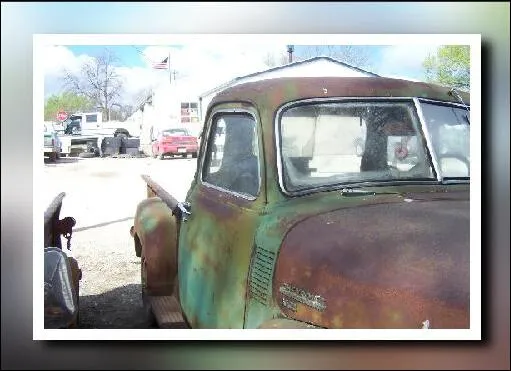 Frame [Blur] You can choose the size of the blur around the photo, and also the size and color of the frame/outline, and a few other settings. 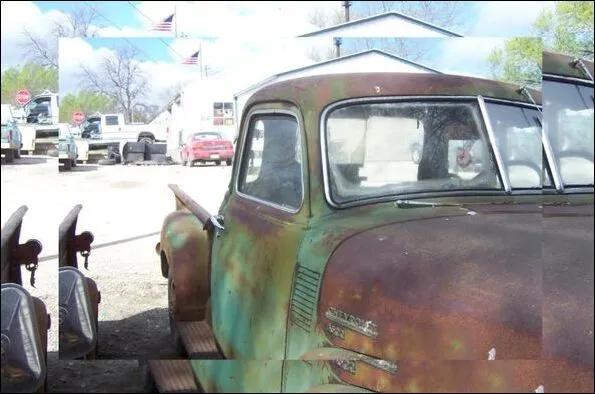 Frame [Droste] Droste stacks up progressively smaller copies of your photo. You can choose the size of the inside photo (and how many of it you want to have), and how far inside the outer border you want the inner photo. 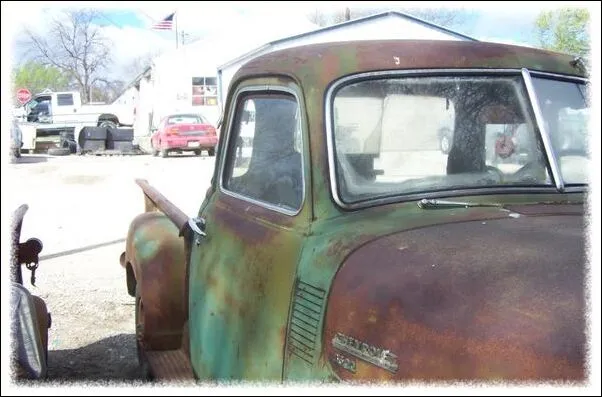 Frame [Fuzzy] You can choose what percent of the horizontal and vertical sides need to be fuzzy, and also how fuzzy you want them to be. I visited the section Light & Shadows and tried Drop Shadow. You can choose what size shadow you want. 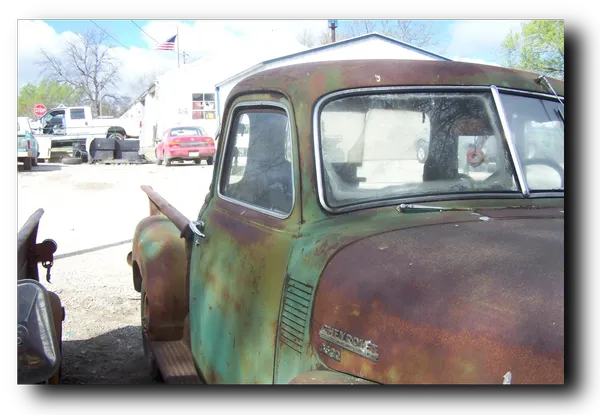 Frame [Fuzzy] You can also put Patterns in your artwork. Some of them affect your photo, and some over-write it. For two of these, I used a white background and nothing else. One is a Maze:  I don't know if it's a solvable maze, but it looks fun. The setting to size it is called Cell Size, and you need bigger numbers to be able to see the maze. Smaller numbers look like small graph paper. The setting above was 75 on a letter-sized canvas. One is called Truchet. You can choose how big it is, how thick the lines are, and whether it's a white background with black lines or the other way around.  I also looked at the Rendering section, trying Neon Lightning and Quick Copyright. When you choose Neon Lightning, you'll see a circle or two in the sample. They can be moved and that will designate whether the lightning originates in the center or not, and helps determine the shape. 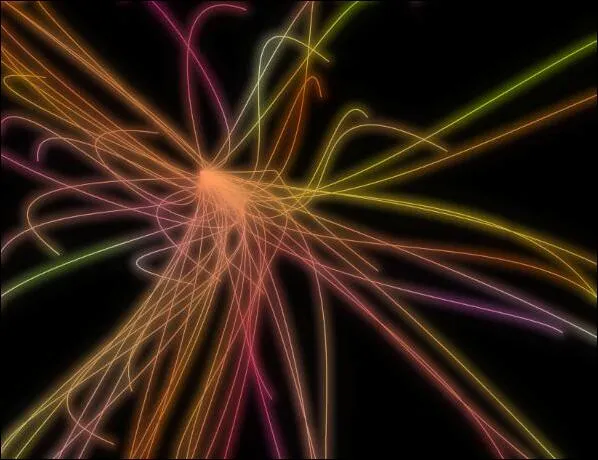 Quick Copyright puts a copyright watermark on your photo. You can make it say anything you want and put it in whatever corner you want. 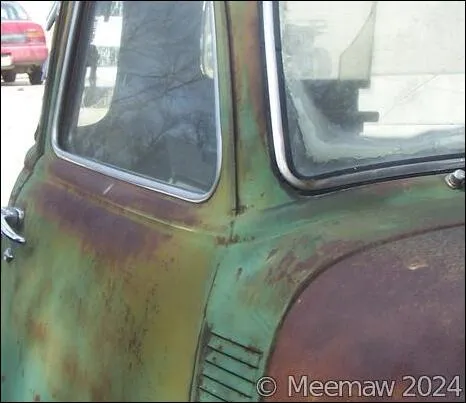 There are loads of filters in G'MIC! Have fun! |


