| Previous
Page |
PCLinuxOS
Magazine |
PCLinuxOS |
Article List |
Disclaimer |
Next Page |
GIMP Tutorial: Create A Double Exposure |
|
by Meemaw
This is a tutorial for making your photo appear as a double exposure, where there seem to be two distinct photos in the same image. I thought this was fun. Open your photos in GIMP. I'm going to start with a photo of a little cutie that I got from Wikimedia Commons. 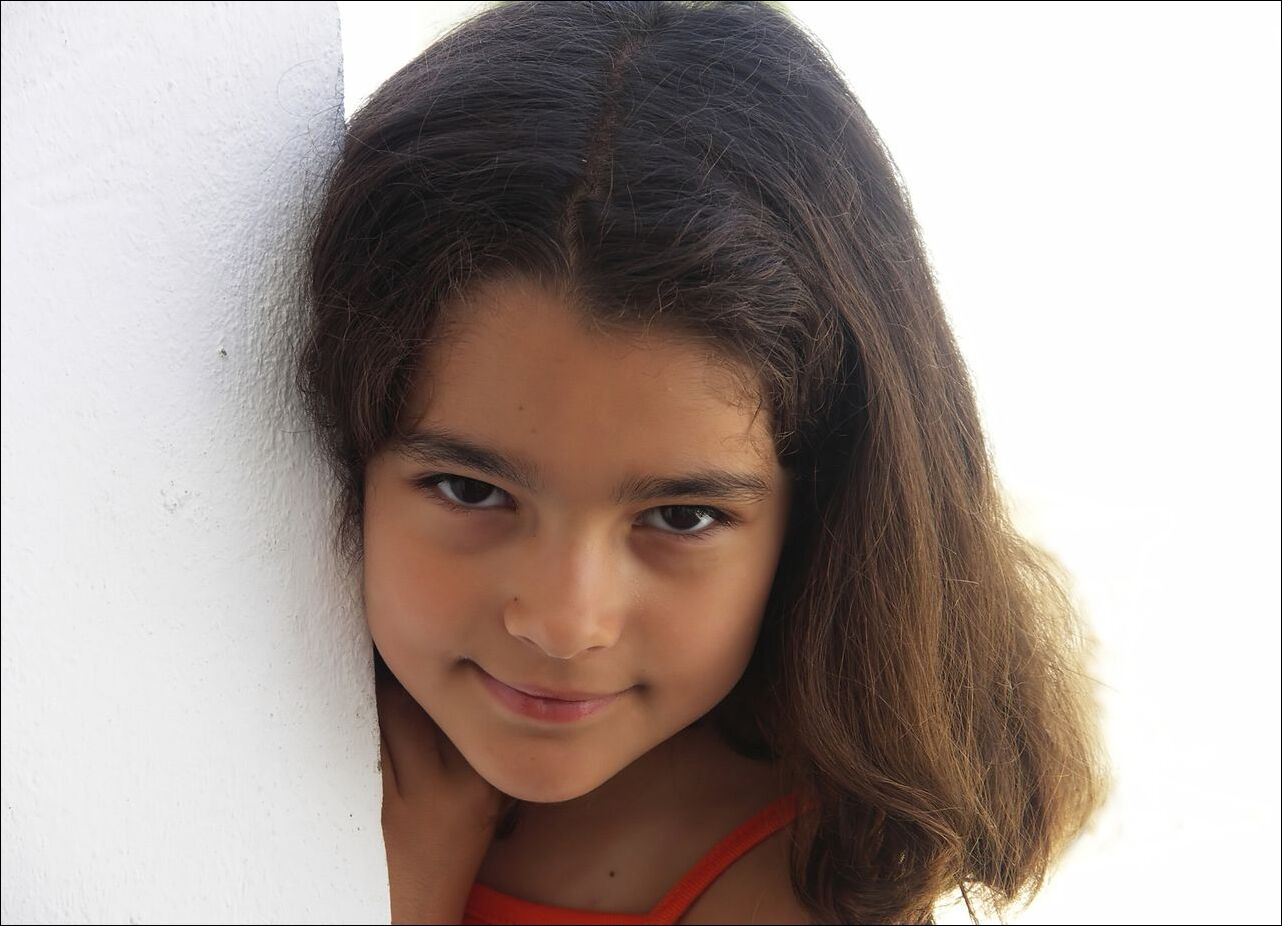 This photo has a background, and we want to get rid of that and just work with the girl. First thing: in the Layers dialog, right-click on the layer with the photo and choose Add Alpha Channel (remember, if that menu item is grayed out, the photo already has an alpha channel). Now, you can use your Fuzzy Select tool (it looks like a magic wand) to select the background, and press Delete. You'll have to do it on each side of the face. On this pic, I selected the whiter background on the left, and had to do it again on the darker. Use it as many times as you need to, in order to remove all the background you want removed. 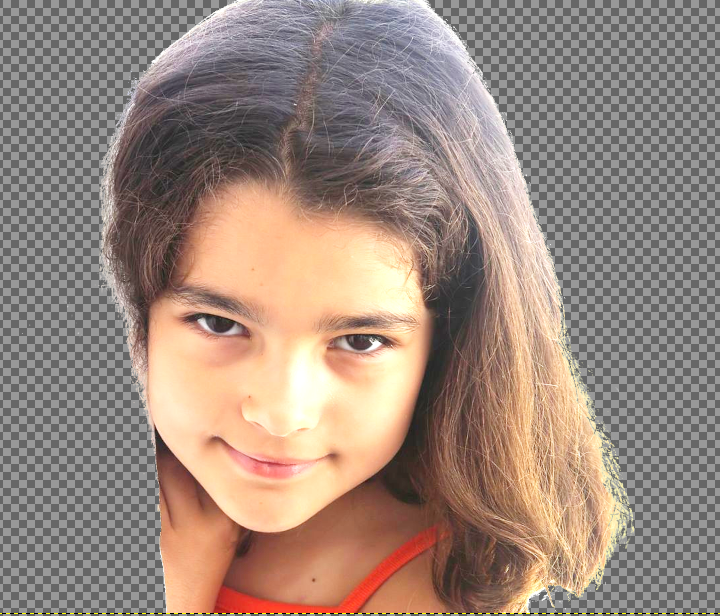 To make our effect work, we need to put another background in, but on another layer. Add a layer, and make the fill white. GIMP will add it above the photo, but we need it under the photo layer. Either click and drag it down, or choose Lower Layer in the layers dialog. Also, choose Select > None. 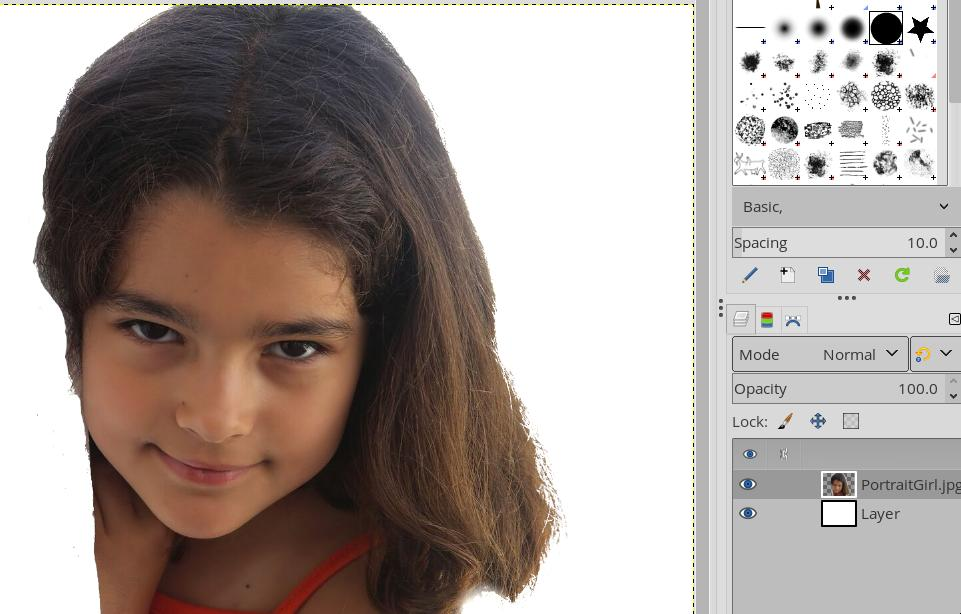 Right-click on the photo layer, and choose Alpha to Selection. Now, click the eye to the left on the photo layer, which turns off the visibility of that layer. You should see the following: 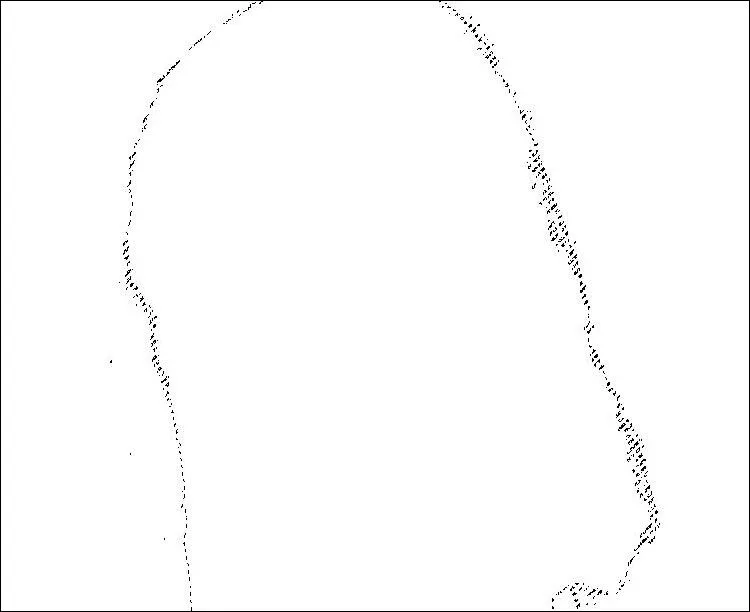 Now, select the white layer, and press the delete key to see this: 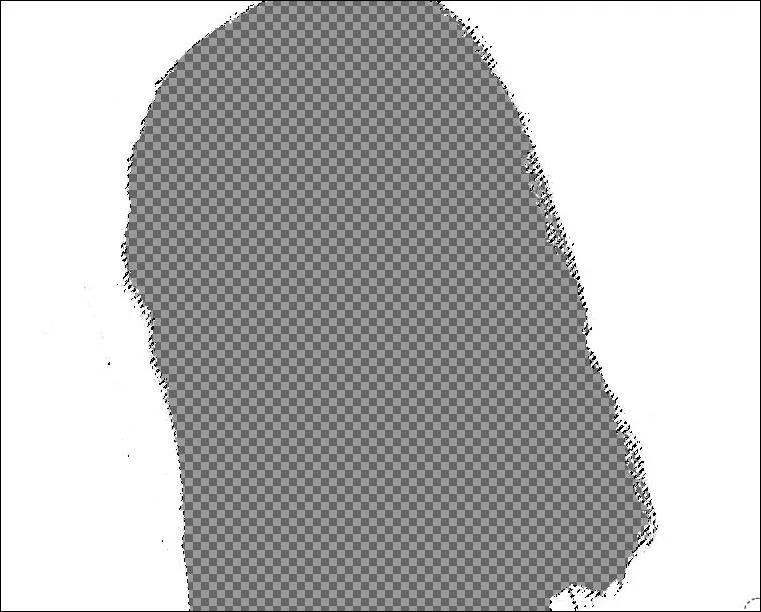 Now we'll put in our second photo. I found a sunset with trees that I'm going to use, and will drag it into the same project. Here's the photo: 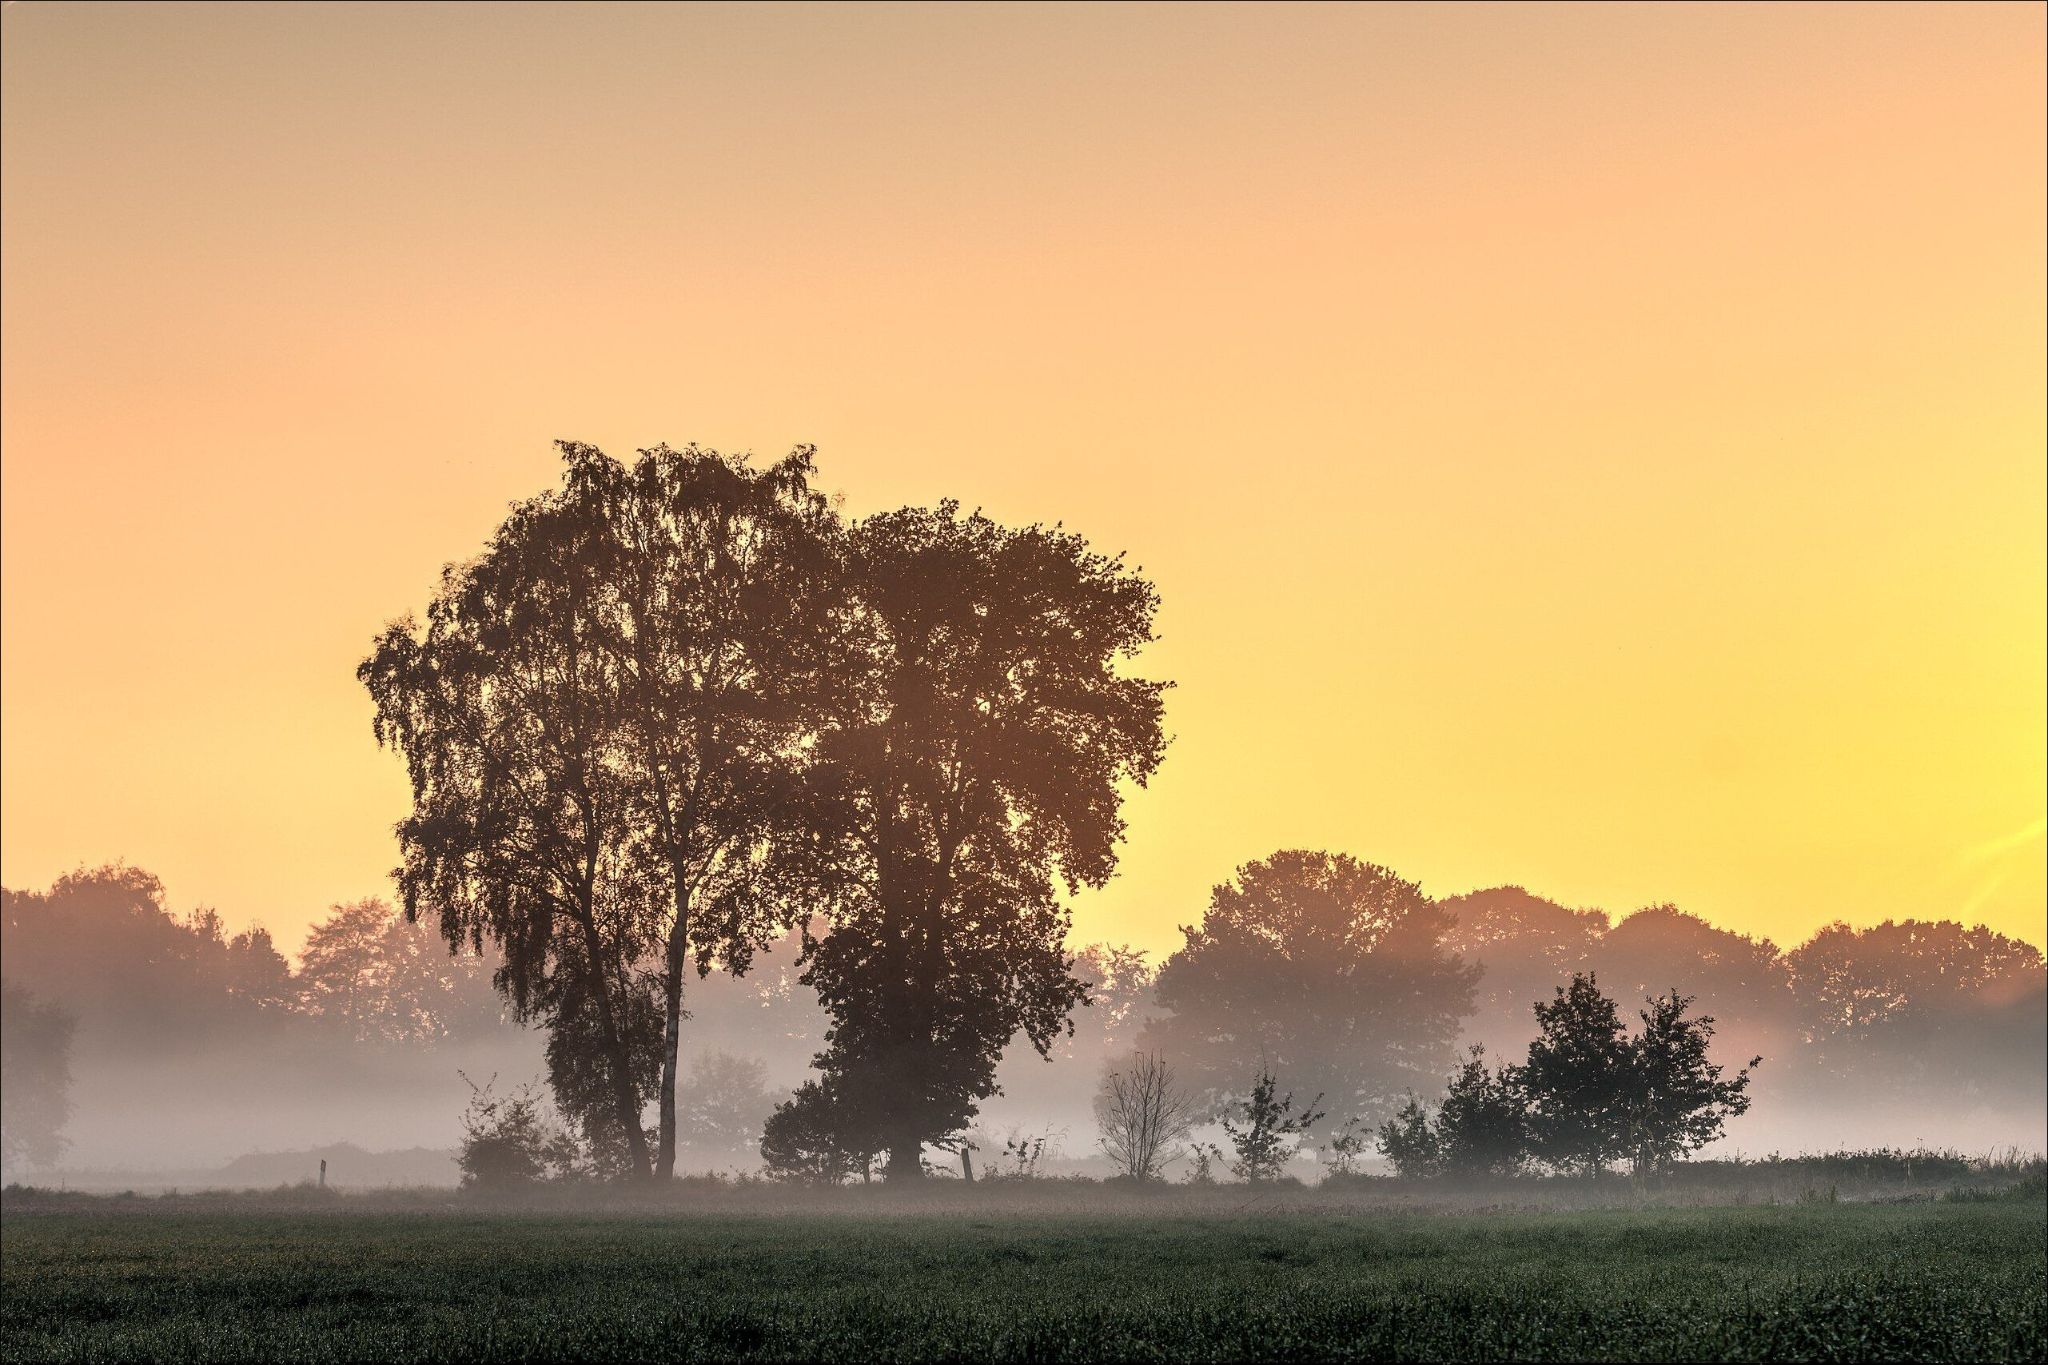 It needs to be the bottom layer. Here's the photo in place in my project: 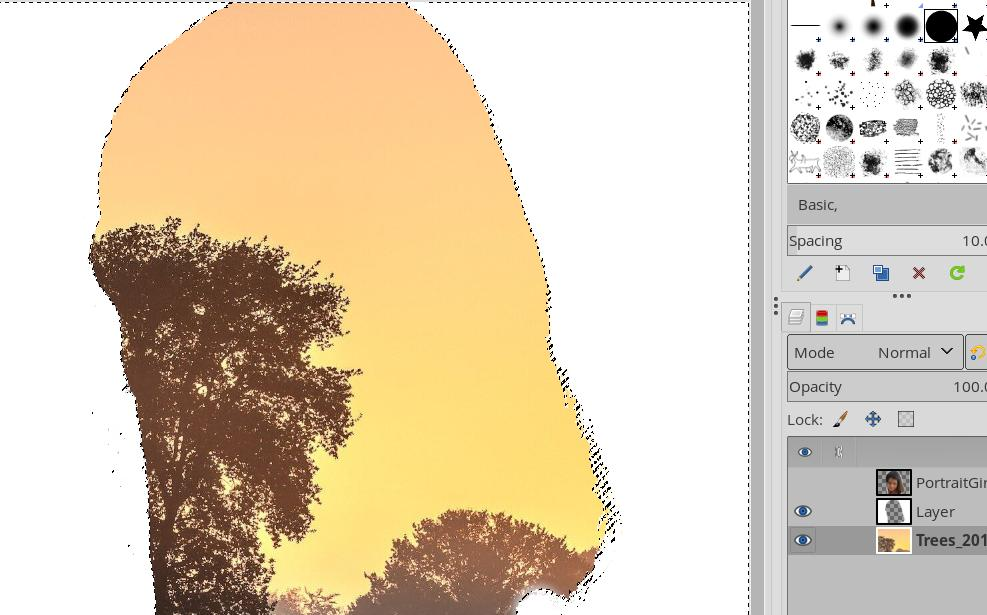 I want it to look kinda like she's seeing around a bush, so I'll mess with it a bit, and move the background layer so it's where I want it. Using the Move Tool, you can move your background where you want it. I will re-enable the visibility on my kid photo, and change the layer mode on that photo to Multiply. I may have done something wrong, but I was only able to move the lowest layer with the visibility on the top layer turned off. One thing you should do is choose the background and go to Colors > Desaturate > Desaturate. It keeps the overall photo from being too dark. The other thing to do is choose the photo layer, go to Colors > Curves, and grab the top, right end of the curve and draw it to the left. It keeps the kid's photo from being too dark as well. 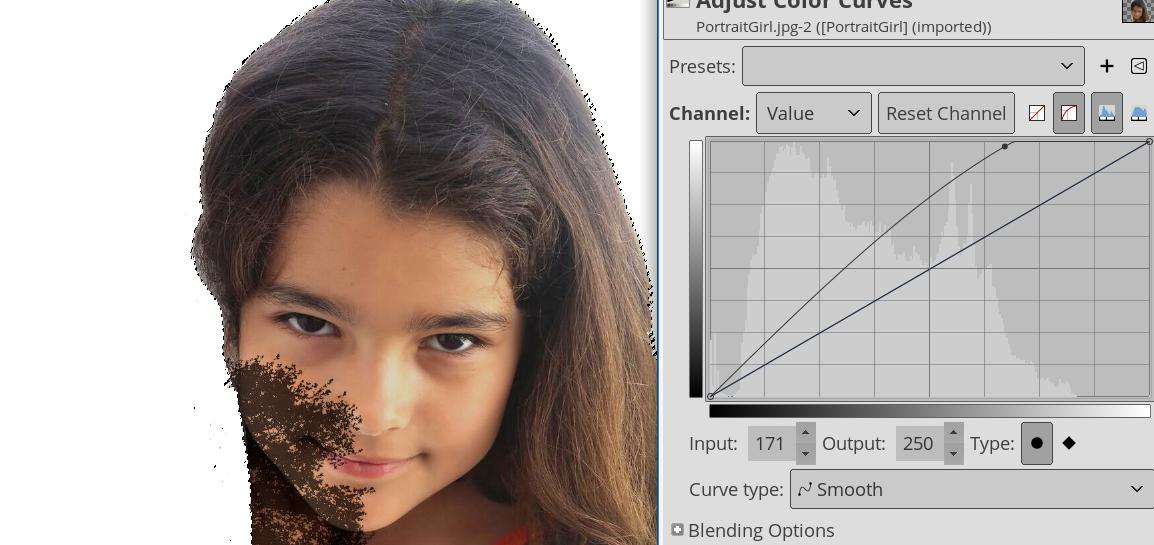 The next thing you can do is choose the white layer, and lower the opacity on it so you can see a hint of the trees through the white. 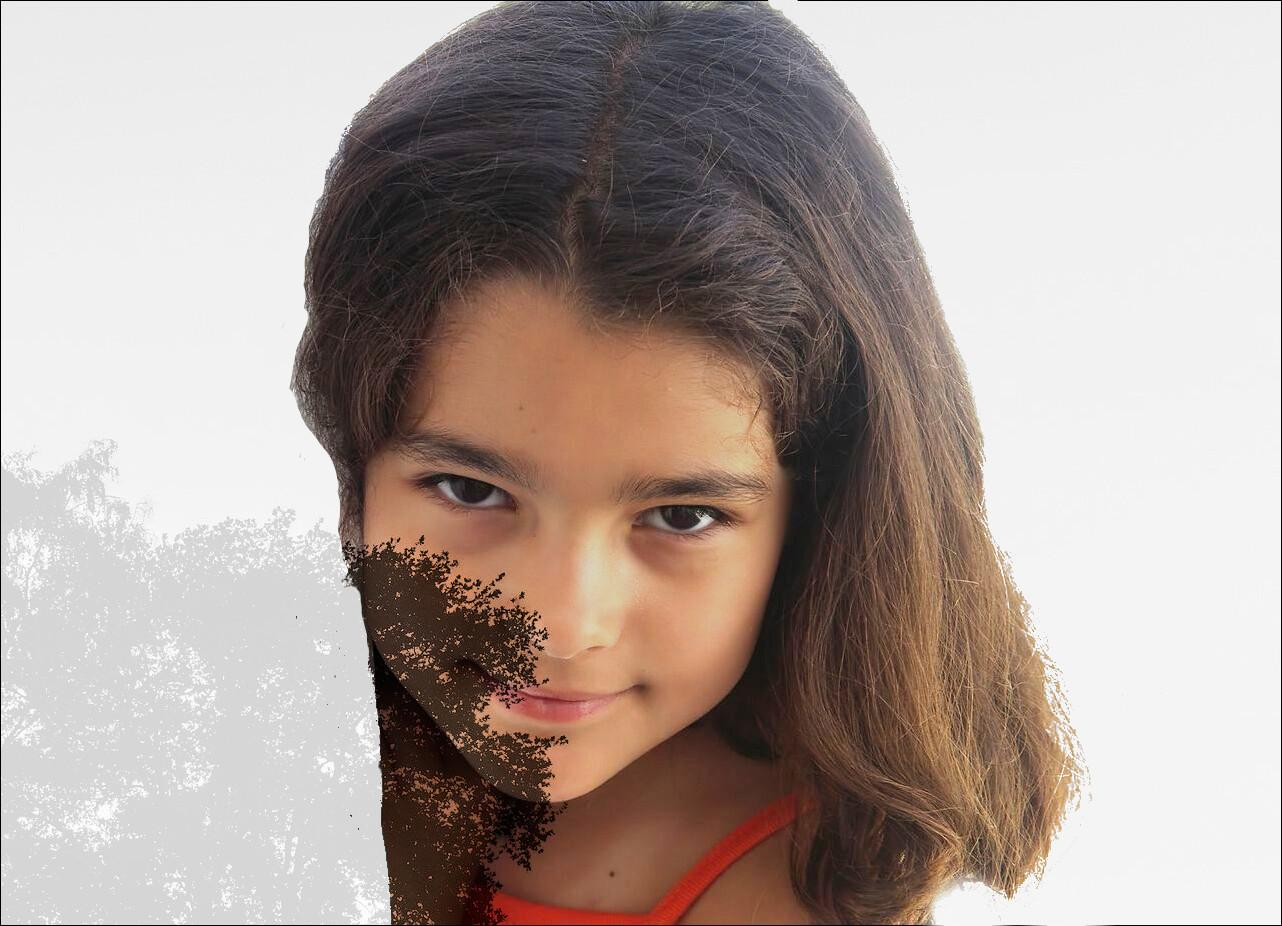 When you get it the way you want it, You can export it as whatever image file format you want. I did several of these. This one had a different background photo. 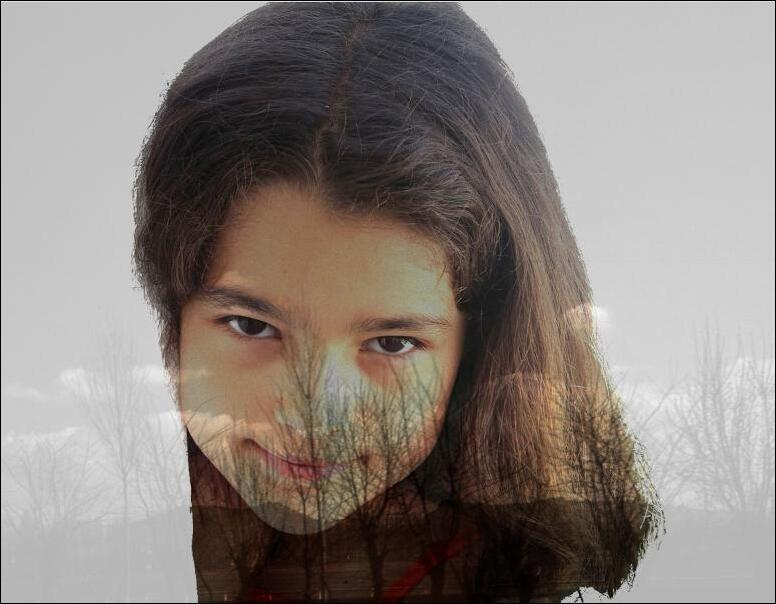
|


