| Previous
Page |
PCLinuxOS
Magazine |
PCLinuxOS |
Article List |
Disclaimer |
Next Page |
GIMP Tutorial: Create A Wave Effect |
|
by Meemaw
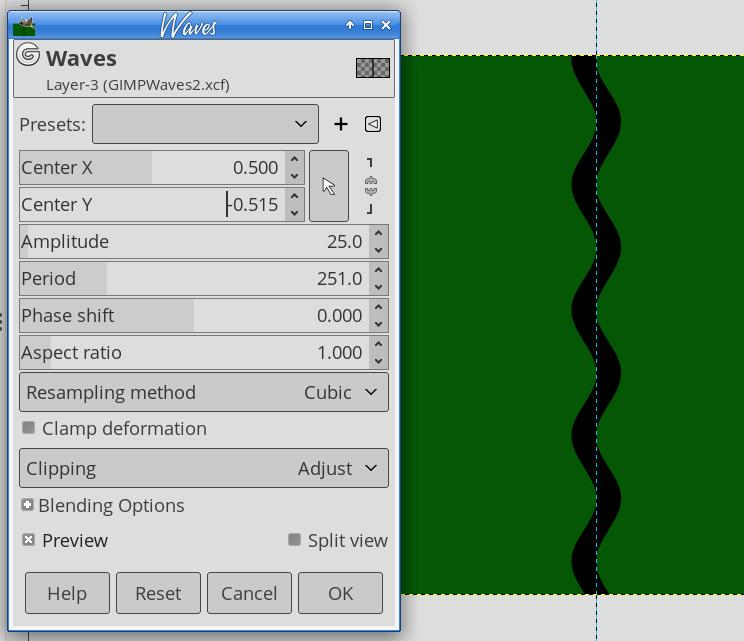
After opening GIMP and creating a new file (File > New or just pressing <CTRL> + N), fill with whatever Background color you want. I used red the first time, but I’m using dark green now. To keep everything straight, add a vertical guide, using Image > Guides > New guide (by percent) and make the guide vertical and the percent 50%. He added a horizontal one too, but I didn’t the second time because I never used it the first time. Add a transparent layer from the Layers dialog, then choose the Paths Tool. On the transparent layer, draw a vertical line from top to bottom, using the guide to make it vertical. I used black, since it was already my foreground color. From Edit > Stroke Path or clicking on Stroke Path in the paths tool’s toolbox, make the stroke 50 px wide, and check the line style to make sure it’s set to Line. Click Stroke. 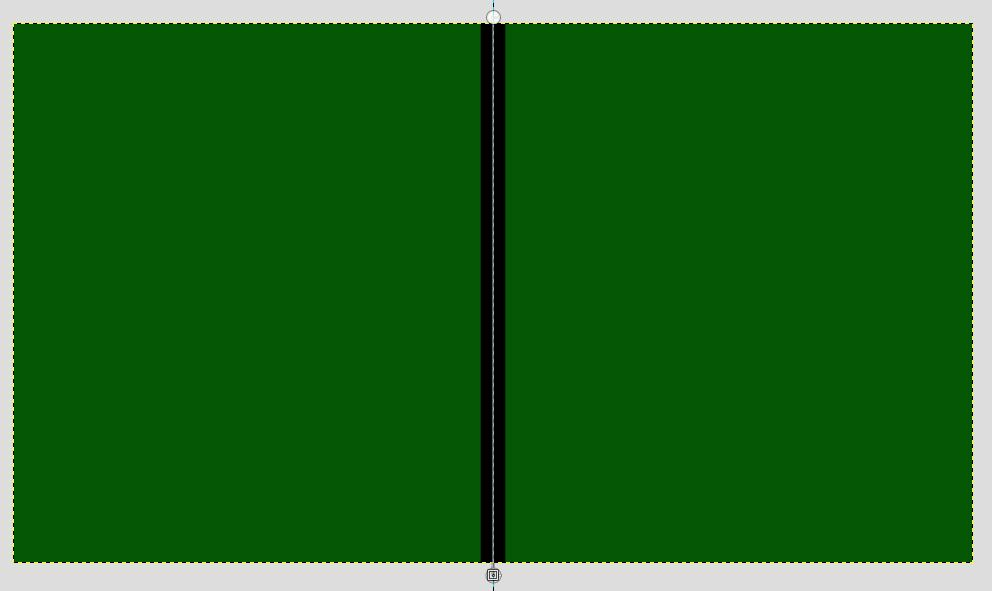 Now we’re going to do the wave. Choose Filters > Distorts > Waves. The wave will look weird. Go to Center Y and make it less than zero, and that should change it. Increase the Period, so the waves are more gentle (I made it around 250). Leave the Amplitude alone, or you can decrease it a little to make it the way you want. If there’s a gap at the top or bottom, decrease the Center Y a bit more and it will adjust. 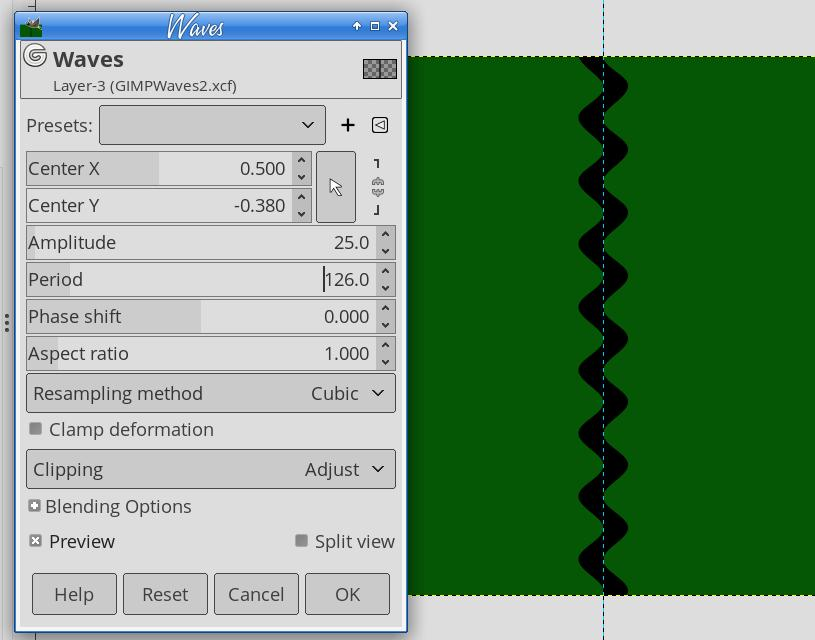
 Still on the line layer, lock the Alpha Channel (in the row above the layer list). 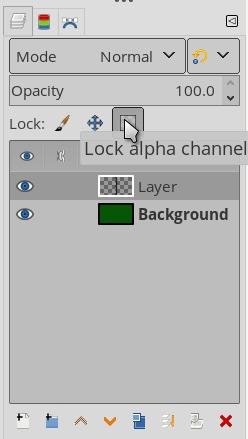 We’re doing this to make sure that we change ONLY the line color. Change the line color to the background color by dragging it over on top of the wavy line. 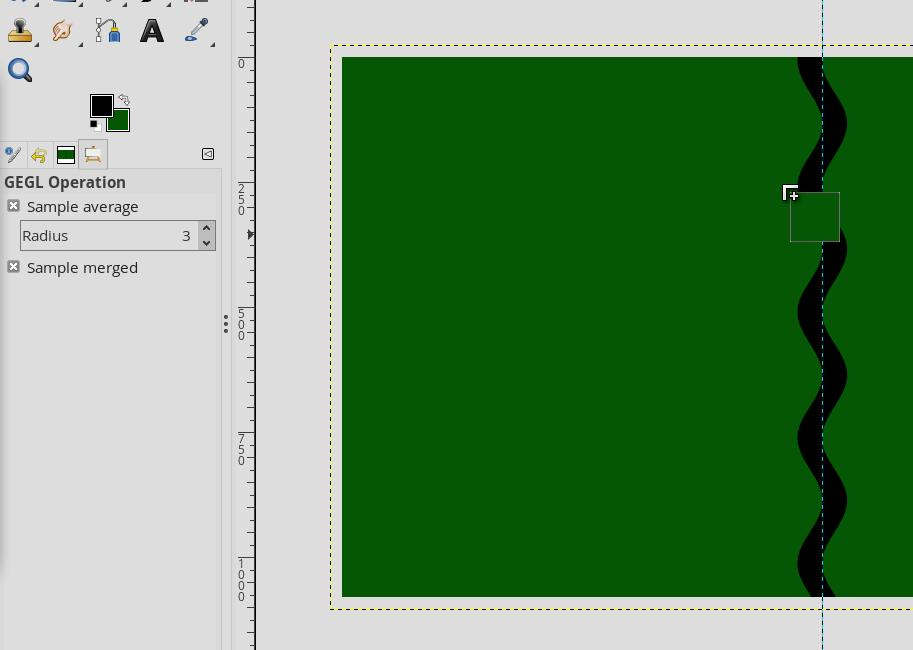 Yes, I know you can’t see it, but we’ll fix that in our next step. Now we’ll do a drop shadow. Go to Filters > Light & Shadow > Drop Shadow. Unlock the Alpha Channel. Now you can see the shadow to edit. Play with the X & Y, Opacity & Blur Radius (mine is around 6). If the blur radius is too big, you’ll see a bit of shadow on the wrong side of the wave. 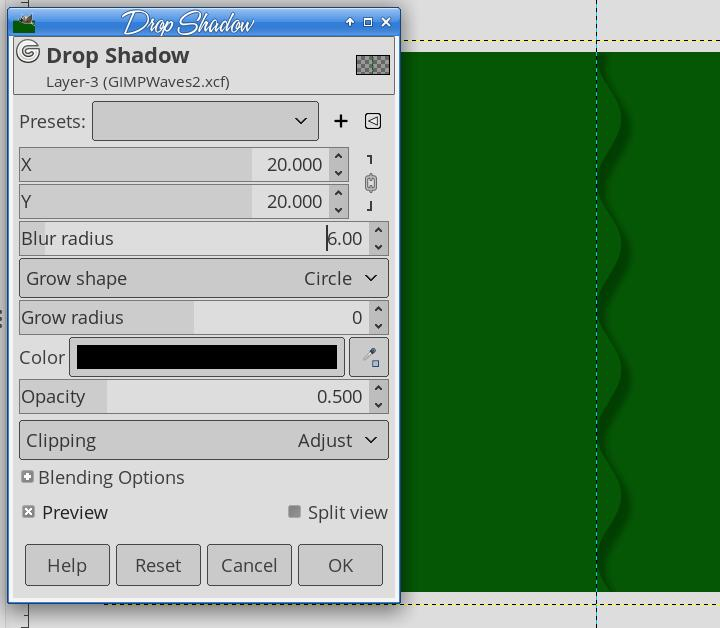 For the rest of the steps, we’ll have to resize the line layer. With it still chosen, select Layer > Crop to Content. In the second image, you can see the new size of the line layer. 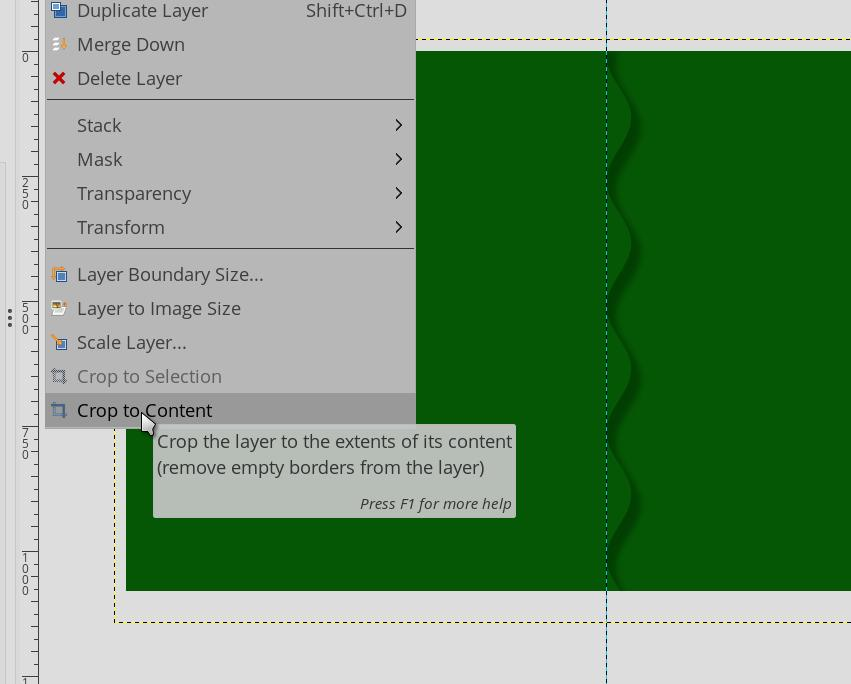
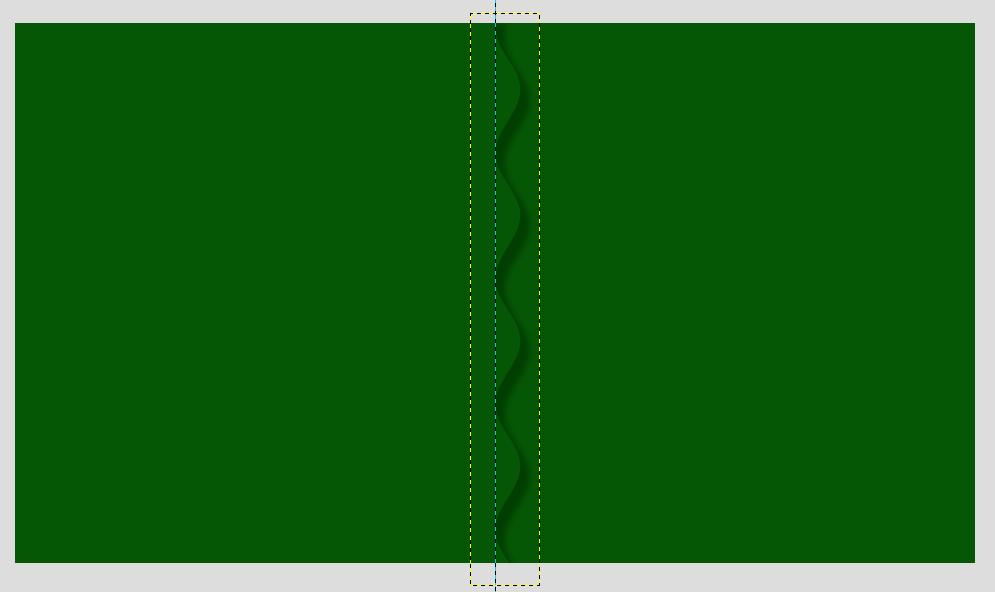 Duplicate the line layer about 10 times, then select all line copies. Using the Alignment tool (in the group with the move tool) with the shortcut key Q, select Relative to Image, then click Distribute Evenly Horizontally. 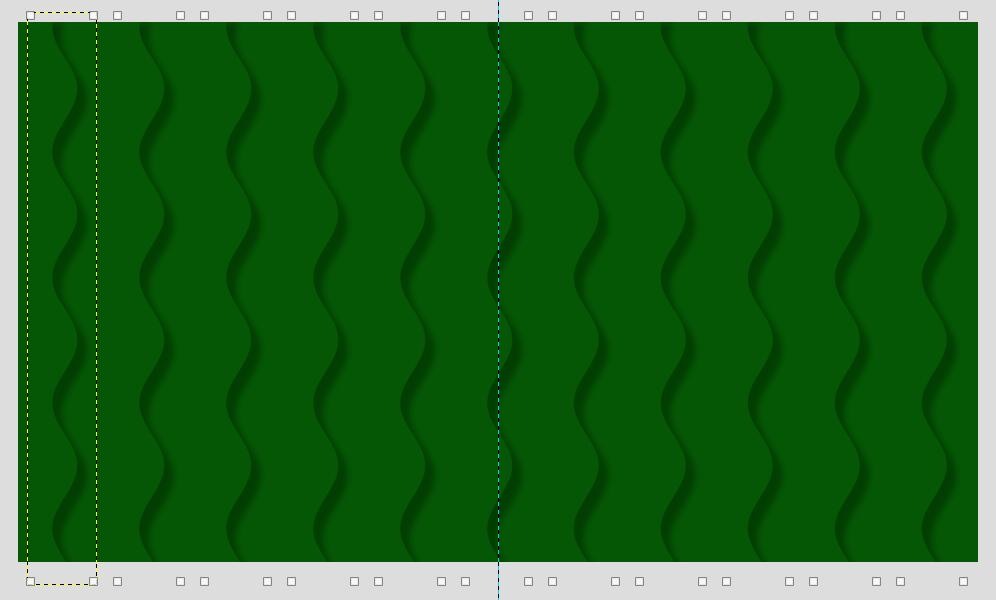 This makes the wave effect. Davies created the word GIMP, putting each letter on its own layer and rearranged the layers, so the letters look like they are between layers. Since it was before Christmas, I just put a snowman peeking out from between the layers. Since the waves are only 50 px wide, it will look like the snowman is just under a wavy line, but we can fix it with a layer mask. Put your object (my snowman) on its own layer, then decide where you want it, and lower it under the wave that’s there using the down arrow in the layers dialog. On your object layer, draw a line around the part you don’t want visible (the free select / lasso tool works fine), and press ok to close the circle. At the bottom of the layers dialog, one of the icons is to Add a layer mask. Click that, and when the window comes up, choose Selection, and then check Invert, and click OK. The part you circled will now be invisible, and your object will look as it should. 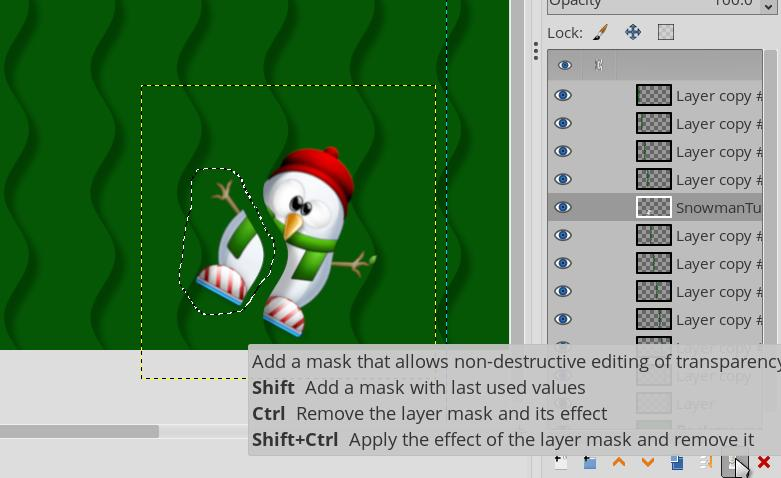
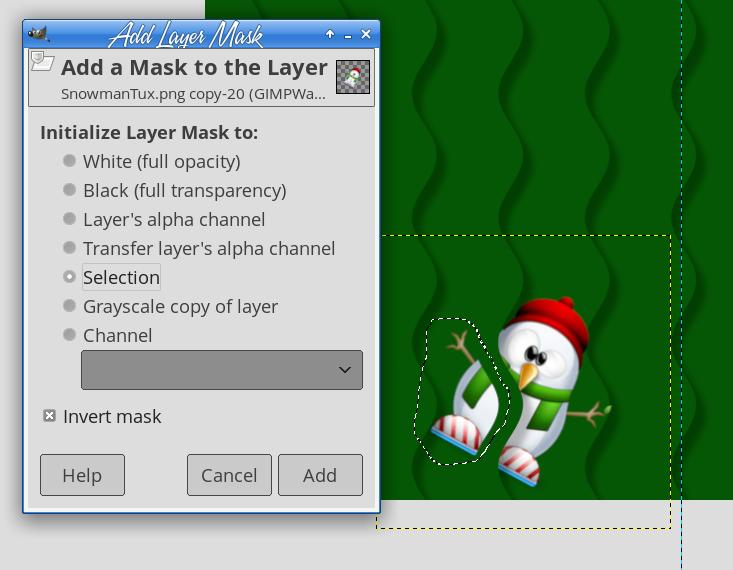
If you add more than one object, and want to do it again, you can hold 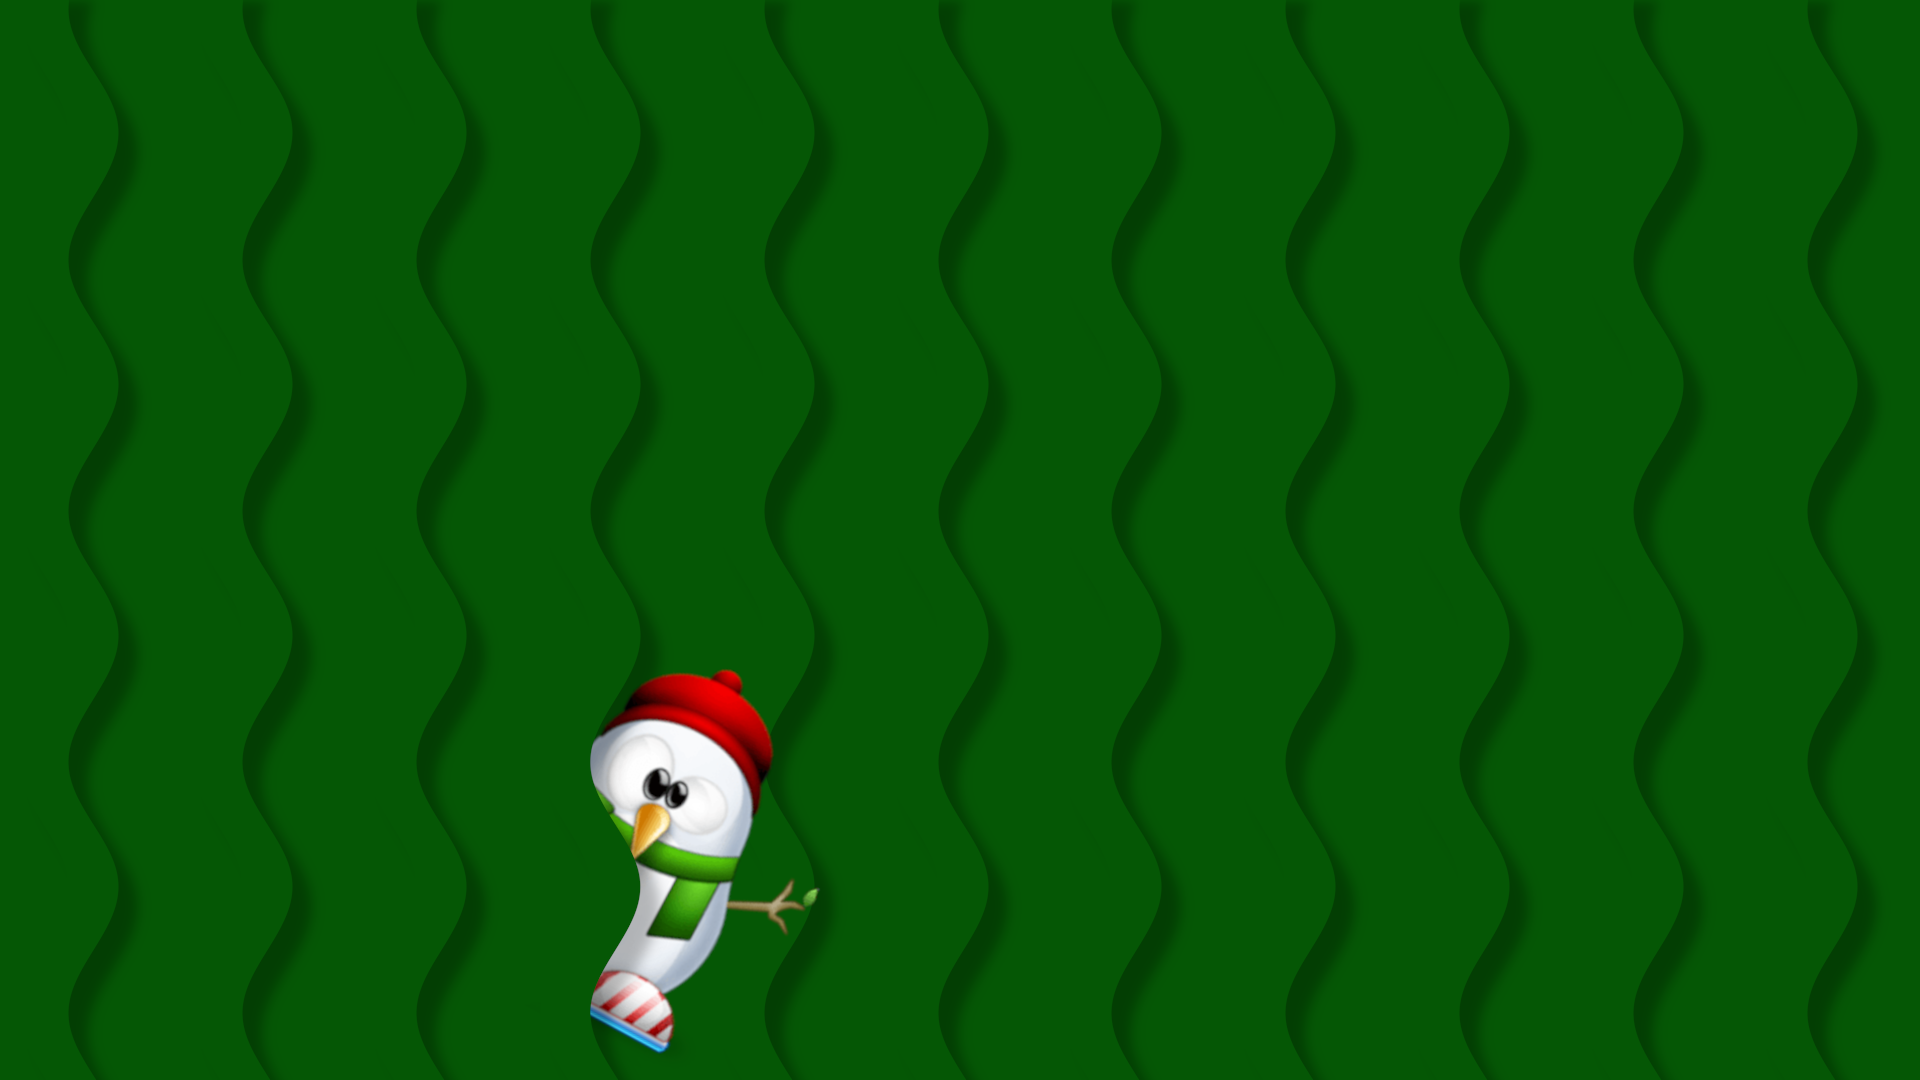
 I also invite you to go watch Michael Davies’ video about the coming features of GIMP 3.0, which is hopefully coming out soon. The GIMP 3.0 Release Candidate 1 has been released and in the video, Davies describes a few new features in the release candidate that will be in version 3.0 when it’s released. Since we have GIMP 2.10.38 in the repo, I chose not to install the RC from outside the repo and, instead, wait for the final GIMP 3.0. Some of the new features look interesting! We’ll review GIMP 3.0 after it’s released. |


