| Previous Page |
PCLinuxOS Magazine |
PCLinuxOS |
Article List |
Disclaimer |
Next Page |
All The Tools You Need To Record OTA TV Broadcasts & Edit Out The Ads |
|
by Paul Arnote (parnote)
As I stated last month, mpv has become my go-to tool for watching OTA television broadcasts. But, for recording those OTA television broadcasts, it’s hard to beat Kaffeine for ease of use. To get started, you will need to install Kaffeine and Avidemux. The latter is installable from the PCLinuxOS repository via the DNF Package Manager. As for the former, I’m using the Flatpak version of Kaffeine. Of course, you will also need a TV tuner card. Mine is a KWorld KW-UB435-Q V3 USB TV tuner card, and it works perfectly. I picked mine up from eBay for a pretty low price. My USB TV tuner card is “old stock,” and no longer manufactured (in a stroke of luck, I did manage to pick up a “spare” a few years ago when I found one new in the box listed on eBay). Thus, any you find on eBay will likely be used/preowned, and may be difficult to locate. There are a few USB TV tuner cards I found on eBay, but I’m unsure if they work with Linux. If you have the funds, it might be worth giving them a try, as they run in price between $20 and $40 (U.S.). If you do give them a try, let me know how they work, or if they work. I have purchased one (the first one I linked to), and I’ll let you know how it works after I receive it. (Note: it does not work in my area. That particular USB tuner card and the second one I linked to are for DVB-T, which is the digital TV standard for Europe. Since I’m in the U.S., I need a USB tuner card that works for ATSC/QAM. I have ordered another USB TV tuner card that is compatible with the broadcast standard in my area, which is the third USB TV tuner card I linked to above.) That first linked USB tuner card (running right around $20 U.S.) does have some reports of working decently under Linux, provided DVB-T is the broadcast standard for your area. If you don't already have Kaffeine set up to display OTA television broadcasts, I wrote about how to configure Kaffeine to display OTA television broadcasts in the September 2022 issue of The PCLinuxOS Magazine. I'll refer you to that article to get your copy of Kaffeine configured for the OTA television broadcasts that are in your area.
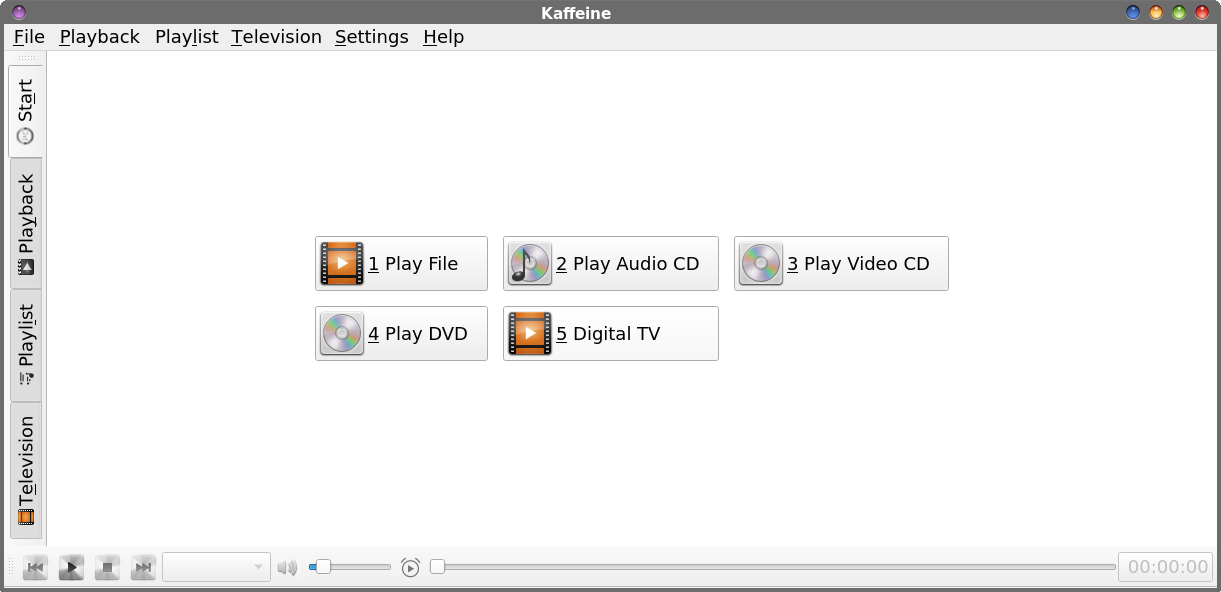 The screenshot above shows what Kaffeine looks like when you first launch it. You’ll want to select the “Digital TV” button to display OTA television broadcasts in Kaffeine. 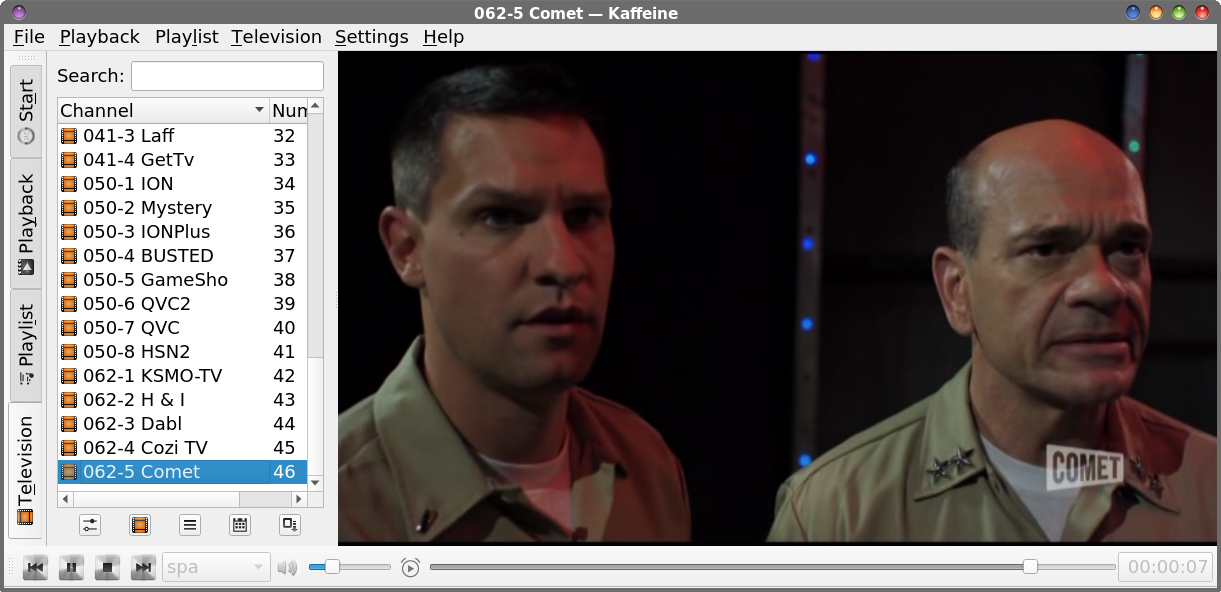 Next, find the channel that has the program you want to record. Here, for demonstration purposes, I’m displaying the local channel where I live that airs the Comet station. 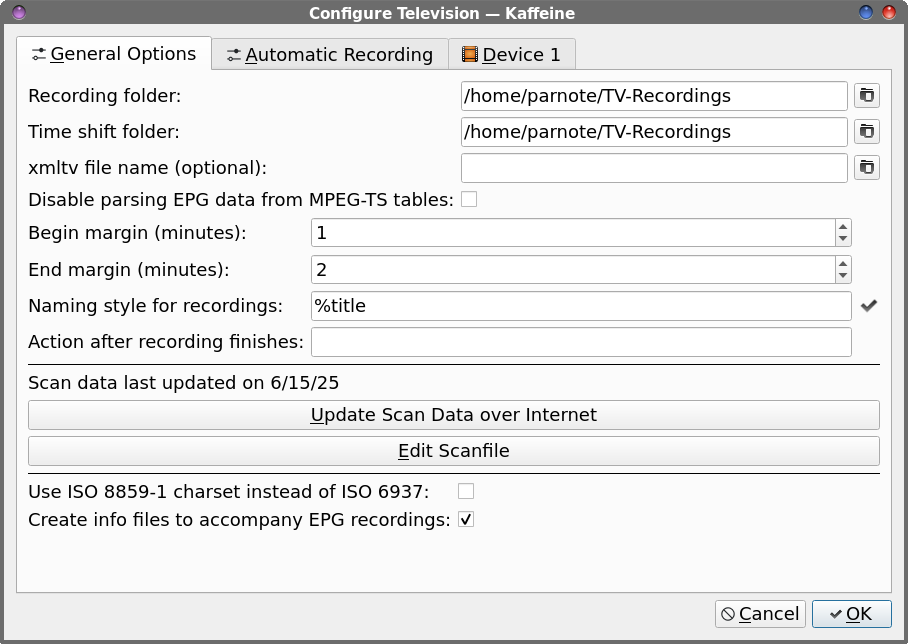 It would be a good idea to set up some settings for recording OTA television broadcasts. Under the “Television” menu, select “Configure Television …”. There (as shown in the screenshot above), you can set up where you want Kaffeine to save your recorded files. I make my “Time Shift” directory the same as my “Recording” directory. I have a “special” directory that is a top-level directory under my /home directory, that I call “TV-Recordings.” Then, I set the “Begin margin” setting to one minute, and the “End margin” setting to two minutes. This causes Kaffeine to start recording one minute before the show that I want to record starts, and continues for two minutes after the scheduled end of the show I want to record. By doing this, you only have to “worry” about entering the actual time your program starts. 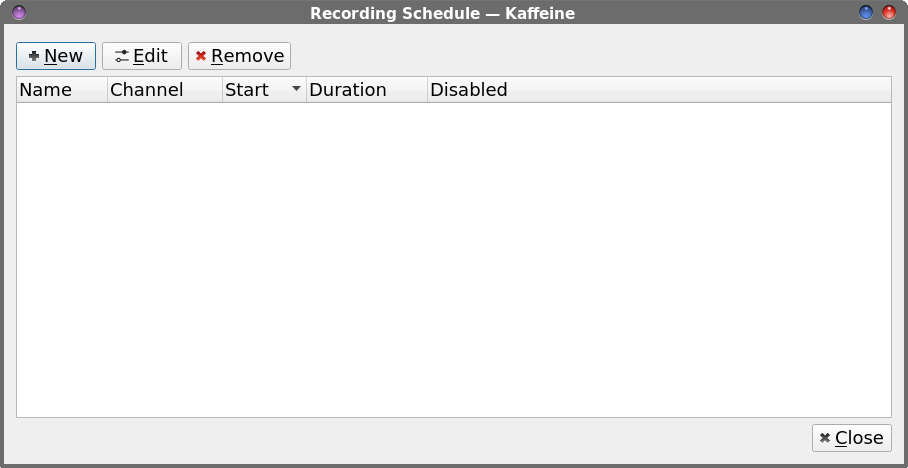
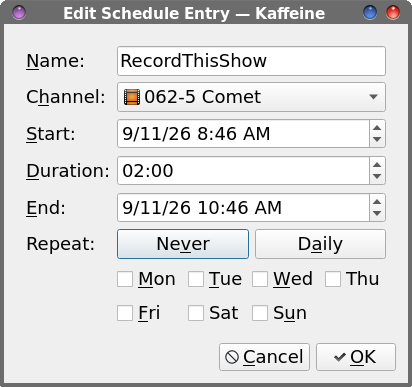 There are a few different ways to tell Kaffeine that you want to record a program. The first way is to go to the “Television” menu, and select “Recording Schedule” (first image immediately above). Click on the “New” button, and a dialog box similar to the second image shown above will appear. Give the recording a “name,” and then select the channel you want to record. Then, set the start date and time, as well as the duration of the program. I like this method best, since it gives you the opportunity to specify a unique name for the recorded file. 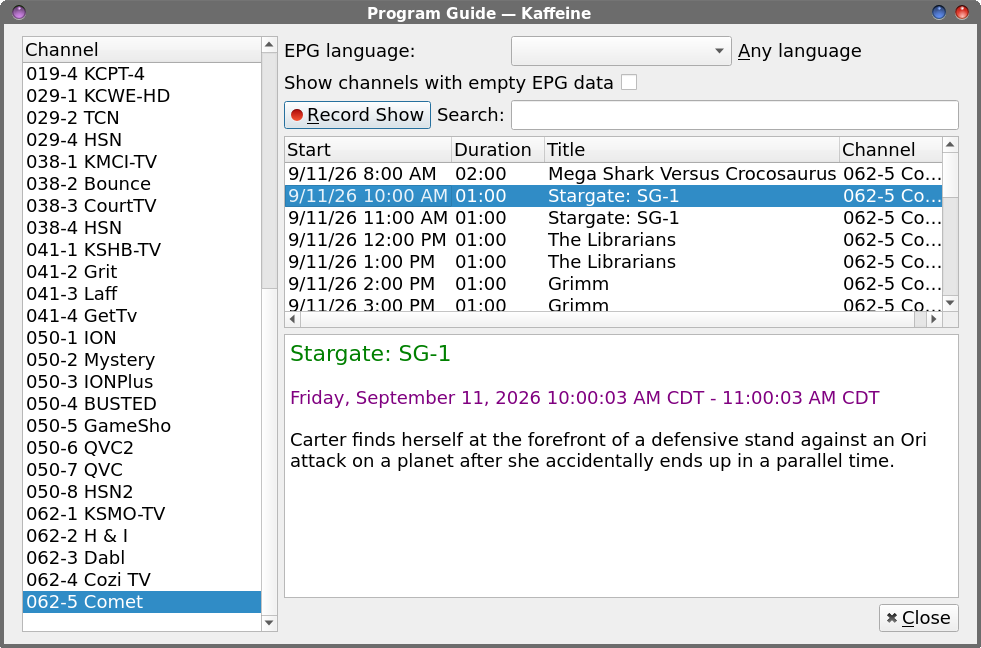 Another way is to record your program from the Program Guide in Kaffeine. To access it, go to the “Television” menu, and select “Program Guide” from the menu. Now, select the program you want to record from the list of programs, and hit the “Record Show” button (top left of the right window pane). Once you hit that button, a small red “dot” will appear in front of the selected program, to indicate that program will be recorded to your hard drive. Of course, the third way to record a program with Kaffeine is to hit the “Instant Record” button (right-most button immediately under the channel list). I have to admit that I almost never use this button, but it should keep recording until you hit the button a second time (or until you run out of disk space … recording video takes up a LOT of hard drive space!). If you want or need to provide a unique name to a recorded file using the second or third method of setting up a program to record, you can go back to the “Recording Schedule” dialog box, and edit the scheduled recording to have a more unique name. Keep in mind that you will need to keep Kaffeine running after setting up your recording, regardless of which method you use to set up a recording. For me, sometimes the show I want to record is on at some time when I'm not in front of my computer, like when I'm doing “other” things during my waking hours, or when I'm sleeping. But, Kaffeine needs to already be running to record your program. So, for those times, I just turn the volume all the way down in Kaffeine and minimize the Kaffeine window to my panel. So now, at the selected time, Kaffeine will save your selected OTA broadcast to the folder you specified. The file will be saved as a *.m2t file, which stands for MPEG-2 transport stream. It will be given the name you specified (if you used the first method to set up your recording), or the name of the program as it appears in the Program Guide (if you use the second or third method to set up your recording, and you haven’t edited the name to provide a more unique name for the file).
Once your recording is done, it will be stored in the directory where you told Kaffeine to store your programs. So, go to that directory and find the program you just recorded. 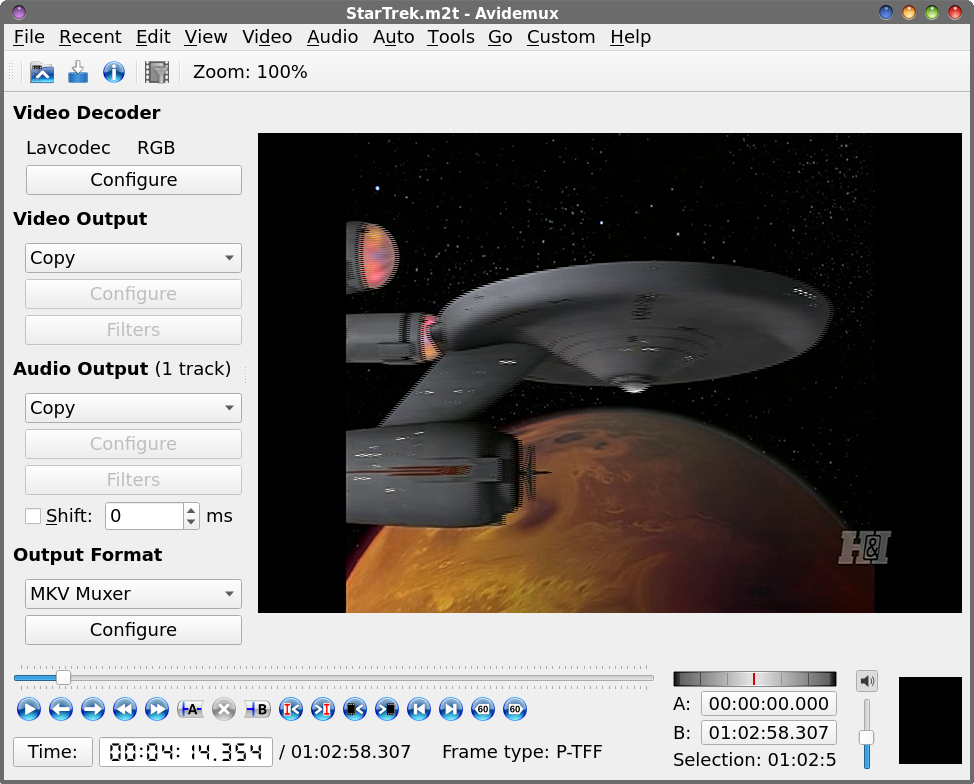 Load the *.m2t file produced by Kaffeine into Avidemux. You should see something like the screenshot above. While I’m certain that there are other capable video editors out there, I like using Avidemux, which is a very capable frame-based video editor that’s super easy to use (there are time-based video editors, which aren’t nearly as precise or as good at making clean edits). 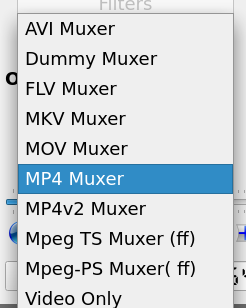 Leave all of the settings (Video Decoder, Video Output, Audio Output) to their default values. The only thing you might want to change is the “Output Format” setting. While I have nothing against MKV files, I’m more comfortable working with MP4 files, so I changed the output format to MP4. Just to be sure that you’re working from the very first “frame” of the recorded video file, I like to grab the slider control with my mouse, and then move it to the right, and then all the way back to the left … which should represent the first “frame” of the video.  Now, you can use the cursor keys on the keyboard of your computer to navigate through the video.
There are typically “dissolves” between the program you’re wanting to keep and the ads. Heck, there are even “dissolves” between the ads. Using the cursor keys (or even the Ctrl + cursor keys), you can rapidly move through the video to find the ads. Find a frame where it dissolves to black between the end of the program segment and the start of the ad, and press the “A” (black arrow in the image above) to set the first cut point. Then, find a black frame immediately before your program restarts after the ads, and press the “B” (blue arrow in the image above) to set the second cut point. Then, the “X” button (red arrow in the image above) should be red. Select it, and the first set of ads will be deleted. The ability to set the A and B marks also exist under the “Edit” menu, if you prefer using the menu instead of the buttons on the toolbar.
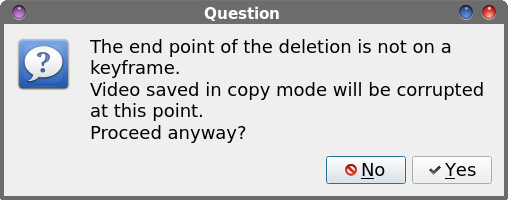 The first time you cut out a section of ads, you’re likely to see the dialog box shown above. Go ahead and say “Yes” to this question. Honestly, I have yet to notice any corruption or degradation in the resulting video file. Every compressed video codec contains a pattern of an “I” frame, and each “I” frame is followed by two “B” frames and one “P” frame in a repeating pattern until the next “I” frame. This pattern repeats until the end of the video. You’ll likely see this message if one (or both) of your “cuts” is NOT on an “I” frame. “I” frames contain a full image, and serve as a reference frame for the other frames. “I” frames are also called keyframes. A “P” frame stores only the changes from the previous frame, and relies on the last “I” frame or “P” frame to reconstruct the image. “B” frames use data from both previous and future frames, and can reference both “I” frames and “P” frames. They are bidirectional (hence, the reason they are called “B” frames), and are what are responsible for higher compression rates while maintaining video quality. Repeat these steps of marking the A and B marks, followed by the red “X” button, to cut out the ads for the duration of the video. For a one-hour video, I can accomplish this in less than 10 minutes.
Don’t worry if you mess up on setting your A and B marks. At the worst, all you’ll have to do is start over with the *.m2t file. I occasionally find myself having to do the same from time to time. But, the process is relatively fast, so it’s not usually a huge deal. Once you have your video prepared and devoid of the mindless, annoying, pesky ads, select the “File” menu, and select “Save” from the menu options. Don’t worry … your recorded video won’t be overwritten unless you just insist that it does so. I guess what I’m trying to say here is that you have to work to make your new video overwrite your original recording. 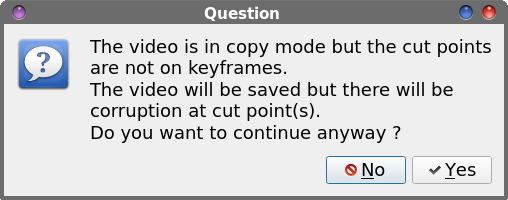 You may get a similar “warning” about video corruption as we saw in the last message. Ignore it, and select “Yes.” You’ll then be given an option to save the file with the filename of your choice, in the directory you choose. If you’re following along and also changed your Output Format to MP4, you’ll notice that Avidemux will be saving your new file with a MP4 file extension. If you opted for MKV file output, your new file will be saved with a MKV file extension. Optionally, if you choose, you can play back the resulting video in Avidemux, just to make sure your edits are working as they should. I’ve done this enough times that I now trust the procedure, so I rarely check these days. 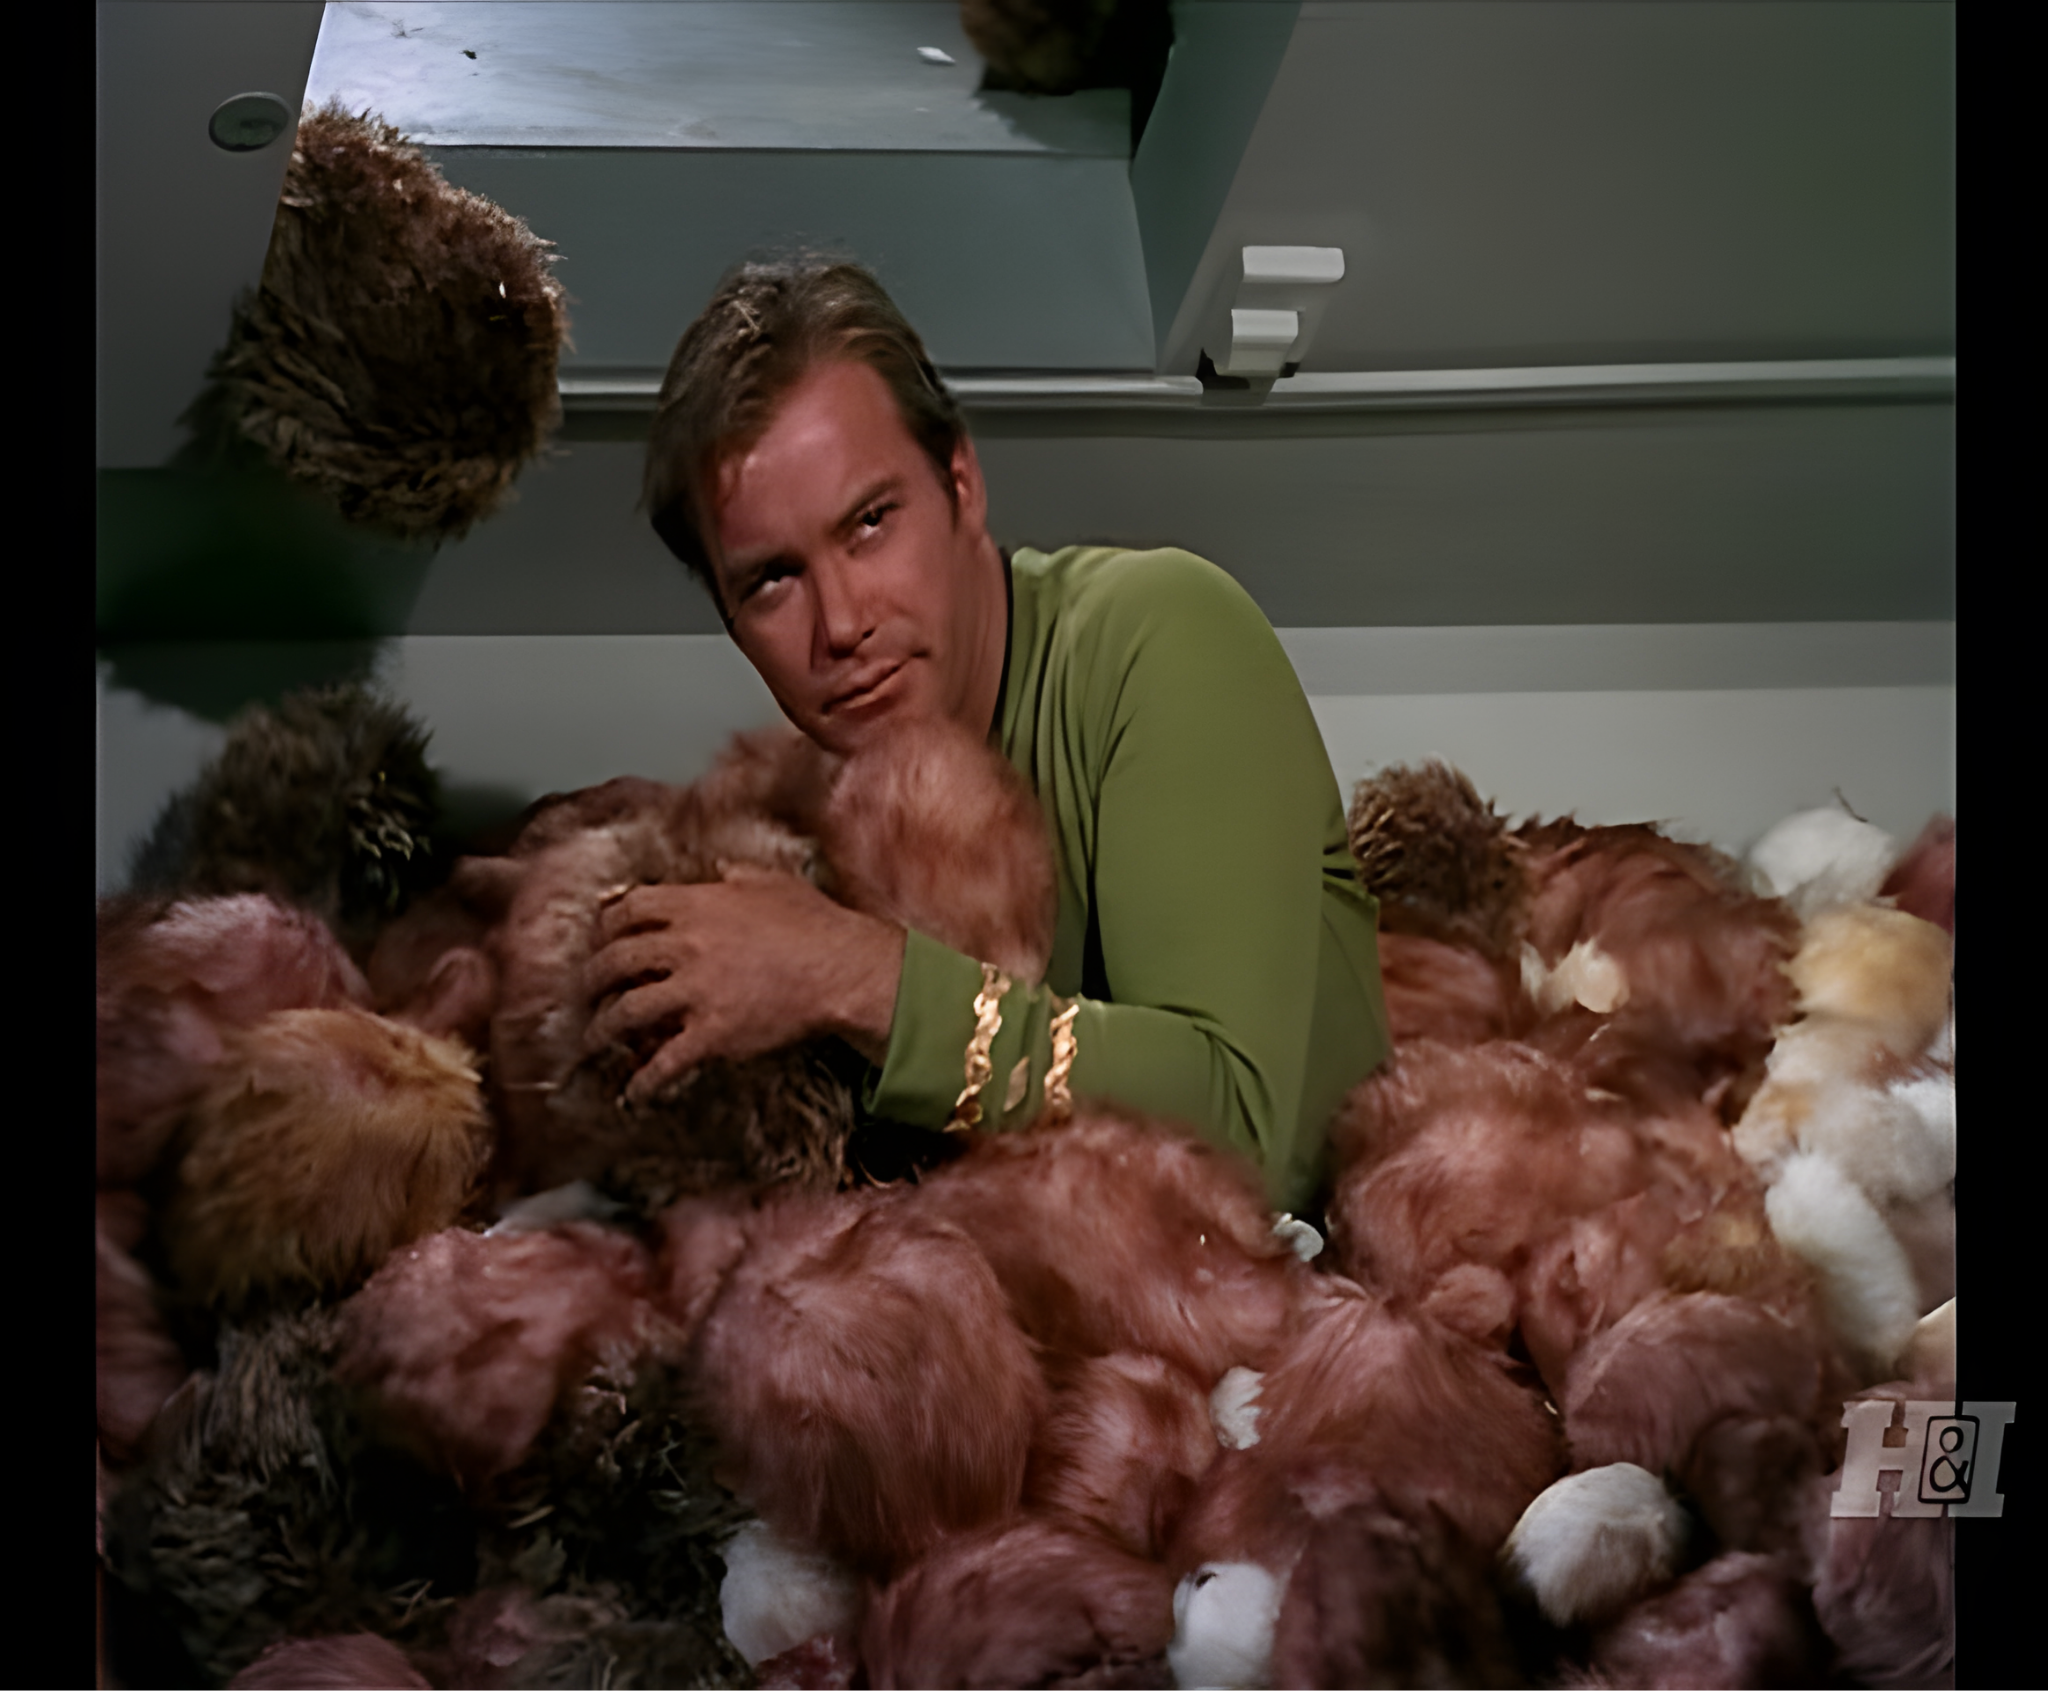 A screenshot from one of the Star Trek episodes I recorded using the method described in this article.
So why would I (or anyone) do this? Well, for me, it’s because I can. Recently, the H&I channel (Heroes & Icons) had a marathon broadcast of the original Star Trek series to commemorate the 60th anniversary of the release of Star Trek. I’m not a dyed-in-the-wool Trekker, but I do have some favorite episodes that I never get tired of watching. So, the marathon broadcast gave me a chance to grab those episodes. In rewatching them, I didn’t want to have to sit through all of the annoying ads again … and again … and again … so it made perfect sense (to me, anyways) to make a copy of those episodes without having to sit through those ads every time I choose to watch them. On a personal note, ST-TOS (Star Trek: The Original Series) isn’t necessarily my favorite of the Star Trek universe or franchise. That honor falls to ST-ENT (Star Trek: Enterprise) and ST-VOY (Star Trek: Voyager), in that order. In fact, I watch these two series every night, six nights a week, before I go to bed. It’s after the kids go to bed, so this is dad’s “unwinding” time from the stresses of the day. I can think of other reasons why others might want to do something similar. One that comes up repeatedly in my mind is someone who might want to economically (a.k.a. cheaply) build a collection of some of their favorite TV programs. Hey, I get it. Things are expensive these days, so buying DVDs or BluRays isn’t necessarily a cheap option. And, with every entertainment outlet looking to sell you streaming packages, those can get pretty expensive, pretty fast. Using this method, you can economically build your OWN collection. The only “investment” you have is your time and the “wear and tear” on your equipment. But trust me: this whole process is much simpler than it sounds. Describing the process makes it appear to be a daunting task, which is the furthest from the truth. So, don’t hesitate to try your hand at this, too! |