| Previous
Page |
PCLinuxOS
Magazine |
PCLinuxOS |
Article List |
Disclaimer |
Next Page |
Inkscape: Starting Your First Project
|
|
by Meemaw We have gotten familiar with the Inkscape window and some of the tools. Let's make something! If you already have Inkscape open, you have a new page. Click on the Document Properties button (the last one on the right in the Command Bar). In the window, change the page orientation to Portrait, then change width to 900 px and height to 1200 px to make it a custom size. If it is not checked, check Show Page Border at the bottom of the window. I have also checked Show Border Shadow, but you don't have to check that one. The border helps me see the edges of my page. I think that's default anyway. Remember, after you get accustomed to things you can set them up as you desire. Close that window and you should see this: 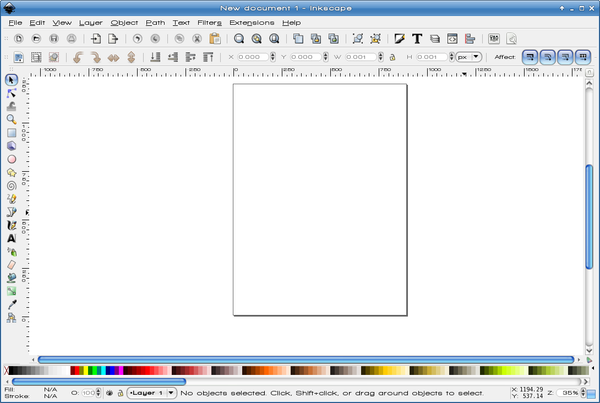 Notice that the rulers are across the top and up the left side. Also notice that the left side ruler counts up from the bottom of the page. Page location measurements in Inkscape start from the bottom left. Now we have plenty of room to work. OK, let's draw. Choose the ellipse, then click and drag your mouse. Click on a color in the pallette down at the bottom of the window, and your ellipse should now be filled with that color. Holding <Shift> and clicking a color will make the Stroke (Border) that color, and probably 1 or 2 pixels wide. You can right click the number and make the Stroke 2 if it is another size. I chose a blue for fill. 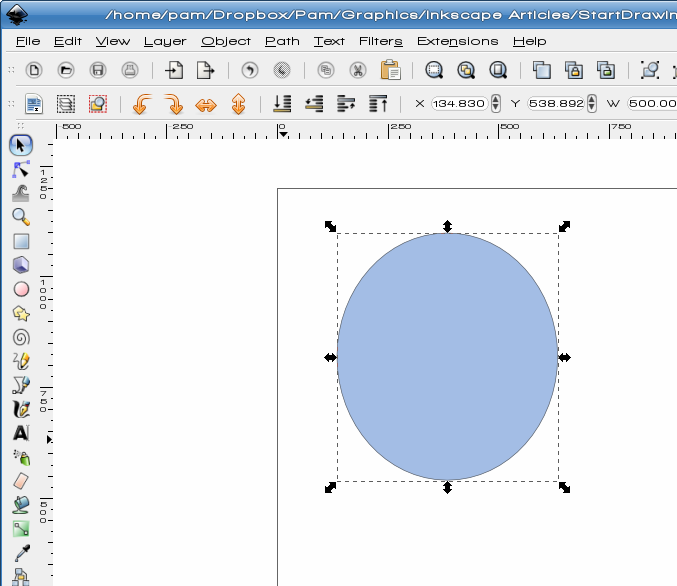 We're going to make a simple picture in a frame. Click on Edit > Duplicate or use the keys <CTRL> + D. You won't see it right away because it is the same as the ellipse you have. Click on the Fill & Stroke button in the Command bar at top, and your Fill & Stroke Window will appear. Change the fill on this new ellipse to none by clicking the button with the X (at the top of the fill & stroke window above the color wheel, or in the palette at the bottom), and change the stroke to 6. 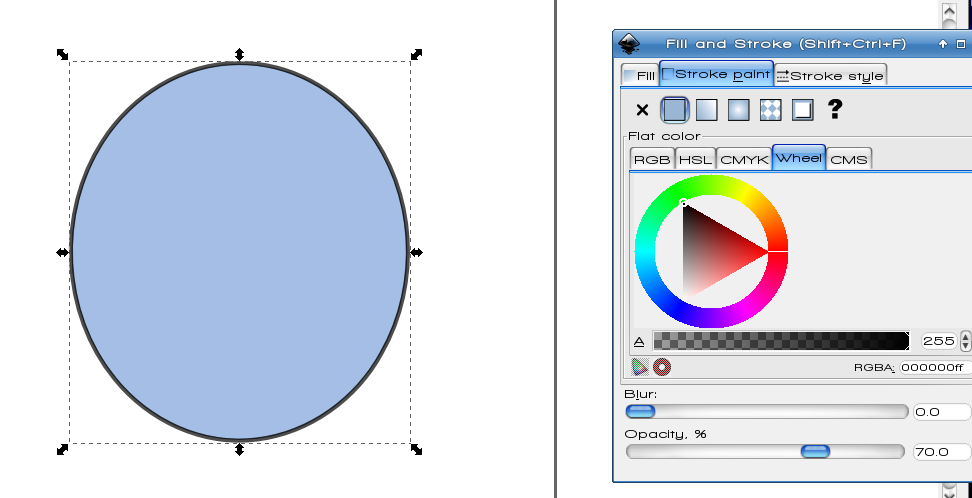 Now we are going to make this ellipse bigger. Click on Path > Outset or <CTRL> + ). Your ellipse will enlarge by 2 pixels, which is the program default. You can do the same command or Key combination as many times as you want to enlarge the ellipse until it is outside the blue ellipse. Mine looks like this: 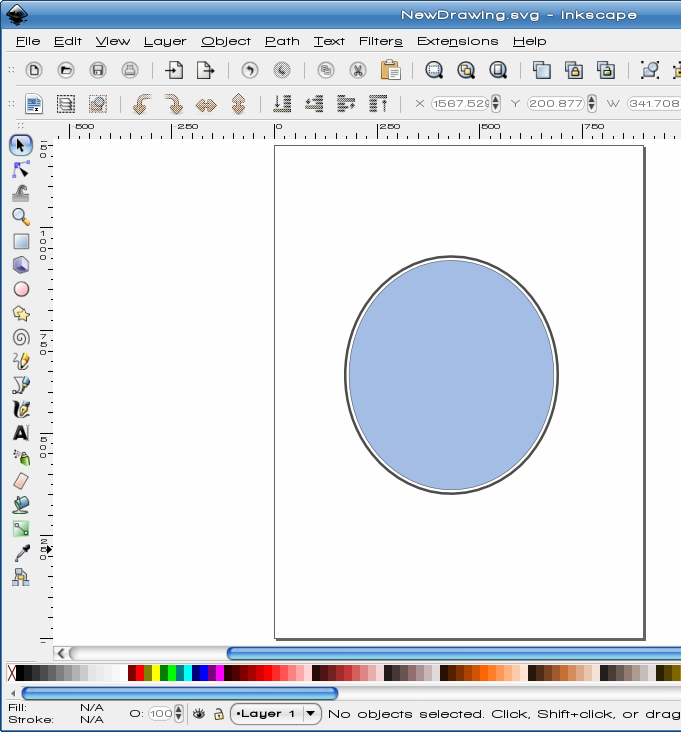 Now do the same thing again (duplicate and enlarge), only this time make our stroke width 15. 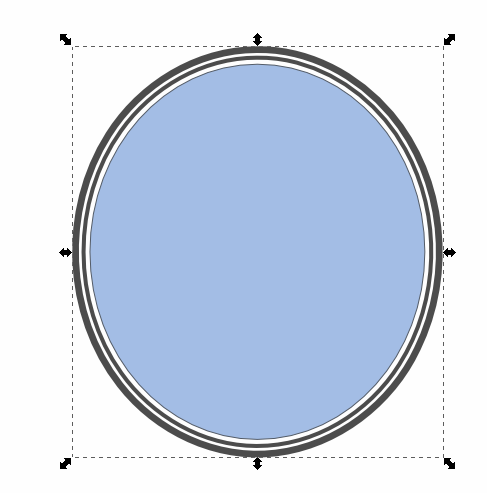 Before we go any farther, let's make sure everything is lined up correctly. Position your mouse out from the drawing, then click and drag a rectangle around it. This will select everything inside the box you draw. Then click on the Align & Distribute button in the command bar. Click on both Center Vertically and Center Horizontally to make sure everything is centered. 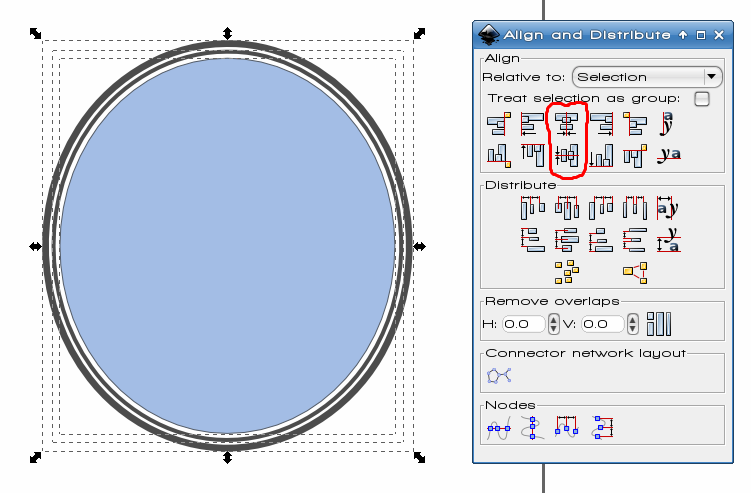 Click on the Fill & Stroke tool at top. When the window pops up, choose the inner stroke. Change the color to a brown color and the opacity to 100 using the slider at the bottom, then click on Filters > Blurs > Fancy Blur. Now click on the outer stroke. change it to a similar brown color, the opacity to 100, and make sure the stroke size is still 15. Go back to Filters and this time choose Bevels > Dark Glass. Your image should now look similar to the following: 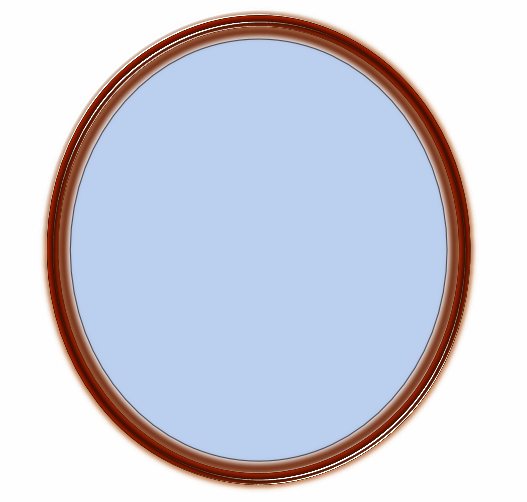 I have opened a copy of the photo I colorized earlier. I want to put it inside the frame. Since it is saved as a png, you will need to Import it (File > Import). When you have chosen your photo to import, you will be asked if you want to Embed or Link the photo. Embedding adds the file to your project, and will make your file bigger. Linking will link the file to your project without increasing the size, but if you save your project to another location, you will have to save any linked files there too. I usually embed anything I import so it is all there together. This photo is rectangular and I want it to be oval, so we're going to make it oval. You can place your photo off to the side of the main project so we can edit it. Click on the ellipse in the center of your project and choose Edit > Duplicate (or <CTRL> + D). Click on the duplicate and move it over by your photo. Change the Fill to None, and the Stroke size to 2. If one of the items is smaller, size each until both objects are close to the same. My photo is taller, which is OK, but I need it to be at least as wide as the ellipse. Holding the <CTRL> as I size will preserve the aspect ratio of the photo. 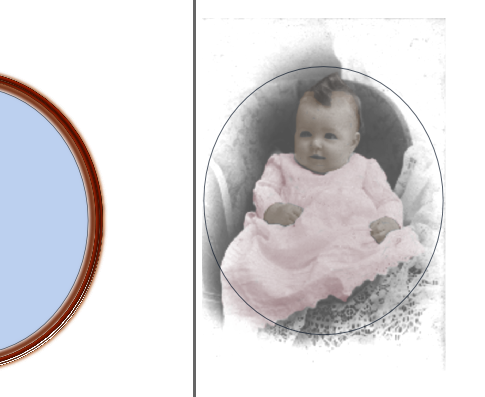 Before we proceed, click on the ellipse and duplicate it, then set it aside for later use. We're going to use the Clip tool. Click on the ellipse FIRST, then hold down <Shift> and click on the photo. That selects the photo without de-selecting the ellipse. Go to Object > Clip > Set. When you do that, your two items should be cropped to the inside of the ellipse. 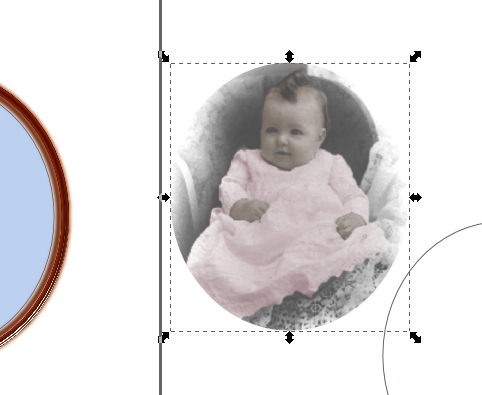 I'm going to place the ellipse I just set aside over the photo for a border. You can select them both, like we just did, then center them both ways. 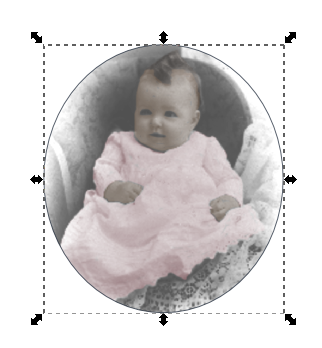 You can Group these so you won't have to align them again. I selected my ellipse, made sure the opacity was 100% and changed the blur to 1 before I grouped. It just softened the border. 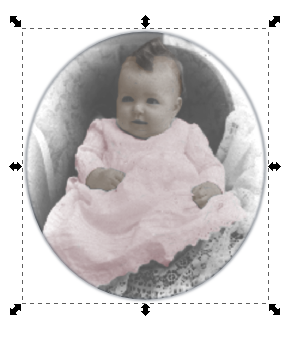 You can move the photo into your frame, but I like the blue color and I'm going to resize my photo just a bit so a little of the blue is visible around the photo. To preserve the aspect ratio of the photo, I will hold down <CTRL>. Before we do anything else, click on your photo or ellipse with the color in it and duplicate it once more. Slide it to the side of your project. After that, you should select everything by drawing a box around it all, or by clicking on the selection buttons at the left end of the second tool bar. The one that looks like a stack of papers and says "Select all objects in all visible and unlocked layers" is the one you want. Hold down <Shift> and deselect the ellipse we just created and stored to the side of our drawing. Then use your Align & Distribute tool to center everything else one more time. If you are satisfied with your work so far, you can also group everything so you don't have to align it any more. You should also be saving your work. 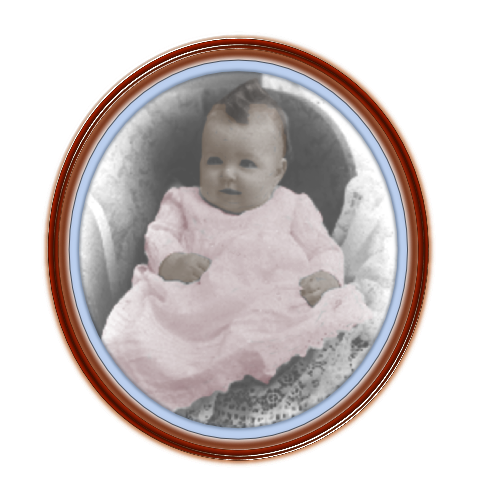 OK, let's do one more thing with that extra ellipse. Most picture frames have glass on the front to protect the photo. Let's give the impression of a glass front. Make the fill on that ellipse a Linear Gradient, and the Stroke size a 1, just so you can see your edge. Using your Fill & Stroke window, click on linear gradient in the fill tab, and make it white. Your ellipse will immediately change so it's white on one side and transparent on the other side. We're going to change that. Click on Edit... in that window, and you will see another window pop up. Also, go to your left side toolbar and click on the Gradient button (towards the bottom). You should now see a line crossing your ellipse that has a small square on one end and a small circle on the other. These are called Stops. We are going to add a few more. In the newest window, click on the Add Stop button five times. Each time you click, you should see another small square appear on the line. Five clicks, five squares. They will not be evenly spaced across the line, so you should click & drag them, one at a time, until they are closer to evenly spaced. It doesn't have to be perfect, though, since light and shadow makes things look uneven at times. In your Edit box, there is a drop-down with the stops numbered. One at a time, choose every other stop, and slide the color slider below the color wheel towards transparent. It will look similar to this: 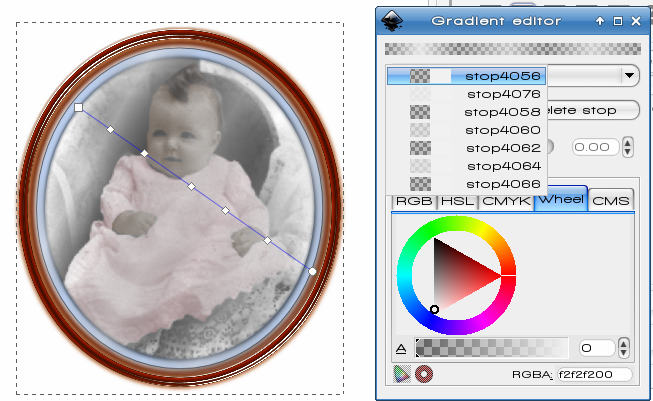 If there is too much white when you finish you can always go back to your Fill & Stroke window and set the opacity down to 45% or so. Experiment with your gradient until you get it the way you want it. When you are satisfied with that you can group everything together and save. As one last thing, let's choose Filters > Shadows & Glows > Drop Shadow. We will get another configuration window. It asks for Blur Radius, Opacity, and Horizontal and Vertical Offset. I think the default is 4 px, 30% opacity and 3 px for each offset. I left the defaults. The buttons at bottom are Apply and Close. When you click Apply, the drop shadow will be added where you configured it. If you don't think the shadow is pronounced enough, click Apply again. (I think I clicked twice.) The worst that can happen is that you get too much and have to undo it (<CTRL> + Z). Do it the way you like it. It is, after all, YOUR creation. 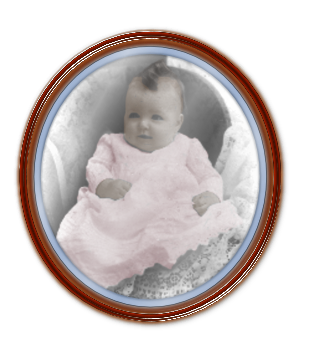 After you save it, you can export a bitmap from the file menu and save it as a png, jpg, or other image file. It's really amazing what you can do with several copies of the same ellipse and a photo. I'm sure with a little experimentation, you can make any number of wonderful items. |


