| Previous
Page |
PCLinuxOS
Magazine |
PCLinuxOS |
Article List |
Disclaimer |
Next Page |
Inkscape Tutorial: Sunset With Stars |
|
by Meemaw We did a sunset project earlier, but the stars in this one use a different process, so we'll do it anyway. This month's magazine cover was made using this same method. 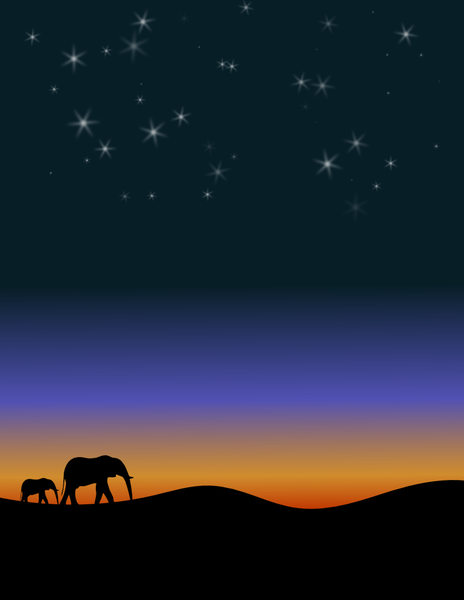 For this project I downloaded a free clipart image (the elephants) and will export that into the project pretty soon. With Inkscape open, start a new drawing. I used US Letter size in portrait orientation (990 px tall and 765 px wide). Create a rectangle the same size as your page, with no stroke and blue fill (just so it's visible, because later we will change it). Create another rectangle the same width as your page and about 1/3 the height, filled with black. 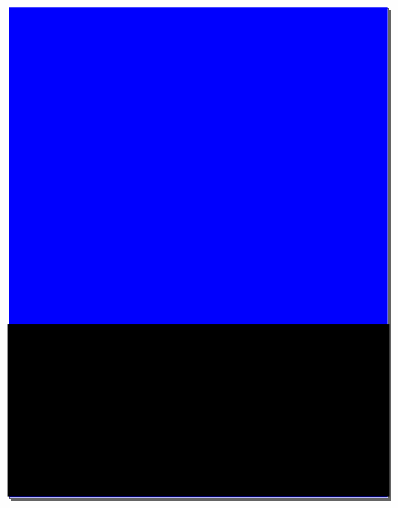 Using the Pencil tool, draw an uneven shape across the black rectangle and around the bottom of your page, connecting back to itself. This will make the land. 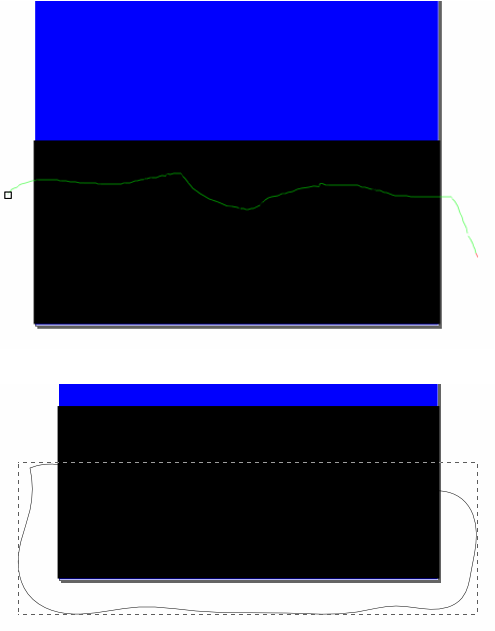 With your irregular shape chosen, hold down <SHIFT> and select your black rectangle. Go to Object > Clip > Set to form your ground silhouette. 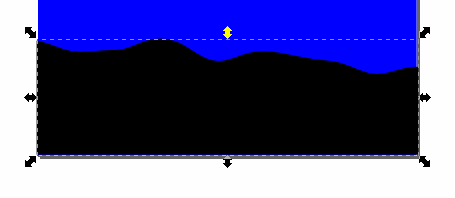 At this point, I imported the silhouette clipart, resized it and placed it into the picture. Now would be a good time to save your work. 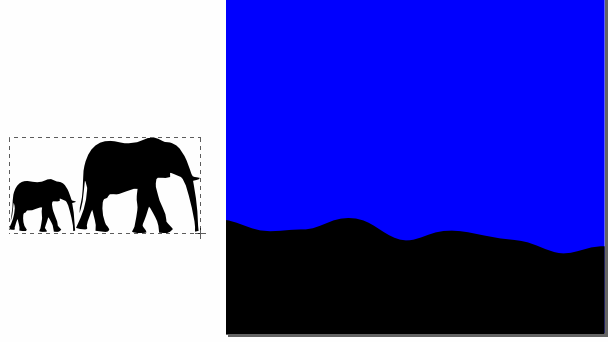 Now, we will work on the sky. Since the sun is setting, we'll need to illustrate this with a gradient. Click on your blue rectangle, make sure you have your Properties window open, and change the fill from solid color to linear gradient. In the properties window, click on Edit, then click on the Add Stop button twice so you can make four colors. From top to bottom it will be dark blue (so dark it's almost black), a lighter blue, yellow and orange. When you get your colors set, close the gradient editor and click on the Gradient tool at the left side of the program window. You can choose whatever colors look good to you, but the colors I used in the image below are as follows; dark blue 1a1a2cff, blue 425495ff, yellow c2a908ff and orange c33b06ff 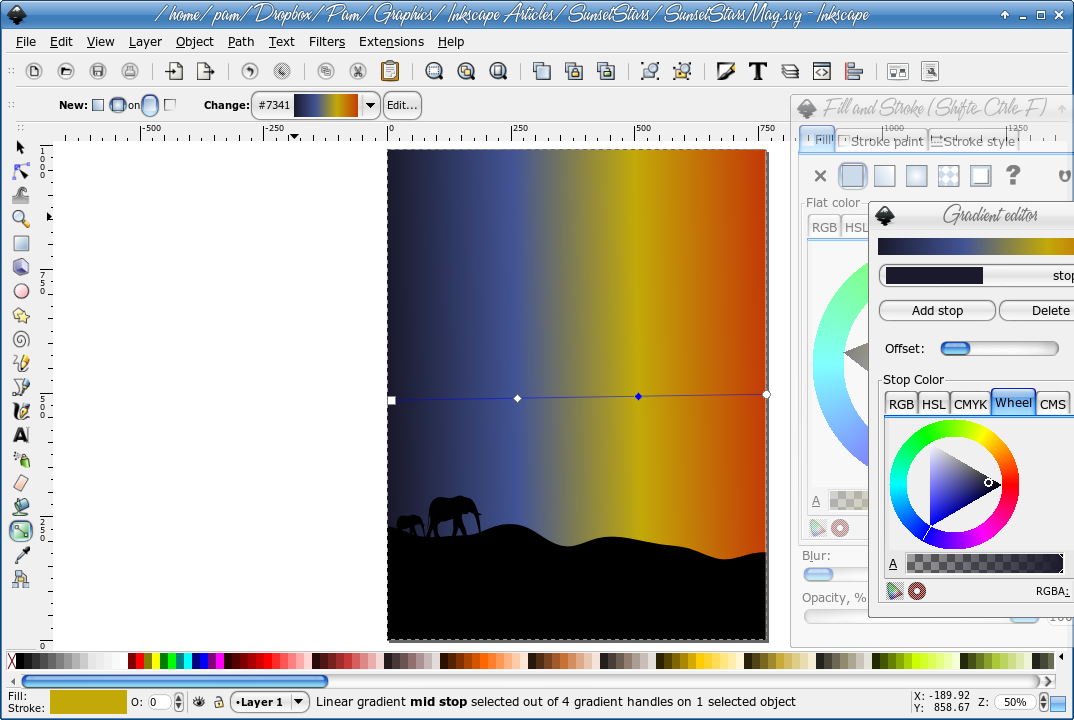 You will want the dark blue at the top, so grab the handle at the left and move it to the center of your picture towards the top. Then grab the handle on the other end and move it towards the bottom of the picture. Mine is below. You can move the handles wherever they look good to you. When you get it the way you want it, save your work. 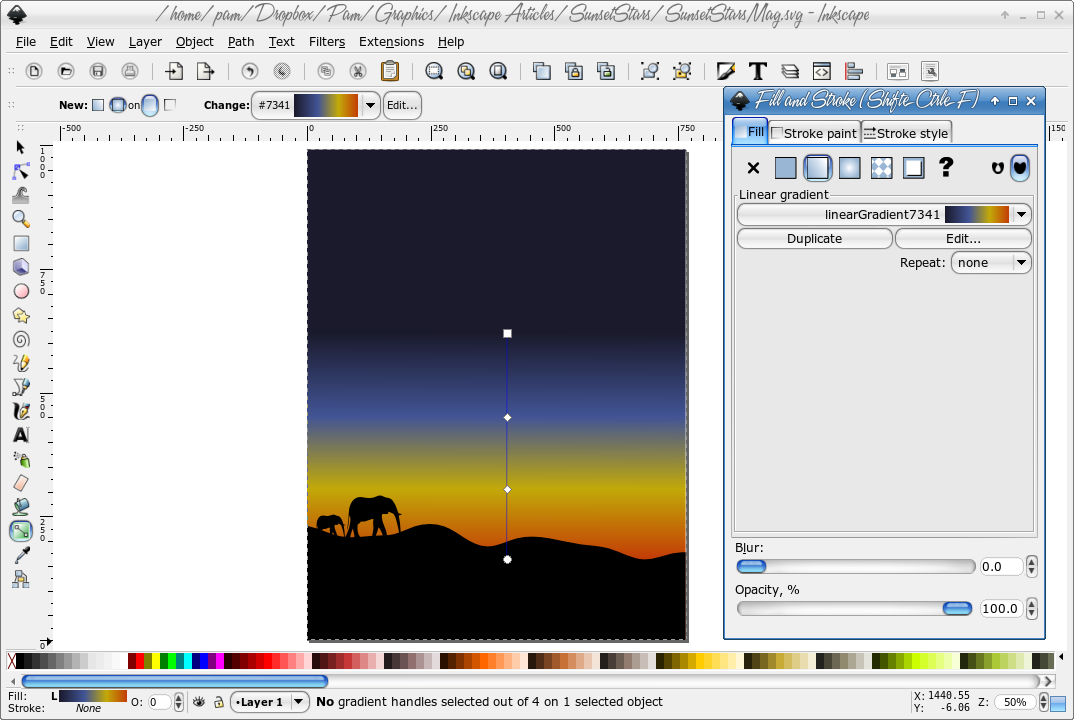 It's time to do the stars. Rather than duplicate them a hundred times and then have to move and resize them all, we're going to use a different command. First, though, we have to make one star. Using the Star/Pentagon tool at the left of your screen, create a star you want to use. I did a six-pointed star with a small circle in the center. I did it by creating the star, six-pointed with the spoke ratio around .08, then the circle, and made sure the fill was white on both (and no stroke). Then I selected them both and, using the Align and Distribute tool, centered them both ways, then grouped them. 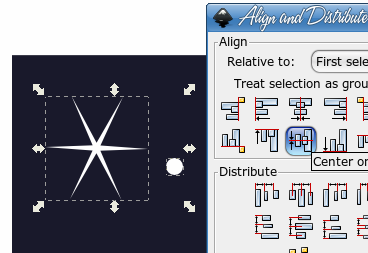  When yours is created, change the blur to 5, and reduce the size of the star, placing it near the top left corner of your picture. Save your work.  Now we are going to make a bunch of stars. With your star still selected, click on Edit > Clone > Create Tiled Clones. A window with many tabs will appear. 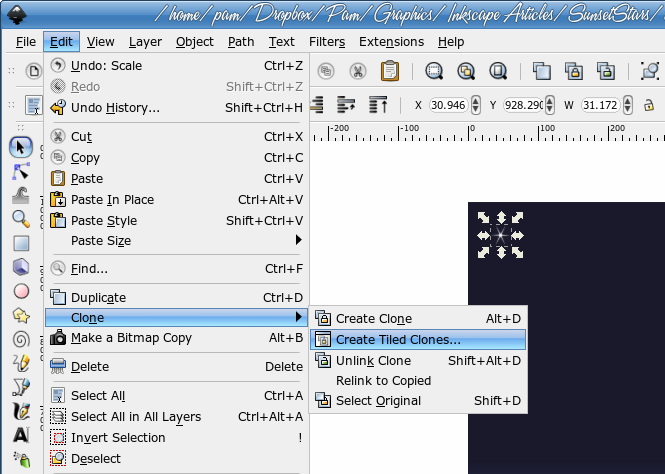 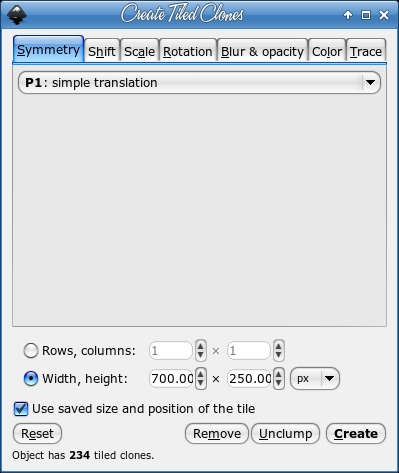 Each of these tabs will affect your group now, depending on the settings. I will give you the settings I used, but I will try to explain a bit along the way. In the first tab, Symmetry, we want to designate how we want them to be spread. The default is P1: Simple translation, and I'm going to use that. Other choices are possible. Then below, we need to indicate how big our group of clones will be. We can use columns and rows of clones or we can use a width and height measurement. I will use a width of 700 and a height of 250. Notice at the bottom of the window we see three buttons: Remove, Unclump and Create. With those three buttons we will be able to change our settings and see the results very easily. If we click Create now, with no other settings, this is what we will get: 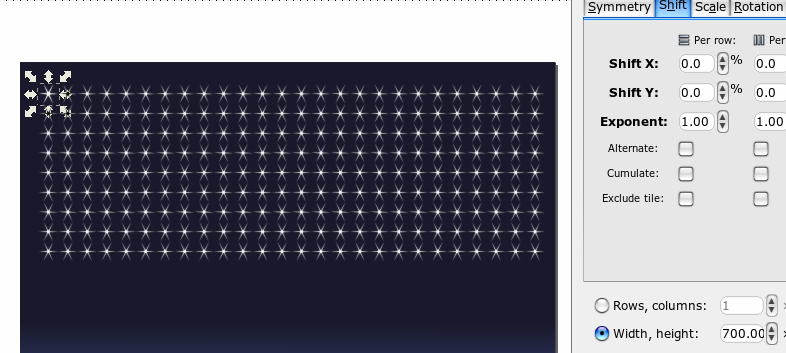 At this point all our stars are exactly alike and are lined up like soldiers in formation, and not like real stars at all. Click Remove. Next, we will change some numbers in the Shift tab. I am going to change Shift X - Per column to 60%, then Shift Y - Per row to 60%, then make both Randomize settings 100%. Clicking Create again, I get this: 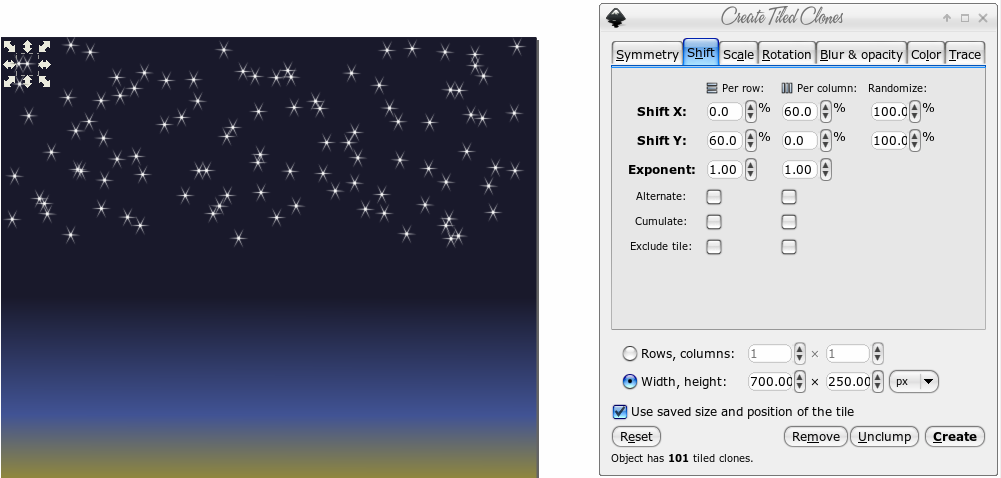 Well, that's better. It looks more like a random scattering of stars. If you don't like the one that appears, you can always click Remove and then click Create again, and the Randomize setting will make it look different. However, all the stars are the same size and brightness, so we will have to do something about that, so go to the Scale tab, and set both Randomize settings to 50%. 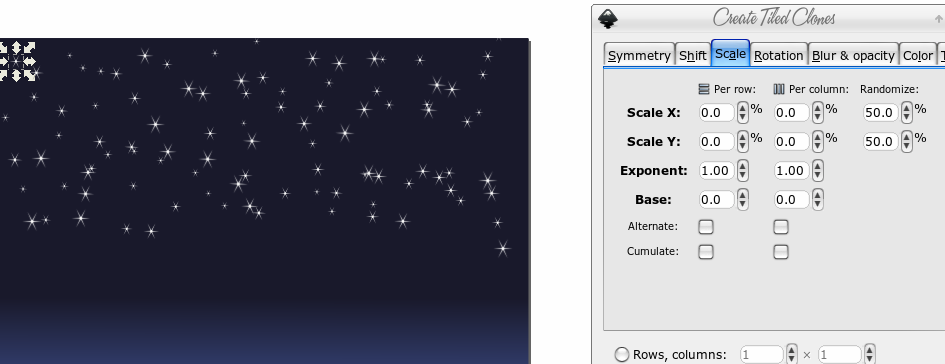 Let's do one more thing. Click the Blur and Opacity tab, and set Fadeout - Randomize to 100%. 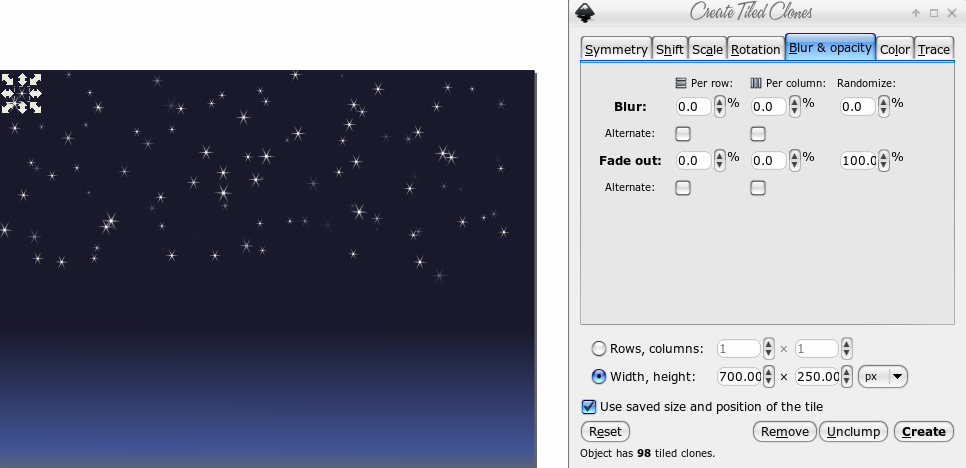 When you get it the way you want it, close the Create Tiled Clones window. As a last thought, if you think your stars are still too bright for a sunset, you could click back in the Fill & Stroke window and set the opacity down to your liking. Save your work, then export your page. 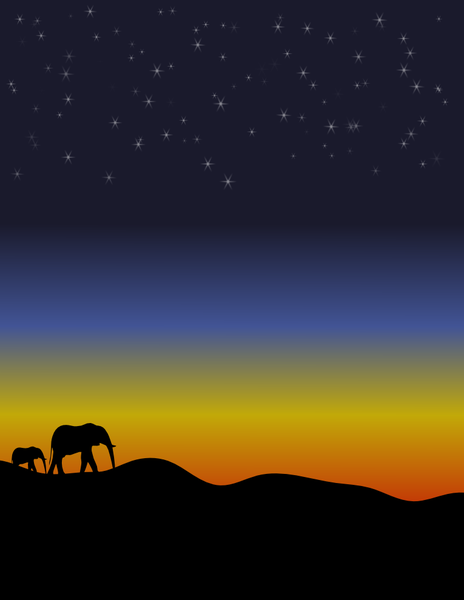 |