| Previous
Page |
PCLinuxOS
Magazine |
PCLinuxOS |
Article List |
Disclaimer |
Next Page |
Mailvelope OpenPGP Encryption For Webmail
|
 by YouCanToo What is Mailvelope? It is OpenPGP Encryption for Webmail. Mailvelope integrates into the webmail interface. Mailvelope works both with Chrome and Firefox/SeaMonkey. Mailvelope works with the following webmail services.
In this article, we will be using Mailvelope with Yahoo!® Mail and Firefox. You can get mailvelope from the github website. 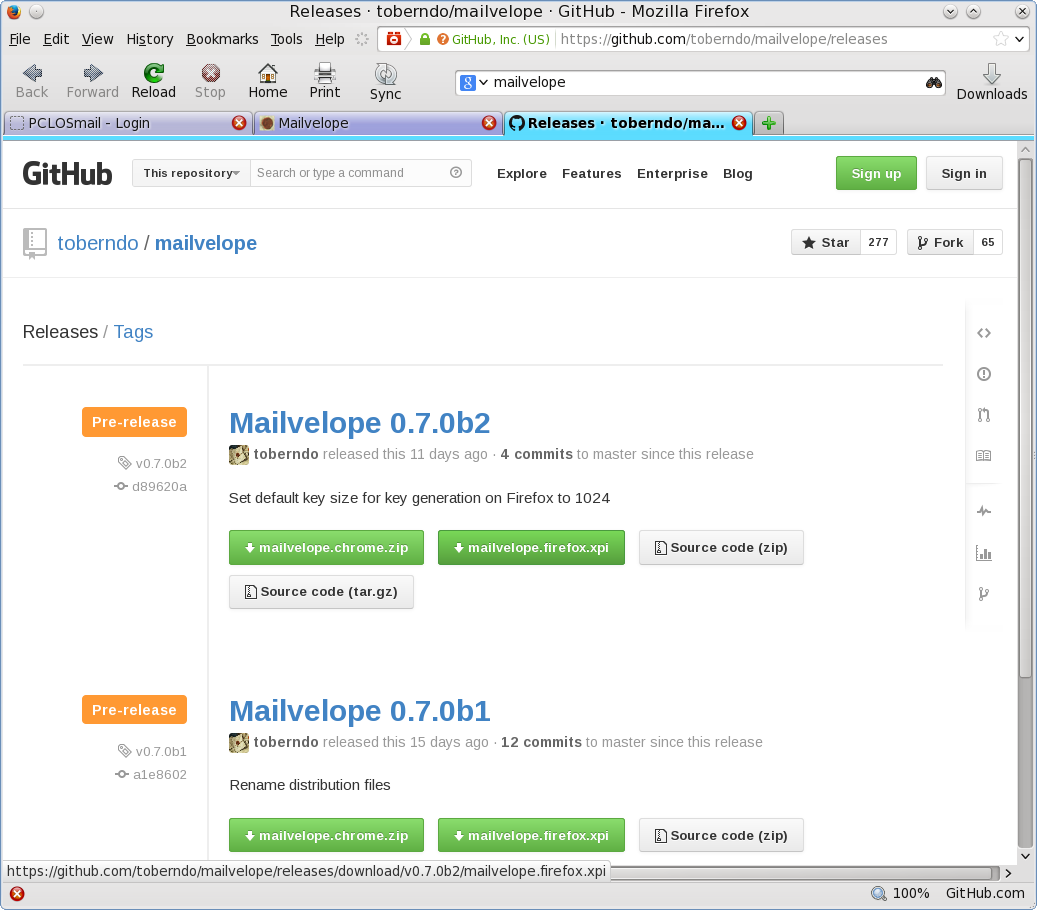 Once downloaded we want to add it to Firefox by going to Tools > Add-ons. In the Add-ons window click on the little wrench icon next to the search box. Then select "Install Add-on From File...." 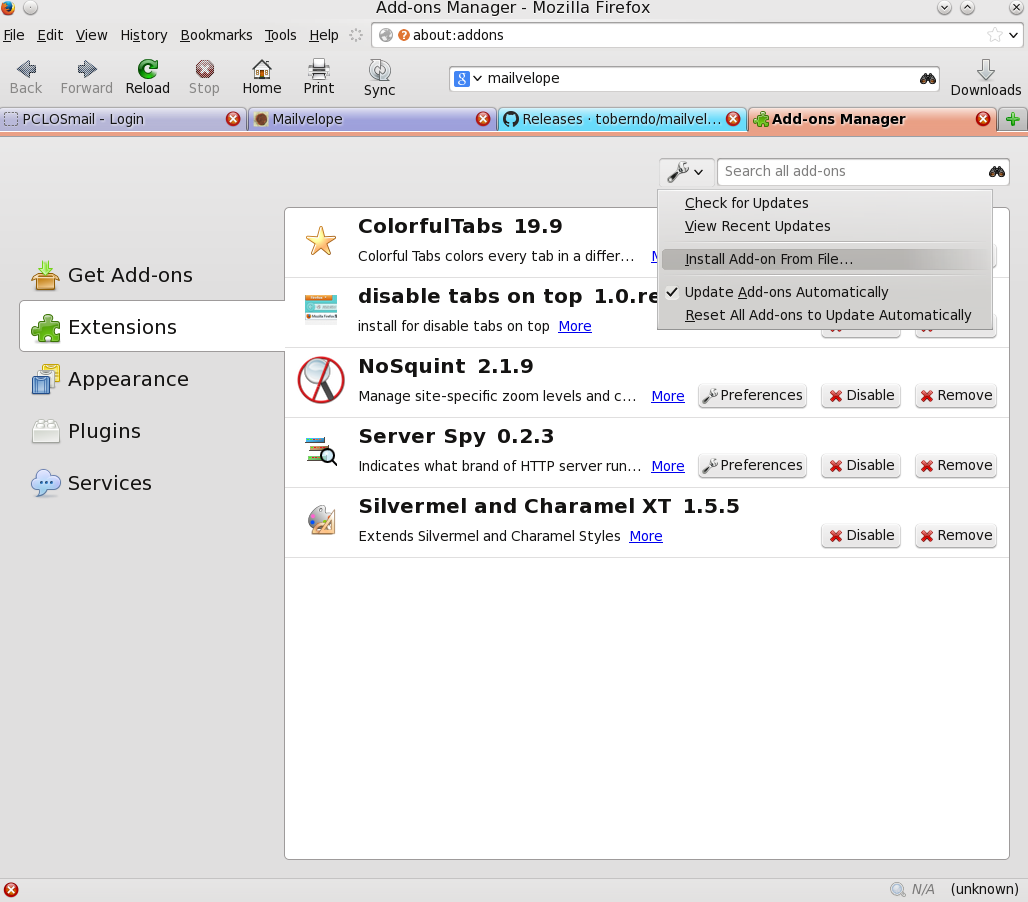 Browse to wherever you downloaded the mailvelope add-on to. Select the mailvelope.firefox.xpi file and then click OPEN. 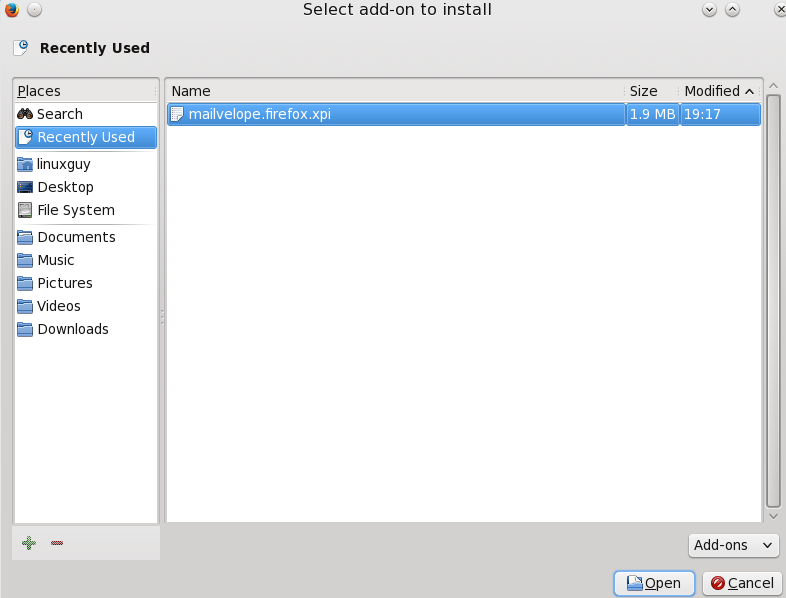 Now we need to install the add-on by clicking Install. 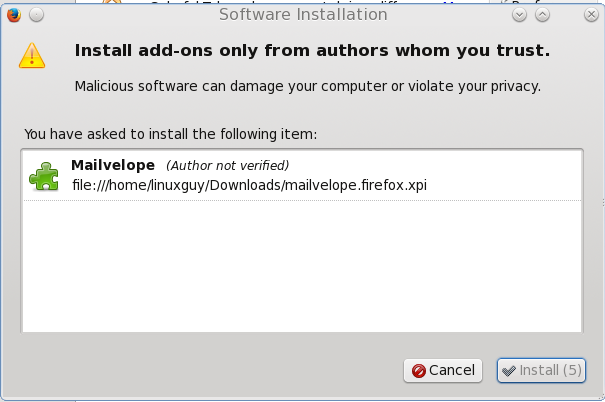 Your Add-on has now been installed. 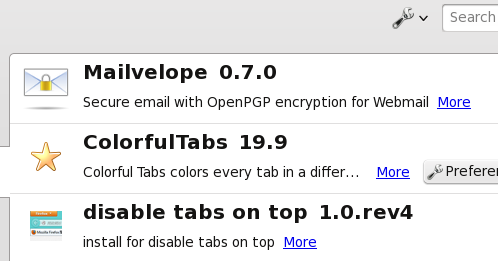 You can now close the Add-on window. NOTE: You DO NOT have to restart Firefox for this extension to work. To use mailvelope we need to create a pair of encryption keys. To do this click on the lock icon at the bottom right of the Firefox screen. Then click on Options  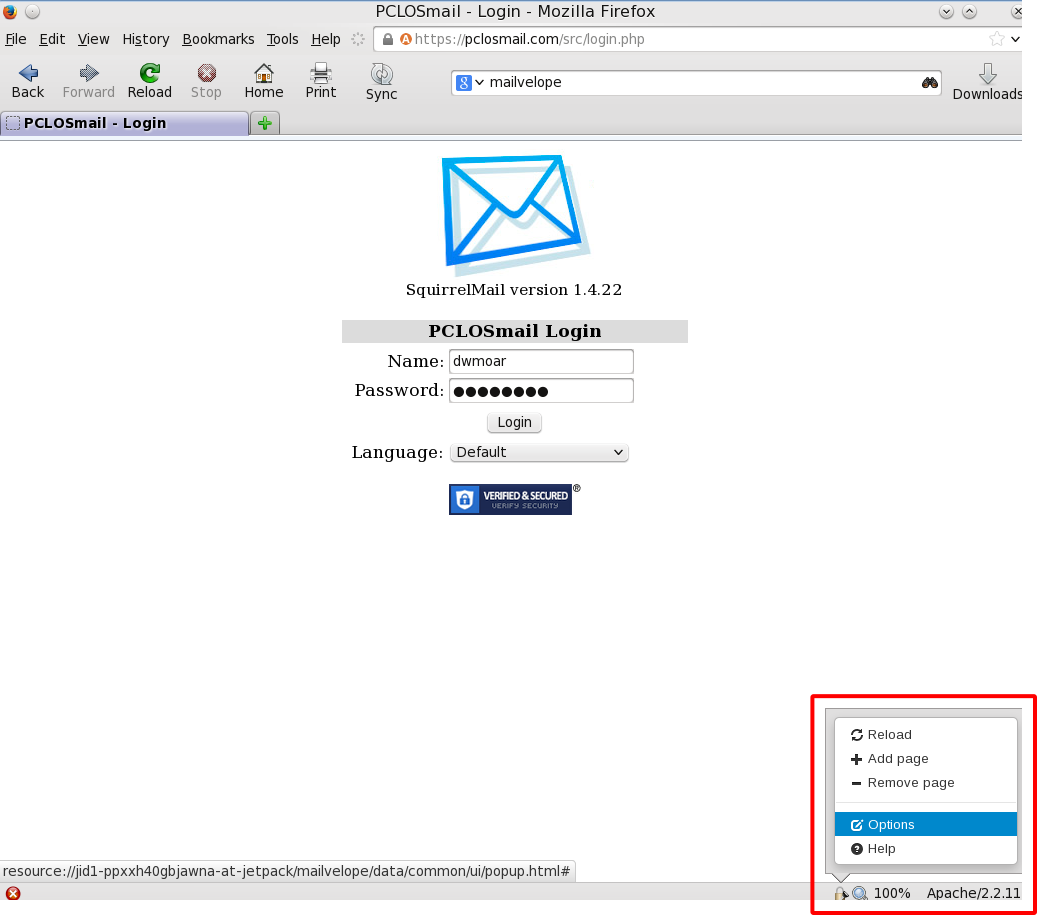 This will open a new tab. Then select "Generate Key" 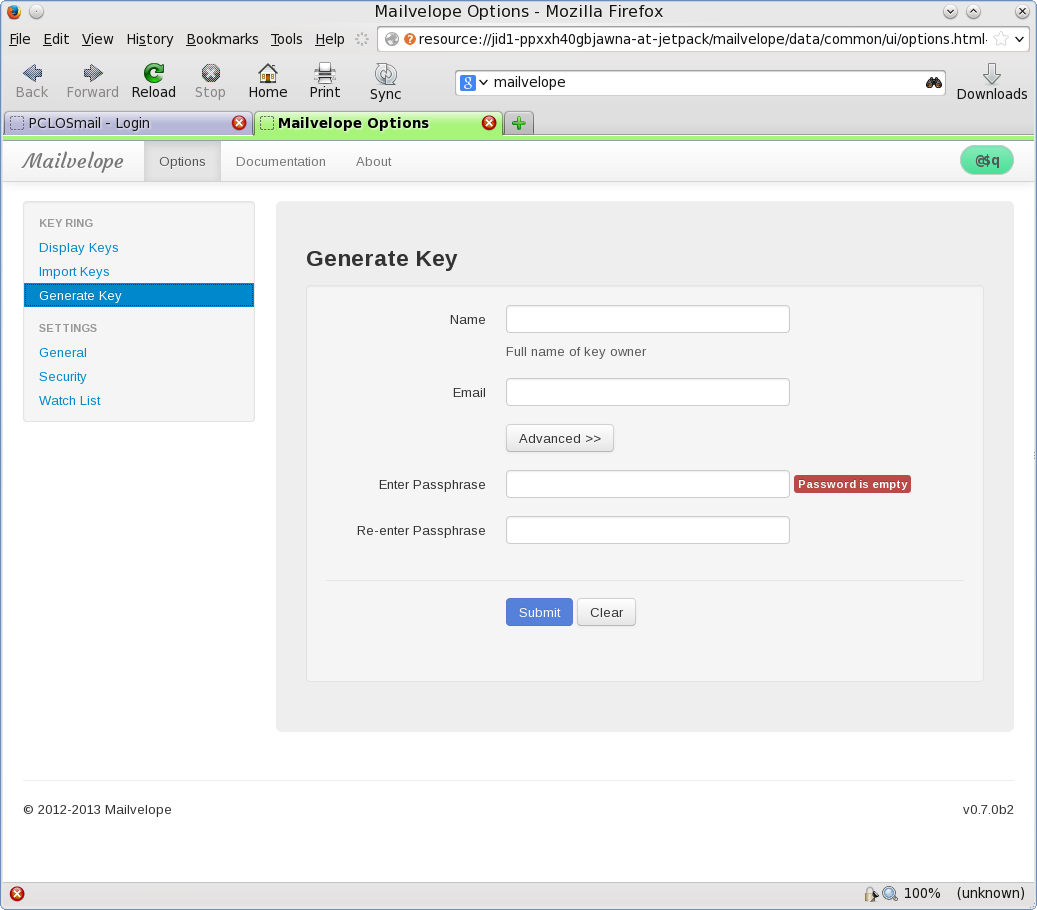 Fill in the blanks with your information. Remember when choosing a password, use one that is not easily guessed and one that you can easily remember. In the screen shot below, I have clicked on the advanced tab. You do not need to make any changes under the advanced tab. 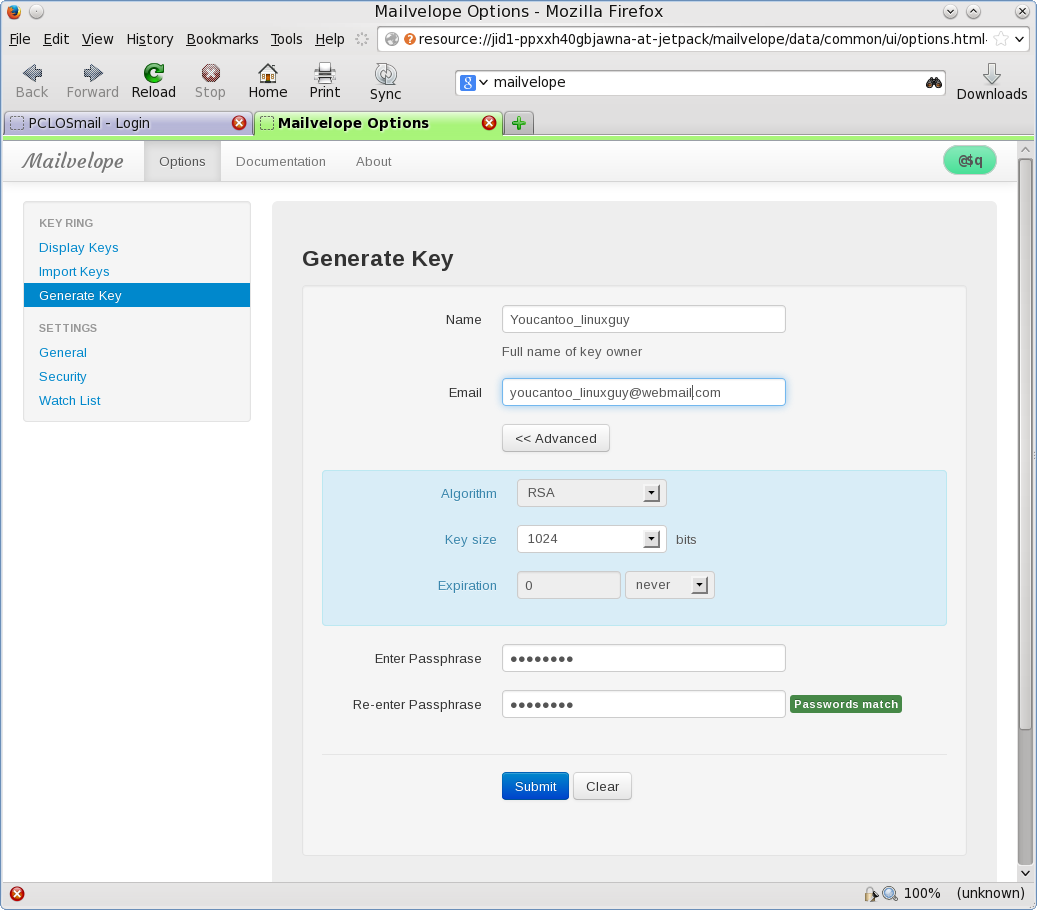 If everything is correct, click on the "Submit" button. Your encryption keys are now being generated. Sit back and relax as this can take a few minutes or longer. 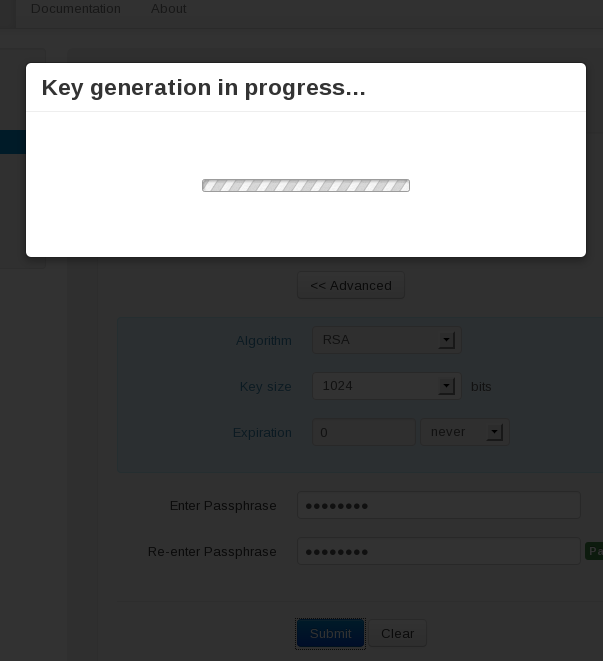 If everything went right, you should now see a Success! message. 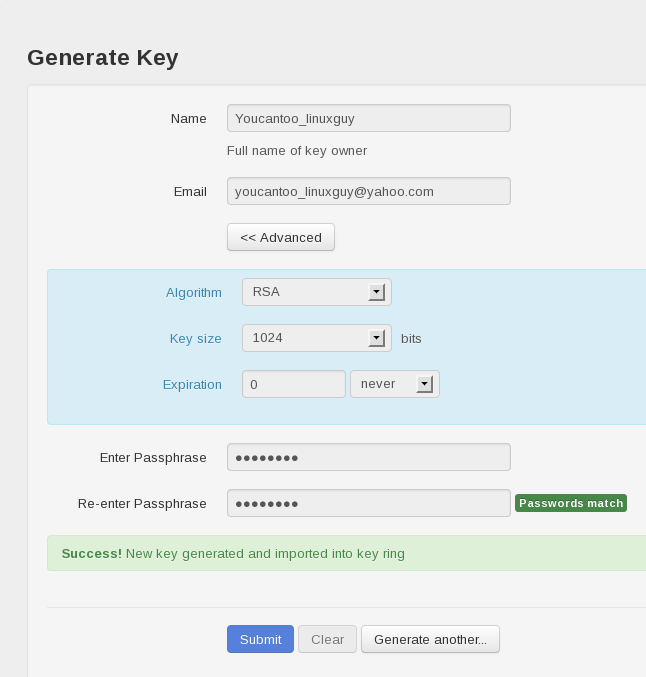 Make sure that you make a backup of your encryption key and put it in a safe spot. Also we need to make a public key. This is the file you give to everyone that you want to send encrypted mail to. To create your public key click on "Display Keys" from the menu on the left hand side of the screen. 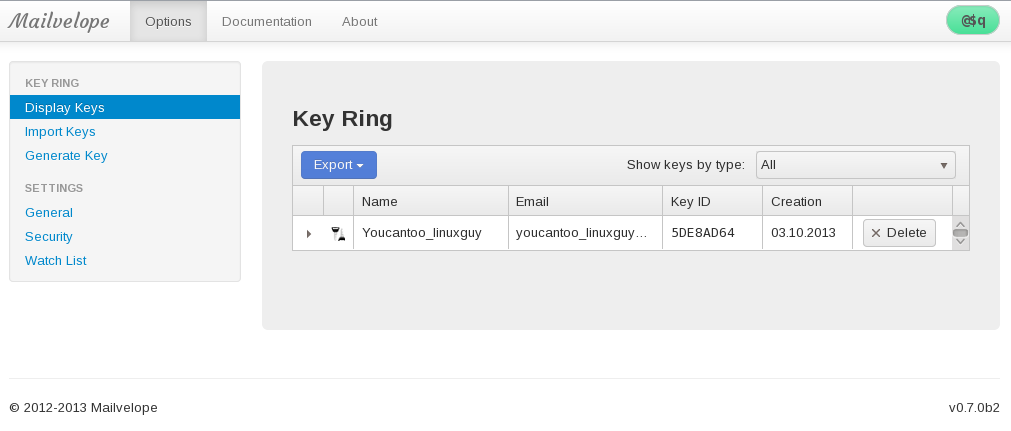 Click on your newly generated encryption to highlight the line and then click on the "Export" button. Then click on "Display public key". 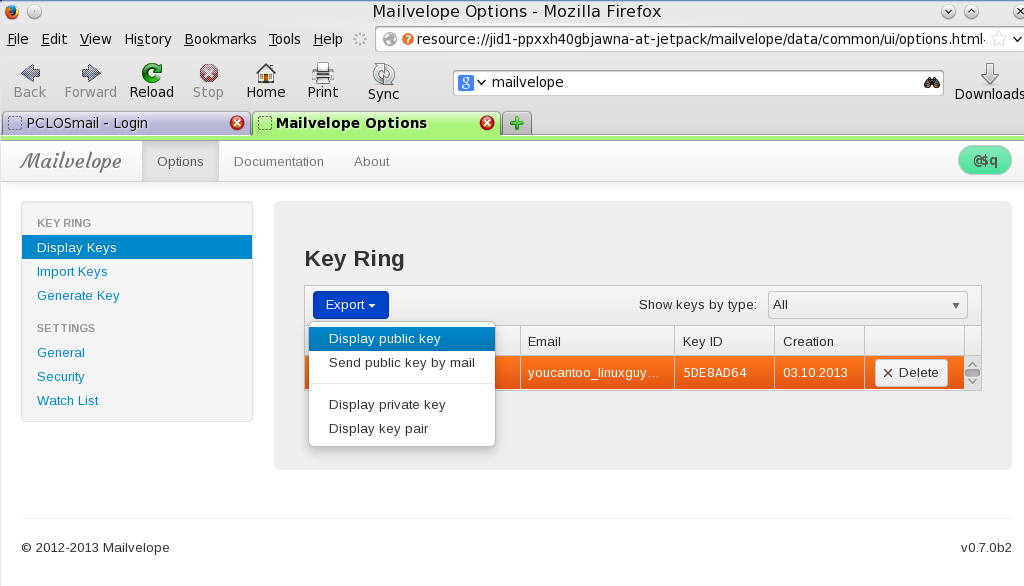 Make sure that you Never NEVER give out your private key. If you do, anyone that has it can read any encrypted mail(s) that you have sent. 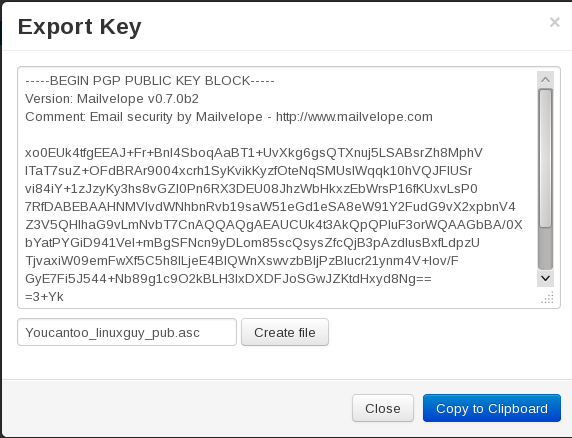 To save your public key as a file, click on the "Create file" button. 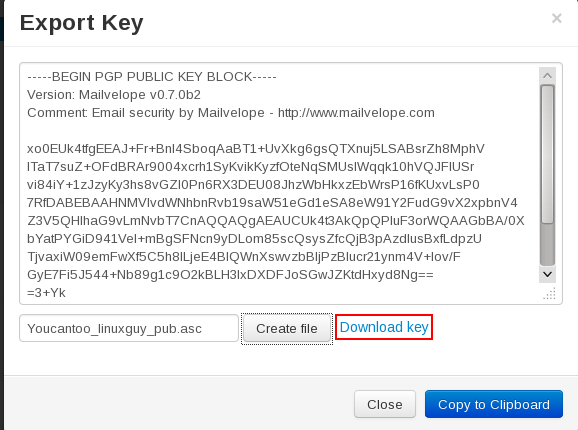 Then click the "Download Key" link. In the window that opens, be sure to check "Save File" and then click "OK". Be sure that you remember where you downloaded your public key, as you will need it later on. One last thing, click on the "General" link in the menu to the left and make sure your Primary Private key is being used. If this is blank or is the wrong key then use the drop down arrow and select the correct "Private key". When you selected the right key then press "SAVE". 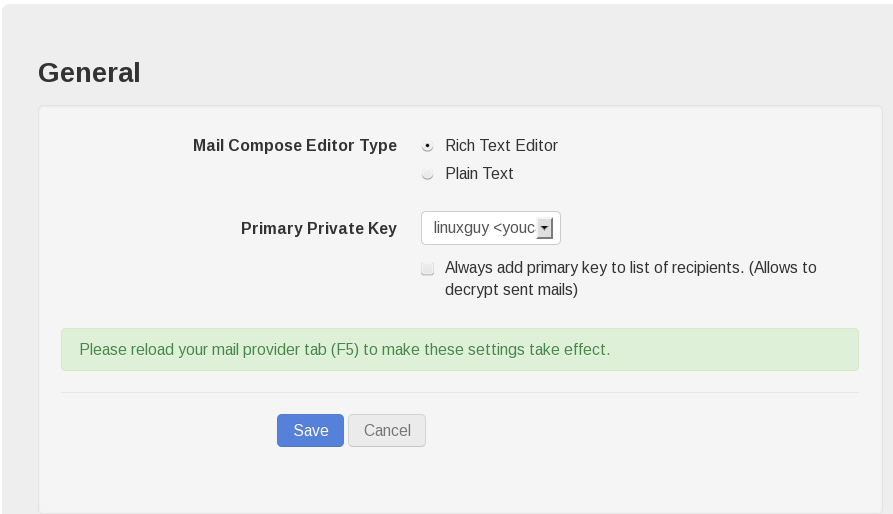 Be sure to refresh (F5 in Firefox) your mail provider's web page. Now we want to test to see if we can write and send an encrypted email. Since I use Yahoo, I will open my web browser to mail.yahoo.com to log into my account. Once logged into your account click on "Compose". Fill out the "To" and "Subject" fields as you normally would. 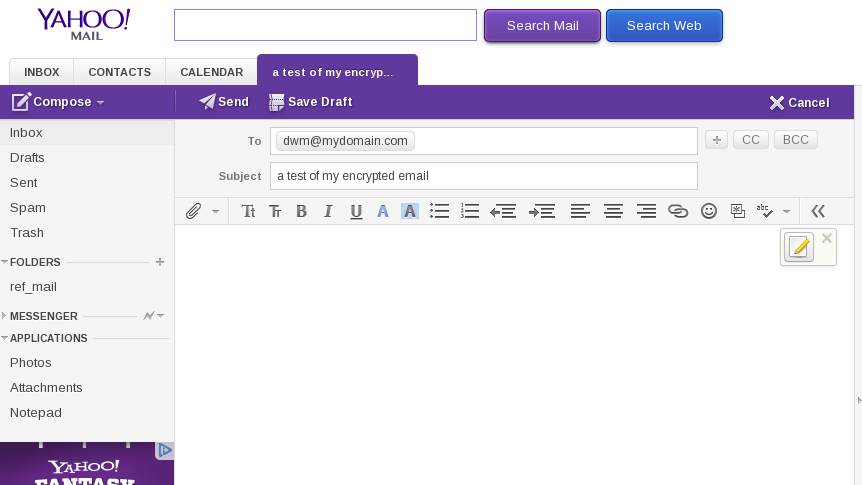 Now click on the little "paper and pencil icon" in the editor window. 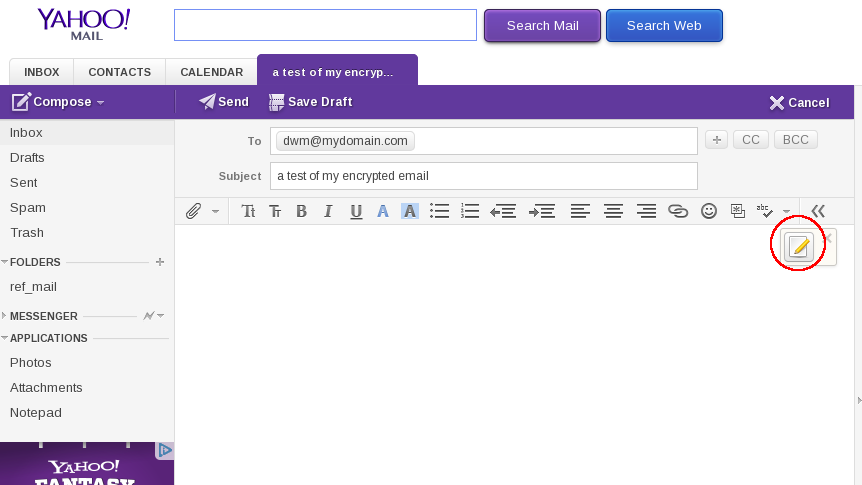 This will open an editor window where we will compose our email to be encrypted. 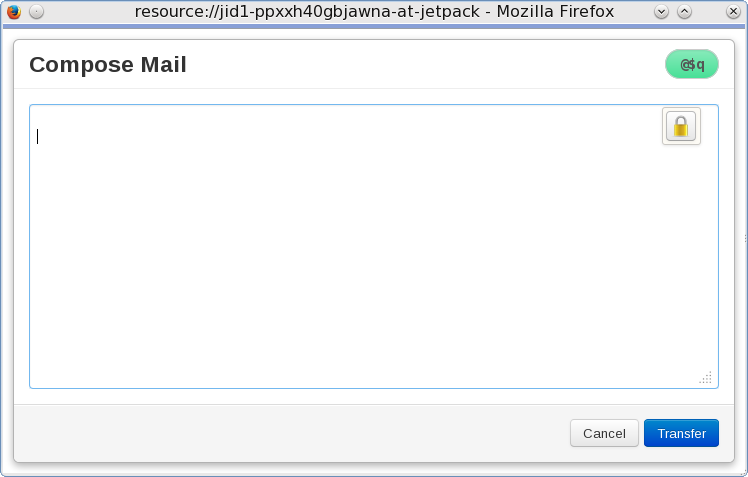 When you have finished composing your email click the little yellow lock in the right corner of the edit window. It will open a small window. 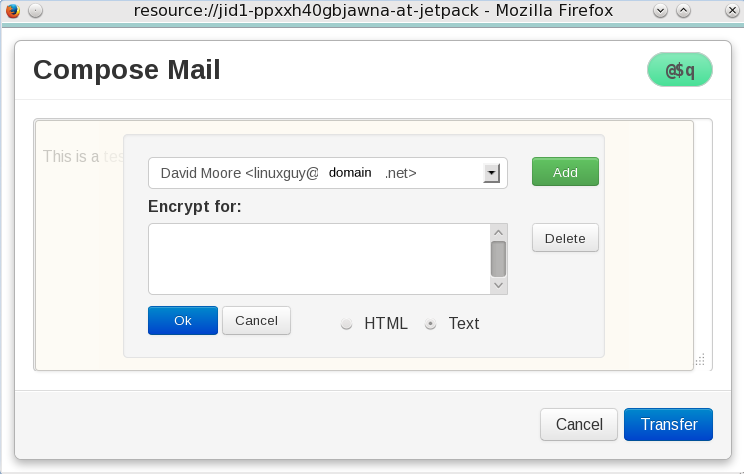 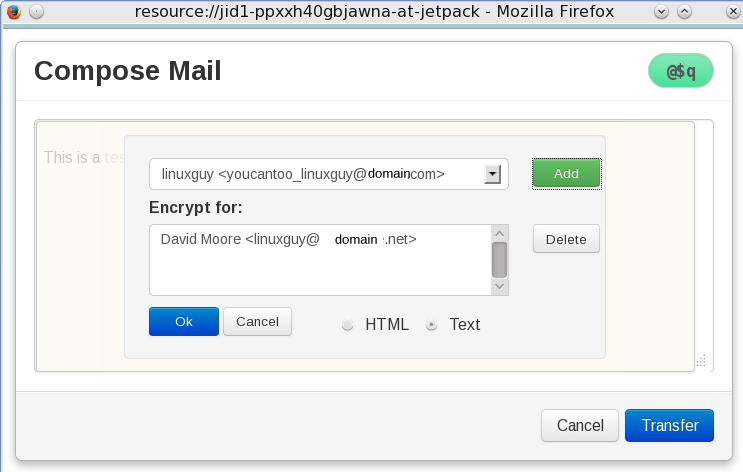 Click "Transfer". This will now display your encrypted email. 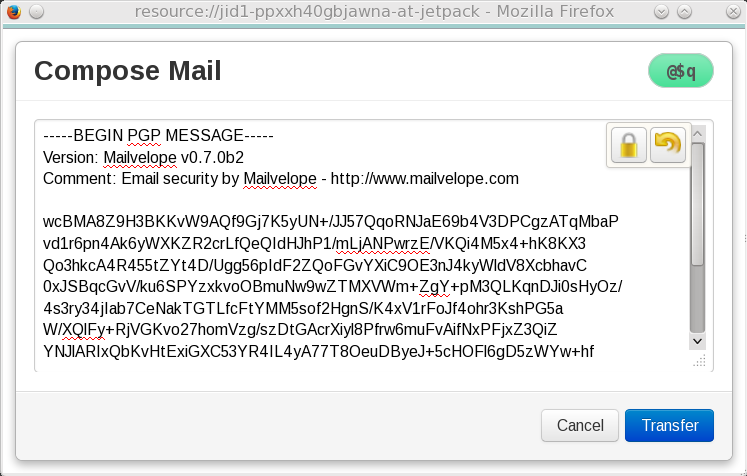 At this point you will be returned back to Yahoo's Compose window and you will see your encrypted message. 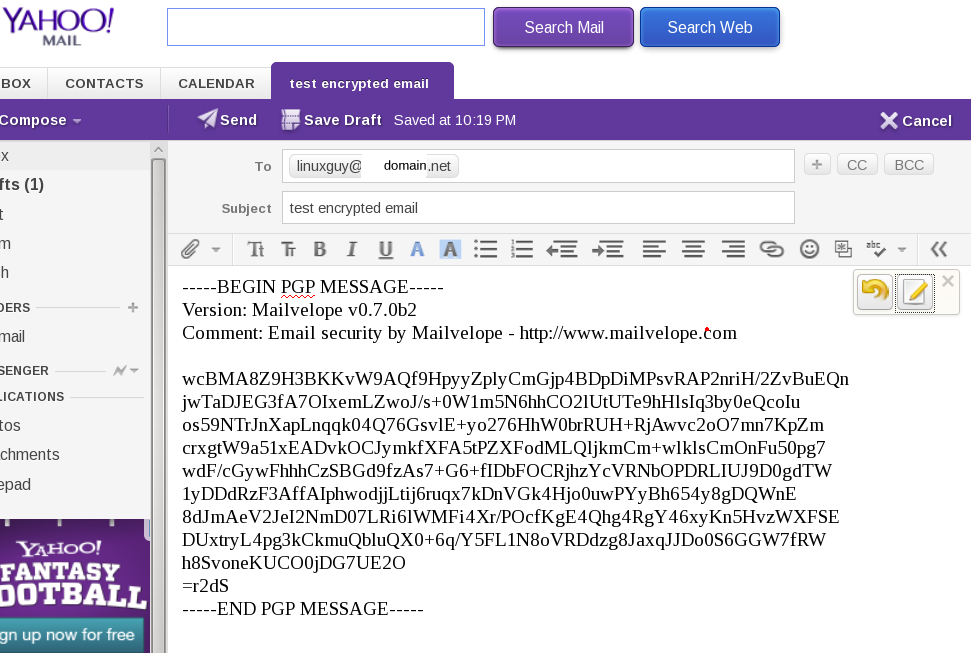 Now click "send" to send your encrypted email. In my example, I sent the email to one of my test email accounts. I first had to import the public key that we saved earlier into my Thunderbird program. I simply double-clicked on the public key file and told it to open with Kpgp and it imported the key automatically. Kpgp is already installed in PCLinuxOS. In Thunderbird, I clicked on the "Get Mail" button and lo and behold - I received an email from my Yahoo account. When I clicked on the new email, I was greeted with a brief flash of the encrypted and then the actual unencrypted email. 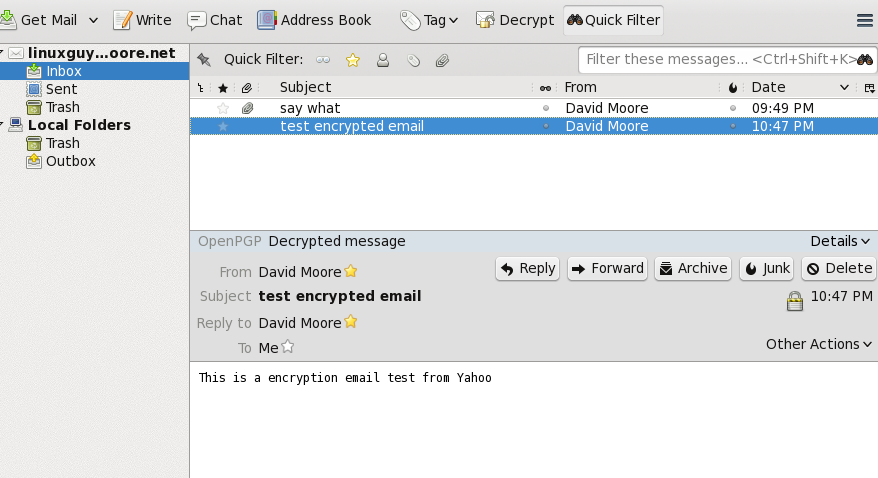 Now I will will try replying to the encrypted email. In this case, I clicked the "Reply" button, filled out my reply and pressed "Send". 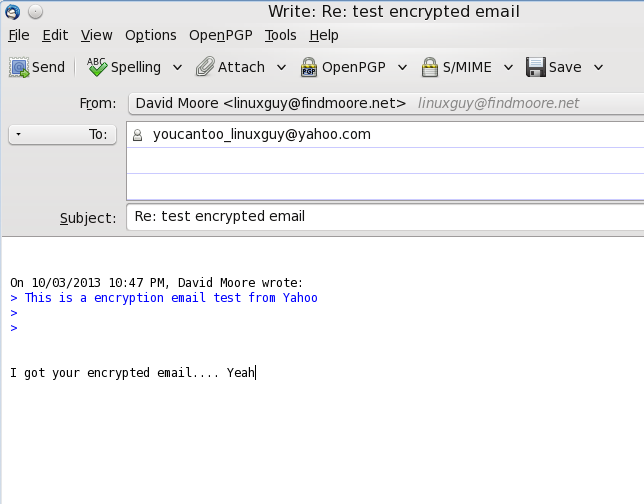 I watched the program encrypt my reply and send it. The whole process happens very quickly. Going back to my Yahoo account, I clicked on the refresh button and low and behold I had an email reply.  Clicking on the message, I was greeted with an encrypted message. 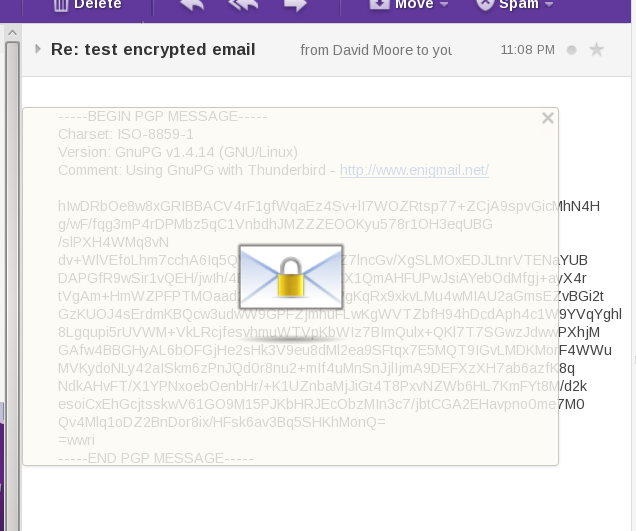 Moving the mouse pointer in the window and you will notice it appears as a "key". CLick anywhere in the window with the "Lock" icon and a "Key Unlock" will will open asking for your password. Enter your password and press "OK". 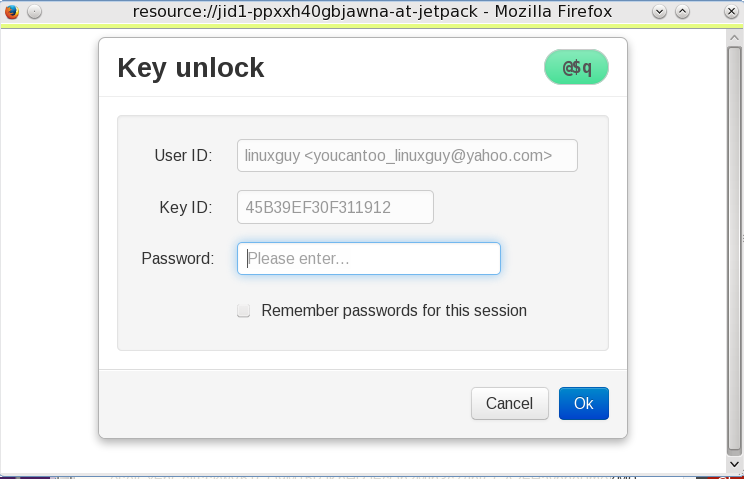 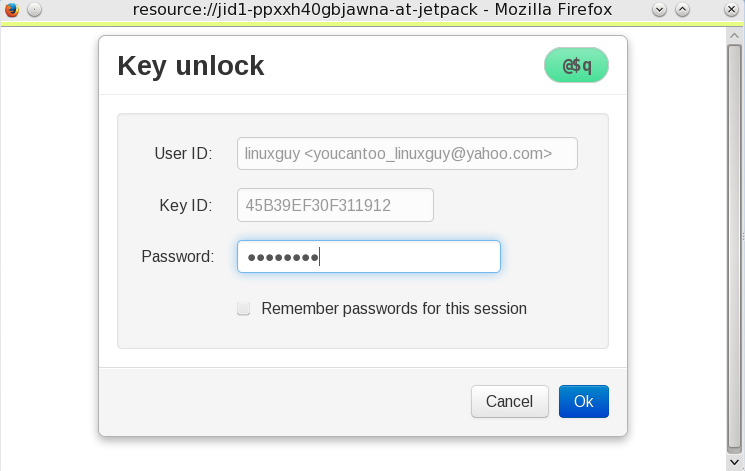 After working for a moment, my message was displayed. 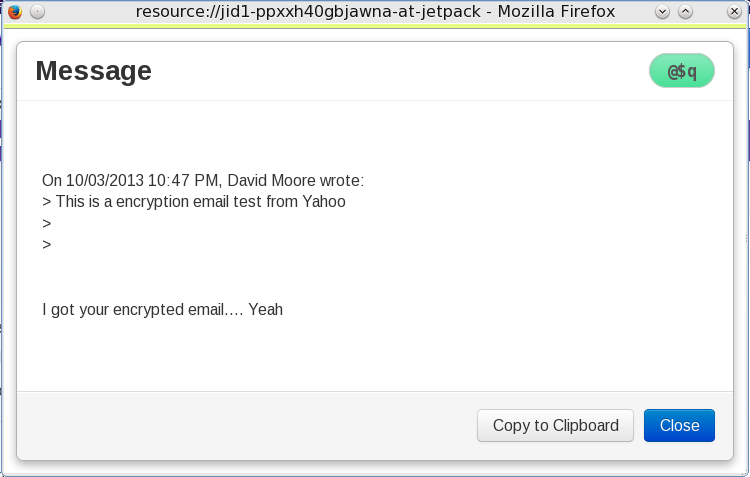 Congratulations, You are now able to send and receive encrypted email from Yahoo!® Mail. |


