| Previous
Page |
PCLinuxOS
Magazine |
PCLinuxOS |
Article List |
Disclaimer |
Next Page |
Encrypting Your Email In Thunderbird
|
 by YouCanToo With "big brother" and others snooping more and more into our personal lives, how can we take back some of our privacy? One way is by encrypting our email and telling others why they should do the same. This article will show you how to setup Thunderbird (Linux, Windows and Mac OS X - 32 or 64 bit) using GnuPG and the enigmail addon. To get things started we need to open Thunderbird. Once open we want to click on tools > add-ons. In the addon search bar we want to search for "enigmail". Select it and then click Install. 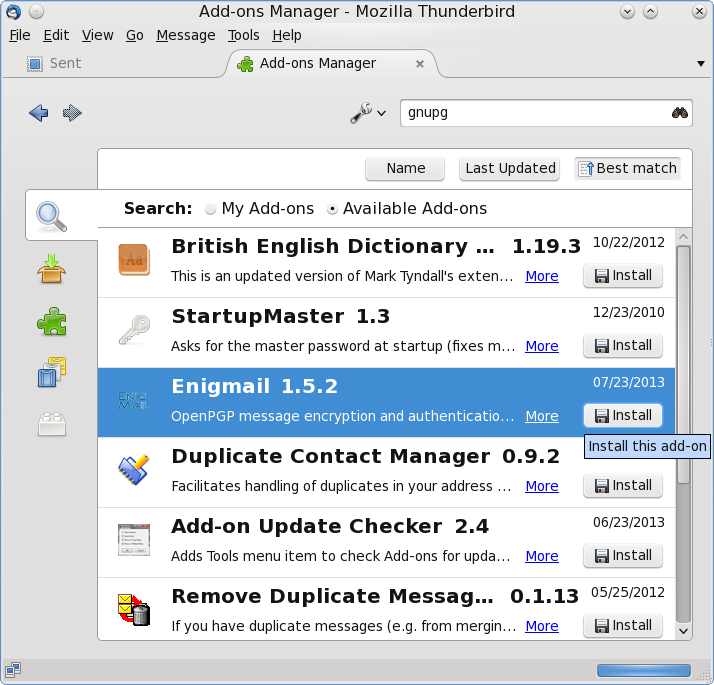 Once this has installed click on "restart now". This will restart Thunderbird with your new Enigmail addon. NOTE: The Enigmail addon only works with Thunderbird, IceDove and Seamonkey. 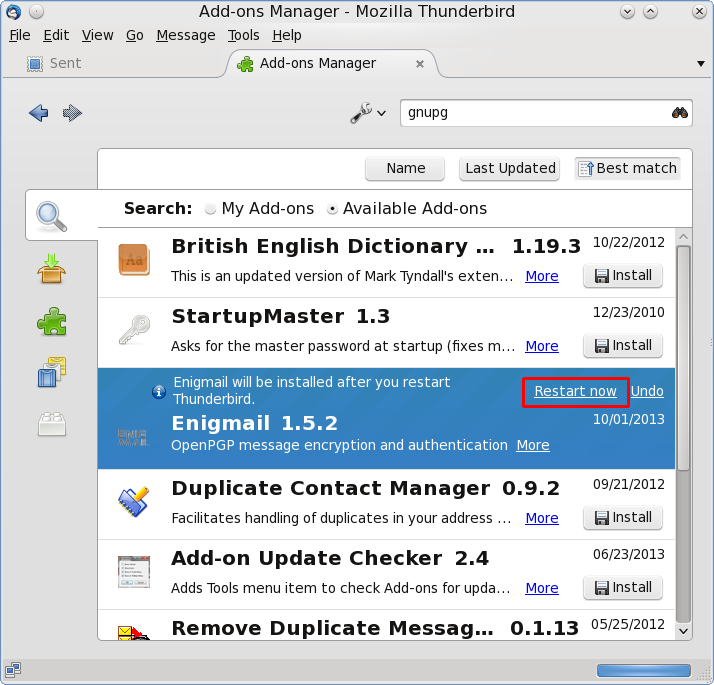 Upon restarting Thunderbird, you should notice a new tab has been added to the top bar called "OpenPGP". Click on "OpenPGP" and then select "Setup Wizard" 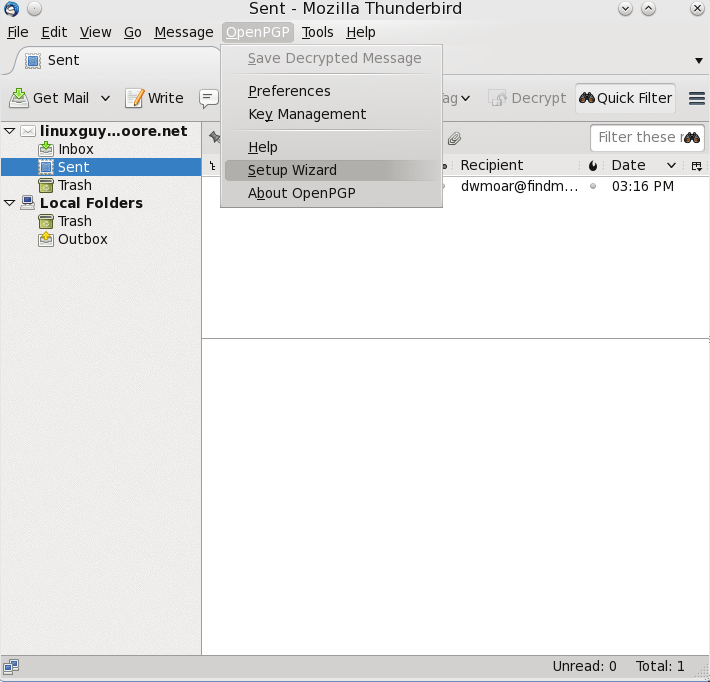 Now we are going to be following most of the prompts. 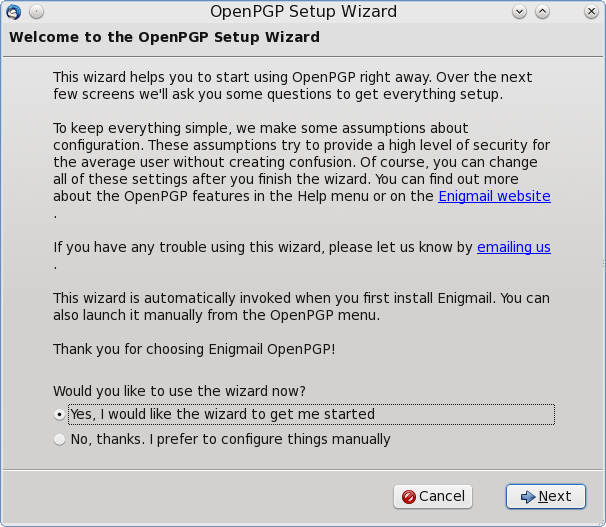 We will be using the default setting here. Click NEXT. 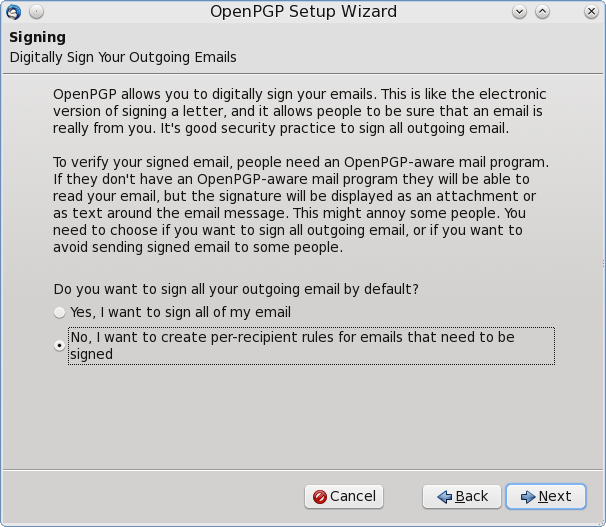 We DO NOT want every email signed, so we want to choose "No". Then click NEXT. On this page we want to allow the setup program to make some needed changes to the Thunderbird preferences, so choose "Yes" I clicked on the "Details" button, be sure that the "Do not compose HTML messages" box is checked. Click "OK'. The detail window will close. Now click NEXT. 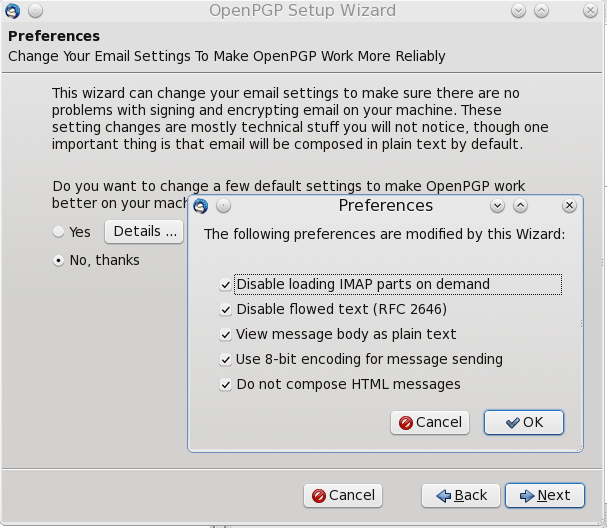 Now we are going to create an OpenPGP key. Make sure the "I want to create a new key pair" line is marked. If you already have a pair of "keys" and would like to use them, then select the second option to import existing keys. When you have made your selection, press NEXT. The first step in creating your key is to set a passphrase. Pick something that you can remember, but can not be easily guessed. When you have entered your passphrase, click NEXT. Now we have a chance to review what we are going to use in the next step. Again, click NEXT. Once the wizard has created your keys, it will popup a window to allow you to generate a revocation certificate. It is suggested that you make this certificate. Click on "Generate Certificate" 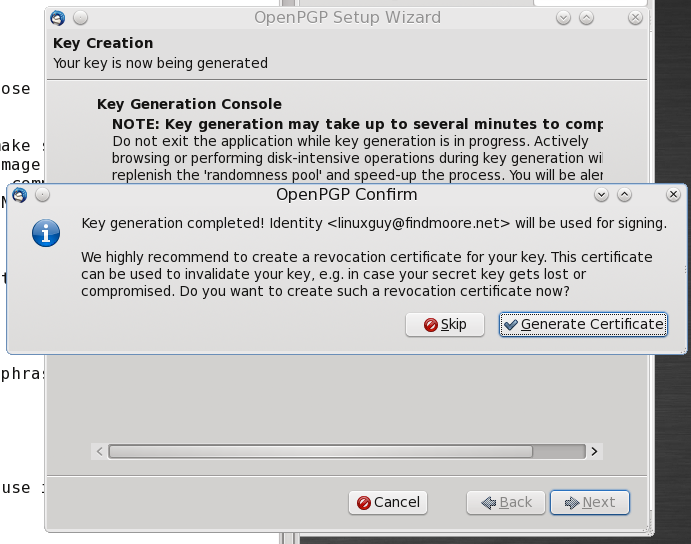 The file manager will open allowing you to select where to save your revocation certificate. When you have selected where to save it, click save. A popup will open asking for the passphrase that you chose earlier. 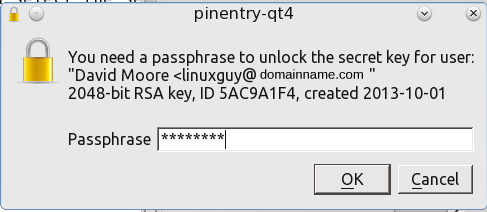 After you have entered your passphrase, click OK. The Wizard will close and you will be left at the Thunderbird window. Now we get to check that everything is working as it should. Click on the "write" tab to create a new email. From the write dialog window, click on the OpenPG tab. Check both the sign and encrypt boxes. 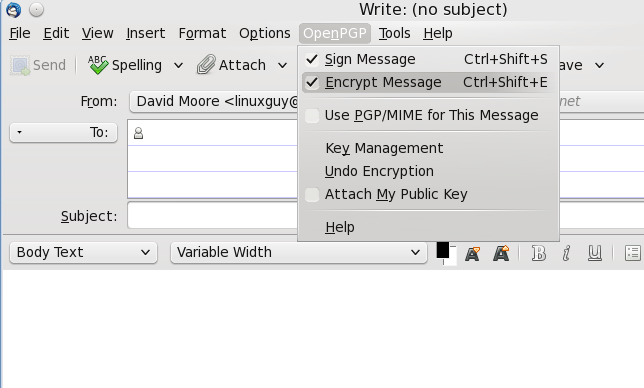 Now go ahead and create your email as normal. 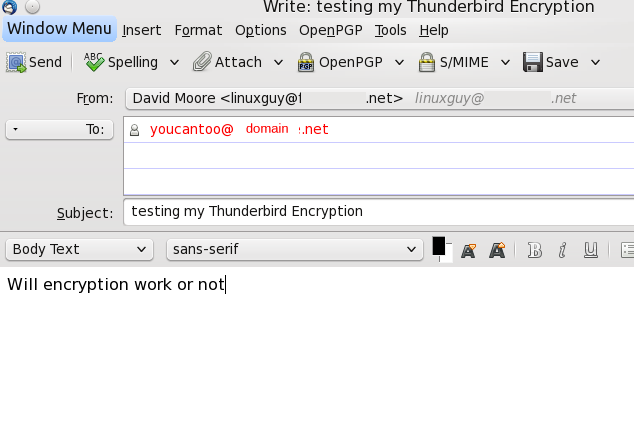 When you have finished creating your email, go ahead and click send. You will then be prompted to choose which certificate you want to use. Be sure to select the certificate and then click OK. 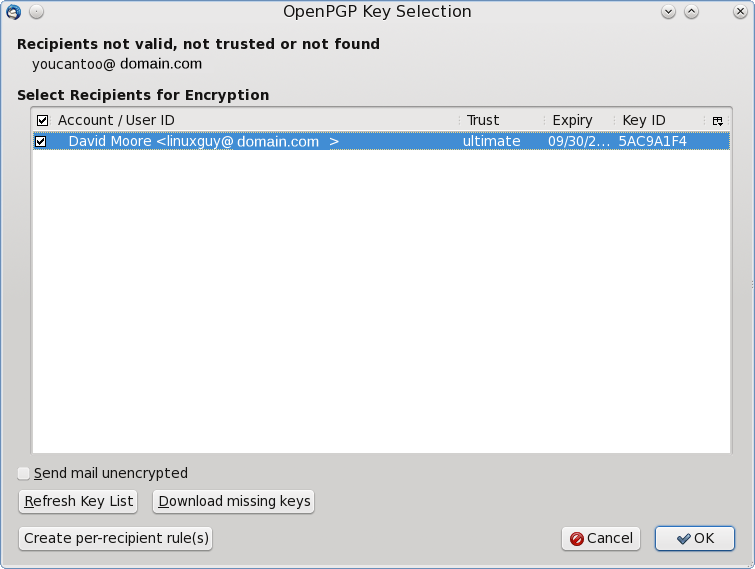 You may be prompted again for your encryption passphrase before sending your email. At this point, you will see your normal text disappear and will then see the encrypted message appear. This part happens very fast! 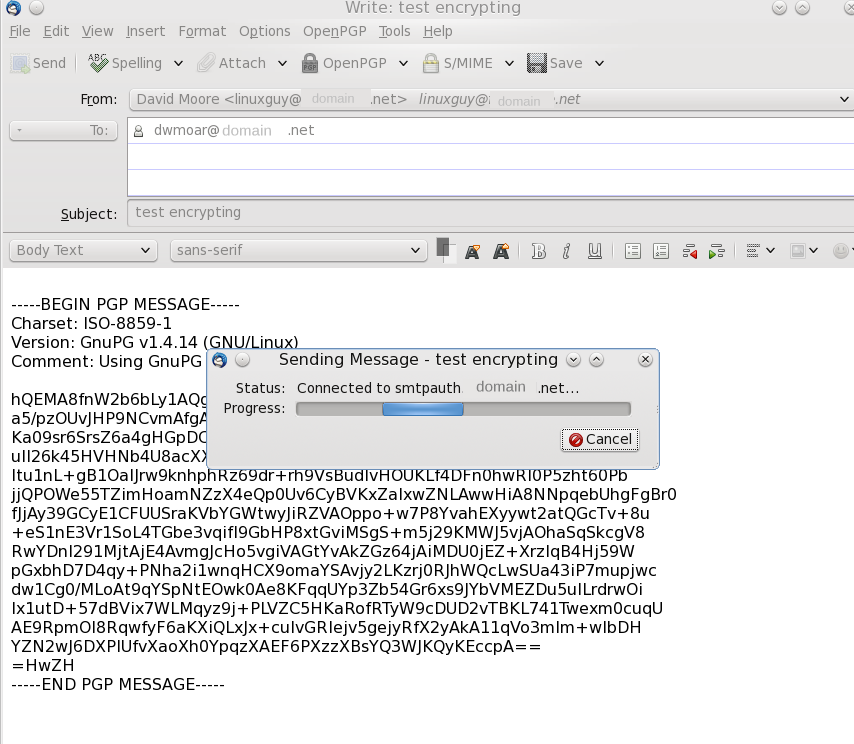 I went and checked the email account that I sent my encrypted message to. Yes, I did receive the message. 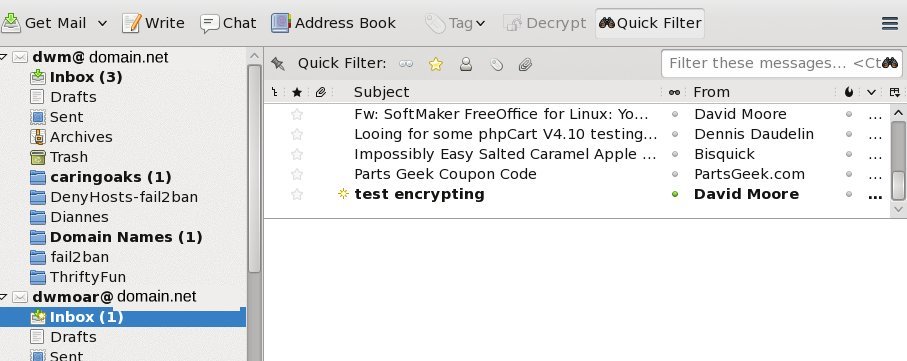 and yes, it had indeed been encrypted. 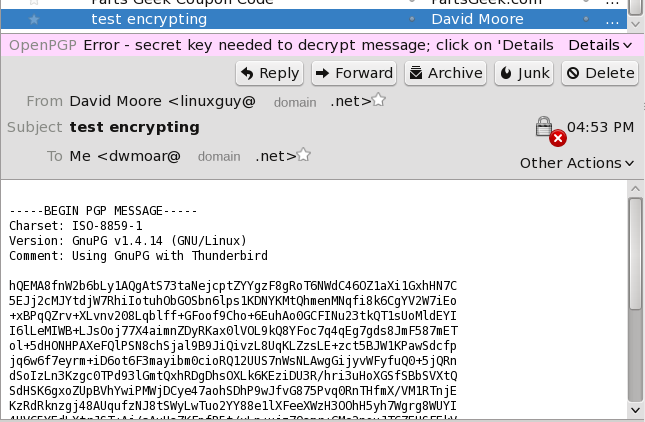 Why is it I can't read it? The reason is above the header of the message "secret key needed to decrypt message". It appears that I did not send my public key. I could send the public key in several different ways.
1. send it along with my email In this case, I'm going to send it along with my email. So back I go back to send another email, but this time I will make sure to attach my public key. Once again I will create a new email. This time when I select the OpenPG tab, I not only select to sign and encrypt my message, I also selected to Attach My Public Key to this email. Clicking send now opens an OpenPGP prompt asking how you want to handle the attachment (your public key). Just choose the default. Then press OK. 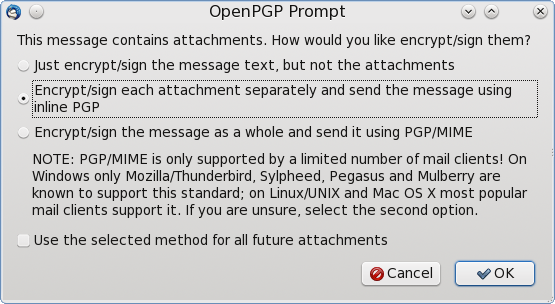 You are then asked for your passphrase. And my email has been sent. Once again I will check my other account to see what I have received. Success..... Thunderbird received and then decrypted the sent email. I have now managed to both send and receive encrypted email. Now your little corner of the world is a bit safer from those with prying eyes, thanks to Thunderbird, GnuPG and the Enigmail addon. You can find more documentation for the Enigmail addon on Enigmail's website. |