| Previous
Page |
PCLinuxOS
Magazine |
PCLinuxOS |
Article List |
Disclaimer |
Next Page |
KDenLive: Part One
|
|
by loudog There are many video editing software choices on the market today, from simple free home movie makers to fully developed professional editors costing hundreds of dollars. Having used the simple ones and paying dearly for a professional version in the past, I have concluded that Kdenlive is in a class of it's own. It has improved dramatically in the four years since I discovered it. The program provides a video editor that's fairly easy to use, all the professional tools necessary for eye-pleasing polished videos, and plenty of effects. Want to fly? Dance with the stars? Kdenlive provides the tools to do just that … in the movies, of course. To top this off, it's open source and absolutely free. Like most open source projects, donations are gladly accepted. 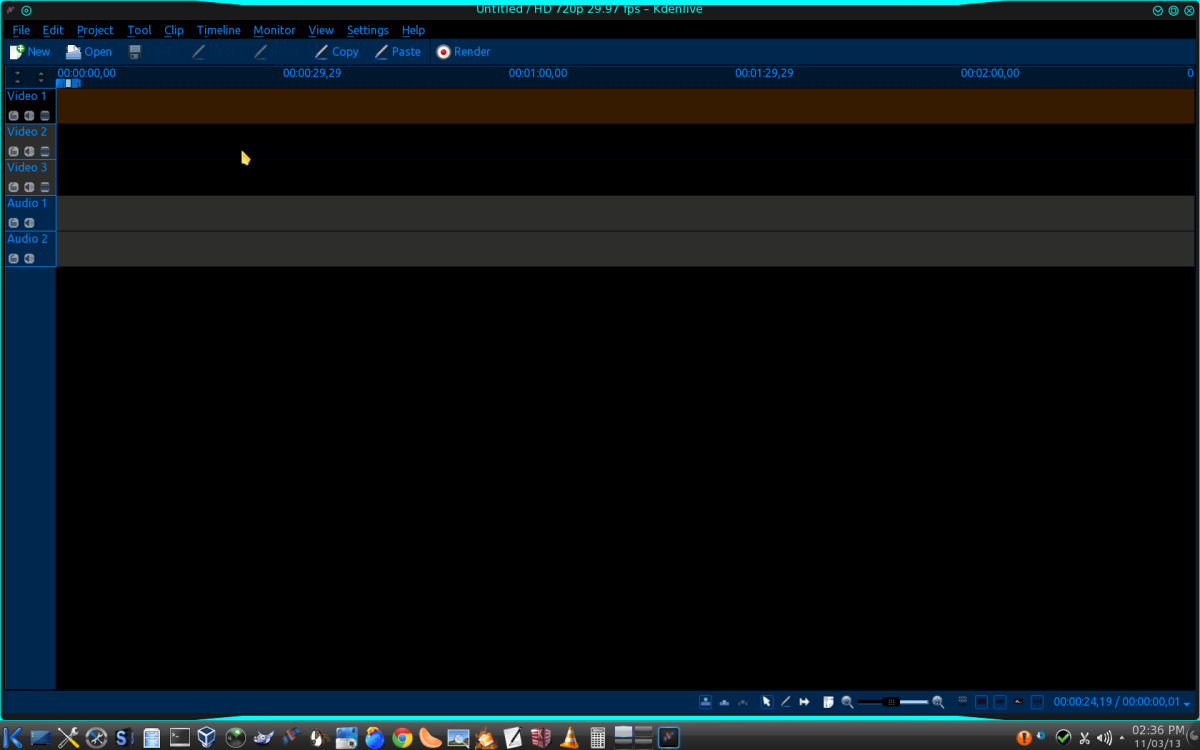 In this first article we will be making a simple video from some short video clips we shot with our camera, phone, tablet etc. So first things first, let's start the program and get acquainted with the GUI. As you can see, it's pretty barren looking and not very intuitive. That's OK, because we all crawled before we could walk. So let's crawl up to the "new" icon in the upper left corner and select that. Tip: Kdenlive has the undo and redo options. The menu that we are presented with is the project's initial parameters. 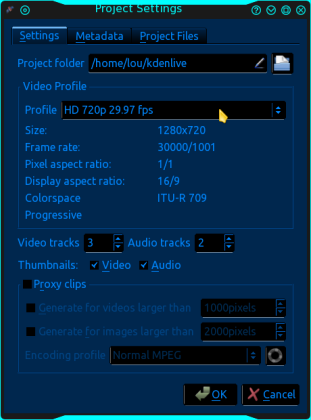 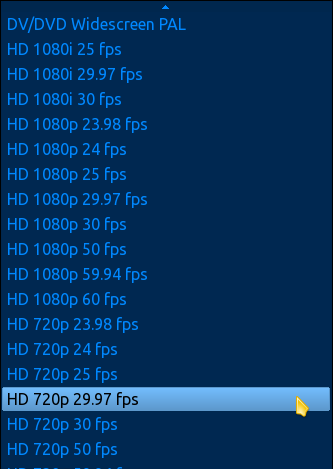 Select the video quality your videos are formatted in from the menu. If you don't know, Kdenlive will select it for you when the first clip is played. I will be using the example in the image (HD 720p 29.97 fps), as this is the set format for my video camera. Notice also that you have audio/video track options. You can add or subtract the amount of tracks you want. We will leave this on the default settings, as that will serve our needs for this particular project. Click ok. Next, we want to select our monitors. To do that, we will go up to the top and click the view tab. From the menu, select clip monitor, project monitor and then project tree. You will see the project tree window on the left, the video monitor in the middle and the timeline window at the bottom. Your version may have them already checked and open by default. 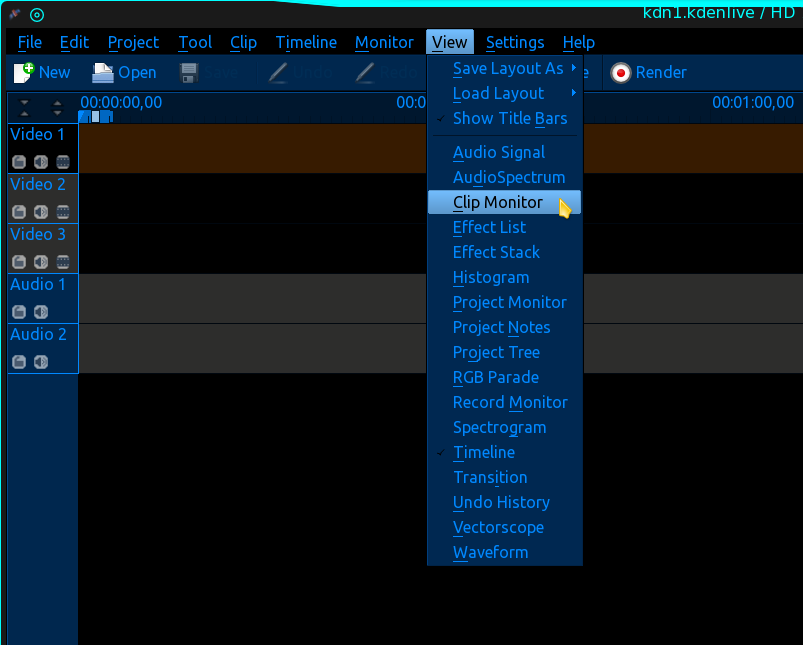 I like to increase the size of my video monitor. You may do what is most comfortable for you. To do this, grab the top of the timeline window and shrink it down until the video monitor almost touches the project tree window. 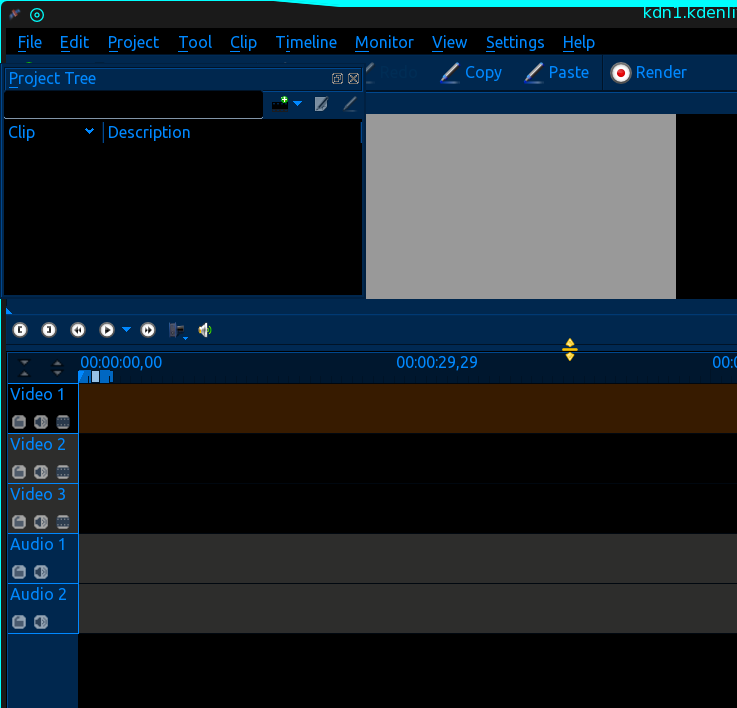 Then, drag the bottom of the project tree window down until it fits properly. 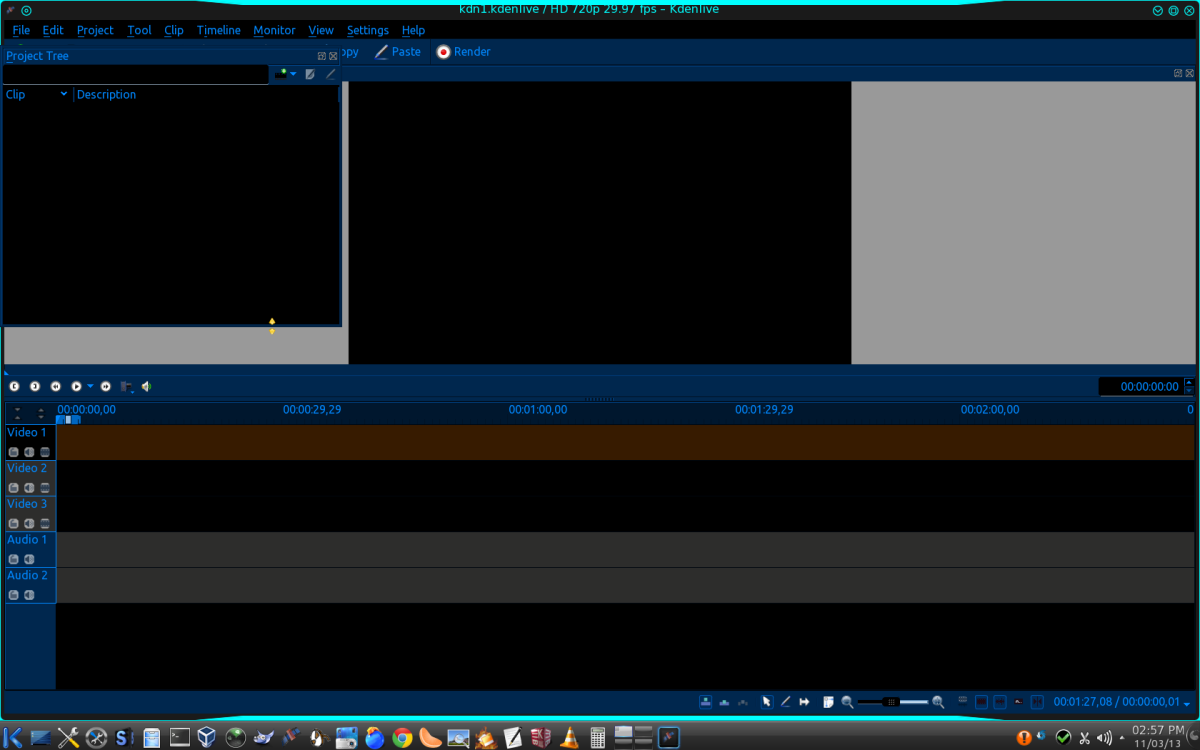 Now we are ready to add some video clips to the project tree. In the project tree window, click the little blue arrow in the upper right corner, and select the add clip option from the menu. 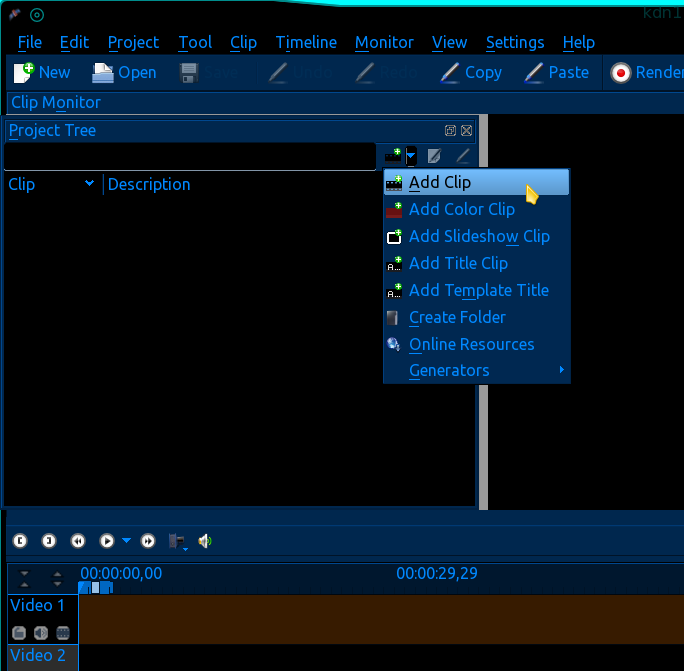 This will open a window that allows you to navigate to your video files. I will be using the "chocolate cream stout" folder, which contains a number of clips that will be used to assemble a video tutorial on the brewing of a chocolate cream stout beer. You can open your folder with the files you want to use and select/open them individually or, as in my case, I know all the clips in the folder will be used so I highlight them all and click open. 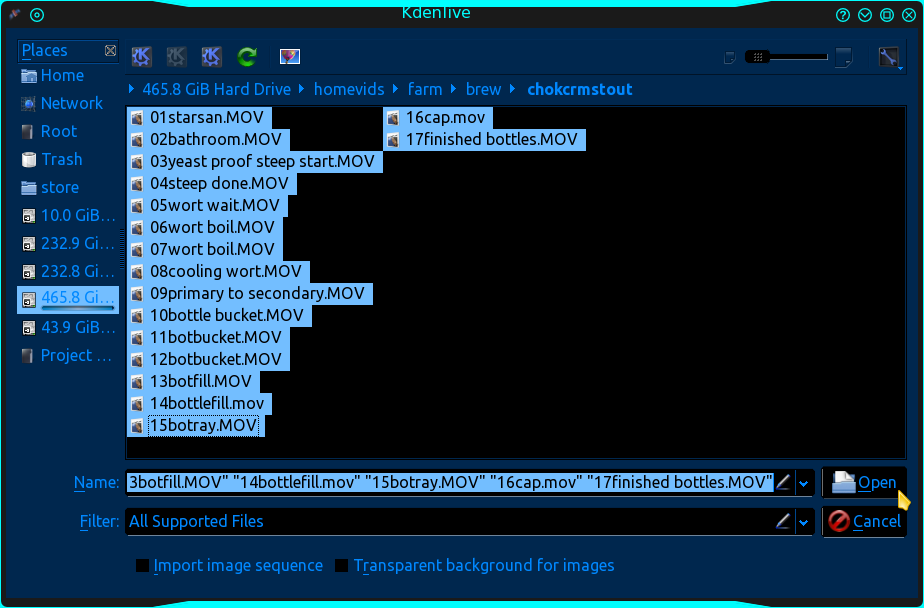 It may take a minute or two for them to be imported into the project tree. And voila, there they are in the tree with one already queued into the clip monitor. 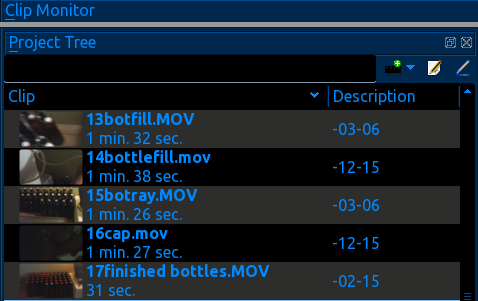 Now is a good time to save the project (called a document) with an appropriate name. Unfortunately, Kdenlive does not auto save your progress, so occasionally hitting the save icon is a good idea. I learned this the hard way. However, remember that once the save button is hit, you cannot undo from that point on (I learned this the hard way, too). Go ahead and click the play button to watch the particular clip in que. Cue a different clip on the project tree by clicking on it. If you are having a difficult time choosing the proper clip by name, you can watch it in the viewer, then right click on it in the tree and rename it for easier reference. Before we get started on actually putting the video together, I have found that an introduction looks nice. I prefer to use .png files. You can use almost any picture format you want, but it's important that the size is as large or larger than our anticipated output pixel size. Output size is chosen during the rendering process at the end. I will choose 720p at the end, so the standard for that format is 1080x720 pixels. An image size of 1024 x 768 will work alright, but if you can enlarge it slightly, then crop it into a 16:9 aspect ratio (1080x720), it would be better, as there will be no noticeable squishing and/or stretching of the image in the final render. Gimp is an exceptional image manipulating program that can do this, but for a quick, no nonsense resize and/or crop edit, Gwenview is my personal choice. Go to the project tree, add clip button and add your image. If you don't have one, you can skip this part. I have selected a recent wallpaper I created in Gimp, since it was handy, and I still enjoy its straightforward lighthearted message. 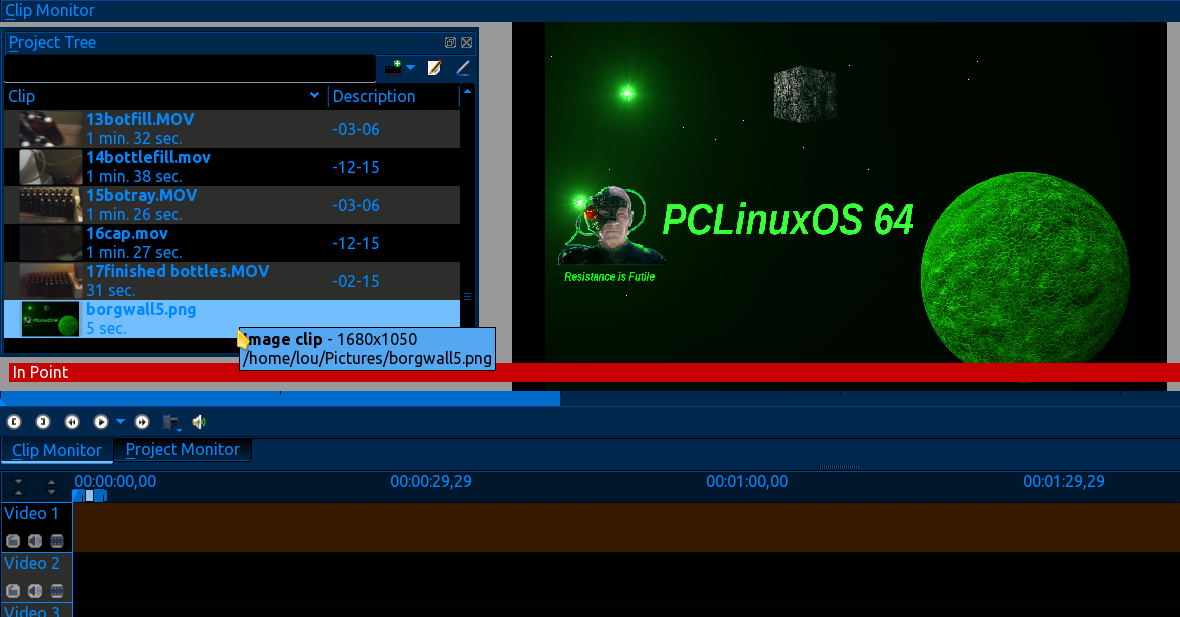 Place your mouse on the image file in the project tree and drag and drop the file into the first video track. This lower area is called the timeline. 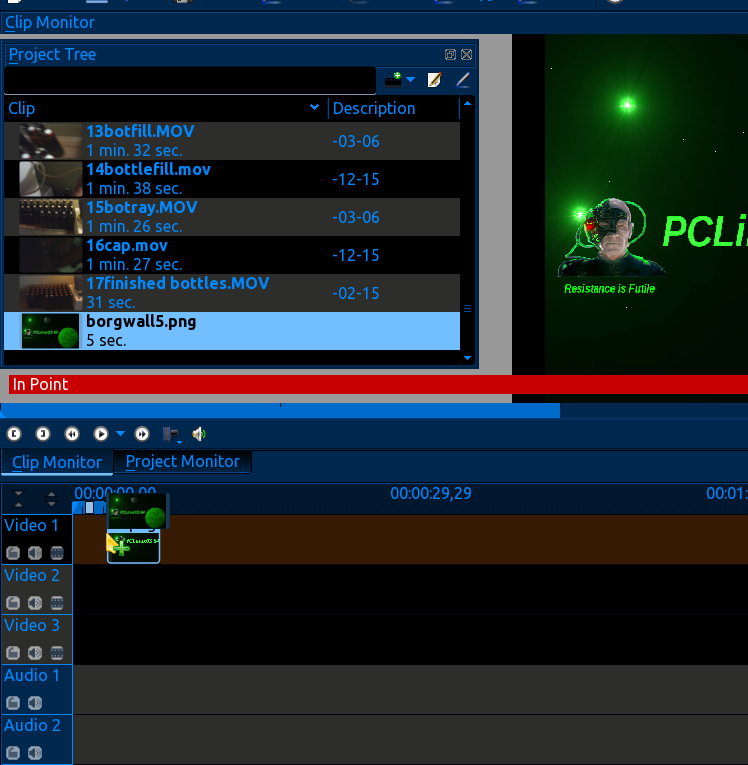 Make sure you have it moved all the way to the beginning of the track, you will see the snap to timeline movement when it is set. You may have noticed that when you placed the file there, the monitor tab changed to project view (the tabs below the project tree window). Go ahead and play the image, I believe the default is 5 seconds. Rewind the player. You will also notice a long line that hangs down from an arrow, that moves across the timeline while the video plays. This is called the timeline marker. You can move this marker at any time with the mouse by dragging the red triangle back and forth. If you select another clip in the project tree, the monitor will revert back to clip monitor. No intro is complete without sound, so we are going to import an audio file from the open source fair use library. All of the files in the library are free to use in your projects, Kdenlive or otherwise. It just so happens Kdenlive has the library embedded into the program. (Just gotta love open source!) At the top of the window, click the project tab, then the online resources option. 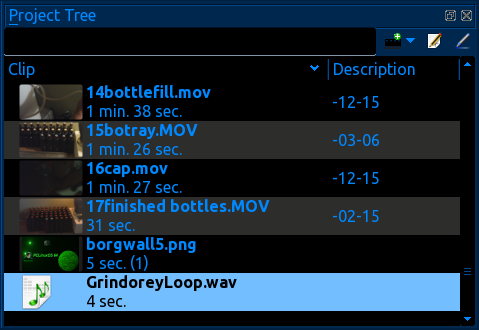 This will open a window that lets you choose from three different main categories, then you can do a search for a particular style/genre. When your search results are displayed you can choose a file and preview it before downloading it to the project. I have done a search for heavy metal, and, after previewing a few, settled on a rather shrieking guitar grunge. 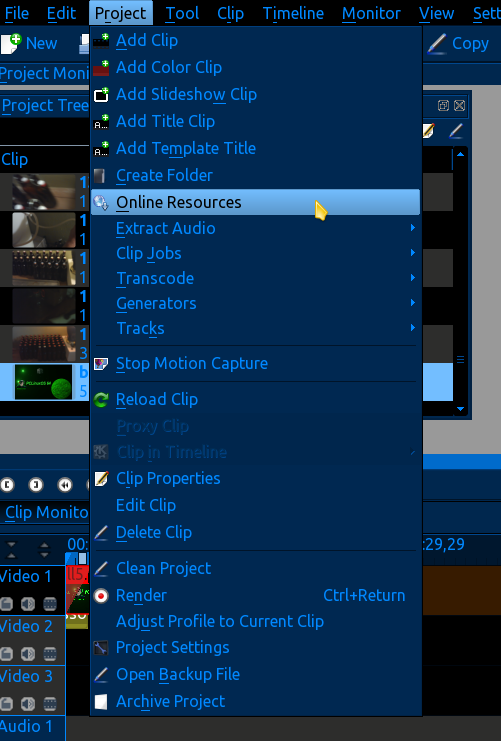 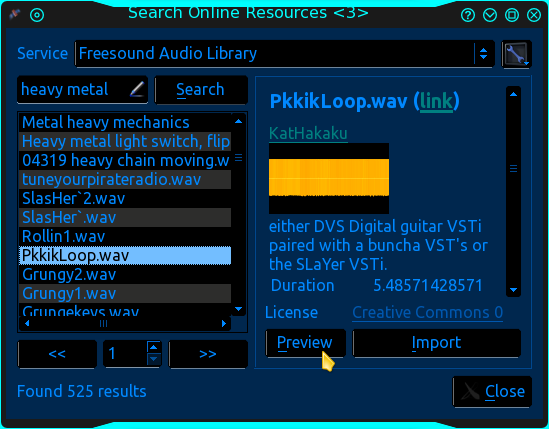 When the sound clip is imported, it is automatically loaded into the project tree. Now drag and drop this sound file into the first audio track timeline, (fourth track down), making sure its at the beginning of the track. Go ahead and play this in the monitor. 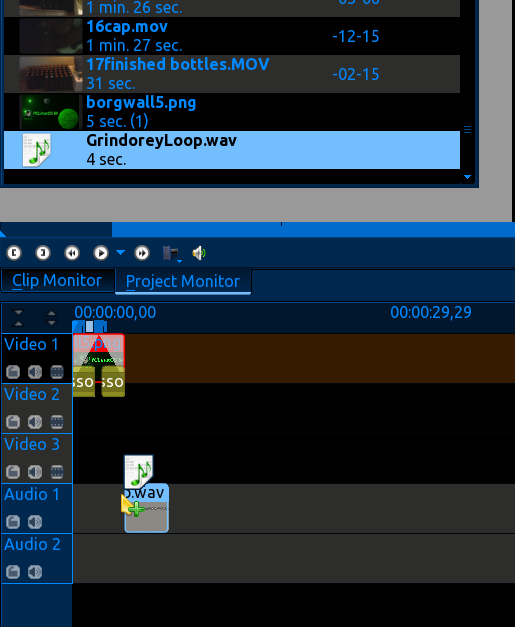 Now let's add some effects so as to polish it up a little. Place your mouse at either the beginning bottom corner or the end bottom corner of the little video intro clip in the timeline. You will see a small green triangle blinking. Right click this and from the menu select add effect, fade, fade from black if at the beginning or fade to black if at the end. 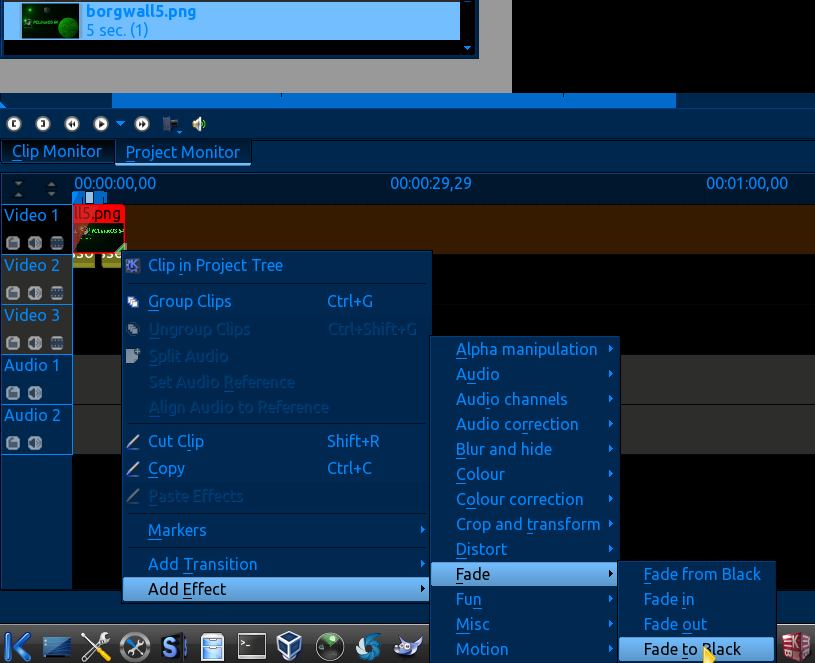 The image shows my selecting the tail end of the clip, so fade to black is the proper choice. You will now see some new things on the clip, such as a yellow bar hanging down on the ends, and a triangle in the upper corners after the effects are added. Now do the same thing with the sound clip, except choose fade in for the beginning and fade out for the end. Play the intro. Not too bad, eh? If you are satisfied with the intro, a quick save would be in order at this point. Next we will add the first video clip from the project tree. Drag and drop your clip into the second video track on the timeline. Align the beginning of this clip with the end of the intro clip, looking for the telltale snap to timeline movement. Staggering the clips between two video tracks makes them easier to work with when you have more editing work to do on them. 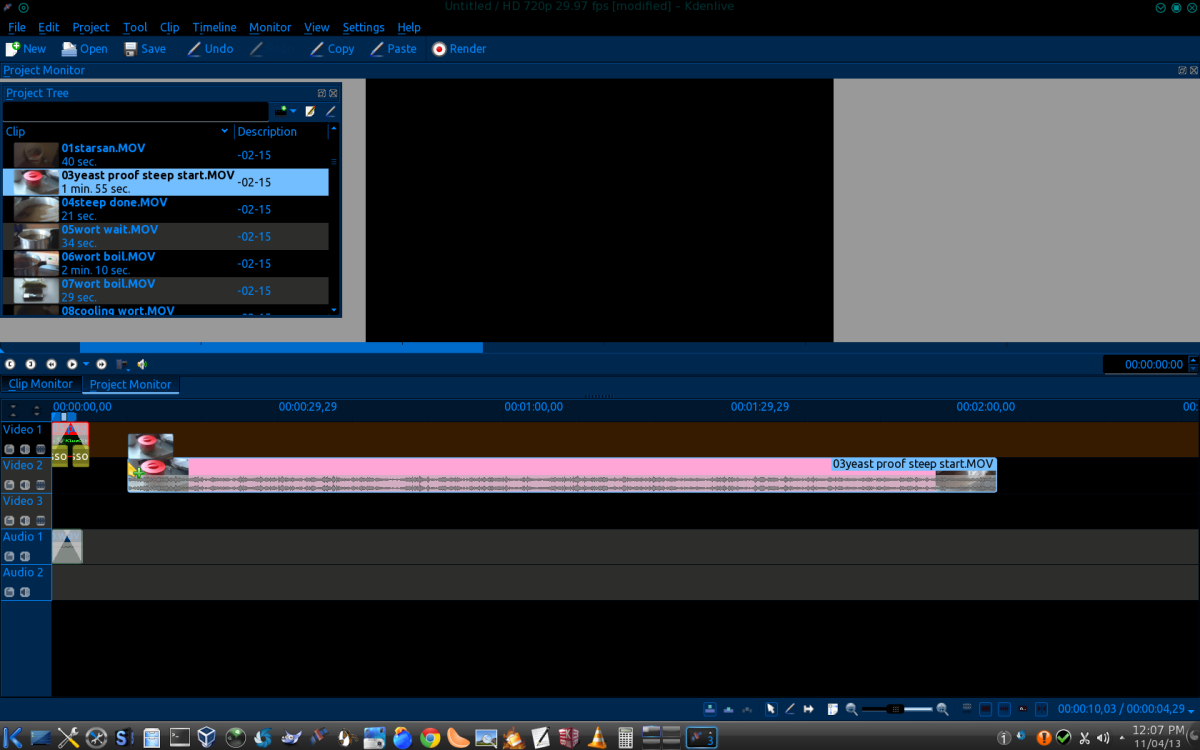 As you can see in the image, I am dragging the clip over to match up with the end of the intro clip. You may have also noticed this clip is much longer in the timeline than the intro. Add your standard fade from black and fade to black effects to the ends of the clip. For the next clip, just drag and drop it on the first video track timeline. Align the clips and add the effects. Continue the same way, alternating the clips from video track one and video track two, adding your effects as you go. When the tracks move out of the viewable timeline, and they often do, go to the bottom of the screen and adjust the magnifier. Play with this a little and you will understand; it will show individual images from the video on a frame by frame basis. This is how professionals get the cuts perfect. 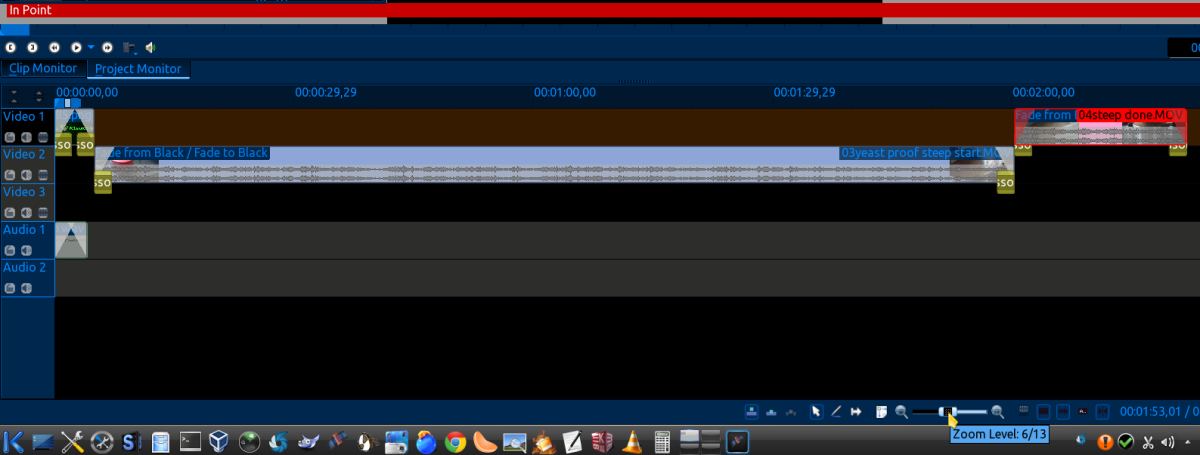 I prefer to add an exit to the end also. Tip: Since I have some experience with this I have the intro clip we created at the beginning in a separate video file already rendered and ready to use. I just add it to the beginning and end of the current project I am working on without having to do all the effects, etc; again. Now that you have all the clips you want in the project, and the tracks are ready for rendering to a single file, let's get Kdenlive ready to utilize your hardware potential. Rendering video is very processor intensive and very, very time consuming, so we want to do a couple of changes from the default setup. Click on the settings tab at the top of the window. From the menu, choose Configure Kdenlive > Environment. 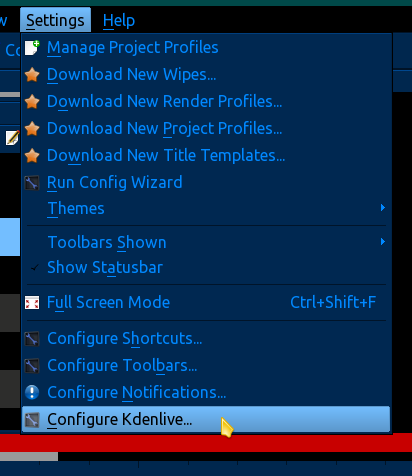 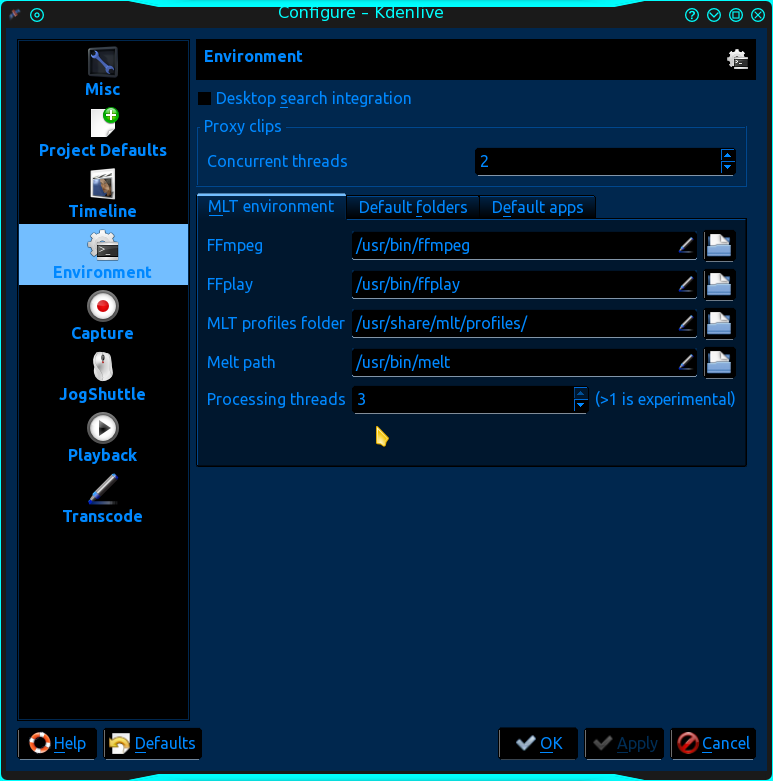 In the processing threads option, choose two for a dual core, and three for a quad core or more. If you are doing this on a single core processor leave it at the default setting. This is still in the experimental stage, so be aware. I have had no issues with it set at 3 for my quad core and getting a 35% reduction in rendering time completion. Close out the window and select the render button at the top. 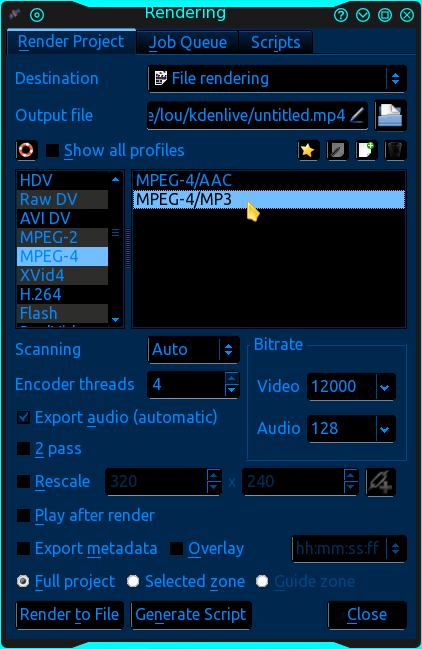 This will open the rendering options. Name your file in the output box. Otherwise, it will show as untitled in the destination folder. You will see that I made this mistake (again) in the rendering progress image. Choose the output format you want. I will choose MPEG4 because almost any digital device around will play it. Choose the amount of threads you want to use. I have had no problems with one thread per processor, but your hardware may support more. Audio and video bitrates are fine at default, although if you imported higher quality clips, let the settings reflect that. Now a word about two pass encoding. If you plan on showing your completed video on a large 1080p flat screen and chose to render it to 1080p, the two pass encoding is the best choice. Two pass encoding takes twice as long, but is stunning in detail. If you are going to watch them on your computer monitor, single pass is fine. Regardless, I always use 2 pass because the improved file quality is worth the wait. Select render to file, grab a refreshing beverage, and wait. 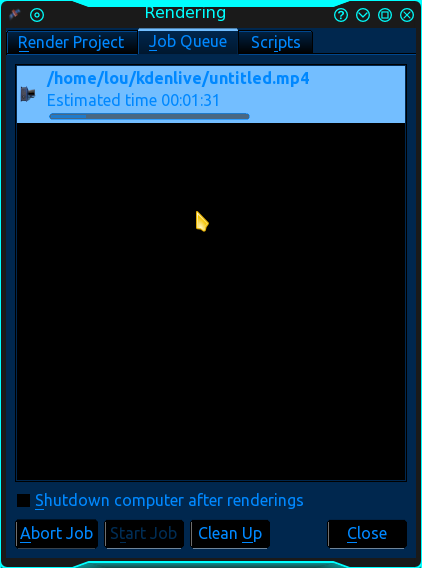 Congratulations friends! You can now go through all those video clips you have and compile them into full videos. I believe it's time to head to the cellar and enjoy a homemade beverage of my own. Next month, we'll take a look at the second article about Kdenlive. Part two will be about working with single clips and more movie magic with effects and transitions. |


