| Previous
Page |
PCLinuxOS
Magazine |
PCLinuxOS |
Article List |
Disclaimer |
Next Page |
Make Your Own Custom Photo Calendar |
|
by YouCanToo As 2013 was coming to a close, PCLinuxOS community member izto posted his desire to be able to print a photo calendar, but he wasn't familiar with how to do so. After searching for a calendar making program, I came to the conclusion that they all had some drawbacks. Some of the ones I found on the web took longer to watch the instruction on how to create them than it did for me to make my own. Photo-cal was a nice stand alone program, but was seriously out of date. It only made calendars to 2013. Then there is Digikam, which would work for most anyone. But, to add things like holidays, it sent you on a wild goose chase to another website, which had no download link! So, what is a person to do, if they just want something simple with no big thrills? Create your own using LibreOffice Draw! I set off to work to see what it took to create a simple, usable calendar. First, I had to decide just what I wanted my calendar to look like. I chose a simple picture over the calendar on a single sheet of 8½ x 11 inch paper. Now that I had chosen my layout, I decided that I needed a table of seven columns and seven rows. Next I had to decide on how many different templates of this I would need to make to account for the different starting days of the months. I quickly opened in a terminal and typed in cal 2014 and started counting them. 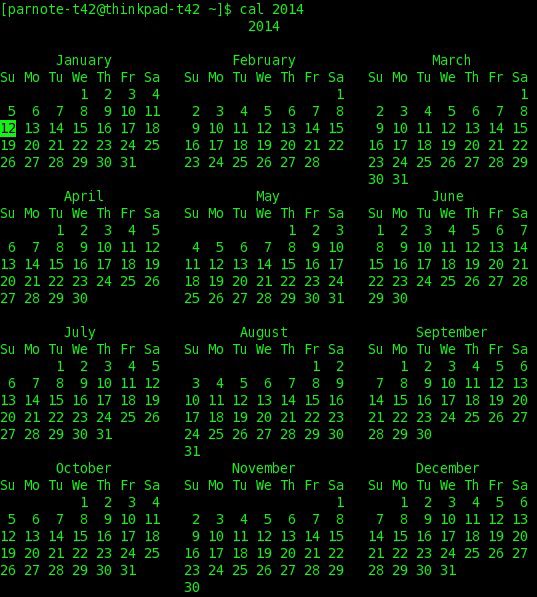 I started by writing every day of the week and marking which months started on which days. This is what I found out.
Sun - June I would need seven different templates to make a full year's calendar. I opened LibreOffice Draw and got to work creating my template. I created a simple template with the basic layout of a table with seven rows and seven columns and then saved it for the seven different layouts I would need. 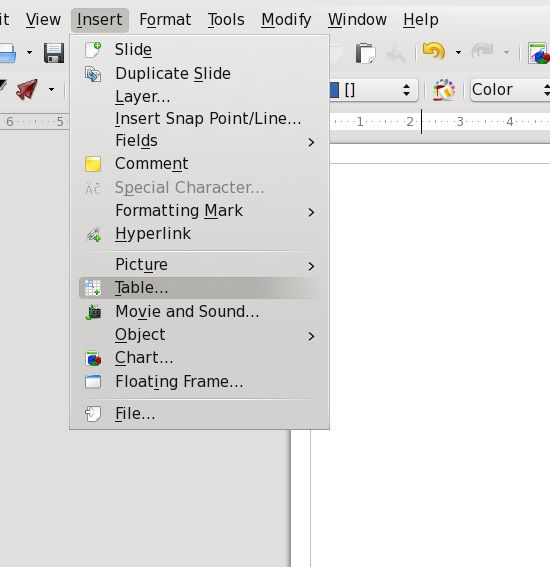 I grabbed and dragged the table box to fit the size of my paper. Now I chose the properties I wanted for the table cells. The top row of cells will hold the days of the week. I then entered the days of the week in each cell. I then highlighted the cells and, left clicking on the cell, then I chose format cell and align to the center. Then, while the cells were highlighted, I chose my font and selected bold. Now I save my basic layout by clicking on File -> Save as Template -> clicking Save in the template manager window and entering the filename. In my case I choose the filename 'basic-plain-box-with-squares'. 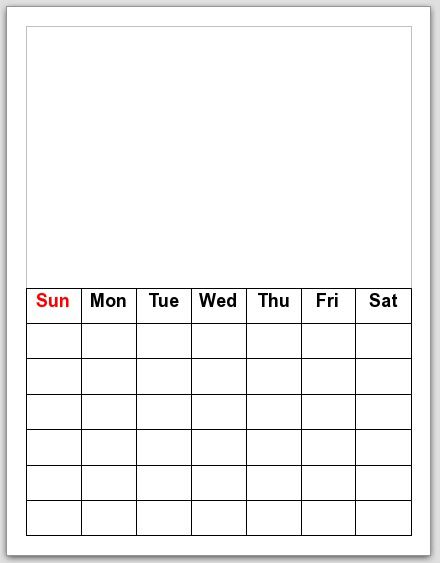 Now, using my basic layout, I will create 7 layouts for each day of the week using the following information.
The months that start on the following day of the week.
Using my basic layout, I highlighted the last six rows and and chose to align the cells to the top and set the font to Bitstream Vera Sans Mono with a point size of 18. I then saved this as a template file. I repeated the above process, creating each of my weekdays. 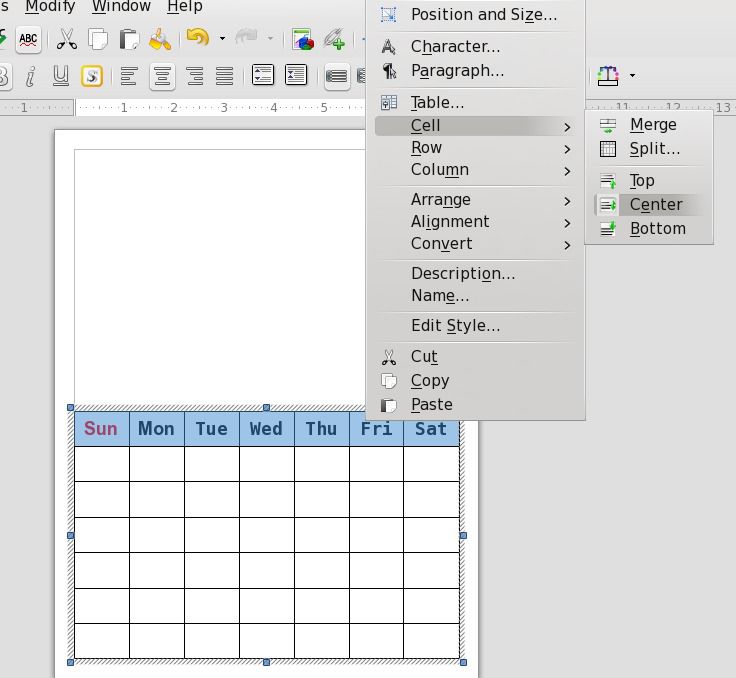 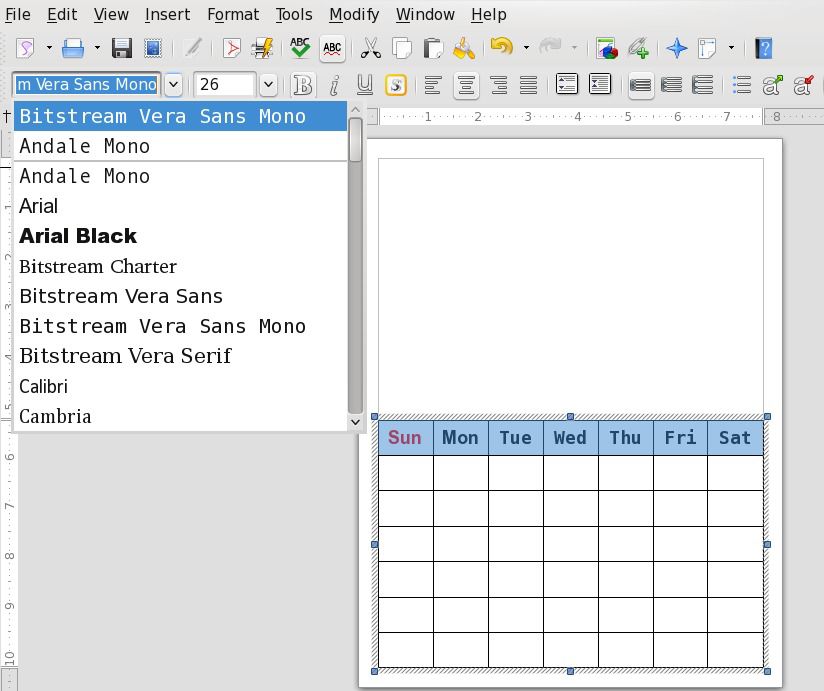 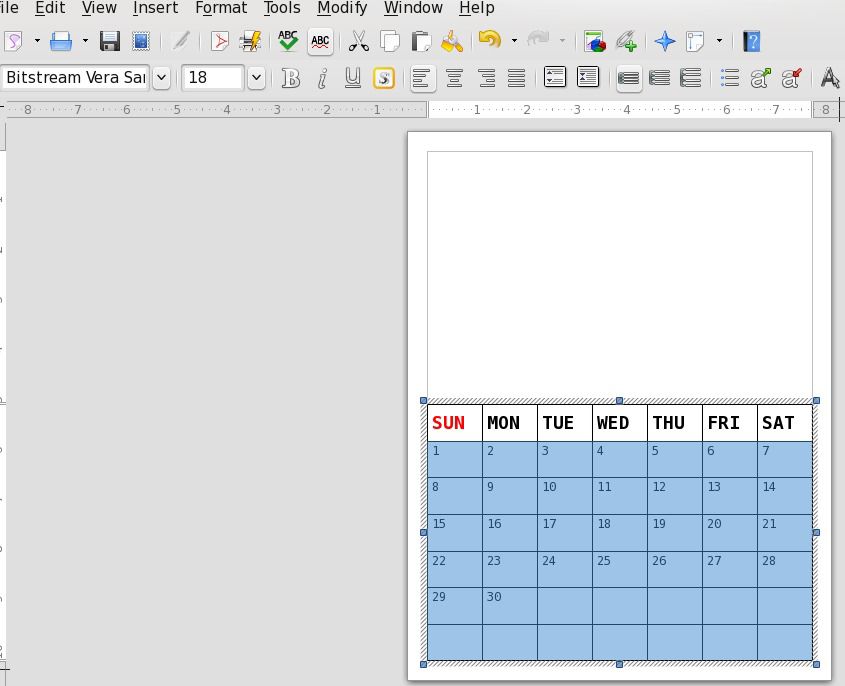 Now I used the appropriate daily template to create my monthly calendar template. I added the name of the month and date to the top of each monthly template. Choosing the text tool at the bottom of LO Draw, I then selected my font Bitstream Vera Sans Mono with a font size of 36 point and bold. Drawing a text box, I typed in the month and year, and then centered it above my calendar layout. Once I was satisfied with the way it looked, I saved it as a template using the name of the month. I repeated this for each month of the year, using the proper starting day of the week. 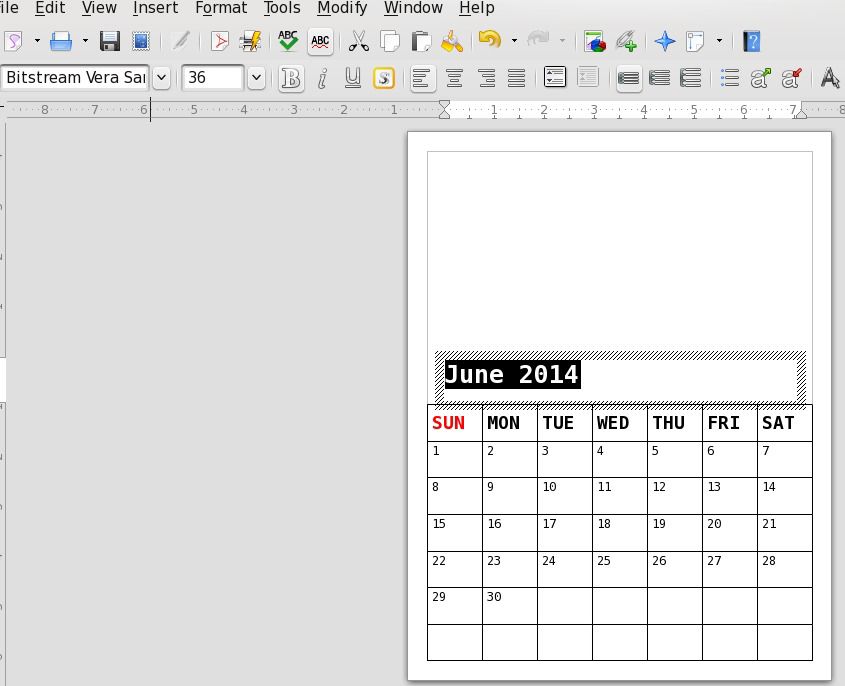 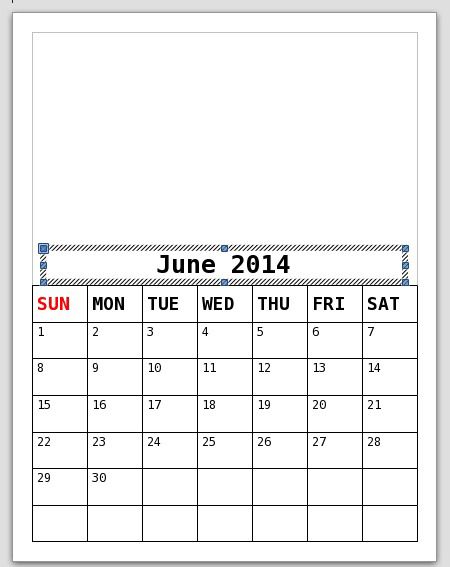 Now I was all done, except for an image for each month. First, I chose the images I wanted for each month, and then opening the said monthly template. I added the image by clicking in a blank spot in the template, selecting Insert -> Picture -> from file, and selecting the image I wanted, then clicking open. 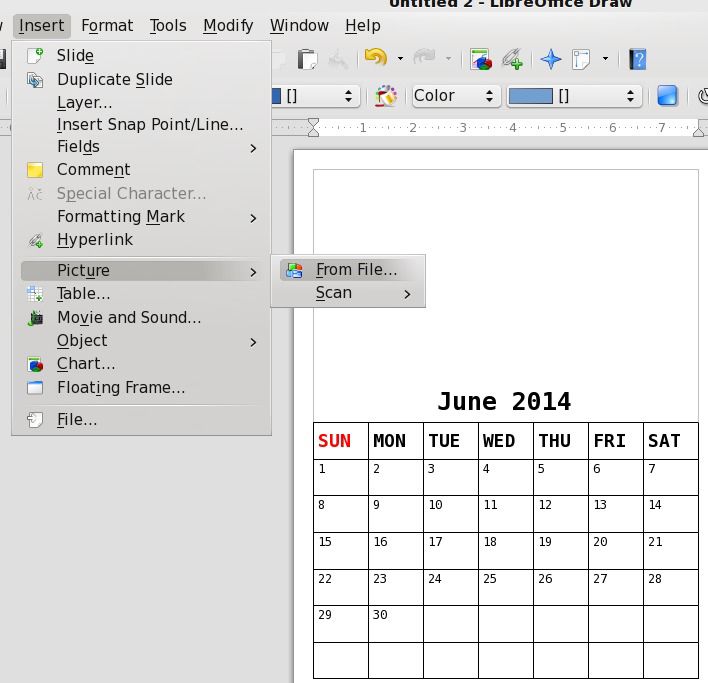 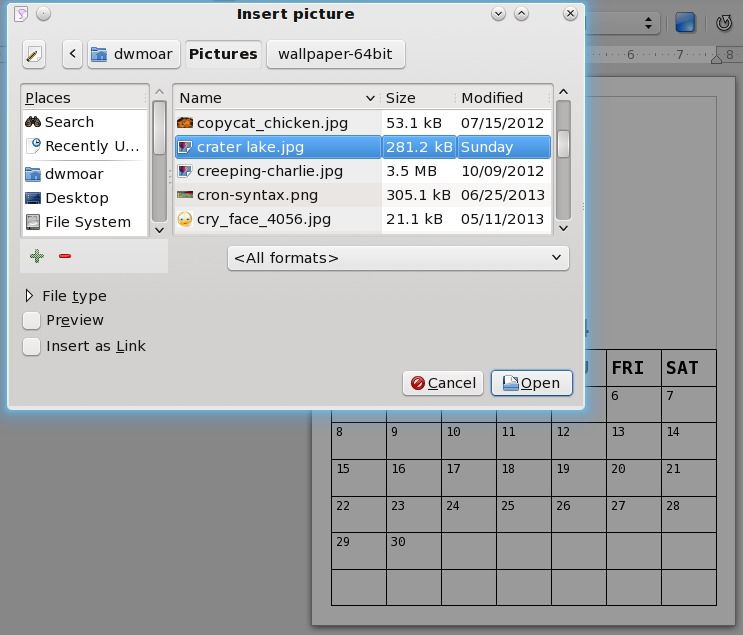 I then sized the image to fit the upper portion of my calendar page. 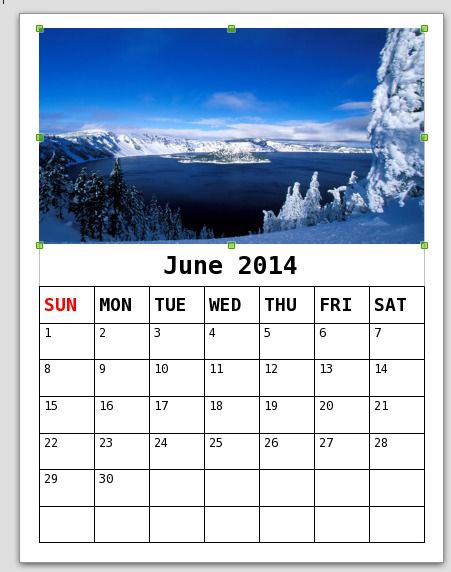 That looks good to me. Have fun making your own personalize calendar(s). To make it simple for you, I have made my templates available here: http://pclosmag.com/Misc-Downloads/calendar-templates.tar To use these templates, save the file to ~/.config/libreoffice/4/user/template. Then, from a console window, enter the following command to untar the file: tar xvf calendar-template.zip Now your new templates will show up in LibreOffice Draw. |