| Previous
Page |
PCLinuxOS
Magazine |
PCLinuxOS |
Article List |
Disclaimer |
Next Page |
Make Your Own Online Photo Album With Album Shaper |
|
by Meemaw A couple of years ago, I did a series on photo viewers. Over five months, I covered more than twenty different photo viewers. However, I haven't noticed this one before. Album Shaper is a photo viewer program that lets you build albums from your saved photos, and even generate a web album. It is installable from Synaptic. Album Shaper has a different organizational system. An album can be divided into sub-albums, called collections, as shown below:
Album One album could be called "My Vacation", then each collection could be named by date, so if a vacation lasted several days, as they usually do, you can keep the photos in chronological order without possibly doing some intensive file renaming. When you open Album Shaper, you will see the main window, which has a section for album name, description and author as well as one for collection name and description. The album name is the one that will name the entire group, while the collection name will name the first sub-group. Also notice two tabs at the top of the largest section of the window. One says Organize and, when you get photos there, the other tab says Edit. Let's start adding photos first. 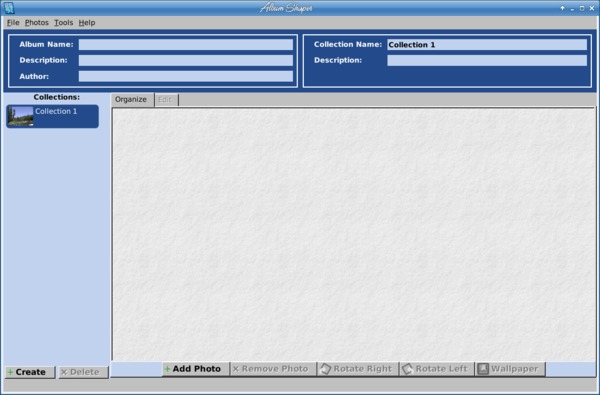 First, I named my album Vacations, and named my first collection Colorado 2012, just to give myself somewhere to start. Clicking the "Add Photo" button, I was presented with a window to browse to the folder where my Colorado 2012 photos were stored. From here I can add as few or as many photos as I want, simply by choosing them one at a time, selecting a range of photos using the Shift key, or holding down the <CTRL> key and clicking on the photos I desire. 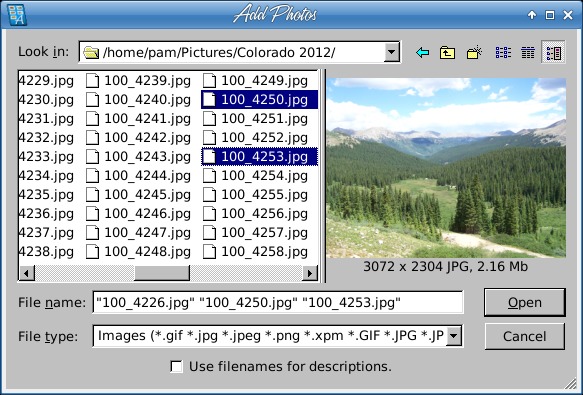 Notice at the bottom a checkbox that says "Use filenames for descriptions." If you had already gone through your photos and named them something meaningful, you can check that box and those names will be added to the description with your photo. If you have filenames from your camera, as I obviously do, you can add descriptions to your photos. We'll do that in a bit. If you added several photos, but you have discovered that you forgot a few of them or want to exchange a few, don't worry. In your thumbnail window (the Organize tab), you can still add to the collection by clicking the Add Photos button again. They're out of order now? That's ok... grab one of them by clicking the mouse and drag it over to the correct spot in the thumbnails. Also, if you find one you didn't mean to add, select it and click Delete Photo at the bottom of the window. If your file name isn't very descriptive, you can add a description to each photo by clicking the blue icon you find when you hover your mouse pointer in the bottom right corner of each thumbnail. When you click on that icon, your photo opens a bit and a space appears below or to the right of it which allows you to add the description. 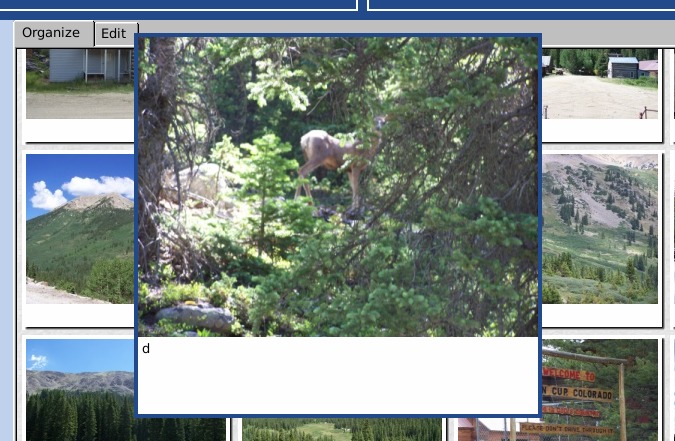 Buttons also located at the bottom of the main window are the rotate buttons and the wallpaper button. If you find that one of your photos needs to be rotated, just select it and click the appropriate button. If, in your photo organizing, you decide that you would like to set a certain photo as your wallpaper, you don't have to go any farther than the bottom of this window. However, so far, I haven't gotten this feature to work. If you haven't saved your album yet, you need to do so. Click on File > Save As... You will see a window where you can choose a location to save. In this case you are naming a new folder in which to put all the information and thumbnails that go with this project. NOTE: This means that your original photos are not changed or deleted. The program makes thumbnails of each photo you add, and all work is done to the thumbnails. As you can see, I named my folder Vacations. Now my Pictures folder has a subfolder named Vacations. The theme at the top of the save window will be the appearance of the web album, if you generate one. 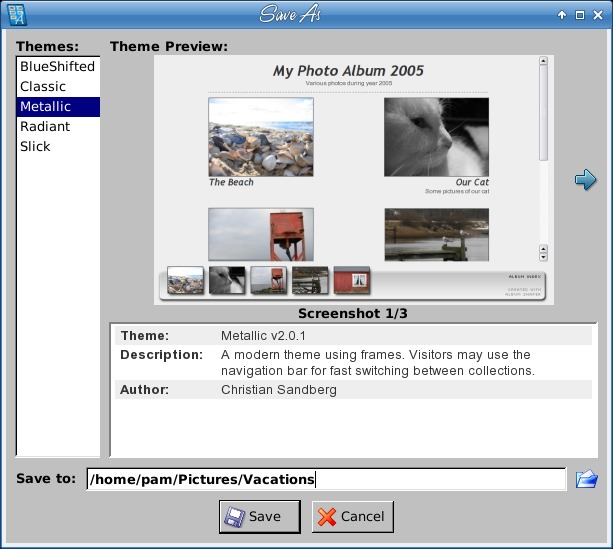 For your album and each collection, you can choose a photo to be a "cover photo." Simply choose the photo you want to use, right-click it and choose "Set album image" or "Set collection image." The thumbnail will appear to the left of the album or collection name above or at left. Alternatively, you can choose a photo and drag it to the desired spot on the left of the album or collection name.  While you are in the program, there are several editing tools you can use. From your Organize tab, double-click on a photo, and you will be taken to the Edit tab with your chosen photo in the center. 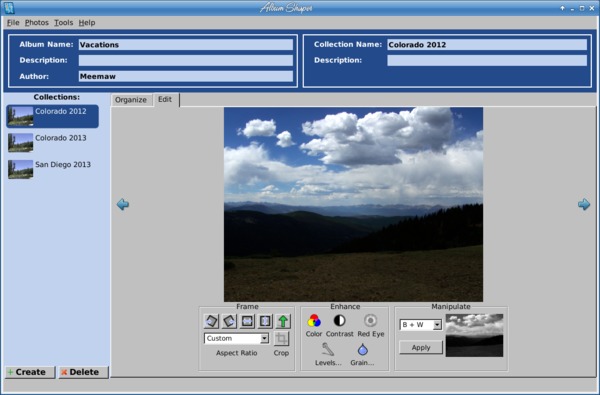 You see three sections. At left, the Frame section contains Rotate (clockwise & counter-clockwise), Flip (horizontal & vertical), Straighten (the green arrow) and Crop (on the second line and includes some default sizes in the drop-down). I'm sure most of these are self-explanatory, but the Straighten button is interesting. In my GIMP article (elsewhere in this issue), I discussed rotating a photo just a few degrees. This button makes it easy. Simply click the button and, using the tool that replaces your mouse, draw a line through the object that needs to be straightened. When you let go of your mouse button, the program will straighten that photo along the line you drew. 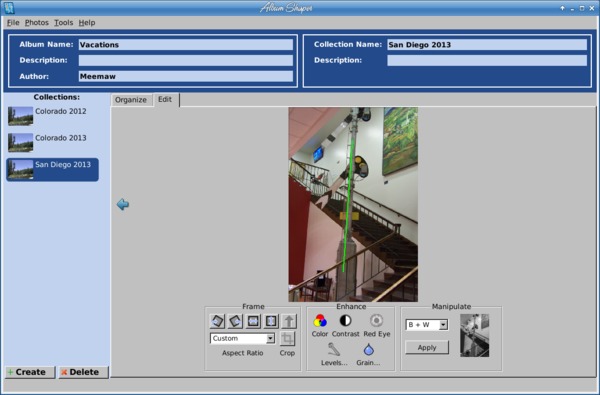 The center section, Enhance, contains editing tools for color, contrast, red eye, levels and grain. Experiment with these to edit your photo. Remember that small adjustments at a time are more likely to give you what you want. The right section, Manipulate, gives you several effects to give variety to your photos. You can alter your thumbnail six different ways: 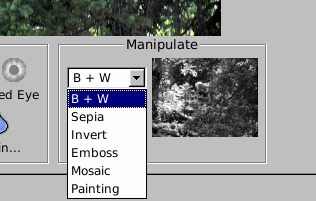 I changed one of mine to a sepia tone. Remember, this is done to the thumbnails, so the original photo is untouched. By the way, if you apply an effect or edit and decide you need to undo it, there is no Undo button. However, clicking on Photos > Revert to Original will give you your original thumbnail back. 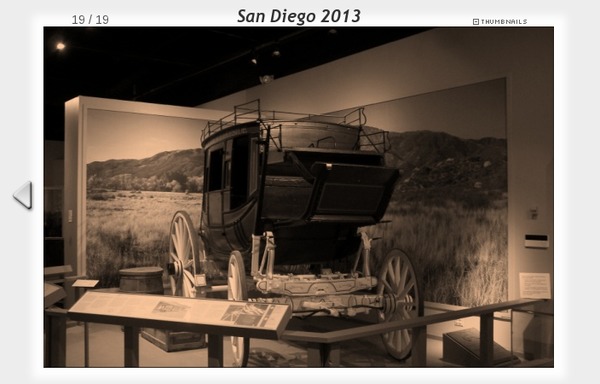 From the File menu, you can generate a web album or a set of photos to be printed. From the File menu, choose File > Export > Small Web Album. You will again be asked where to save it. I used the same folder, Vacations. I got a subfolder called Vacations_WEB. Opening that folder, I see an HTML file called index.html. That file will open in my web browser. 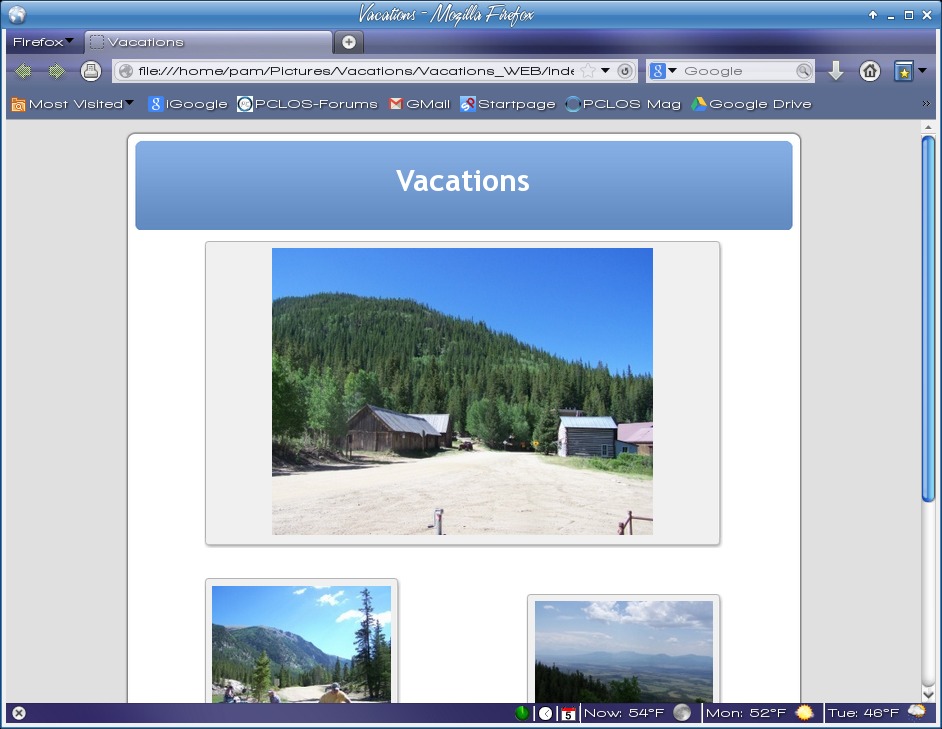 Here you see my album cover photo at the top with the collection cover photos beneath. Clicking on one of the collection photos opens the collection for viewing. You can see the whole thing here. If you lack a website to host your photo album, you can also use the Public folder of your Dropbox account. You can export photos for printing by clicking File > Export > Images for Printing. This is probably the thing I like least about this program. I haven't found anything in the program that will actually print the album: it just puts all the photos in the album in a single folder. Overall, this is a kind of neat program. The albums look good, and the editing tools work well. If you haven't found a program to do your photo albums, this one may fill your needs. The good thing about the web album is that you can share your photos with your family and friends on the web, no matter what operating system they use. |