| Previous
Page |
PCLinuxOS
Magazine |
PCLinuxOS |
Article List |
Disclaimer |
Next Page |
Inkscape Tutorial: Reinvent The Wheel |
|
by Khadis  An alternative of graphic design software, Inkscape is quite powerful, like CorelDraw, including the ability to make a vector based graphics illustration. Several years ago, when I studied graphic design, I made a wheel illustration using CorelDraw as one of my 'basic' exercises. Now, I will make the same wheel using Inkscape. 1. Open up Inkscape. Create a circle with the ellipse tool. The size absolutely depends on your taste, while the fill color is white and the stroke color is black, with any thickness you desire. 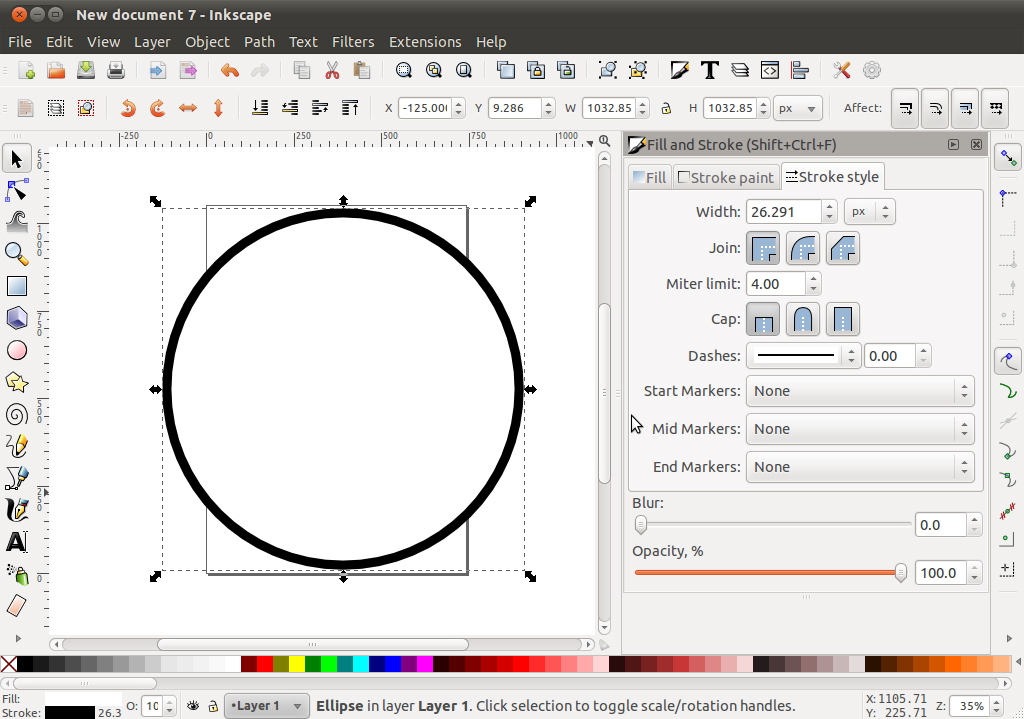 2. Ensure that the snap option is active (can be accessed under View menu). Please also activate "snap from and to center of objects" option as illustrated below: 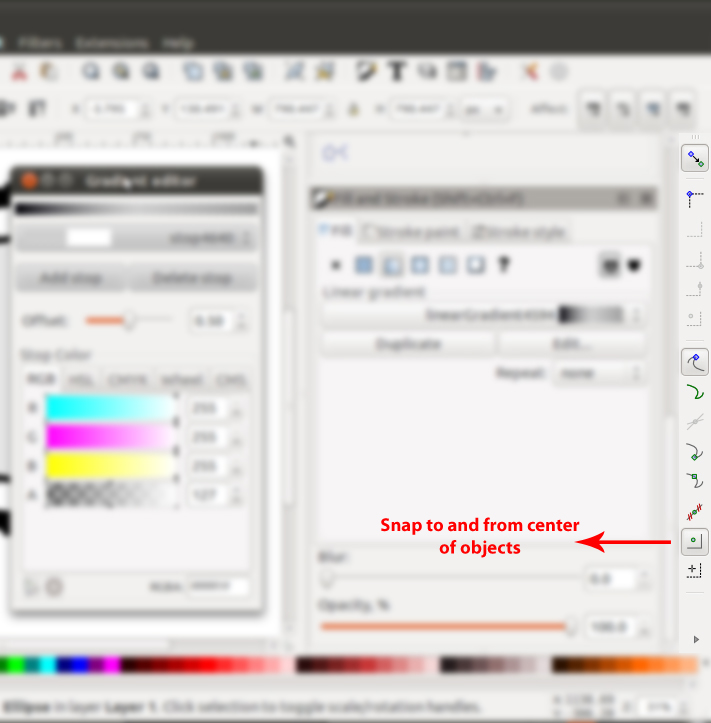 3. After that, create a rectangle (fill color: black, stroke color: black or no stroke is also OK). Convert it into a path. This rectangle will be transformed into a trapezoid. Select this rectangle and choose Path - Object to Path menu (Shift + Ctrl + C). You can use the "edit path by node" tool (F2) to modify this rectangle into a trapezoid by dragging in the handles in the top right and top left corner. 4. Place this trapezoid above the circle. For a clear view, take a look at the picture below: 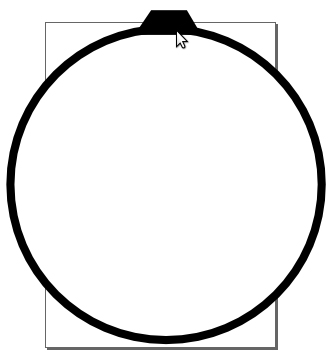 5. After that, activate the Transform panel (Shift + Ctrl + M). Double click the trapezoid until its handles turn into rotation handles. Pick the midpoint of the trapezoid (with "+" sign). Drag it to the center of your circle. If you have activated the "snap from and to center of objects," it will show you a red-cross sign saying "Handle to center." Now, put your "+" sign on a place where it says "Handle to center." The "+" sign is your trapezoid's axis that is moved to the circle's axis. If the axis of your trapezoid is not moved to the circle's axis, when the trapezoid is rotated, it will rotate to itself. While if the axis is moved to the circle's axis, when the trapezoid is rotated, it will rotate to the circle.  6. Now, choose rotate menu in your Transform panel and type 15 in Angle box. Duplicate the trapezoid by pressing Ctrl + D and followed by pressing "Apply" in your Transform panel. Do it several times until your new trapezoids round the circle. 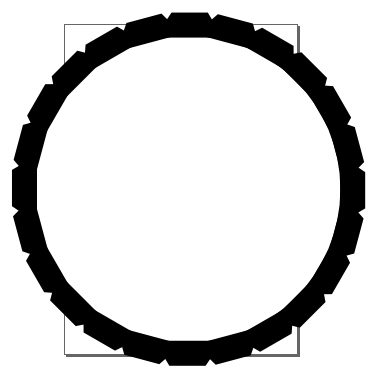 7. The next step is creating the inner circle. You can do this by pressing Ctrl + D on the previous circle to duplicate and then resize it. We can resize it by dragging in the top right handle and pressing Shift + Ctrl to make it keep on its proportional shape. 8. Color this second circle with black-to-white gradient by opening up Fill and Stroke panel (Shift + Ctrl + F), and then choose Fill - Linear Gradient followed by choosing Edit. In your Gradient Editor, you can choose the gradient color by pressing Add Stop button and slide the slider on each color box: R (Red), G (Green), B (Blue), and A (Alpha / Opacity). 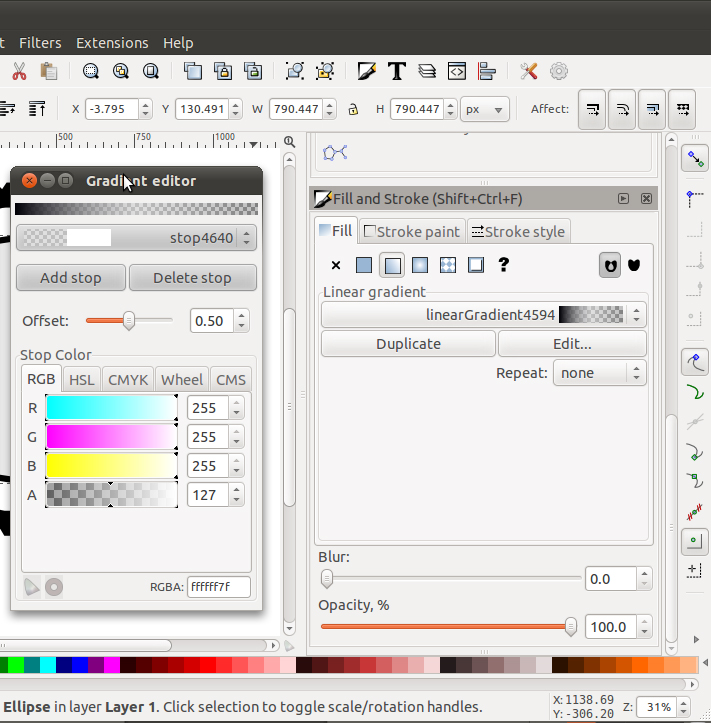 9. Press F2 on your keyboard to activate Edit path by nodes function. With this tool, you can change the direction of your gradient. 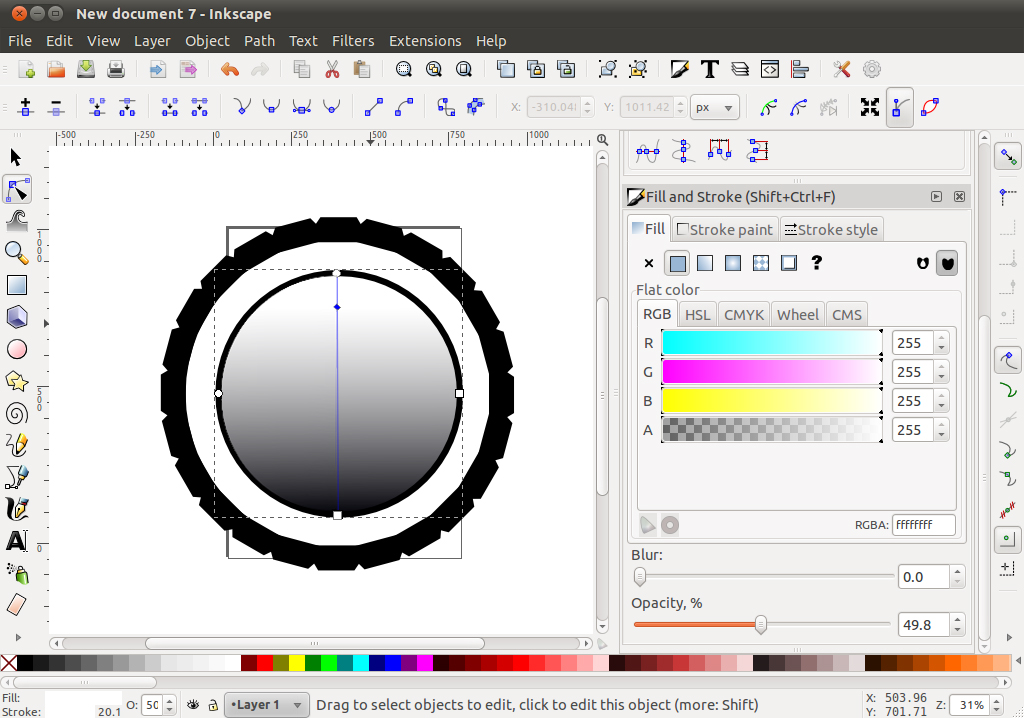 10. Do the same steps as described in step 7 to step 9 to create 2 other circles so that the final result will be like this: 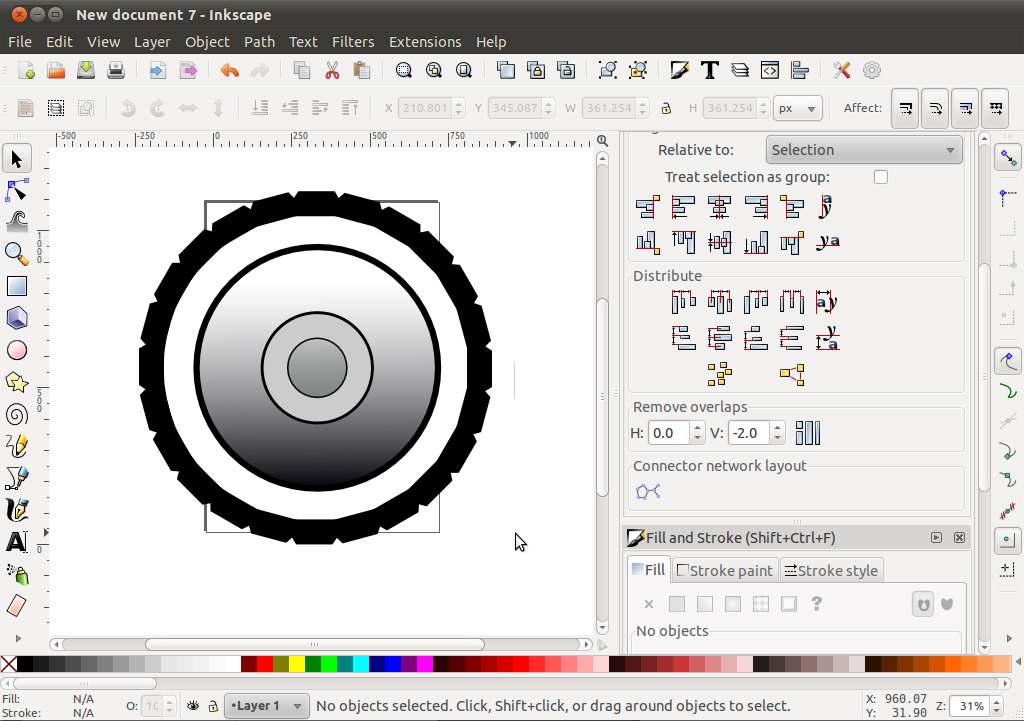 11. The final step is creating smaller circles as decoration. So, create a small circle (the size is up to you). Color it with white and no stroke, and put it close to the stroke of the second (big) circle. 12. Repeat step #5 and #6. Duplicate and rotate the small circle. Give 30 as new value in your Angle box in Transform panel, tab Rotation. 13. The final result will be similar to the picture below (the gradient may vary depending on the color and direction you choose).
|