|
by Khadis
Floral or flourishes designs are almost everywhere: name cards (both personal and business name cards), flyers and brochures, banners, or any other printed advertisement media. Floral designs are always attracting me because of the shape and the imagination inside of them. Luckily, I can create any floral shape easily using Inkscape. Let's go!
Open up your Inkscape as usual. Prepare your paper as you desire because the size of the paper will not matter. Before we really start to draw the flourishes, basically, there are two methods: complex and easy. Now, I will show you the first method, the complex one.
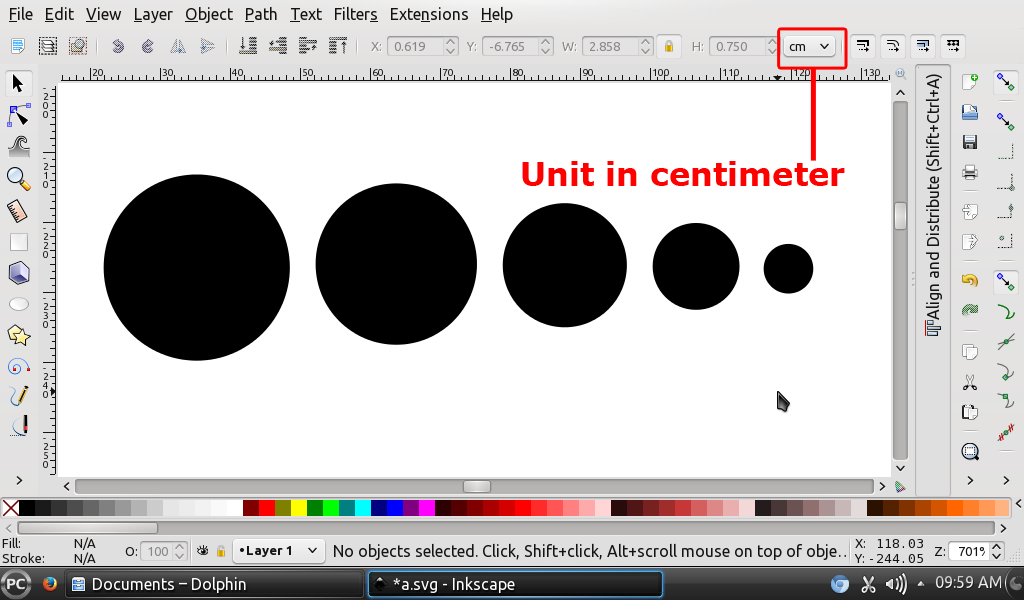
- Using your Ellipse tool (F5), create a circle at any color for the fill and no stroke. I prefer to create a small one, only 0.5 cm. See your unit preference on the toolbar. It used to be in pixel (px). If you wish, you can change it into centimeter (cm), like mine.
- Copy or duplicate your circle into 3 or 4 circles. Resize them to be bigger or smaller than the first one. Please resize the new circles with proper scale, and don't resize them too big. Just resize them to be 2 times bigger or a half time smaller. Since the circles maybe too small, don't forget to use the Zoom tool to increase the visibility of your circles.
- Now, to start drawing the floral design, copy the smallest circle first. Of course, you can choose any size of your circles for the beginning, but I choose to use the smallest one.
- Press Ctrl + C to copy the circle. Don't paste it.
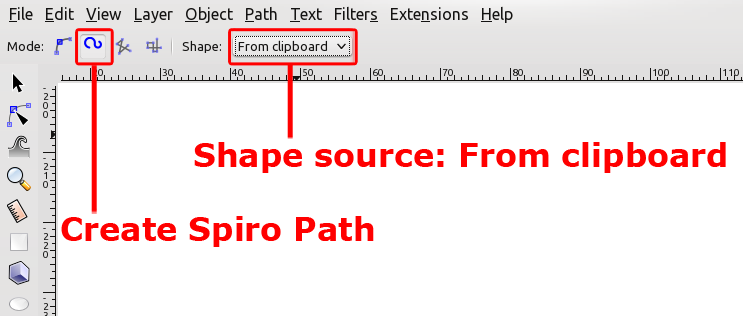
- Activate your Bezier tool (Shift + F6) and use the parameter as follows:
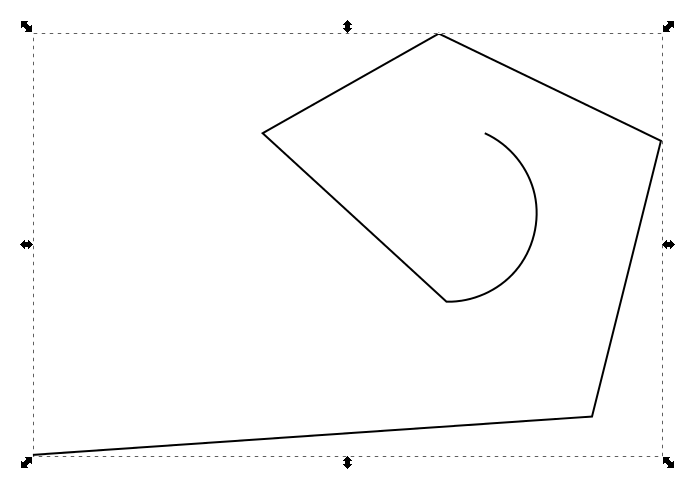
- Click and drag several times to form your flourish. Keep repeating your clicking and dragging (click-drag-click-drag and so on) until you get your desired flourish shape. The clicking and dragging direction may be like this (I only drew an ordinary line to describe the same step using Bezier tool):
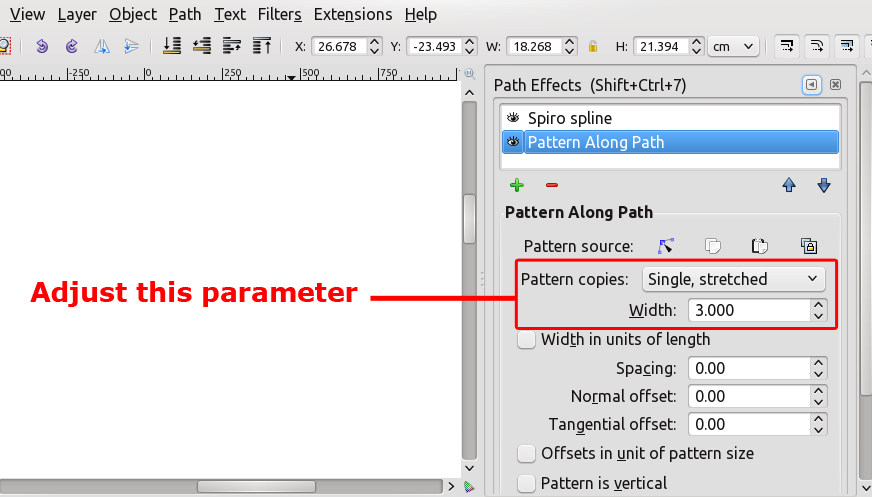
- Open up Path Effect Editor (Shift + Ctrl + 7) window. There, you will see a Width box under the Pattern Copies drop-down option. You can change the value to meet your need. You can also use the Edit path by nodes (F2) tool to reshape your flourish by clicking and dragging the nodes.
- Create another shape using your bigger prepared circles to see the different results. You can try to use other basic shapes too, such as rectangle, triangle, or star shape to get more funky result.
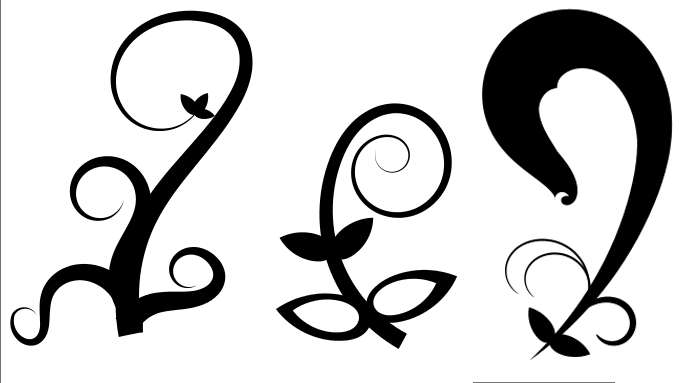
- Create several objects with different size and Bezier direction. You can copy or duplicate the same object and then resize it. Then, put your creations into a combined shape. You can arrange them to be close each other by rotating, mirroring, or resizing them. Your final result may be better than mine:
That is the first method. The second method will be much easier because you do not need to prepare any shape, but directly draw your flourish using the Bezier tool.
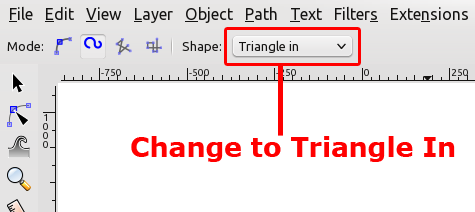
- Activate your Bezier tool (Shift + F6) again. Change the Shape option into "Triangle In".
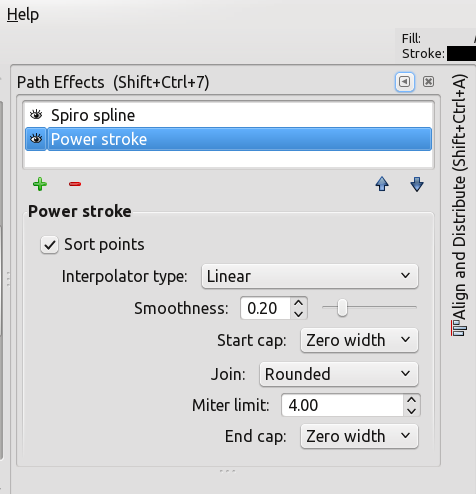
- Note: If you are using the newest version of Inkscape, you may change the "Triangle In" into "Ellipse" mode in order to activate Path Effects with the editable Width parameter. If you don't use "Ellipse" mode, the path effects window may appear like this:
- Start drawing your flourish with the same steps as previous method. Click and drag the Bezier tool to make a base shape of your floral.
(do "sketching" like this again)
- Make some adjustments to fit your need by using Edit path by nodes (F2) tool. You can also increase or decrease the shape width through Path Effect Editor (Shift + Ctrl + 7) window.
- Create some floral shapes and combine them like on the previous method.
|