| Previous
Page |
PCLinuxOS
Magazine |
PCLinuxOS |
Article List |
Disclaimer |
Next Page |
GIMP Tutorial: Create A Lightning Bolt |
|
by Meemaw I always wondered if a realistic looking bolt of lightning could be created in any of the programs we use. I found a tutorial that does it in GIMP, and so I will share it with you. It’s not too long and pretty fun. Open GIMP and start a new document. I used 800 x 600. Click on the blend tool and create a grayscale gradient (FG to BG), linear shape, running left to right.  Click on Filters > Render > Clouds > Difference Clouds. Turn the Detail all the way up to 15. It looks cloudy, but notice that there is now lighter gray on the left and the black is mostly in the center of the page. 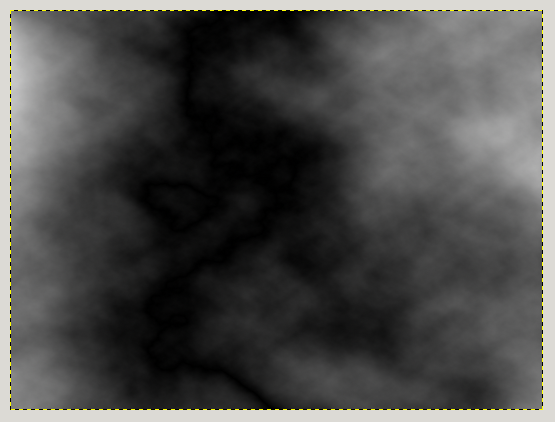 Now click on Colors > Invert to bring the lightness back to the middle. 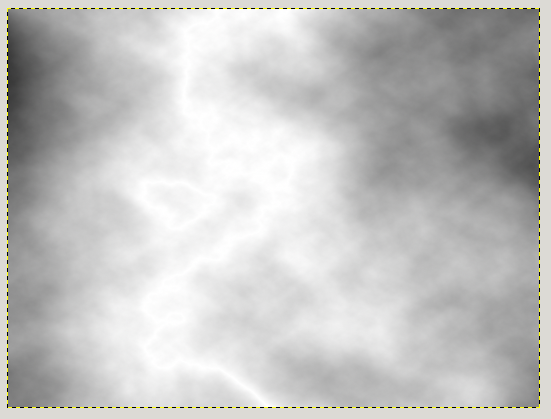 Click on Colors > Levels, then grab the center triangle in Input Levels and drag it far to the right. You can see in the tool window the two triangles at the far right under the histogram. You should now have a fuzzy-looking lightning bolt. 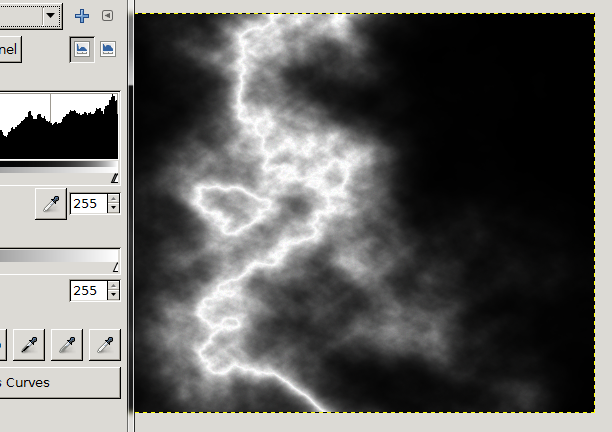 Right-click on the layer and choose Add Layer Mask. You have several options, but select Grayscale copy of layer and click Add. This adds a transparent layer which will help us isolate the main lightning bolt. Use the Paintbrush tool with a large soft black brush on the mask to erase the rest of the unwanted areas. 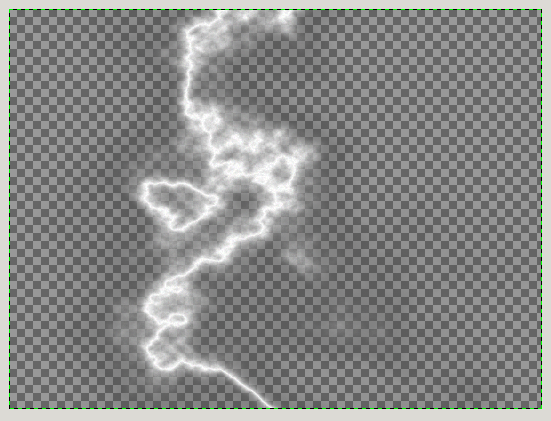 To finish, I put a black background behind my lightning, merged the layers and exported the picture. 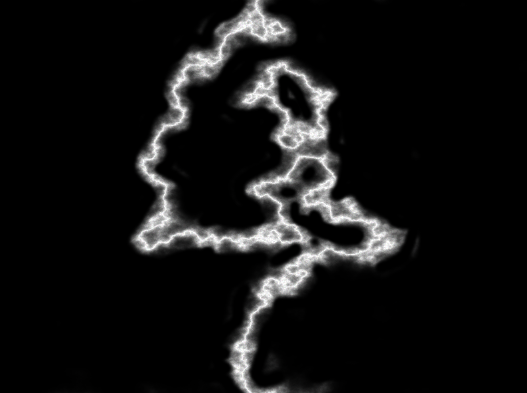 You can experiment with the difference clouds (clicking on New Seed) to get lightning that looks different, and can also experiment with your gradient (maybe drawing from upper left to lower right) to get different effects. In the image below, I used a smaller brush, and drew my gradient from upper left to lower right. 
|


