| Previous
Page |
PCLinuxOS
Magazine |
PCLinuxOS |
Article List |
Disclaimer |
Next Page |
RetroShare Tutorial |
|
by DanielBoone Greetings Everyone! I've created this tutorial to help with the installation and setup of RetroShare. So let's get started! First off probably the best thing to do is to read about RetroShare. Also read the FAQ's for RetroShare. OK, now that you reviewed the information, then you need to install RetroShare. Using Synaptic, install RetroShare and the retroshare-plugins. You will eventually need the plug-ins, so you might as well install them now.  OK, that has installed, so here we go. Under the Internet category, you will find RetroShare. Follow the Wizard and set up your username and password, then generate your own encryption code through your wizard. This will bring you to the log in. 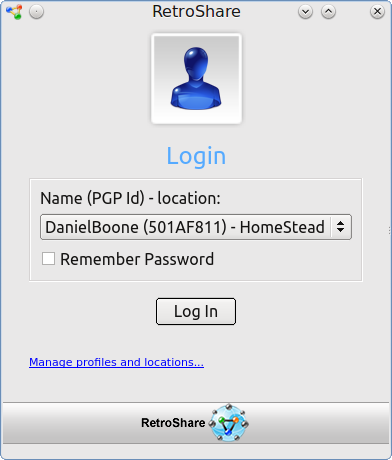 After you log in with your username and password, that should bring you to the RetroShare main window. 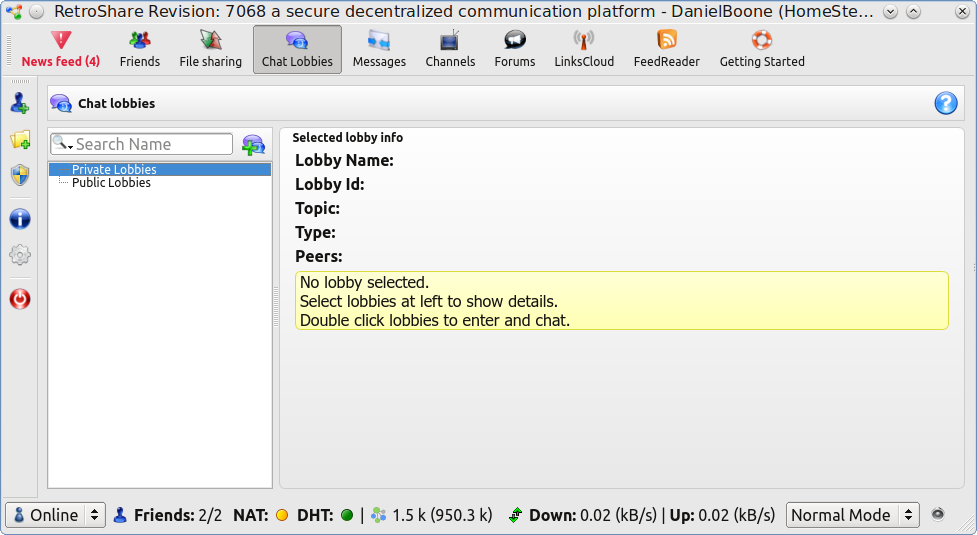 Take notice of the lights on the bottom of the snapshot. Yours may not be yellow or green. If I remember correctly, they will be either red or black. The reason for this is that all installs of RetroShare need a file that is called bdboot.txt. What we have to do here is to manually put in the file. It needs to be placed in the hidden directory /home/<your-user-name>/.retroshare/<long alpha-numerical name> directory. Don't panic, as I have included a Dropbox link from which you can get the file. Let's open Dolphin to get to the location where the file is to be added. 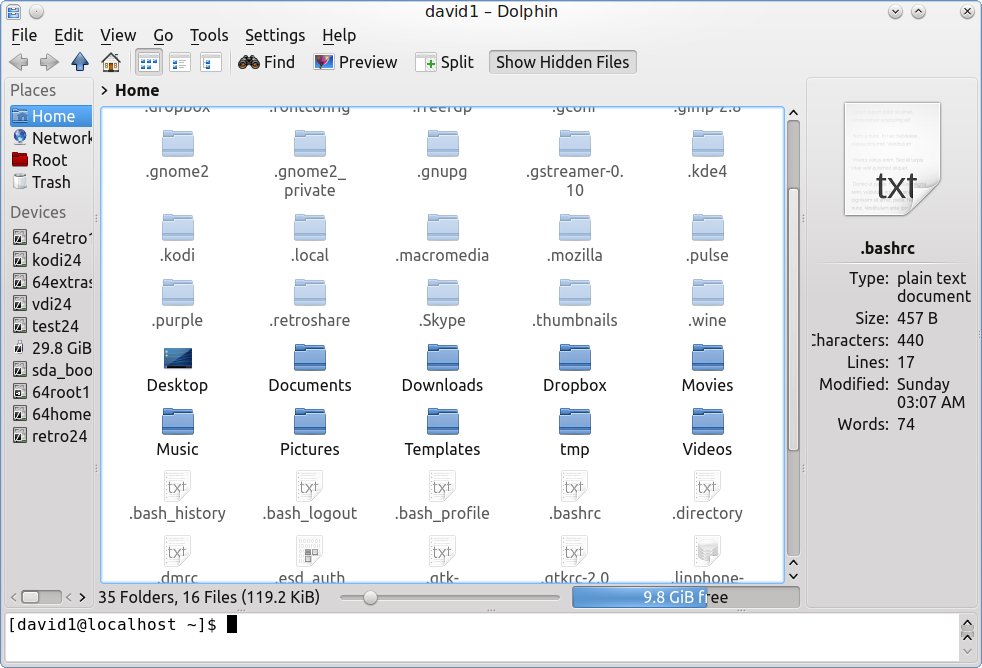 Dolphin may not be set to view hidden files. Yours may not look this way, but we can set it to show them. Click on View and select Show Hidden Files from the menu. Tick it, and this will show the hidden files for you. If you have the version I have, you have to go into Settings > Configure Toolbar. That command will probably be over in the left block. Find it, highlight it, push the right arrow key and it should be over to the right box as below, then hit Apply then OK. 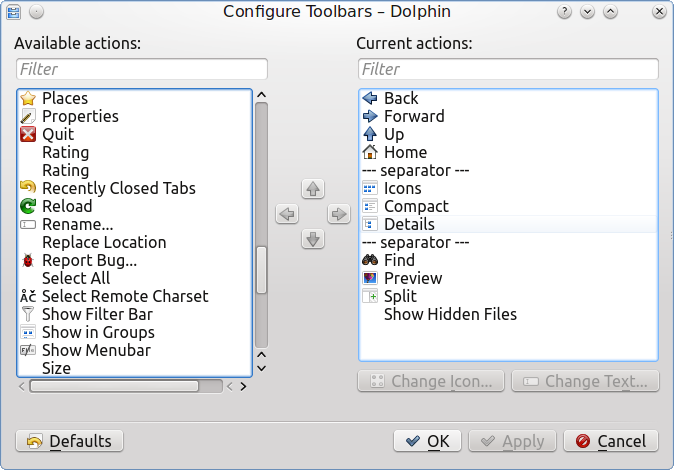 And then you should be able to see the /.retroshare folder in the Dolphin file manager. Open the .retroshare folder. 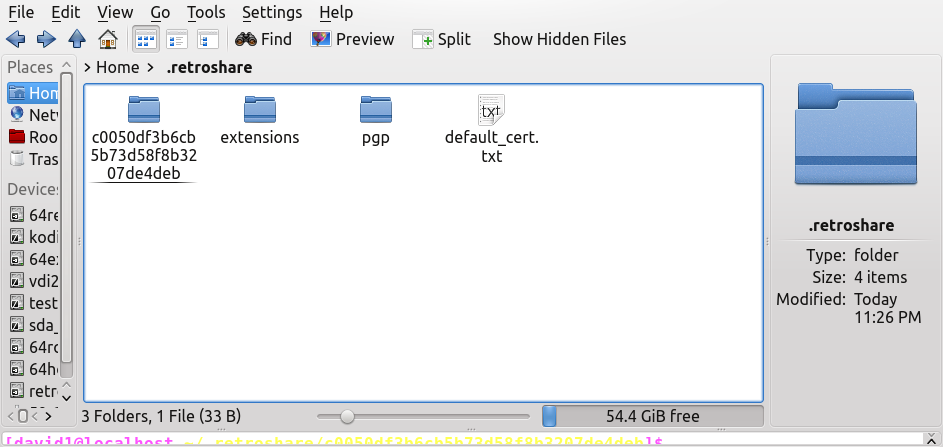 Open the folder with all the numbers in there. 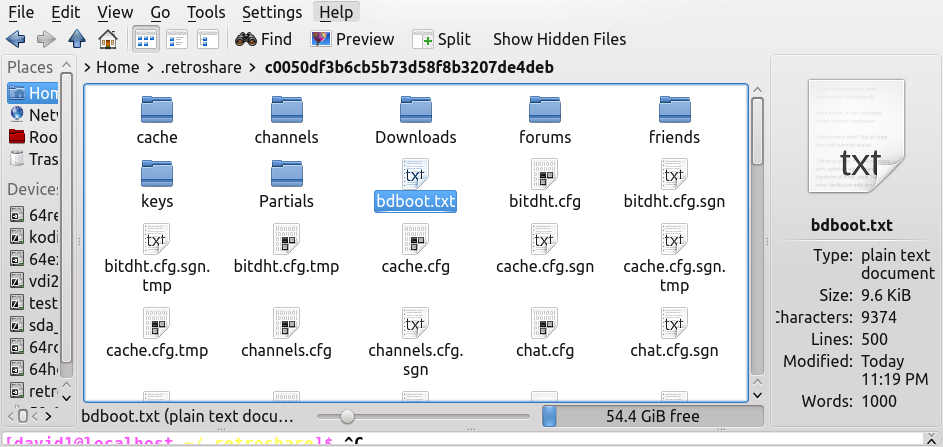
There will probably not be a bdboot.txt file inside your folder yet. You have to put that inside there manually, and on each new install or upgrade you will have to reinstall the bdboot.txt file. I have it in my Dropbox folder, from which you can download it, if needed. Download the file from my Dropbox and save it to the /home/
Here is the URL: 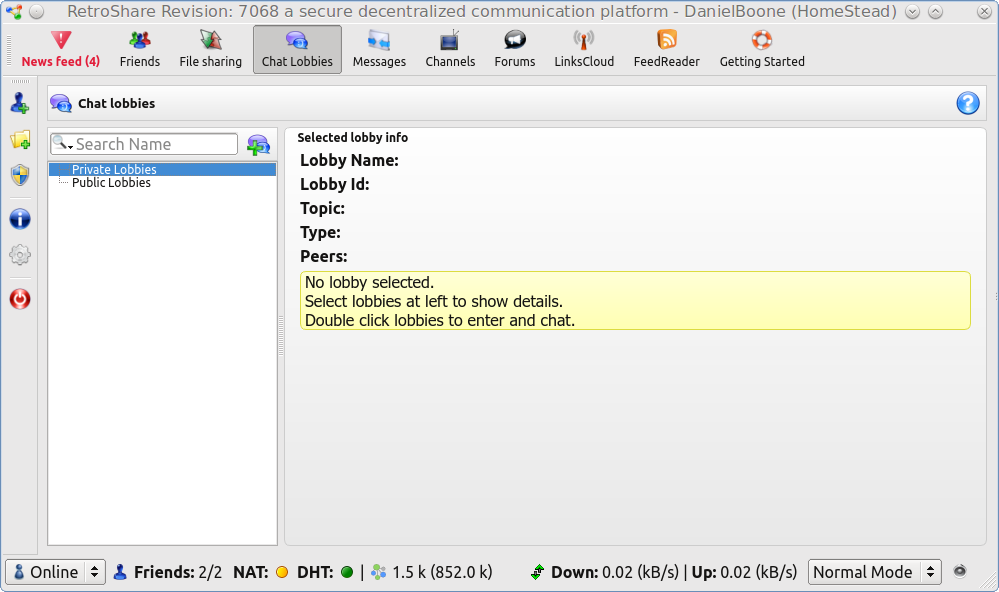 Now we have to set up a few things, so let's go through that so we're into the main GUI now.  The 5th icon on the left side is a little gray gear. This is your options, so click on that and it will bring you to this screen. 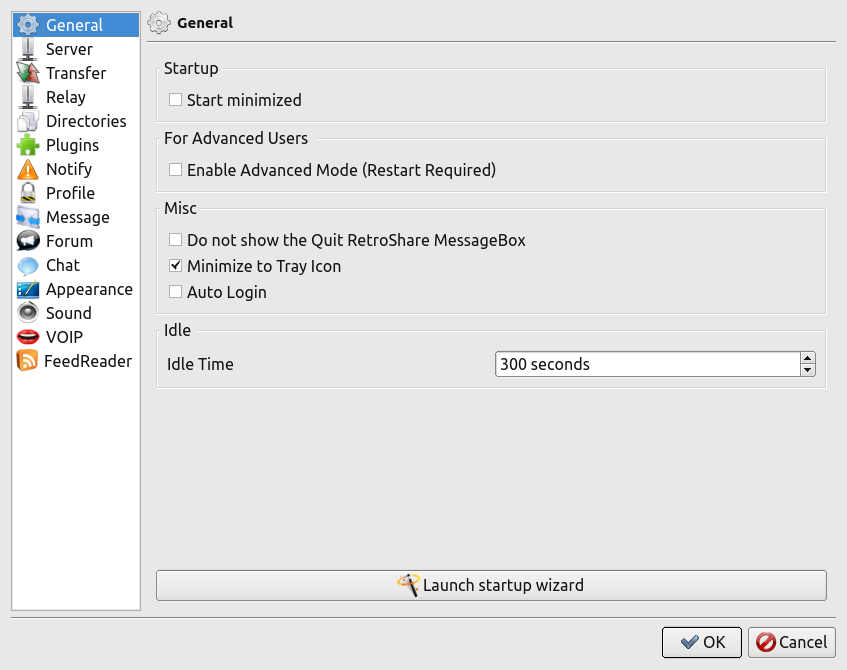 Then click the server tab ... 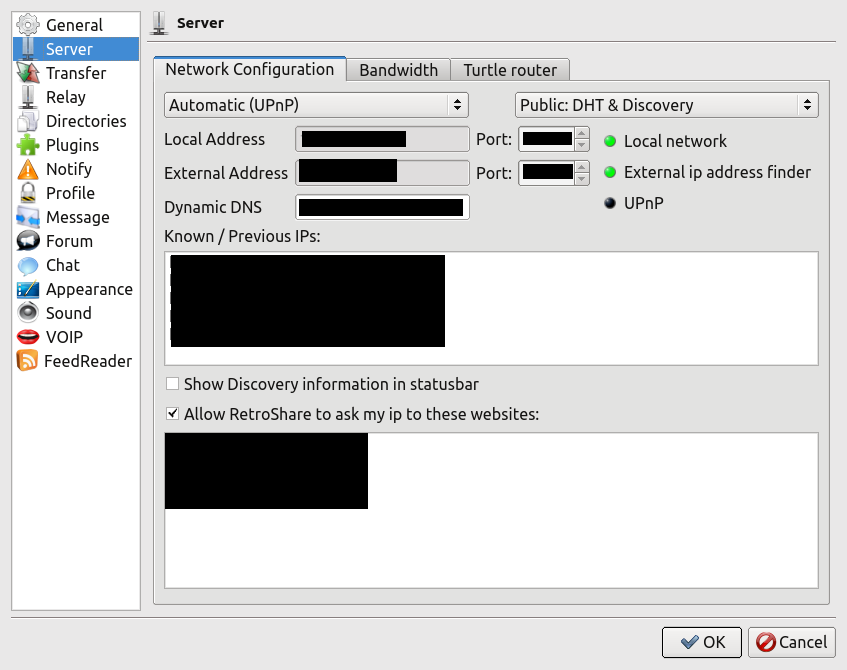 The blocks you see blacked out above will not be in yours, if you set it up right so far. Local and external addresses should auto configure, along with the port settings. You can set the top dropdown to "firewalled" if you wish, but what I have read is that most of the time the way mine is set will work, also. Use your discretion. As for "Public DHT & Discovery," you may have to switch to "Inverted DHT." If you have read the info prior to the installation of RetroShare, you can find out about that. The only thing you will really have to do manually is add your "Dynamic DNS" yourself. In the notify option, you can tick what you want to tick. You will have some that are ticked and some not. I did set mine to "blink" when I get a new message, but that was my decision. You do not have to do it, if you wish. It just makes it a little easier to see when someone has sent you a message. Of course, you need to have the other user's encryption code. In time, we will pass encryption codes to each other as we gain more users and exchange keys between each other, and not on the Open Forum. 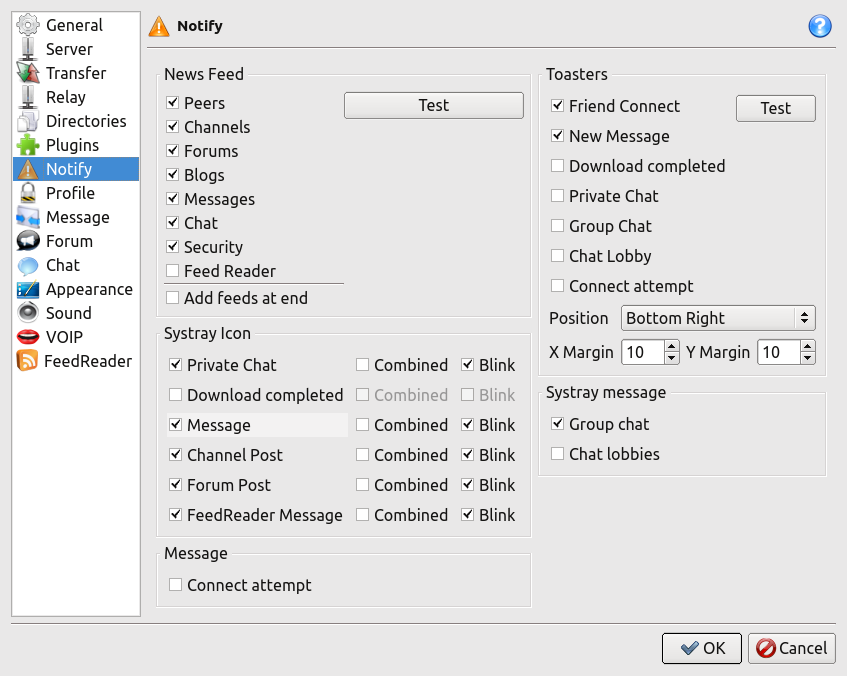 Something you should also check, once you have RetroShare up and running, is if you can send a message and use the enter key to post the message. Let's take a look at the snapshot below. 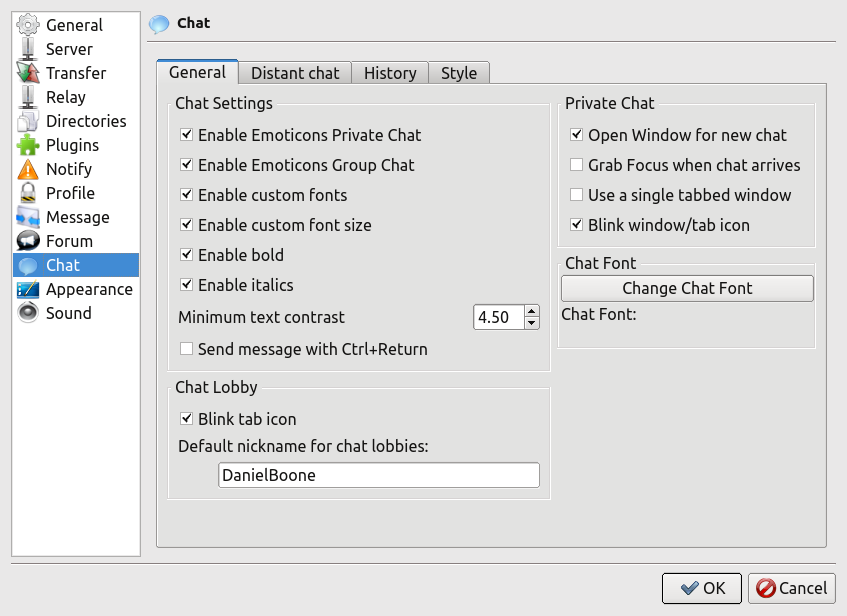 Make sure the box beside "Send message with Ctrl+Return" is unticked. We are going to add a new user for a contact. Select the first icon on the left side. It will bring you to this window: 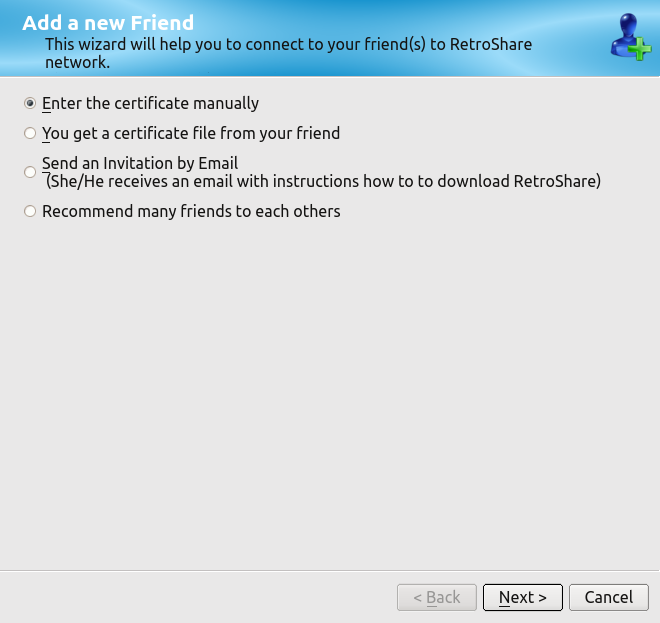 Click on "Next" and this is where you will enter your friend's key code. 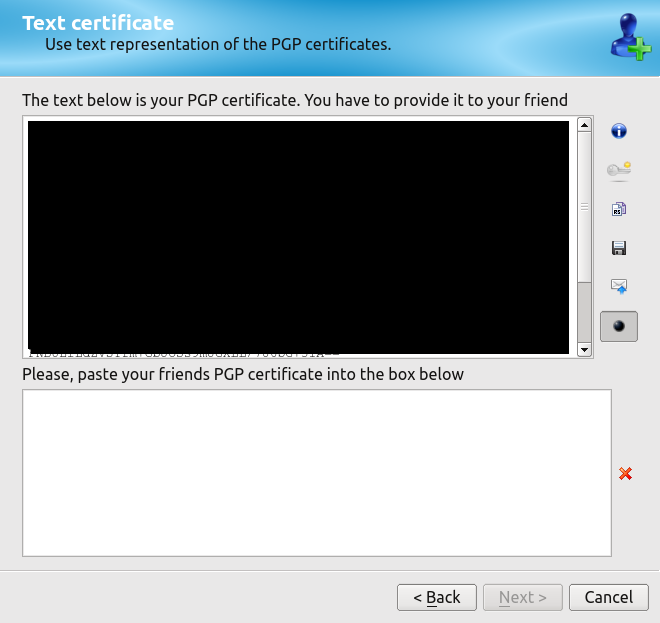 You will notice I have blackened out my encryption, but yours will automatically be in the top "blackened" box. In the second block, this is where you will place your friend's encryption code. Click the "Next" button, which will bring you to this window. If their encryption code is good, the "X" will change to green. Click "Next" again. 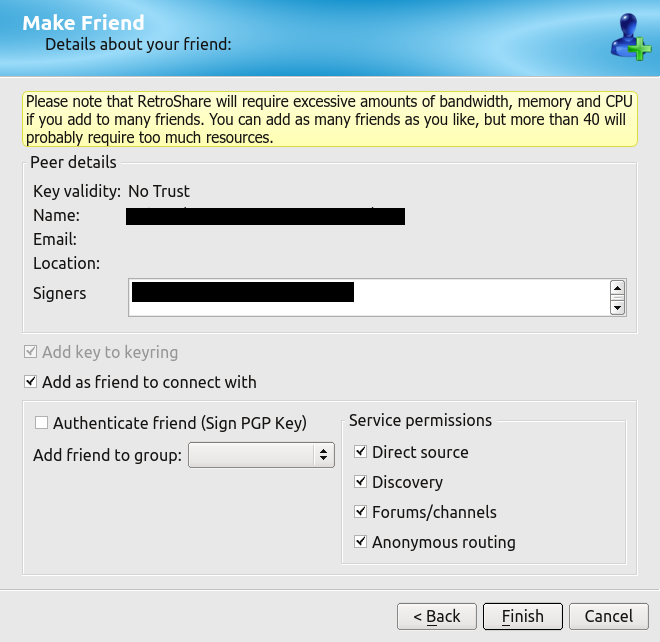 Again, the blocks I have blackened out are to protect the identity of my friend. If yours looks like this, then we are done. Click the "Finish" button. We now have to set permissions for our friend. Click on the top highlighted tab. You will notice that I have blackened out my friend's information again, but right click on your friend's name, and it will open a drop down selection box. Select "Friend Details," which will bring you to this window: 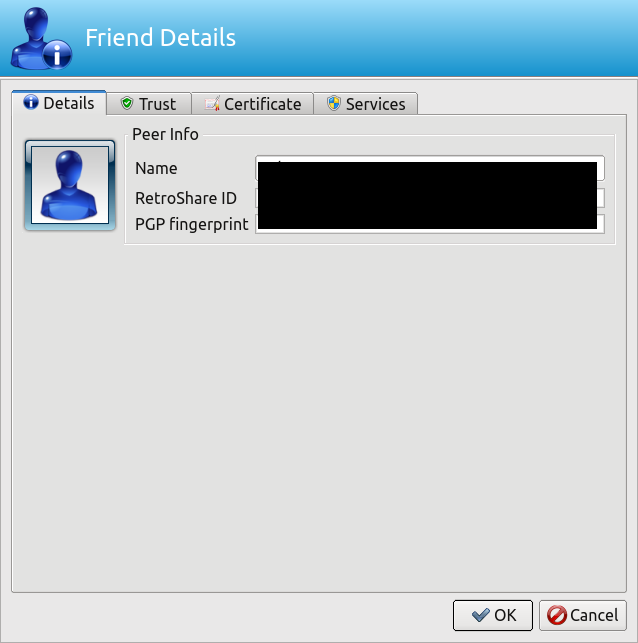 Click on the "Trust Tab." 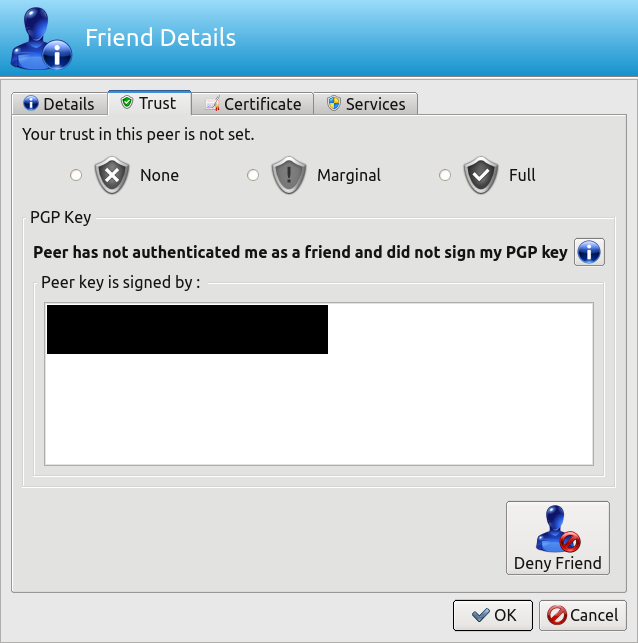 I granted "Full" trust to my friend. Down the left side of the window, across from the Deny Friend, will be one for you to sign your friends key. Do so, then click OK. Now, go back to the main window, and on the left panel, click on the folder icon. We have to set the permissions for our share files, and that will bring you to this: 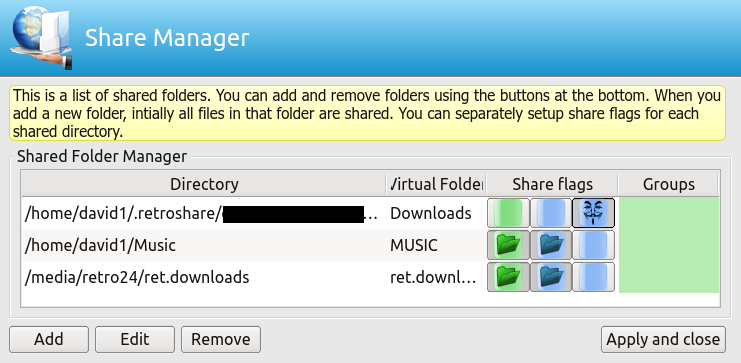 Yours should look like the top entry, since that will be the only one you have listed at this point. Now, notice how the folders appear. This is not how you want them to appear. You want them to look exactly like the other two I am showing. So, click on each folder and make one and two a folder, as I have done, and set the third one as a color. As for the other two that you see in the image, you can simply add them to yours with the "Add" button. You do not have to do it at this time. That part is up to you, so click on the "Apply and Close" button. I think I have covered all I can to get you up and running. As far as adding friends, you will have to PM me. Ask me for my RetroShare keys, and I will add you and send you my personal encryption code so you can add mine. As we go along with this, a lot of us will probably share encryption keys with each other. Presently, I know three of us from the forum are using RetroShare, and trying to work out bugs. I have been able to make RetroShare pick my headset and mic. Just to show you how, let's go back to the main window. Click on the VOIP Button, and that will bring you to this, but make sure you have your mic and headset plugged in before you start. The only way I found to make it work is to disable PulseAudio in the PCLinuxOS Control Center (PCC), and use straight ALSA. Then, and only then, can I get RetroShare to discover my headset and mic. One of my other friends cannot get RetroShare to find his mic, so things may vary on this issue. I have got an old headset I bought from Radio Shack 12 to 15 yrs ago, and it does find mine. I also want to mention now that while I can get my VOIP option to work, and I can hear mine, the "SIP protocol" is only half way finished, so it may not work at all. That will be up to the developers to do their work. 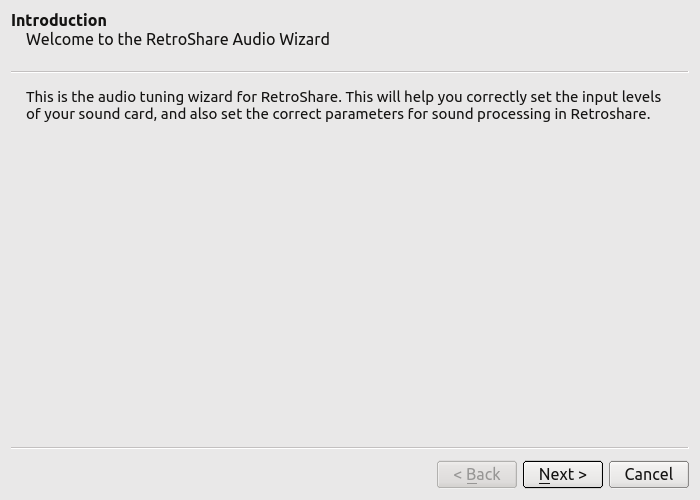 Click Next, and that will bring you to the next window. 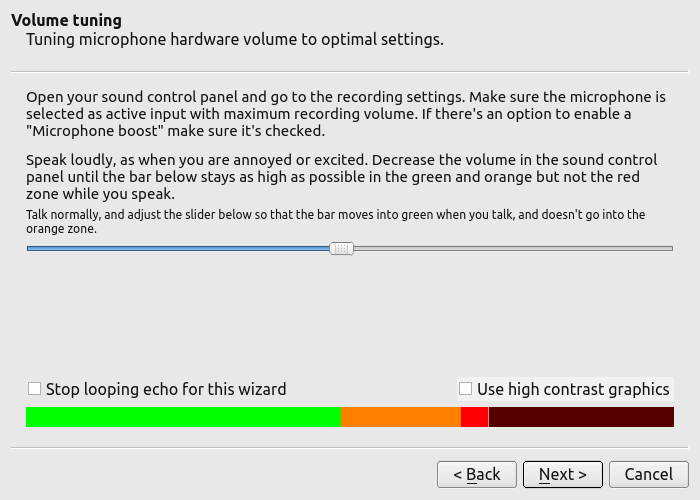 So, that will bring you to this window: 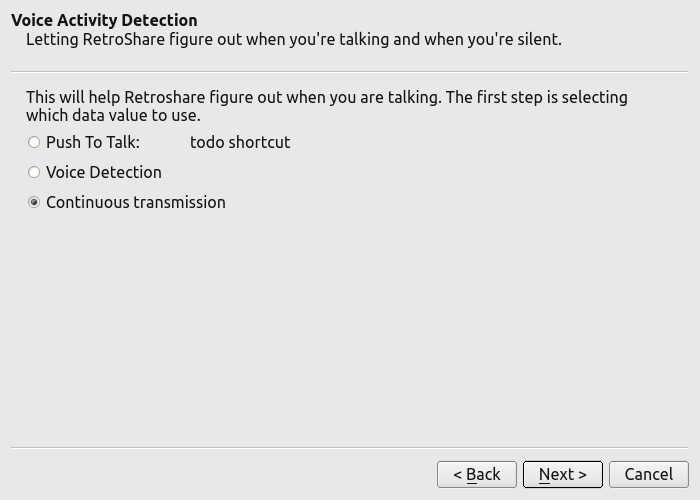 So if yours looks like this, then click the "Next" button again and that will bring you here: 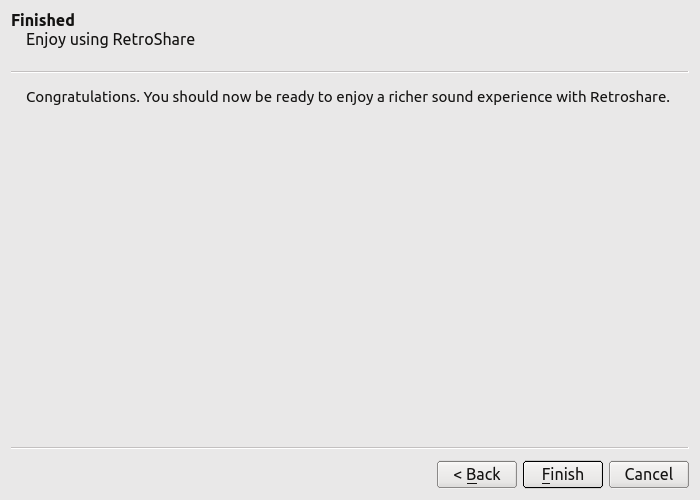 If yours looks like this then select the "Finish" button, and you're good to go. I hope all goes well with your installation of RetroShare. I am by no means a expert on this, but me and some of my buddies may be able to help you along the way. Best of Luck. My best to all. This is DanielBoone, or David1958 as some know me. I got cabin fever over the winter, and decided to change my forum name. Don't forget ... what I have written are only suggestions, so please take them as such, and make your own decisions about the changes mentioned. |