| Previous
Page |
PCLinuxOS
Magazine |
PCLinuxOS |
Article List |
Disclaimer |
Next Page |
Tip Top Tips: Kodi With The Latest Add-ons |
|
Editor's Note: Tip Top Tips is a new monthly column in The PCLinuxOS Magazine. Each month, we will feature -- and possibly even expand upon -- one tip from the PCLinuxOS forum. The magazine will not accept independent tip submissions specifically intended for inclusion in the Tip Top Tips column. Rather, if you have a tip, share it in the PCLinuxOS forum's "Tips & Tricks" section. Your tip just may be selected for publication in The PCLinuxOS Magazine.
This month's tip comes from PCLinuxOS forum member trytip. It's best to start with a FRESH Kodi, so DELETE or RENAME your old .kodi. This addon will install the latest EXODUS, which used to be GENESIS, plus a lot MORE. It will customize the background and ADD a few shortcuts to the HOMEPAGE. This is by FAR the best STARTER package which includes VIDEO/MUSIC/PROGRAMS. Step 1: Navigate to the "File manager" tab under the "SYSTEM" menu heading. 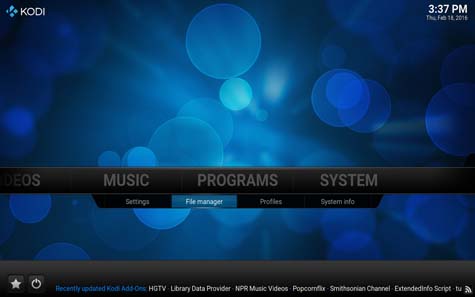 Step 2: Click on the "Add source" function at the left side of the screen. 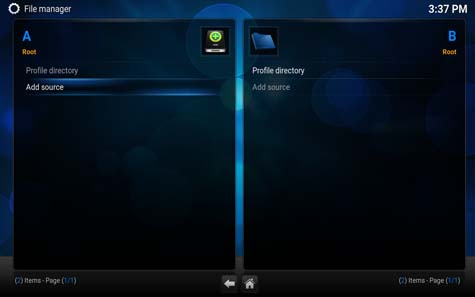
Step 3: Click on the top text input box marked " 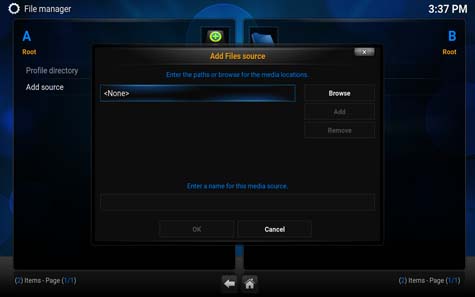 Step 4: Input "http://fusion.tvaddons.ag" (without quotations) then Press the "Done" button. 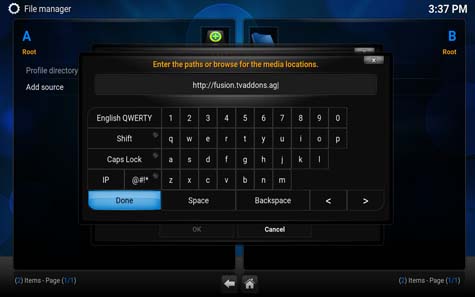 Step 5: Click on the bottom text input box under the "Enter a media name for this media source" field.  Step 6: Input the word "fusion" (without quotations) then Press the "Done" button. 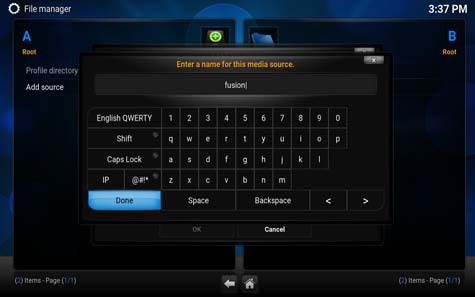 Step 7: Click on the "OK" button at the bottom of the window to save the file source at this point. 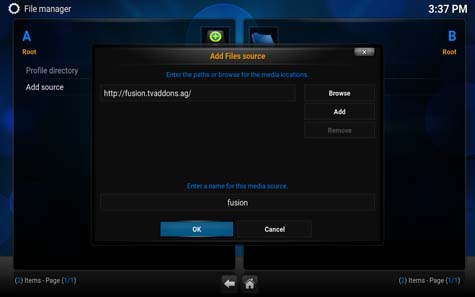 Part 2 -- Run Config Wizard Step 1: Return to the Kodi home screen, then Navigate to the "Settings" tab under the "SYSTEM" menu heading. 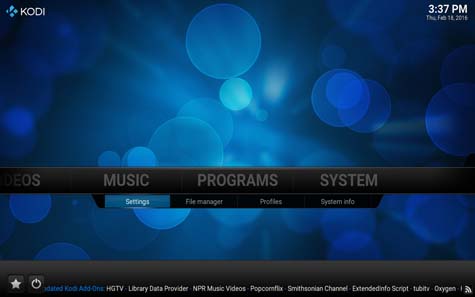 Step 2: Select the "Add-ons" tab from the left side vertical menu. 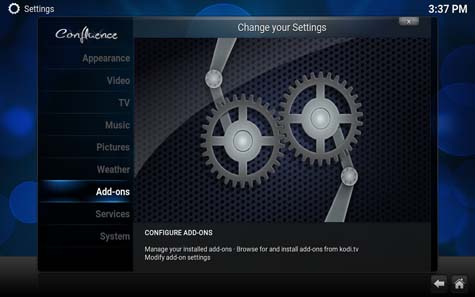 Step 3: Choose the "Install from zip file" function from the listing. 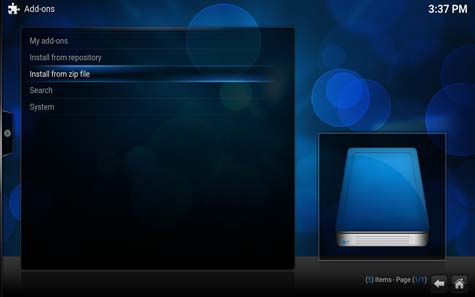 Step 4: Click on the "fusion" server folder at this point. 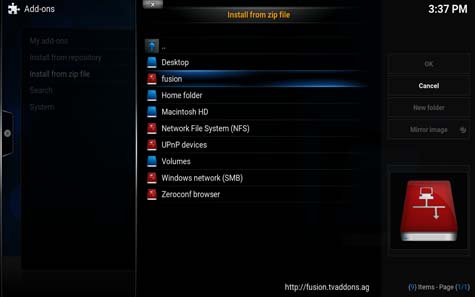 Step 5: Choose the "start-here" folder from the listing. 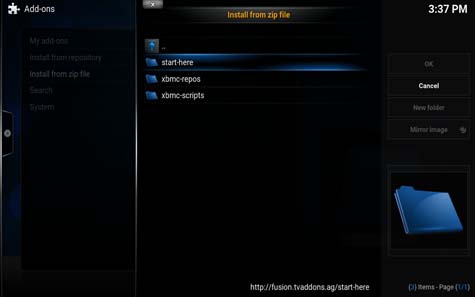 Step 6: Click on the "plugin.video.hubwizard-1.1.9.zip" file at this point. 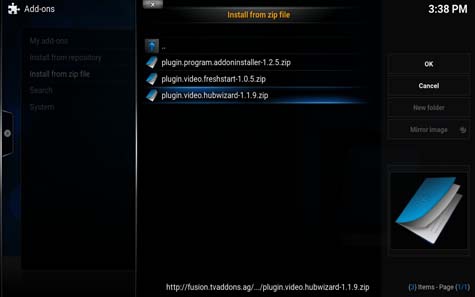 Step 7: Return to the Kodi home screen, then Navigate to the "PROGRAMS" menu. 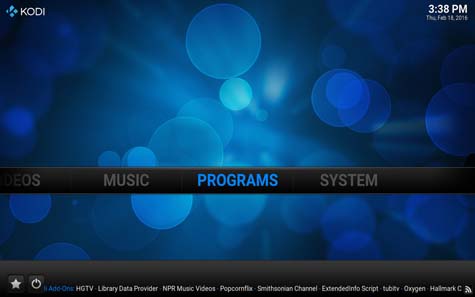 Step 8: Launch the "Config Wizard" tool from the listing. 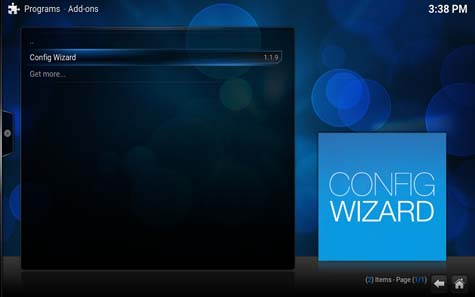 Step 9: Choose your desired operating system (LINUX), they're basically all the same. 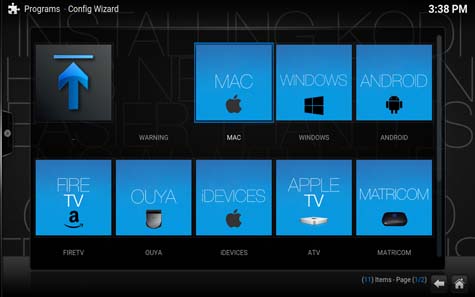 Step 10: Press the "Yes" button when prompted to confirm the customization process. 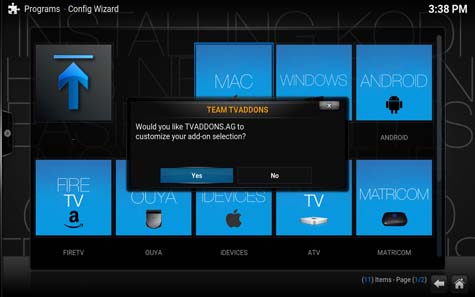 Step 11: You'll now have to wait about a minute for the process to complete.  Step 12: Once completed, you'll be automatically sent back to the Kodi home screen. You'll now want to Click on the small power button located at the lower left corner of your screen. 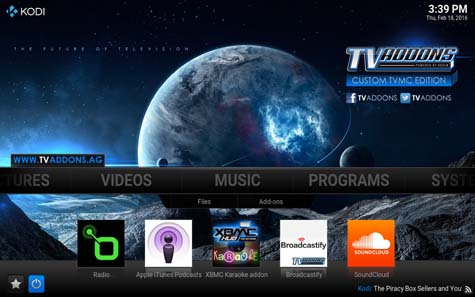 Step 13: Press on the "Exit" button at this point to close Kodi. 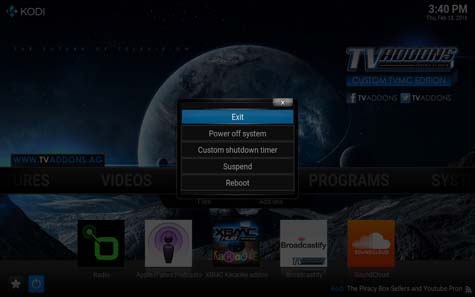 Step 14: You'll now want to relaunch Kodi to find your shiny new configuration ready to use! 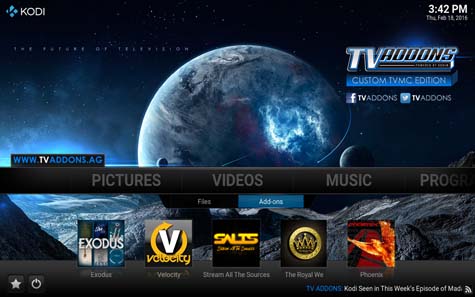 KODI gets annoying because nothing is permanent and you constantly need to know what addons are valid, but then again, it's the same with all tv/movie websites and programs like Popcorn Time or Stremio. You can also use the same REPO and install some OTHER HIDDEN add-ons, like Erotik (XXX) or Genesis (i guess it's updated). It should already be in your PROGRAMS/ADD-ONS/ADDON INSTALLER there are many others, but try one at a time. I don't know them all, since I'm new fairly new to Kodi. SETTINGS Sometimes audio is low, but you can amplify it. Change Wallpaper Copy any wallpaper to .kodi/media/. Then, in SETTINGS/APPEARANCE/SKIN, click settings/background/background path. A very useful option is to have Kodi WINDOWED. You can then resize it how you want by dragging the sides. This way, if Kodi freezes, you can quickly KILL with a task manager. System/Settings/System/Video output/Display mode, then click the resolution up or down till it says Windowed. Subtitles System/Settings/Video/Subtitles/ scroll down to Default TV show service. Click it and GET MORE, then select OpenSubtitles.org. Then, do it again and add Subscene.com. Now you can use the subtitle icon. WARNING: go to .kodi/media/ and create a folder called Subtitles. Then, in System/Settings/Video/Subtitles/ Subtitle storage location, click Custom location, then underneath select Custom location folder. TO VIEW HIDDEN FOLDERS System/Settings/Appearance/File lists/Show hidden files and directories. |