| Previous
Page |
PCLinuxOS
Magazine |
PCLinuxOS |
Article List |
Disclaimer |
Next Page |
Inkscape Tutorial: Create Tiled Clones, Part One |
|
by Meemaw The Clone tool in Inkscape is useful for creating many copies of a single object. It is convenient to clone an object rather than to simply copy one. If you make several copies of an object, then they are all stacked up in one group and must be moved. Also, clones are unique in that if you change the beginning object, the change also happens to the clones. This may make for easier work. The section Create Tiled Clones is very useful for creating many clones arranged a particular way. It is a menu option that has multiple configurations. The configuration window has tabs for several different types of changes. Let's try a few. Create a simple object, like a circle, square or star. I got a little silly with my star. 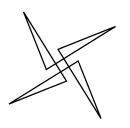 Select your object, then choose Edit > Clone > Create Tiled Clones. The configuration window will open, and you can see the tabs at the top. There are only six tabs, but there are loads of changeable options which can create many effects. The one thing common to all tabs is that the bottom never changes. Everything below the line "Apply to tiled clones" remains throughout your tab choices. 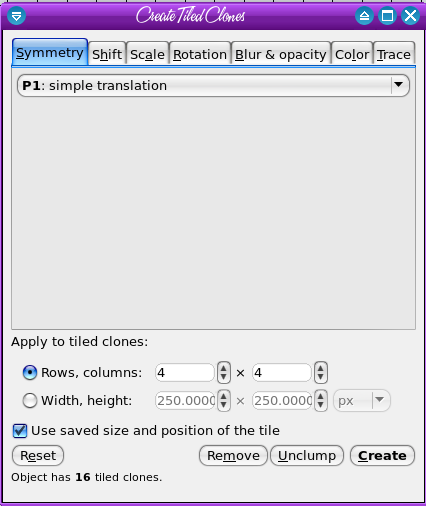 If you choose P1: Simple translation, 4 rows and 4 columns, and click Create, you will see an array like the one below: 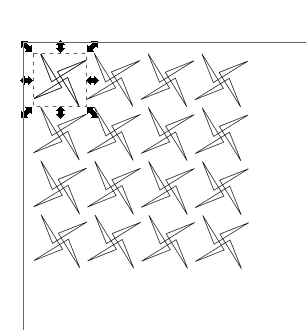 If you tried this with a square, you probably noticed that your clones were sitting up against each other in a sort of checkerboard pattern. In fact, you can make a checkerboard pattern in just this manner. What if we don't want everything jammed together? Some of our tabs could remedy this. Let's look at the tabs for a moment. We'll do a few basic things, but honestly, there is so much you can do with the Clones window, it will take more than one article. Symmetry: This tab lets you choose what to do with the figure you have drawn. The dropdown has 17 choices that alter the clones with a regular pattern. P1: Simple translation makes the pattern that you see above. Some of the other choices can give you a different effect. PMM: reflection + reflection gives you a different pattern, each "star" being a reflection of the one to the left of it, and the pattern continued down and across. 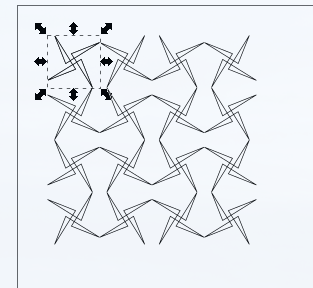 This one is P4M: 90o reflection + 45o rotation 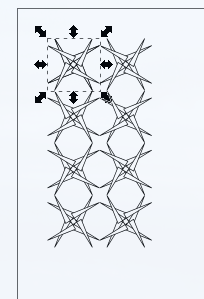 As you can see, there are many choices just using the first tab. You can also click on the Remove button at the bottom to delete your clones and go back to the beginning star. Let's experiment more. Shift: These settings will let you move things so they aren't just crammed up against each other, or even on top of each other, as in the last example. You can shift, or move, each successive row and column by a certain percent, or randomize each. Click on this tab, and change the settings as you see them below, then click Create. 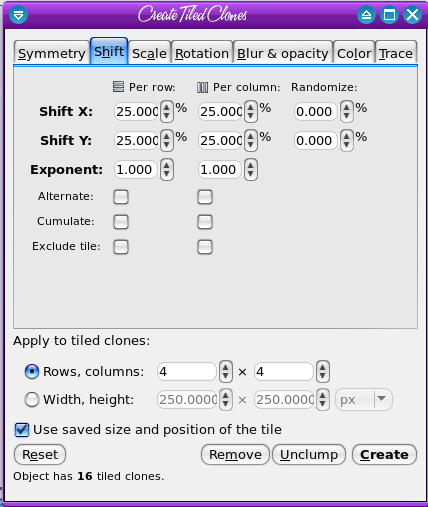 This will be similar to your result: 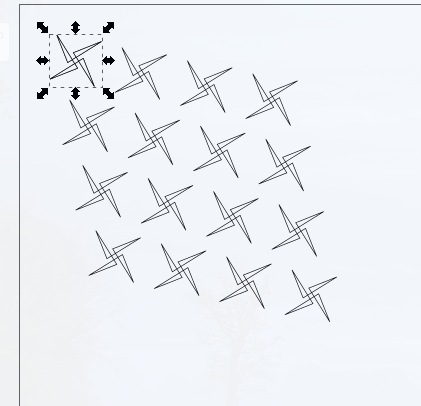 If we add 25% to the settings in the Randomize column, we will get this: 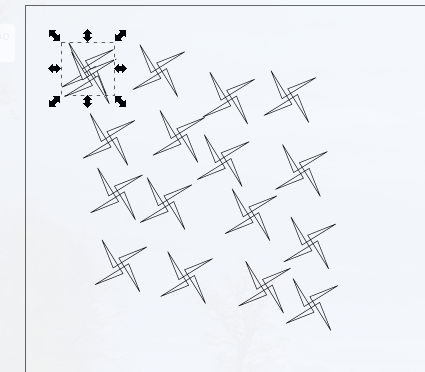 Randomize varies the results of the other settings so things aren't symmetrical. Any of these settings can be changed to any percent. Experimentation is the key in this project! So let's experiment more. Change randomize back to zero, but leave the shift settings as they are. Scale: This setting will let us change the sizes of our clones. Put in the following settings: 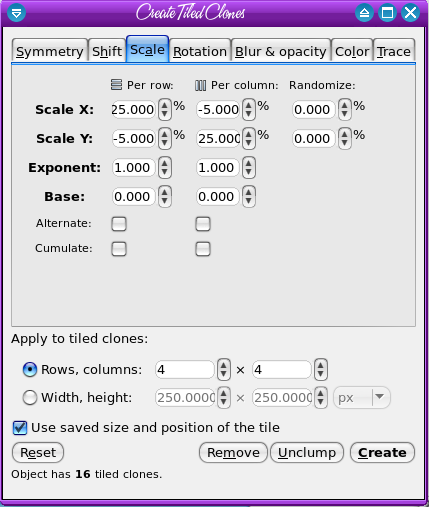 This will have the effect of increasing the height and decreasing the width of each clone in the first row, but decreasing the height and increasing the width in each column. That probably is hard to visualize, so look how we end up: 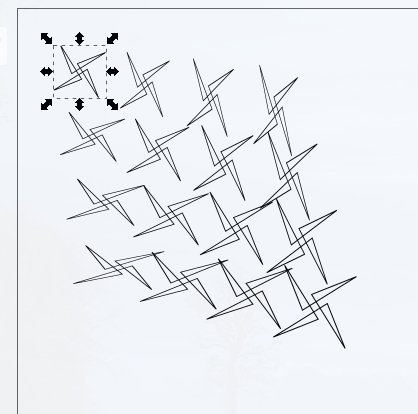 We probably want to reset those settings. However, we'll keep experimenting. For the next setting, I pressed Reset in the lower left of the window, then went back and set the Shift tab back to the 25% we started with, so that our result will be more easily seen. Rotation: This setting does exactly what you think: rotates your clones. Set each to 30% as shown below. See the results below that. 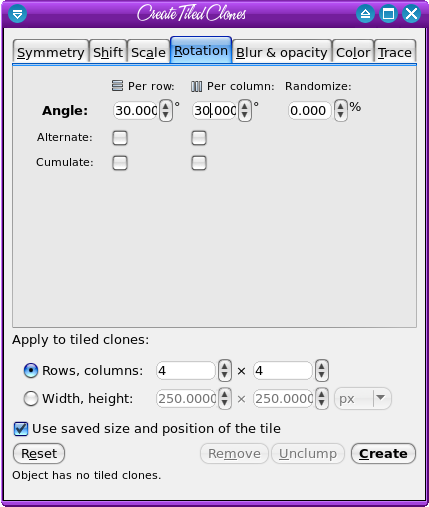 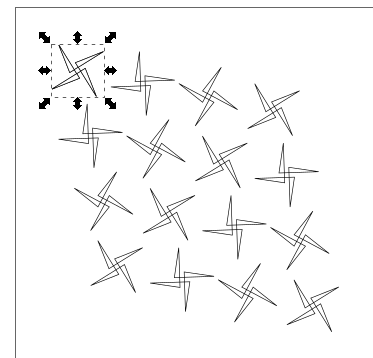 Obviously, each clone is at a different angle. You should be able to tell on these that each result as we move to the right and down is a progressive product of the item to the left and/or above it. What I mean by that is that one the first row, the second star has resulted from a 30o rotation of the first, then the third is the second one rotated 30o, so when you get to the fourth, the rotation is much more evident: in fact, it is a 90o rotation of the first. Blur & Opacity: This setting makes the opacity and blur of your clones different (just what you thought). In this one, I changed my star to a 6-pointed star, with black fill. I also changed the rows and columns to 8 rather than 4. I used a 25% randomize in each setting. You can see what the result is below. 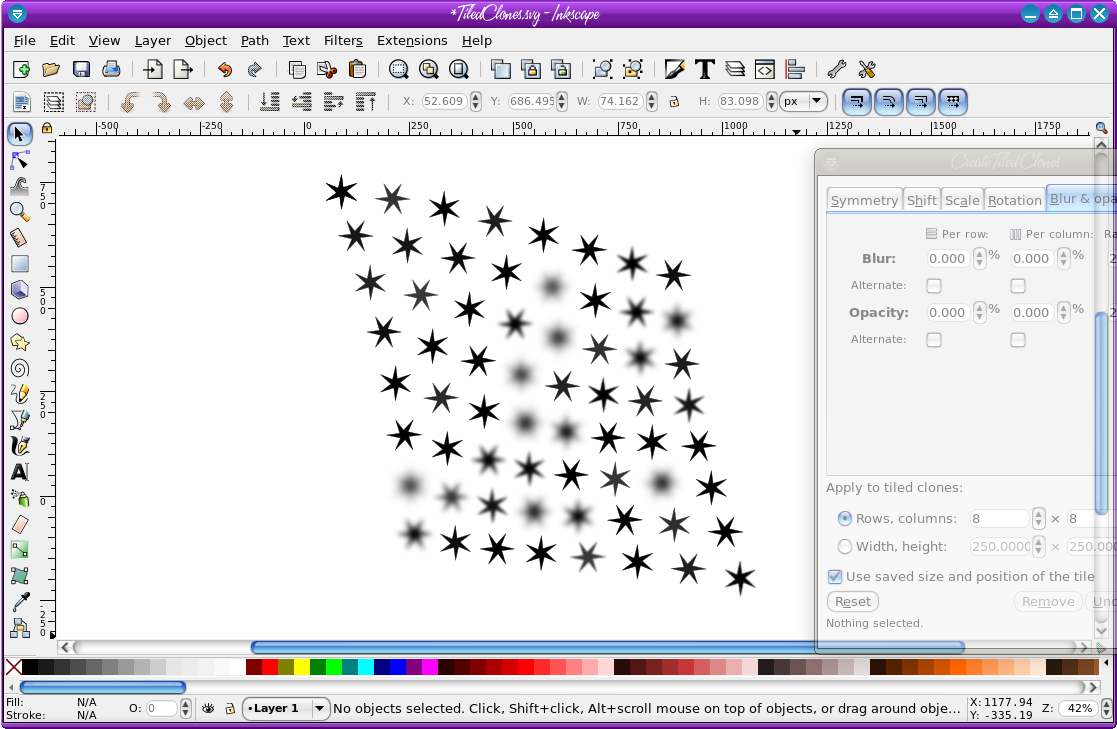 Notice that some are blurrier than others and some are more opaque. You can do these separately as well. Color: This setting changes the hue, saturation and lightness of the original, so if you need some colors to be different, you can do that as well. Make sure you click on the color chip in the settings window and choose the correct color. 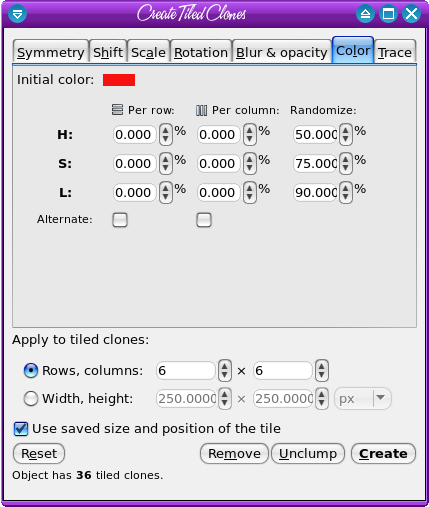 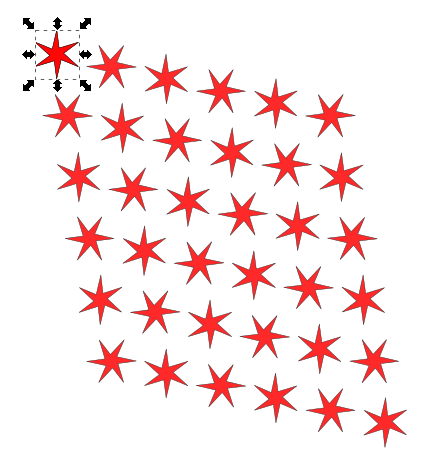 It might be difficult to see, but the stars aren't all the same color intensity. Some are lighter than others. Let's stop here so you can experiment on your own. Stay tuned for the next article. I'll show you some uses for this tool that you may have already seen. |


