| Previous
Page |
PCLinuxOS
Magazine |
PCLinuxOS |
Article List |
Disclaimer |
Next Page |
GIMP Tutorial: Using The Cloning Tool To Edit Photos, Again |
|
by Meemaw In the December, 2012 issue of the PCLinuxOS Magazine, I did an article about photo editing which centered on removing unwanted items from your photo. This uses the Clone tool, which is different from the Clone menu in Inkscape. Inkscape's Clone tool is used to make exact duplicates of an object, while the Clone tool in GIMP allows you to cover up an imperfection in a photo with something that will blend with the surrounding features. In my original article I used the Clone tool to remove a traffic sign from a photo, replacing it with the appearance of the surrounding vegetation. In this article we will explore ways to make this a bit easier. One of the forums I used to frequent was the Linux Graphics Users Forum, which I'm sad to say has disappeared. However, one of the members posted this list of suggestions for cloning:
A few things that I have found helpful when cloning are : --
What this means is that you can select an area you want to clone (or one you don't want to clone). I have a photo of my mother that was damaged years ago. I repaired it in an earlier GIMP article as well, but let's do something different. This time I used the Scissors Select tool to draw around her so I can clone in a different background. 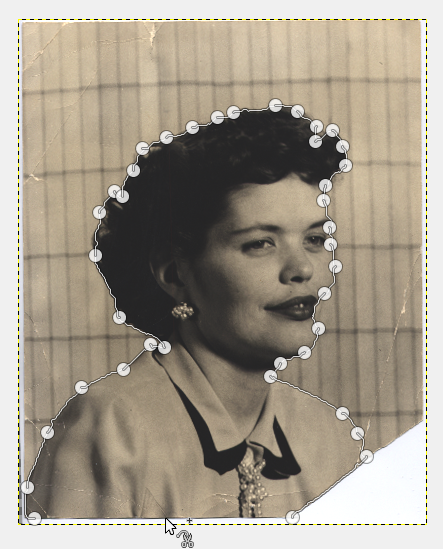
I zoomed in to make sure things like lips and eyebrows were selected smoothly, then when I'm satisfied, I press Enter, and the selection is shown. 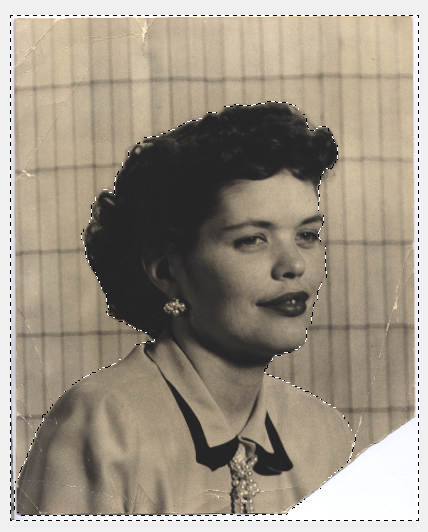
Before I started on anything else, I did Select > Grow and grew the selection around her by 1 pixel. Since I want to keep her and clone in a different background, I'm going to choose Select > Invert. This will choose the background and allow me to use the clone tool without worrying that I'm going to cover her image with a color I don't want. Also, in the clone tool properties, you can choose an area of the photo to use for your clone (we already knew that), but you can also choose a pattern to clone in. If you have some patterns you think would make a good background, try one and see. You might have to try a few before you find one you think will work best. Notice you can swipe quite a bit with your mouse and the selected area will be the only part affected. 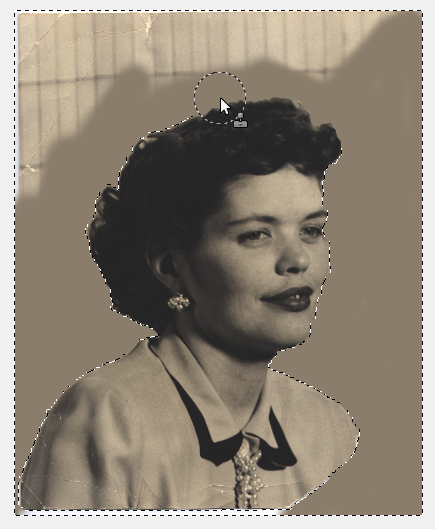 When you are finished with the background you want, choose Select > None to get back to the whole picture.
I did some fine tuning around her cheek and her lips, then found this big lump on the sleeve of her blouse. For this, you need to zoom in close and make your brush small, like 10 pixels, and stroke very carefully. 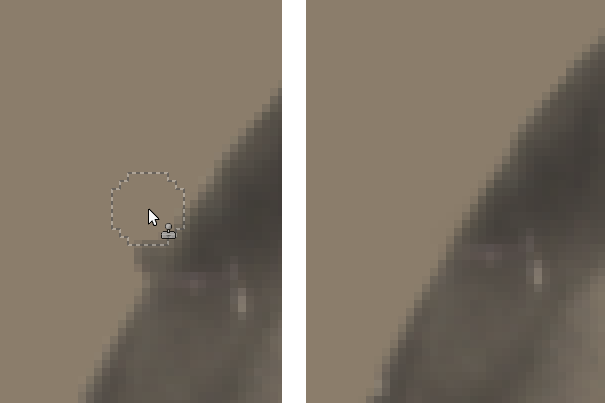
This is a tip you probably already know, but possibly haven't thought about. It's really easy to switch back & forth between one change and the previous one to see which looks better.
Sometimes I get into what I'm doing and draw several changes without stopping or even releasing the button on my mouse (it's easy to "color" with your mouse for several strokes), but if you are doing something more delicate, it will be better to use short strokes and release the mouse button, then look at what you have. If you've gone too far, then you won't lose as much progress when you undo something you don't like. While I was at it, I cloned in the bottom right corner and completed the corner of the photo that had been torn, and fixed her blouse, using other areas of her blouse to match. Remember, if you are using the photo to choose the clone "material", you position your mouse over what you want to use, then hold down the <CTRL> key and click.While I was doing that, I also cloned over the places in the photo that looked cracked. 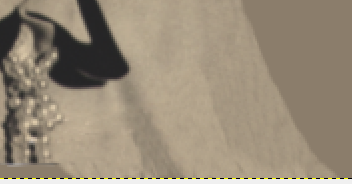 Then I cropped the photo and saved it as a GIMP .xcf file. 
I also felt that the edges of her face and hair seemed way too sharp, as if they had been cut out with scissors. (and of course, they had.) To remedy this, I used the Blur tool (looks like a water drop) along the edges (very lightly) to smooth out the places that were cut out in the first step. After that, I exported it to a photo format. 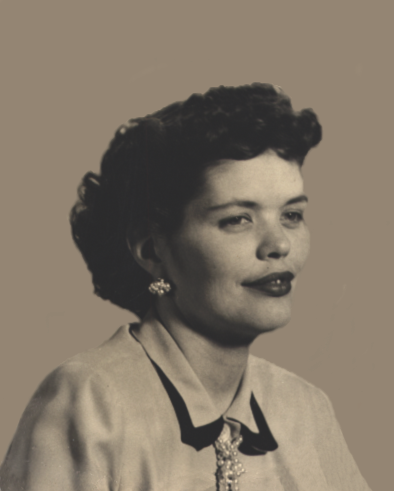 I'll have to try it again. Just like with any project in GIMP, if you don't like your first attempt, you can always start over (as long as you are working on a copy of your original and not overwriting the original.) I didn't like the original background but saved a copy of the one I fixed, and I'm still considering the background on this one. |