| Previous
Page |
PCLinuxOS
Magazine |
PCLinuxOS |
Article List |
Disclaimer |
Next Page |
Creating A Kiosk Machine With PCLinuxOS And Xfce |
|
by Alessandro Ebersol (Agent Smith) Often one has the need to create a kiosk machine, to be accessed by the general public. Whether in a library, a classroom, or even within a company, setting up a machine on which the user is not able to change its configurations is a must. Kiosk, what is it A machine kiosk, as defined by Wikipedia, "is a computer terminal with specialized hardware and software that provides access to information and applications for communication, trade, entertainment and education." For us, it is a machine that will not have a fixed operator. That is, no one to take responsibility for its operation. Of course, because of this, its settings should be locked, so that the machine will be usable for the next user. How to do it with PCLinuxOS In other times, the old KDE 3.5 had a very powerful tool for creating kiosks, the kiosk tool, but it was not very flexible, and it was not possible to change the default theme and other settings. Now we will use the Xfce environment, which has a kiosk plugin, but we will use the Xfce DE without touching the kiosk plugin, only settings and attributes. Ingredients We will use only Xfce, which you can install with apt-get install task-xfce, the Whisker Menu Plugin and the cursor-theme-win8. Now, to illustrate the process, let's say we will install this computer in a public access area, such as a library, and its users will be people without any prior experience with Linux. Now, to not scare potential users, let's make this computer look like Windows 10. Transforming Xfce into Windows 10 There is a site http://b00merang.weebly.com/ with various graphic themes for many desktops, and there are themes of Windows 10 (decorations), as well as the GTK theme (Murrine engine has to be installed). On the B00merang site, go the link http://b00merang.weebly.com/windows-10-transformation-pack.html You will see a page like this:  Scroll down the page to get to where we want. The Win 10 icons https://github.com/B00merang-Project/Windows-10-Icons/archive/master.zip And GTK theme Windows 10 Light Theme  Available at this link https://github.com/B00merang-Project /Windows-10/archive/master.zip Now, with these files downloaded to your PCLinuxOS Xfce, install the theme cursor-theme-win8, via Synaptic or apt-get install. The Change in the Downloads folder, two ZIP files should be: 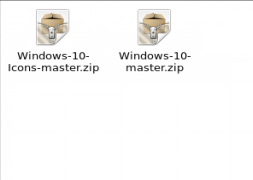 Unzip the files. The unzipped folders should look like this: 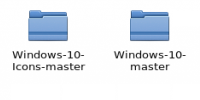 Now, the Windows-10-master folder should be copied to the .themes folder in / home user (if it is non-existent, create this folder). The Windows-Icons-10-master folder is copied to the .icons folder in / home user, just like the GTK theme folder, as above. In the Xfce graphics settings, now, will show the Windows-10-master theme and the Windows10 icon theme. Change your settings to them. 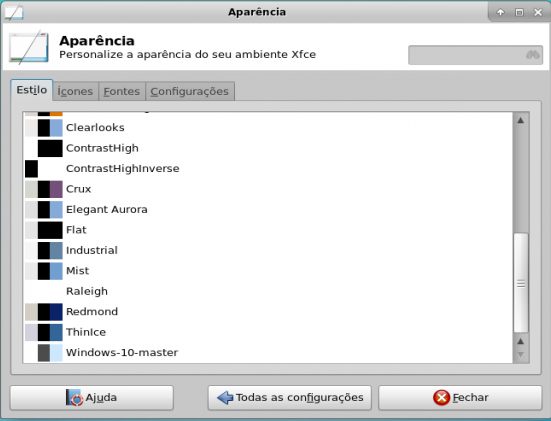 Now, your screen looks like this: 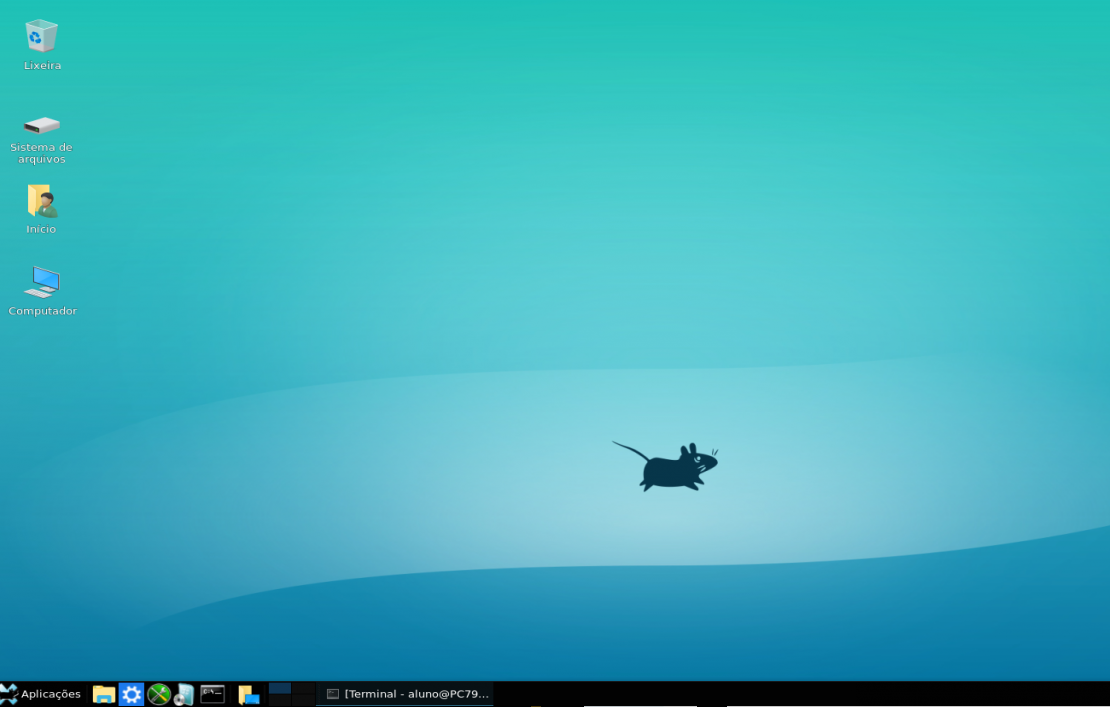 But we need to improve it. In the panel settings, adjust the size to 36 pixels, and the Alpha to 55%. The theme that has been downloaded already comes with a wallpaper of Windows 10, so choose it. Now, your desktop will look like this: 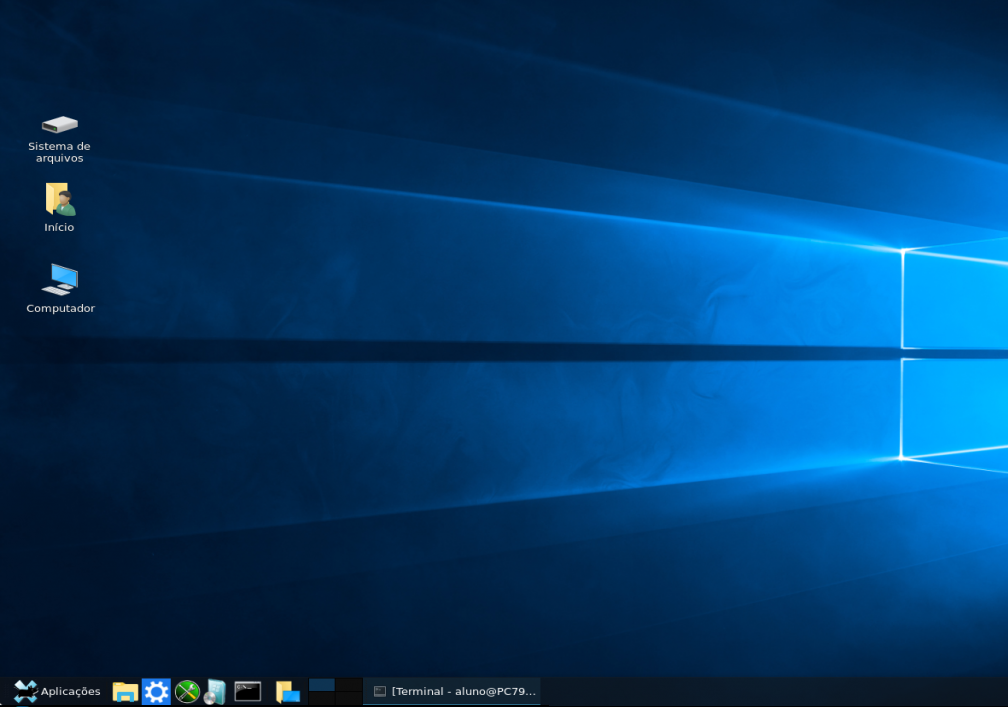 But the applications menu is not cool. Therefore, we will use the Whisker Menu, and remove the Xfce applications menu. The setting looks like this:  Set the window buttons, and, in the button's appearance, deselect the “Show captions of the buttons” and display plain buttons. Let's configure the Whisker menu now. We change its icon, for the Start Here of Win 10 icon theme and adjust the opacity to 55%, just like the bottom panel. In the Behavior tab, select Change category with mouse passover, place search input next to the panel button, place command next to the search input and place categories next the panel button. 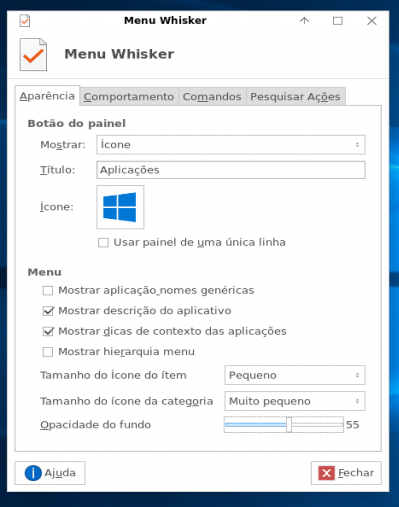 With these settings, the appearance of the application menu looks like this: 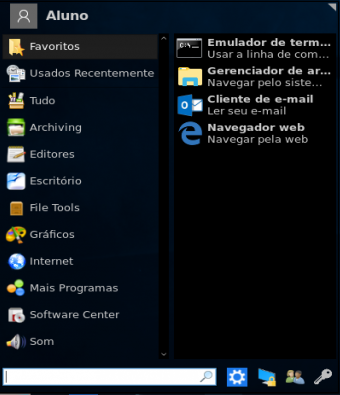 Let's set up the application launch bar, which stands to the right of the Whisker menu. After adding as many applications as needed, the appearance of the bar looks like this:  Well, now, our kiosk machine has the appearance of Windows 10, but there is still the plymouth theme (splash screen) and the GDM theme. The plymouth theme can be downloaded from this link: https://www.gnome-look.org/p/1009178/ GDM theme can be downloaded from this link: http://b00merang.weebly.com/uploads/1/6/8/1/16813022/win10_v0.2.zip Since tinkering with Plymouth themes and GDM themes is beyond the scope of this article, I assume you have the knowledge to change the themes of Plymouth and GDM, if not, it's not difficult to figure out. Now, the desktop looks like this: 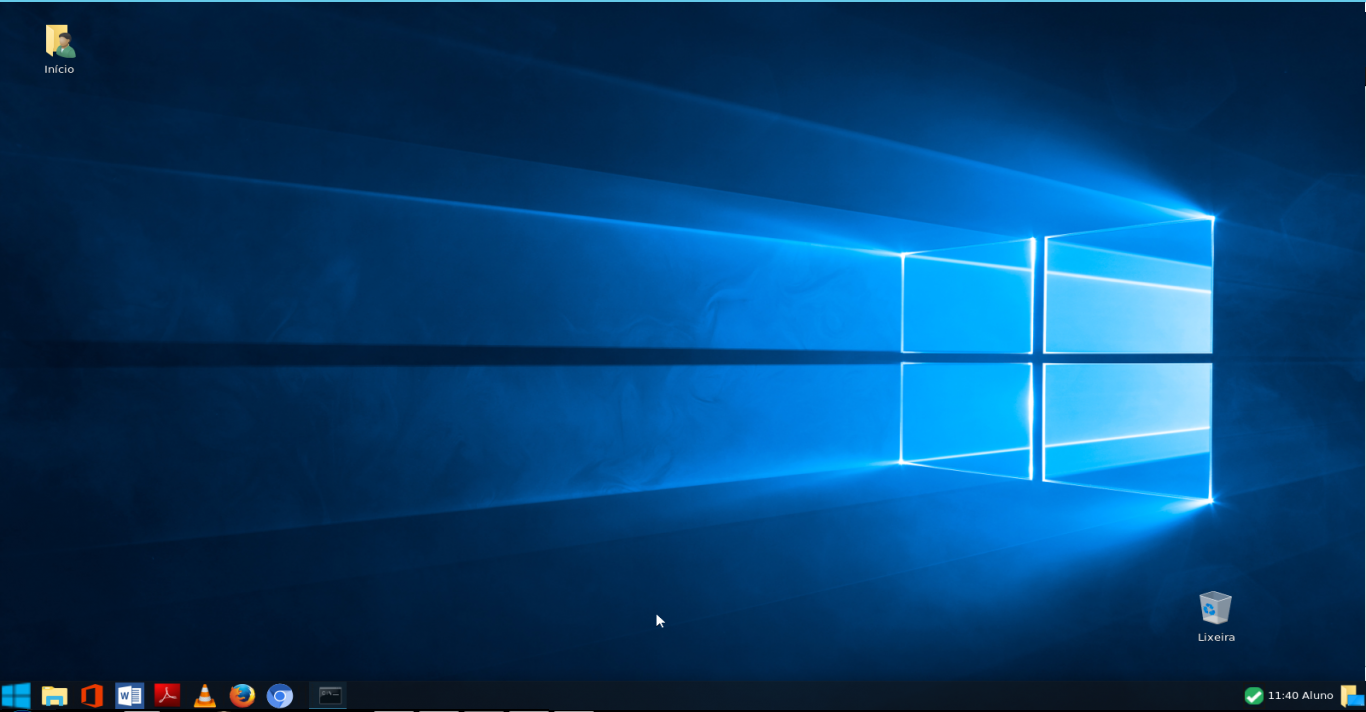 Okay, now, this beautiful setting, how do we do to make it persistent? So, no users can change it? We will see below. Locking the Desktop Settings To lock the settings, we will use the chattr command. This command modifies the attributes of files / directories. Use: chattr [option] [attribute] [file / directory] Options:
Attributes:
So let's start setting up and lock these settings. We do not want users to access the settings easily, so let's get the settings out of sight. First in the Whisker-Menu. Access /home/~/.config/xfce4/panel/ the whiskermenu-17.rc file in your installation. Your computer may have the file named slightly differently, but it will always be whiskermenu-xx.rc Open with mousepad (text editor) and reset the lines:
favorites = In the line show-command-settings = true change the setting to false. Exit the text editor, open a terminal, su to root and make chattr + i whiskermenu-17.rc (in this case, in your case, you must make chattr + i whiskermenu-xx.rc). Voila, the Whisker Menu configuration is locked. Now, let's lock the launchers.  In this beautiful launch bar, there are the folders launcher-11/ launcher-24/ launcher-13/ launcher-16/ launcher-12/ launcher-15/ launcher-23/ Of course, these names are relative to the installation I'm working on. Yours will be different, but always in the format launcher-xx / Open a terminal, su to root and make chattr + i-11 launcher / and so on, until all the folders with the launchers are immutable. Now our launch bar is locked.
To check if everything went right, do lsattr in the terminal, and the answer should be as follows: In other words, they are all set with the immutable attribute, locked. Now, let's lock the Thunar settings and remove the menus. Why remove the menus? Because some users will not be tempted to fumble around at the Thunar menus. Go to /home/~/.config/xfce4/xfconf/xfce-perchannel-xml/ and edit the file thunar.xml Look for the line <property name = "last-menubar-visible" type = "bool" value = "true "/> and change it to false. Save the file and return to the .config folder /xfce4/xfconf/xfce-perchannel-xml/. Open a terminal in this folder and, as root, execute chattr + i *. * Thus, all the settings will be locked. But there's a catch. Even with the settings locked, you still can change the settings, because when the configuration files are in Read Only attribute, the Xfce DE creates new configuration files in XML format. To prevent this from happening, we lock the folder /xfce-perchannel-xml/, making it immutable, with the command (as root) chattr + i xfce-perchannel-xml / So, now the Xfce DE cannot create new settings, and they can not be changed. Regarding the desktop area, it is at the administrator's discretion whether to lock it, so it will not be filled with files, in an unpleasant visual pollution, or leave it unlocked. If you want to lock the desktop, do chattr + i Desktop/ and it's done. This configuration has been running on multiple machines since January this year, and there were no problems whatsoever with the machines. They continue working perfectly, without users messing up the settings. |