| Previous
Page |
PCLinuxOS
Magazine |
PCLinuxOS |
Article List |
Disclaimer |
Next Page |
GIMP Tutorial: Exploring G'MIC, Part 2 |
|
by Meemaw I hope you had fun exploring G'MIC a couple of months ago. We are going to do a few more this month, to illustrate how versatile G'MIC really is. If you haven't tried it, I urge you to do so at least once. There are literally dozens of effects located there. Let's get started! The first thing I want to do is give you a bit of a warning. NOTE - the bigger your photo is, the longer G'MIC will take. Some of the G'MIC commands take more time to accomplish as there are several commands in the filter. I'm telling you this because a complicated filter will slow down an older/slow computer, and you should be prepared for it. Our first filter is called Artistic > Dream Smoothing. I took this photo of a grave I saw on one of my 4-wheeler rides this summer (believe it or not, there are a few graves in the national forest, along one of the riding trails): 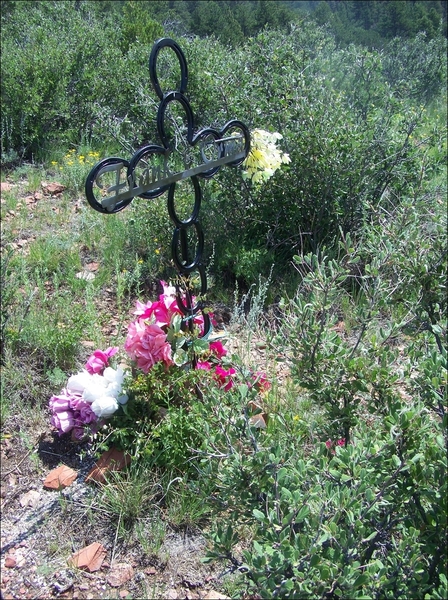 After applying the filter, we get this result: 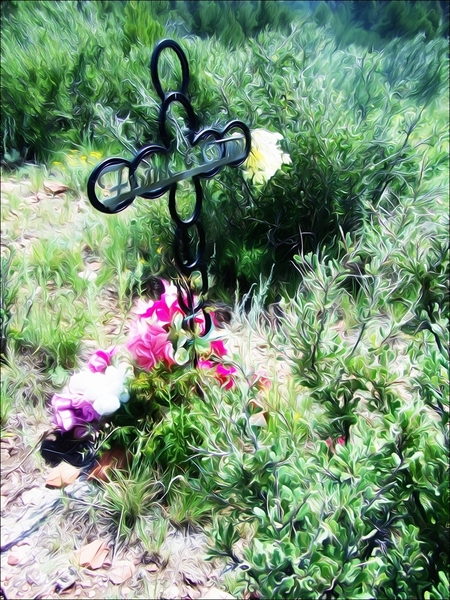 In an article from November, 2014, Khadis showed us how to create puzzle pieces in Inkscape. In GIMP, we can use the G'MIC filter Arrays & Tiles > Puzzle to create one from a favorite photo. Using the following scene, I applied the filter.  I could print this out and actually make a jigsaw puzzle with it:  Another filter, Artistic > Brushify looks a lot like the first filter above, only not so bright:  Artistic > Graphic Novel kind of sharpens up everything and makes it brighter than the original: 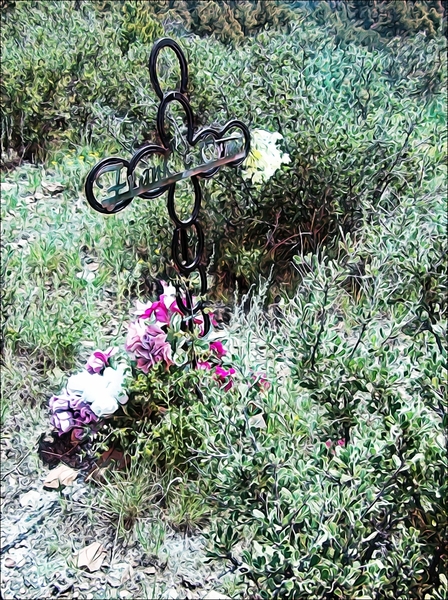 Another effect is Black & White > Pencil Portrait which is kind of like making a pencil drawing. You can choose the color, but sepia is the default. Warning: this one takes a few minutes. 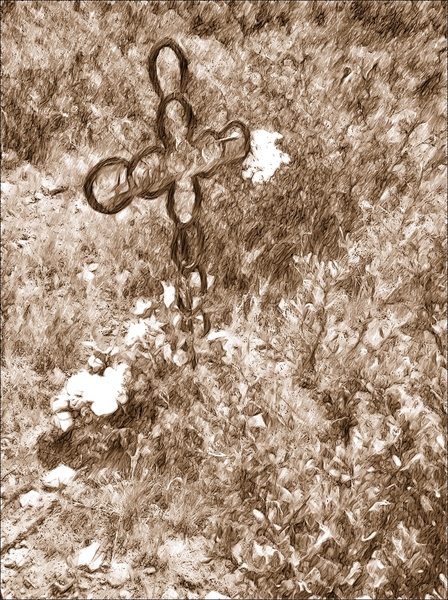 This next one is something you might use to edit your photo. Details > Sharpen (texture) seems to help sharpen it, and it might be useful if you have a photo that's just a bit fuzzy. .jpg) Then, if you want to have a bit of fun, we can open the Rendering section and play! Start with a new project with a white background. I started with a white square. These would be useful if you need some sort of crazy background, or even wanted to create a zany wallpaper. Rendering > Circle Art is kind of fun (this one takes a minute or so). Changing some of the settings can alter the nice symmetrical appearance I have going here. Rendering > Neon Lightning is a bit different, but still fun. You can change your color settings here and have it green, orange or red if you want:  I'm sure there are well over one hundred filters in G'MIC! Some of our friends over at GIMP Scripts have added more as well. Your creativity is only limited by how willing you are to experiment. Just as a reminder, your results may vary greatly from mine. The more you alter the settings in each filter, the more different your photo will look. I stayed with the defaults most of the time. I'm sure you can make something truly amazing. |