| Previous
Page |
PCLinuxOS
Magazine |
PCLinuxOS |
Article List |
Disclaimer |
Next Page |
ShowFoto: DigiKam's Image Editor |
|
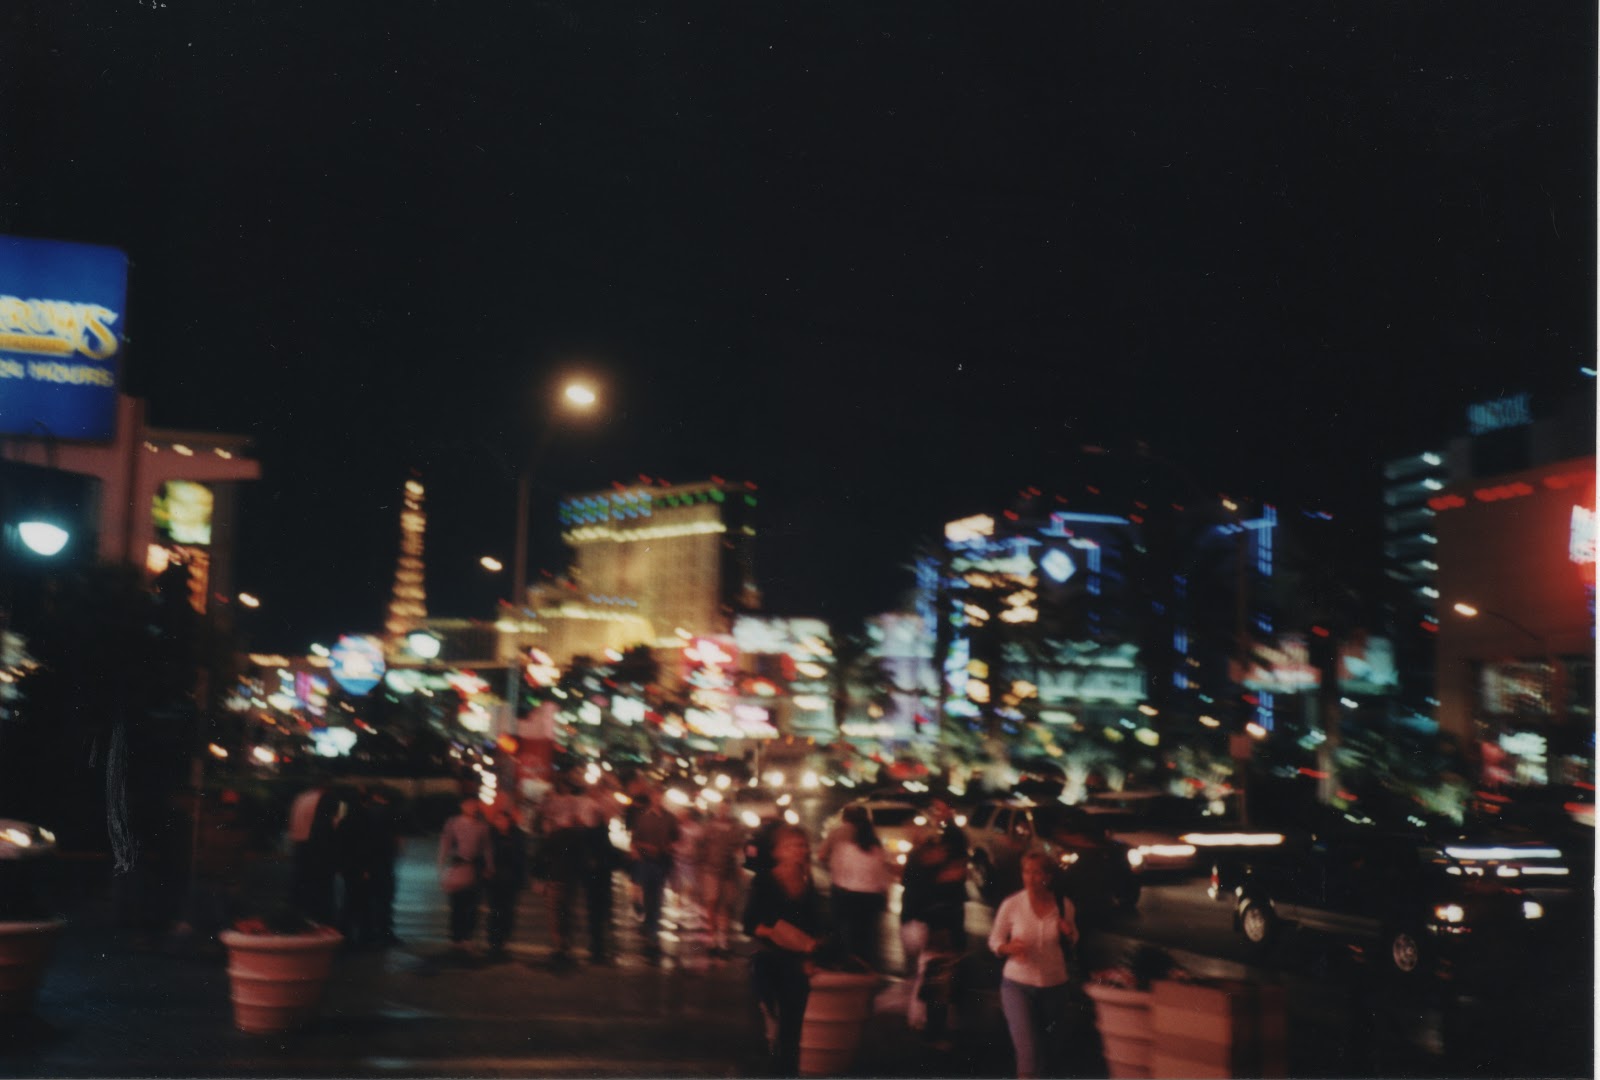
by phorneker As promised, this article is about DigiKam's image editor called showfoto. While it is installable and launchable by itself, it is best used when launched from DigiKam, as the editor was designed for and integrates well with DigiKam. 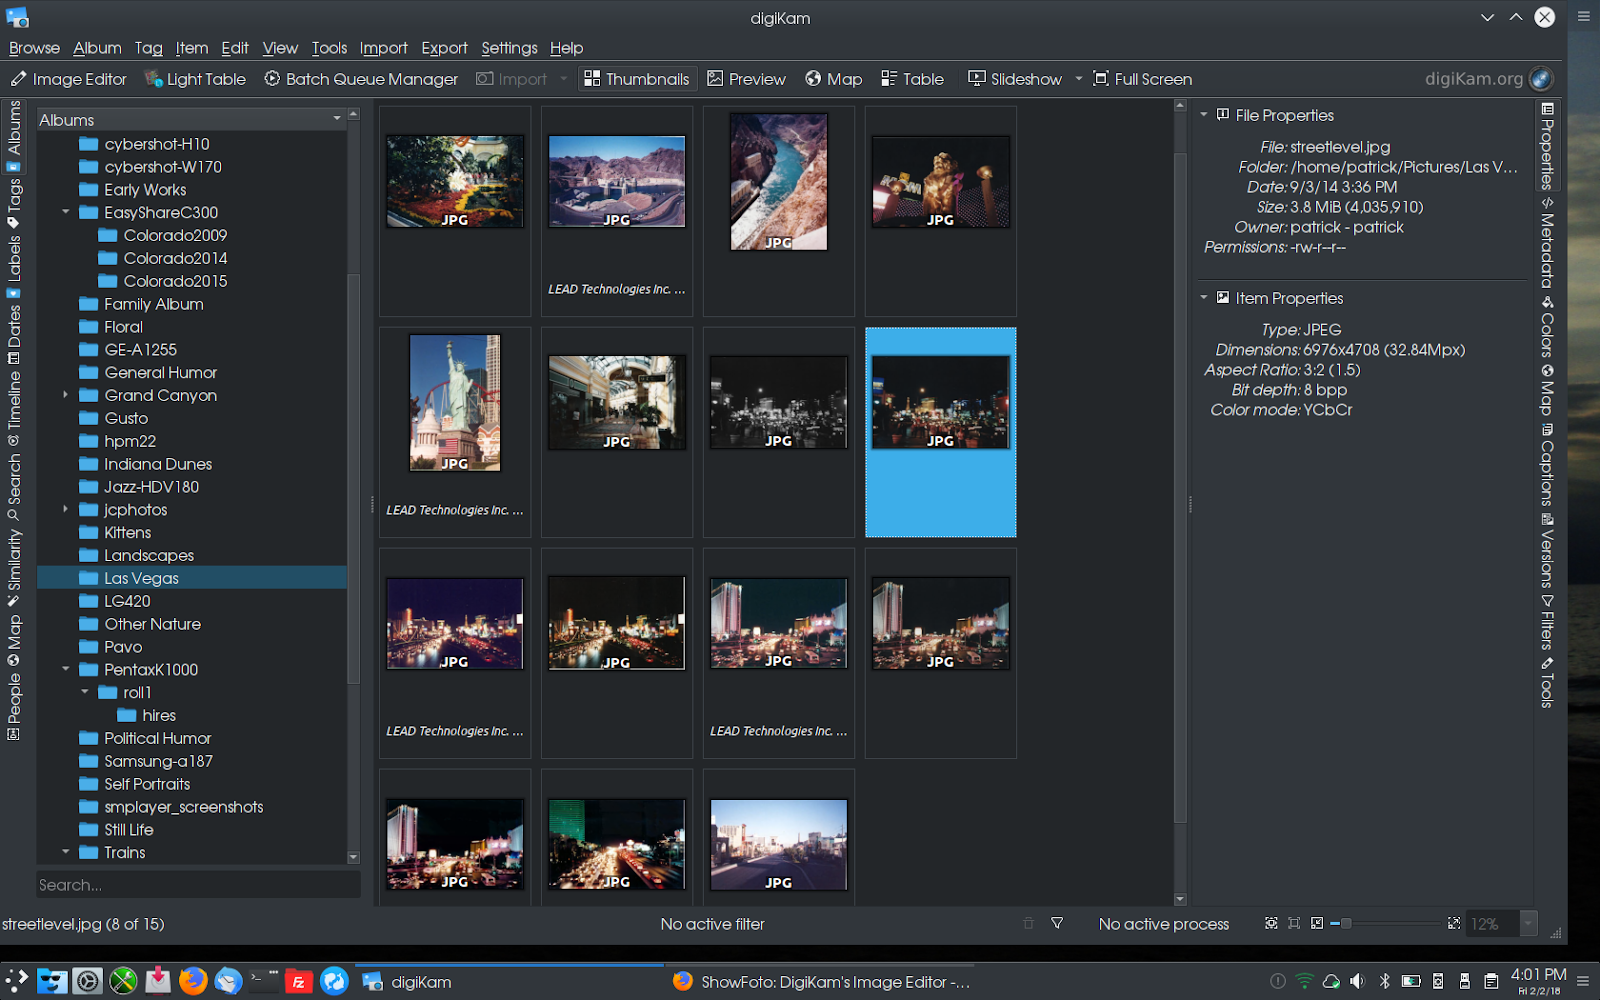 Here, we have DigiKam launched and I have selected a folder containing photographs I took in Las Vegas back in 2002. The photographs that have "LEAD Technologies" tagged are those that were scanned in 2003 with a HP ScanJet 1110 (a parallel port model) connected to a 75Mhz Pentium machine I rebuilt from an old Compaq which dual booted between MEPIS and Win95 (what I was running at that time). Some of these photographs have been rescanned with the Epson Stylus NX-415 connected to my current laptop, and as we can see in the third row, the rescans came out much better than the original (600dpi on the rescans vs 150dpi on the original scans). The photograph I have highlighted (and its greyscale version on the left) is a sample of what I would like to work with using showfoto as the image editor. To launch showfoto, click on the button labeled Image Editor or simply press the F4 key. 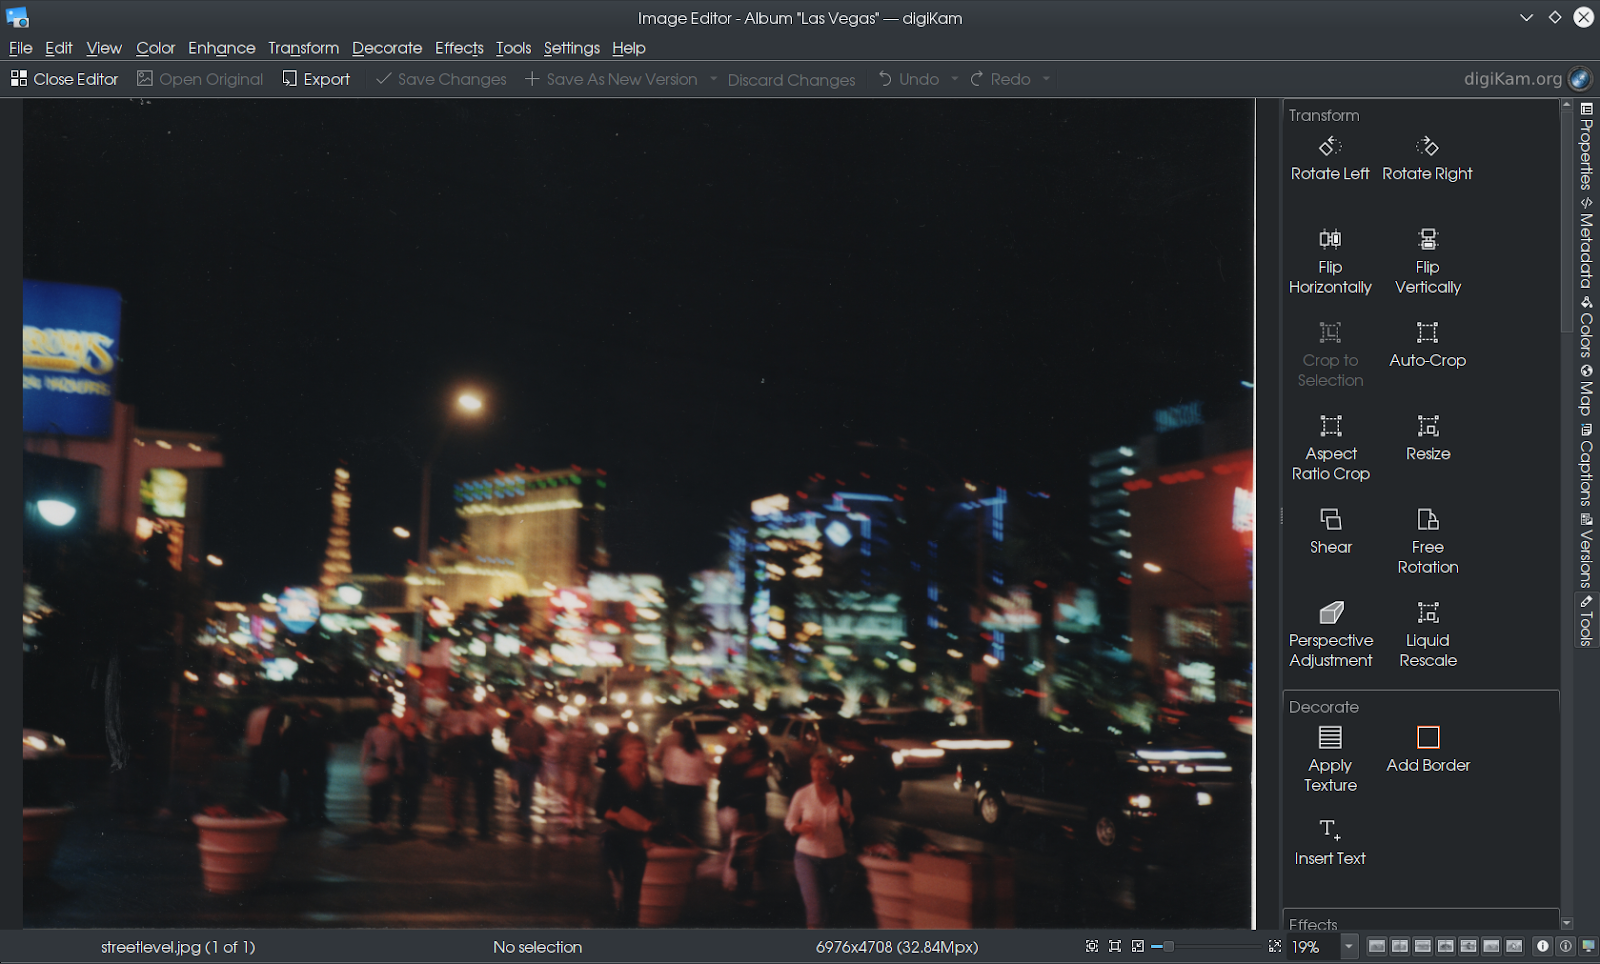 Showfoto is a fully functional image editor that makes easy work of editing photographs. The right panel starts out with buttons for commonly used tools used in editing photographs. That panel can also be used to access the properties, metadata, color profiles, geographic tags and captions, as well as managing versions of the photograph you are working on. The toolbar replicates many functions found on the main menu in showfoto. 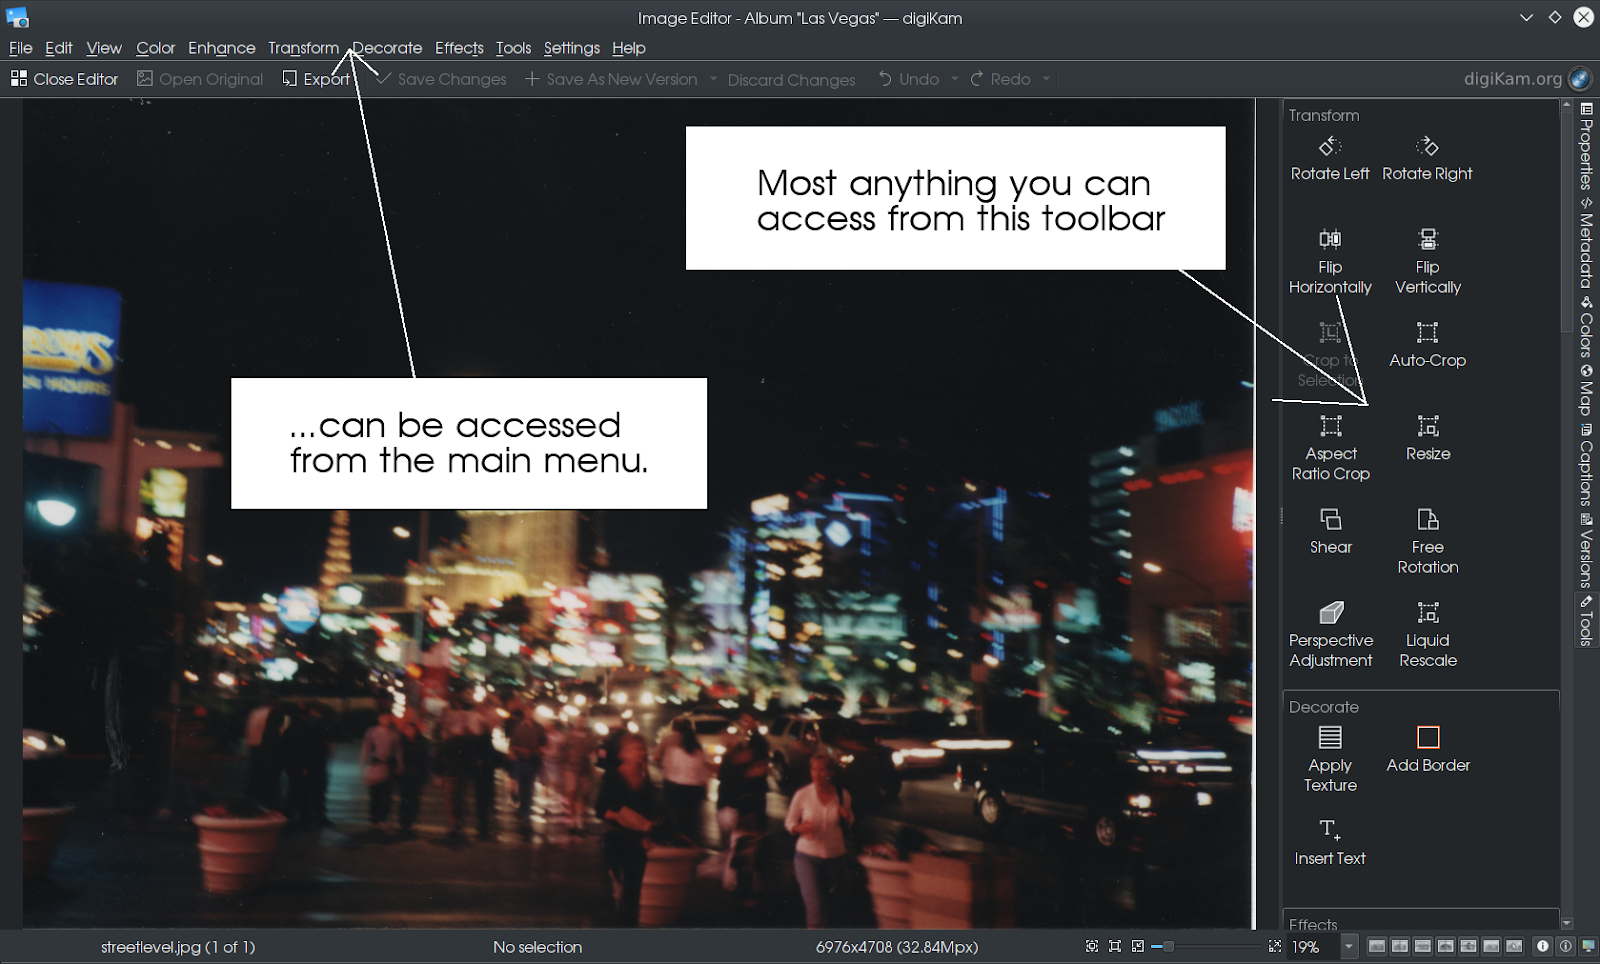 As we work with Showfoto, you will be able to save new versions of the photograph, work on a copy of the original, export to other image formats, and when we are done, close the editor. (If any unsaved changes were made, we will be prompted to save those changes before closing, or, at our option, be able to discard changes made.) 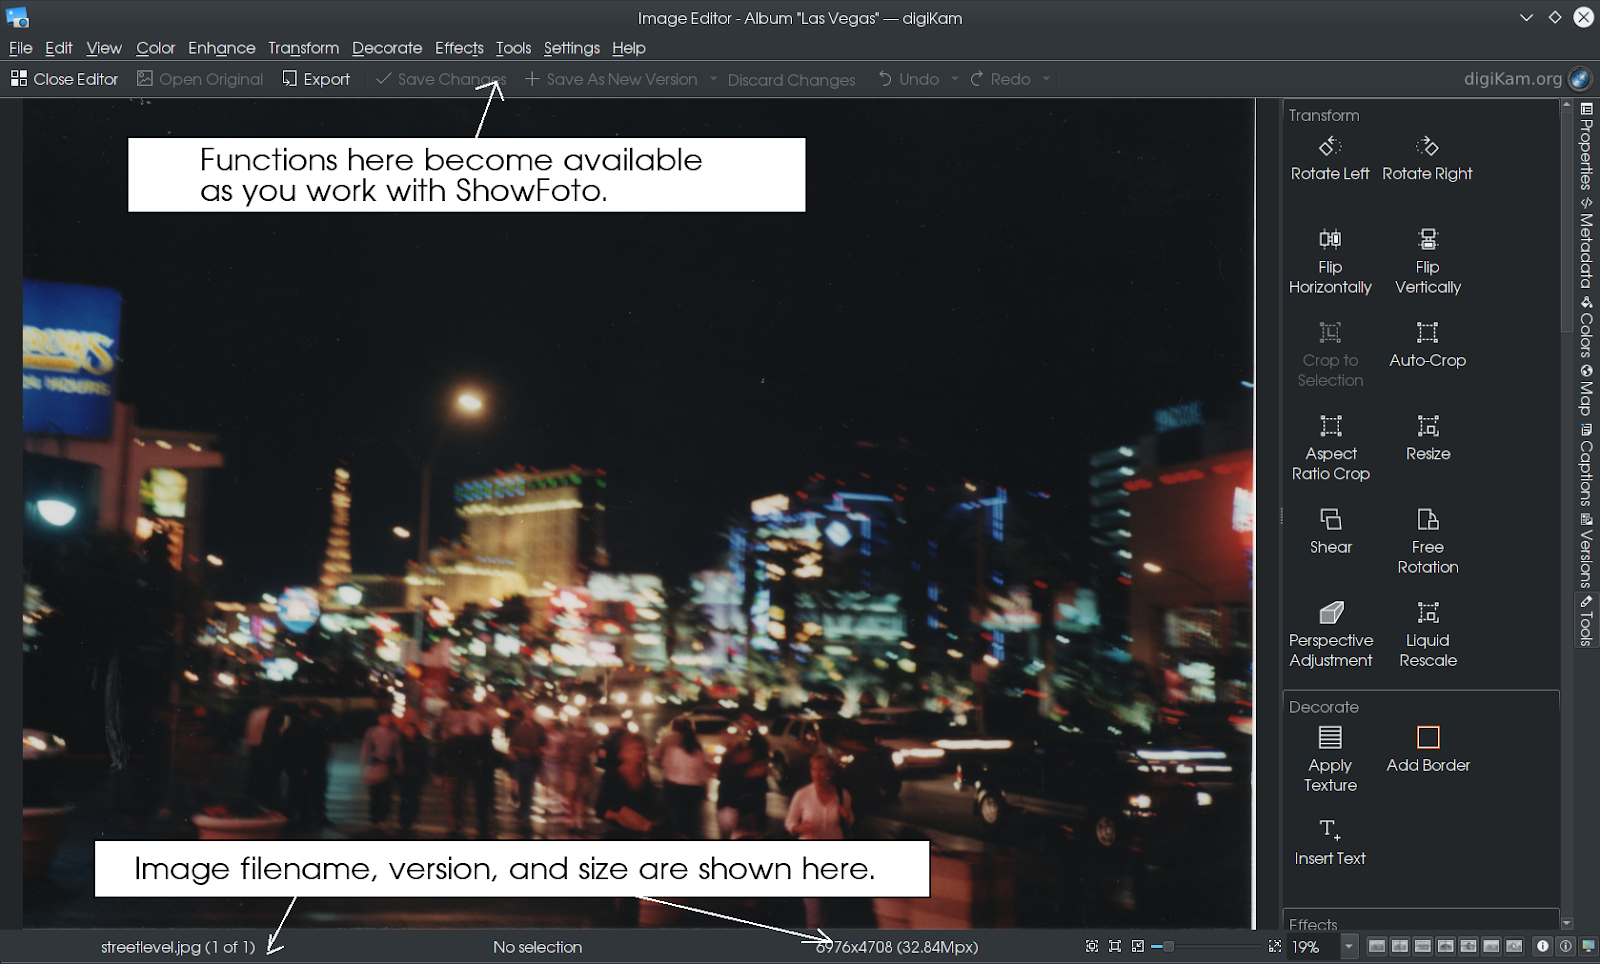 Below is the actual photograph we shall be using for this article on showfoto.
I rescanned this photograph at 600dpi for a better quality scan. This was at one time part of my website's logo well before I gave the website its current name. The image was stored with a filename of streetlevel.jpg indicating that this is a street level of the Las Vegas Strip. The title here is now the official title of the photograph that I have settled on for the original version. Of course, there will be different versions of this photograph created as we are using this for the article. In the same directory is a greyscale (black and white) version of the photograph (called streetlevel-gs.jpg). In GIMP, this can be accomplished by selecting Greyscale from the Image --> Mode menu from the window where the picture was loaded. 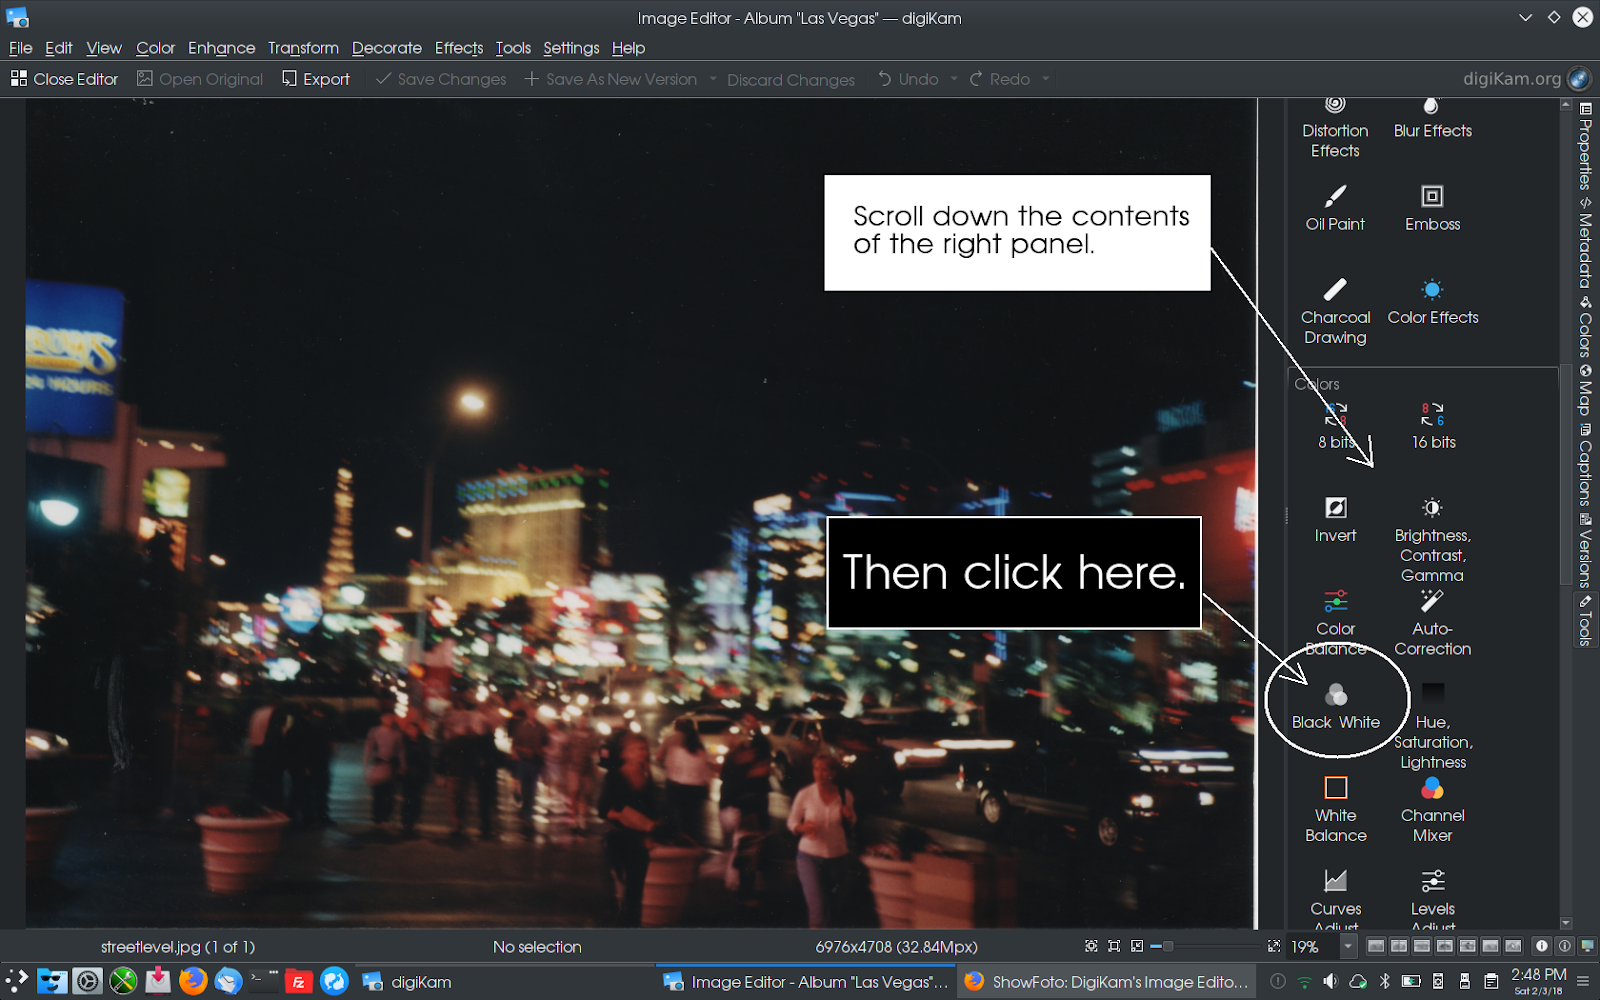 In Showfoto, the same can be accomplished by selecting Color --> Black and White from the main menu (or selecting Black and White from the Color section of the right panel. Unlike GIMP, Showfoto has many options that come with the black and white conversion. The changes on the photograph are immediate. Showfoto provides Before and After views of the image while you are making the changes to your photographs. Clicking on any of the OK buttons commits the change. The Before and After views are toggled simply by moving the mouse pointer over the photograph. Once the changes have been committed, the image reverts to a single view. Likewise, you can click on any of the Cancel buttons to discard changes made to the photographs. 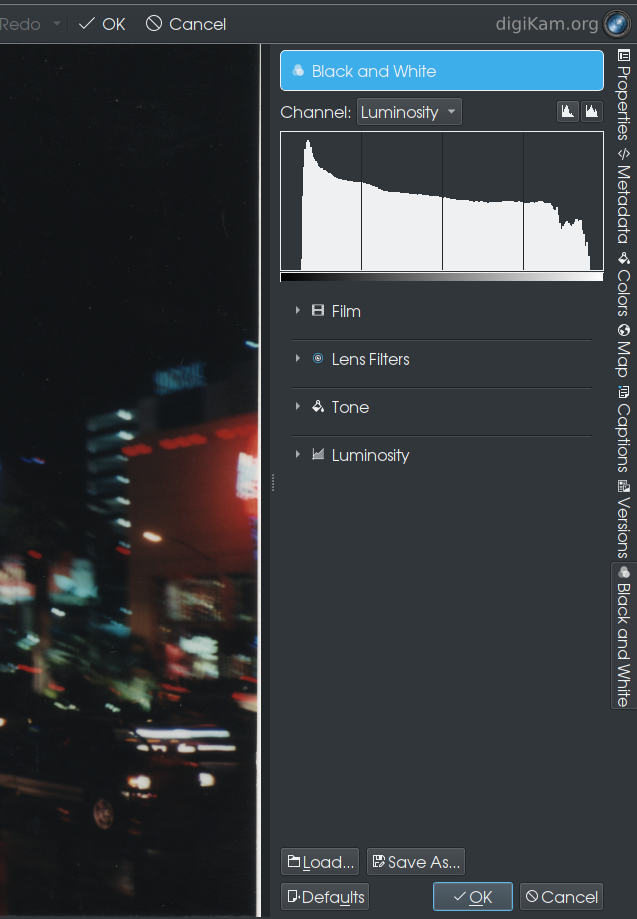 For the Black and White tool, there are four major options you can choose from to fine tune your image. Film is used to simulate the film that would have been used if this photograph were taken with a film camera. Lens Filters simulate what filters would have been attached to the lens (if any) had they been used to take the photograph. Tone contains a number of other filters that would have been applied to photographs. Luminosity controls the brightness of the photograph. Tone contains a number of other filters that would have been applied to photographs. Luminosity controls the brightness of the photograph.
Note that the Tools tab now reads Black and White. Clicking on either OK or Cancel will revert the tab to Tools. Let us select the Film tab. 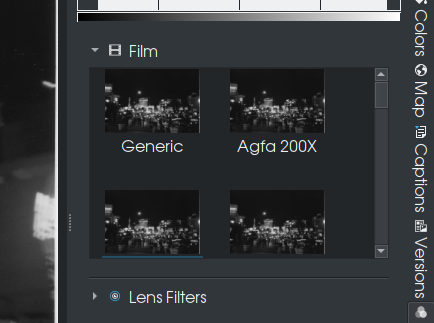 The view of the photograph simulates the Generic setting, which is similar to what you get when you select Greyscale from the Colors menu in GIMP. Showfoto simulates the following black and white films:
As we select each one, note that there are slight changes to each of the images. This is no different with photographs taken on each of the films. Infrared films capture infrared light, that is, light generated from heat and that which is not seen with the unaided eye.
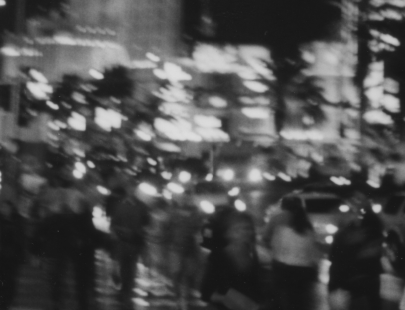 This sample is generated from the Agfa 200X setting. 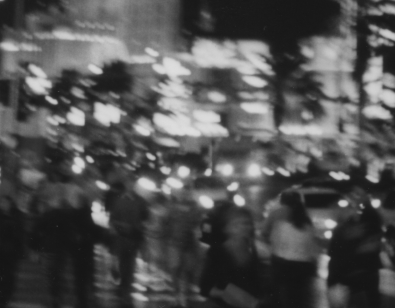 ...and this one is from the Agfa Pan 25 setting. 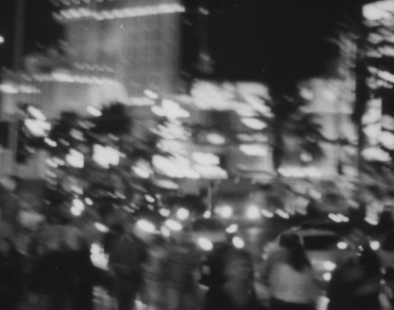 ...and this one is from the Ilford FP4 Plus setting. 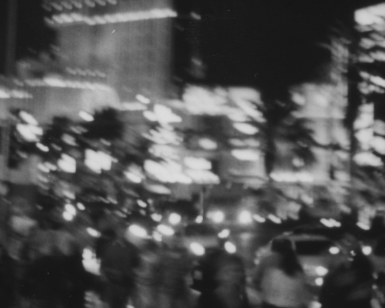 ...and this one is from the Ilford XP2 setting. 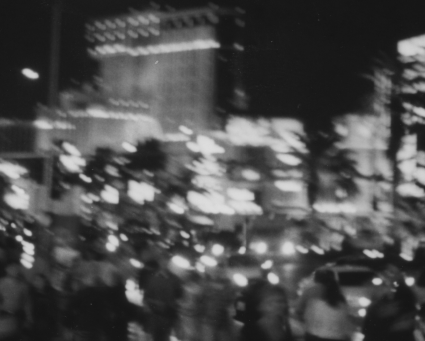 ...compare that to this Kodak Tri-X Pan sample. 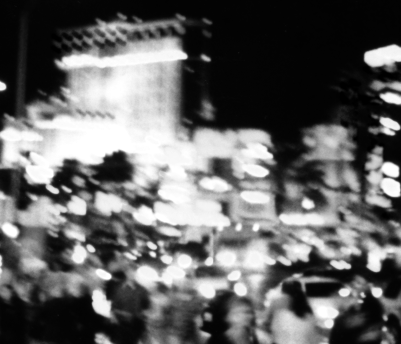 This is what happens when you take pictures with Infrared film. This sample is generated from the Kodak HIE setting (Kodak's Infrared film). Here is the entire picture with that setting. 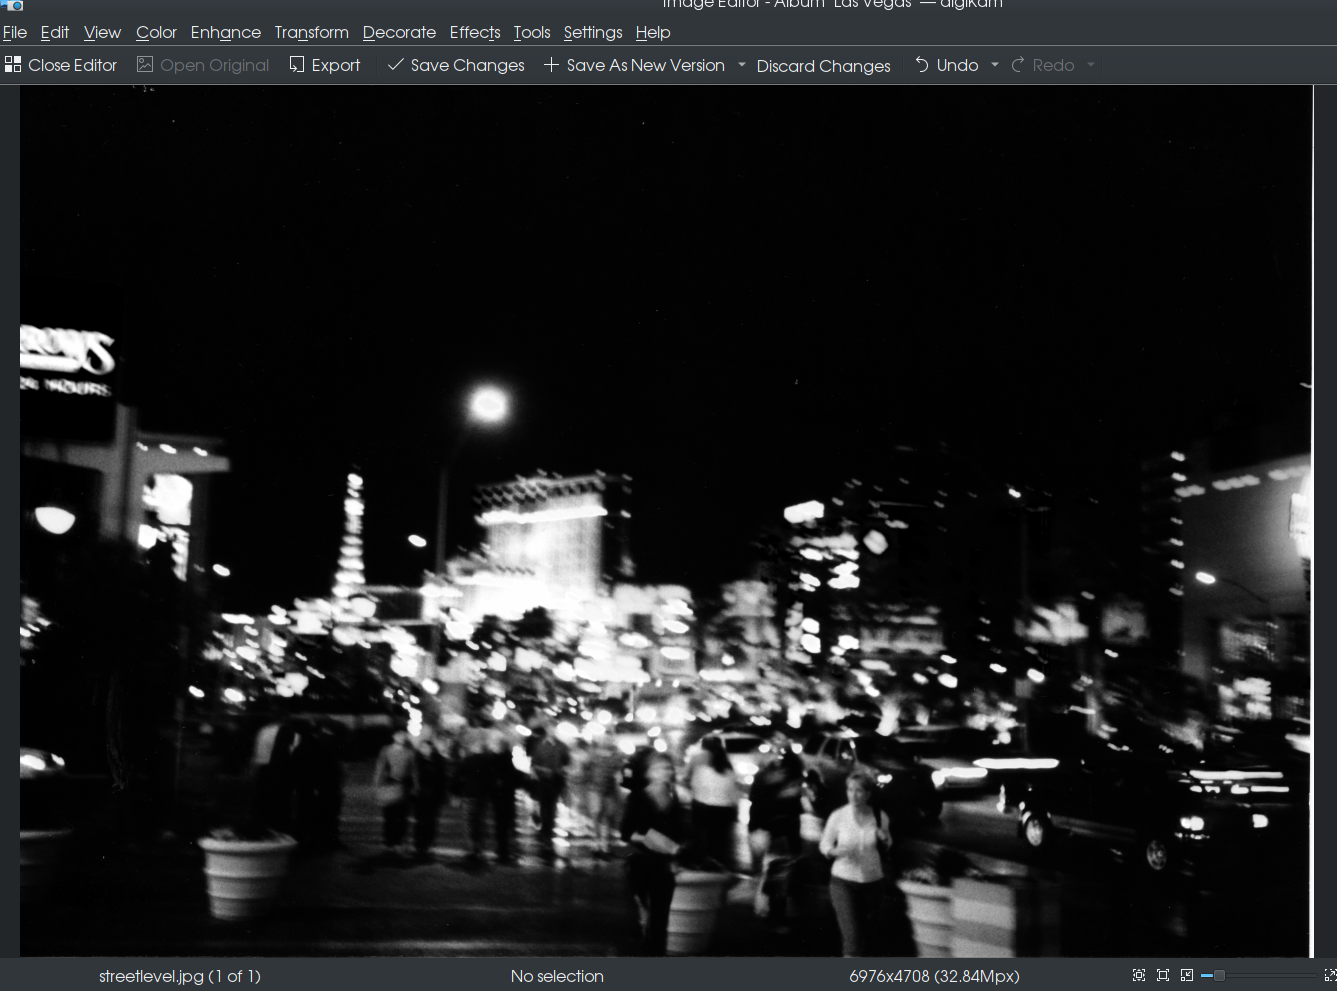 ...and the same picture with the Kodak Tri-X setting: 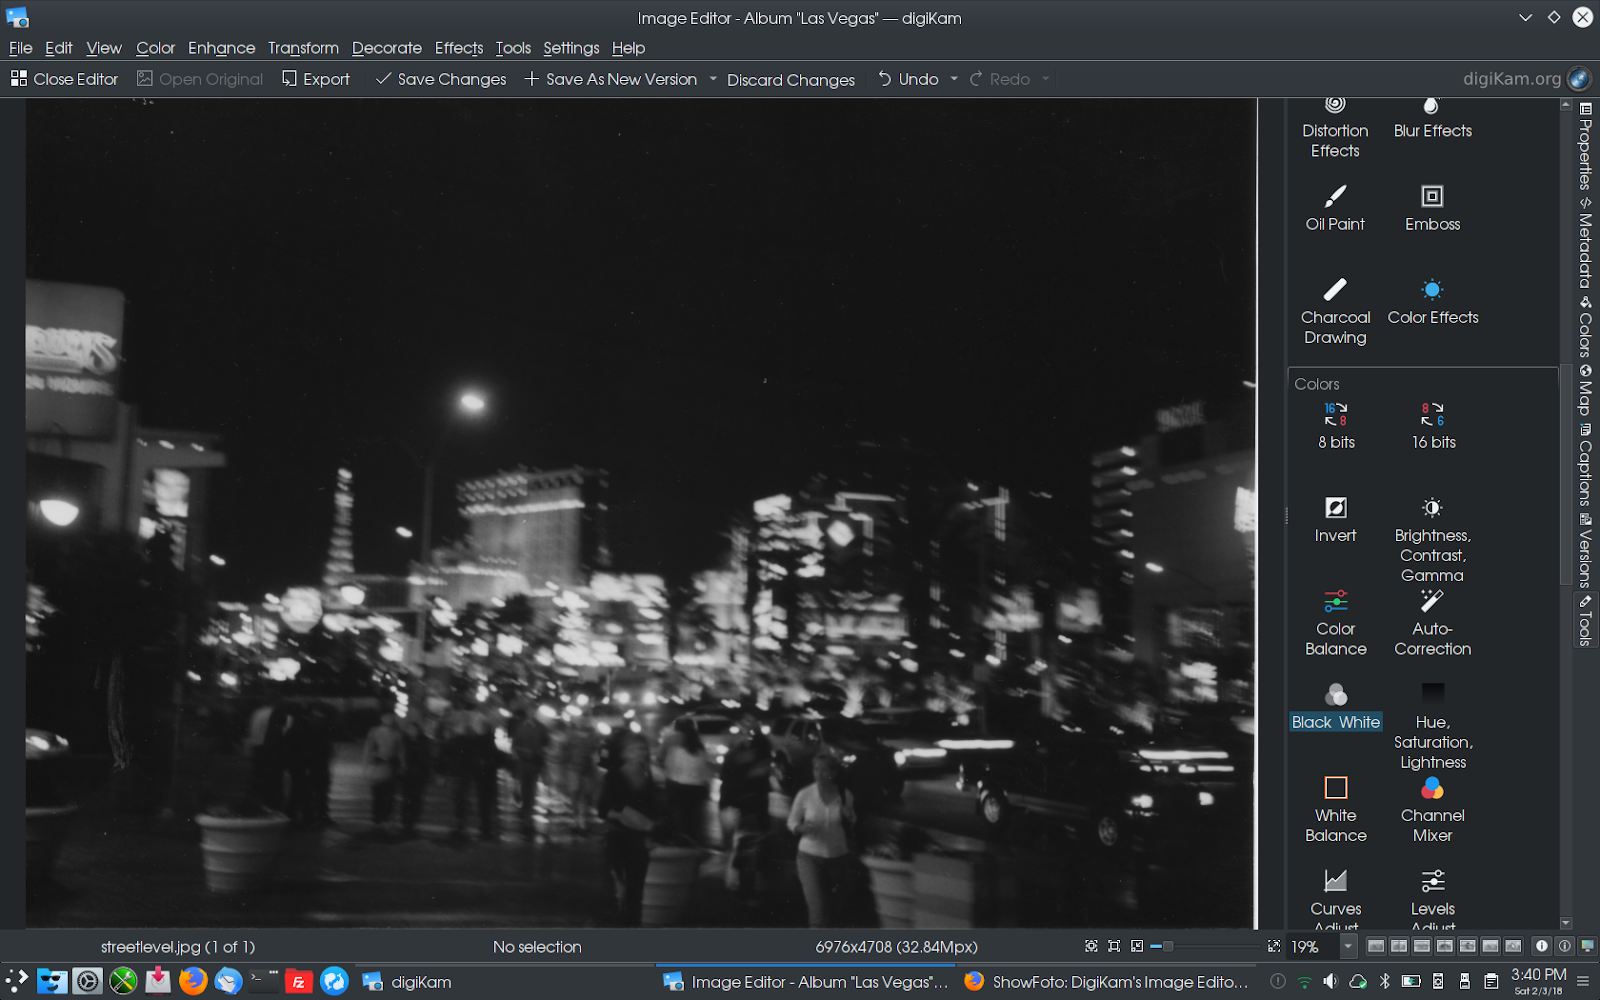 Clearly infrared films provide higher contrast and luminosity. The image streetlevel-gs.jpg was created with the Generic setting, but could well have been created with the Kodak Tri-X setting as the color film I used to take the original photograph had an ISO rating of 400, which is the same as the ISO rating of Tri-X film. Another feature I would like to show you is the Auto-Crop found in the Transform section of the side panel. This photograph has a white end on the right side of the scan. While this is used to capture the entire image for producing photographs, it is an annoyance that needs to be corrected if we are to use this as desktop wallpaper or in a LibreOffice presentation.  Where it says "10%" is a menu where you can select how much of the photograph you would like to see in relation to the actual size of the photograph in pixels. Select a value that allows you to see the entire image in the Showfoto window. Then, using the mouse, select the portion of the photograph not containing the white edge, then click on Crop to Selection. 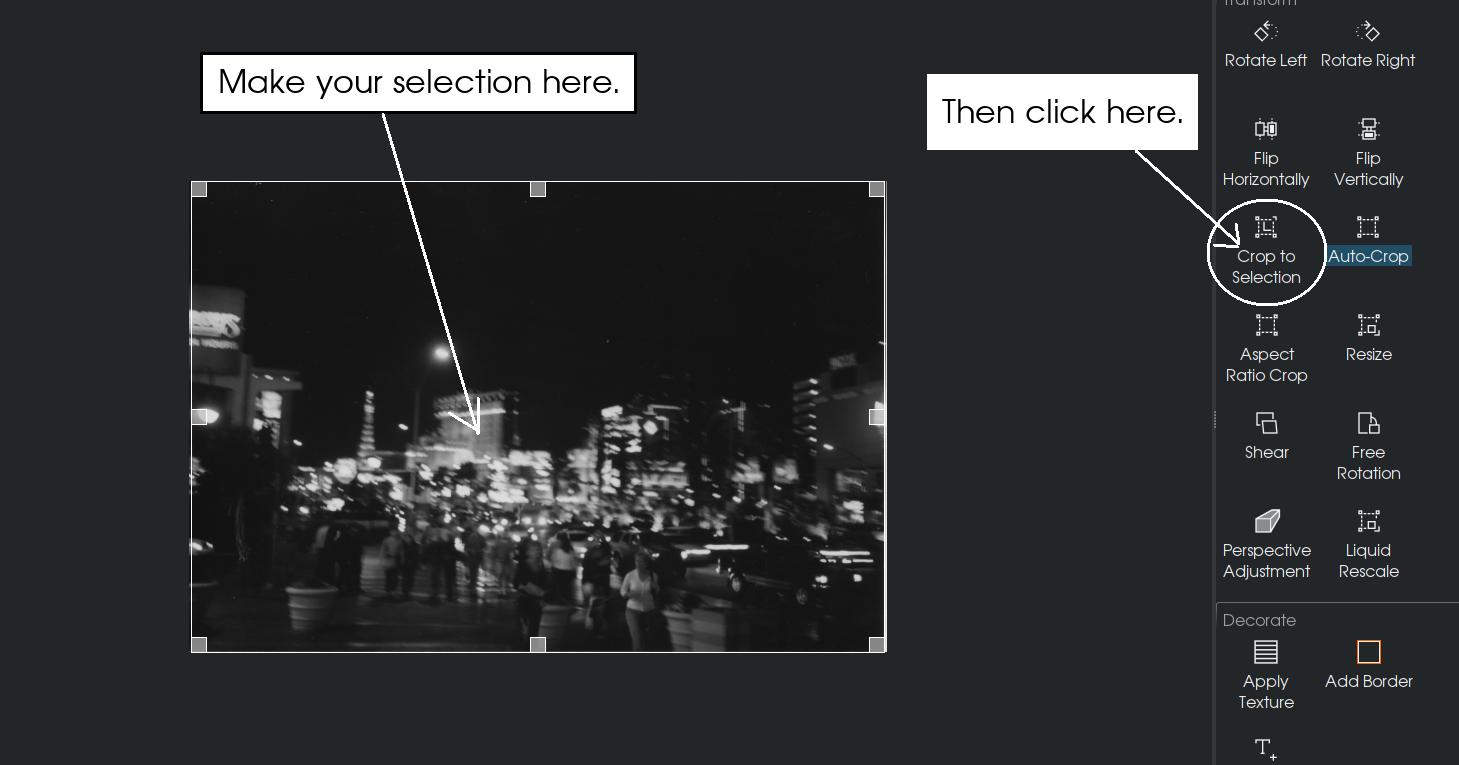 ...and look what happened. The white edge that was in the photograph is now gone. 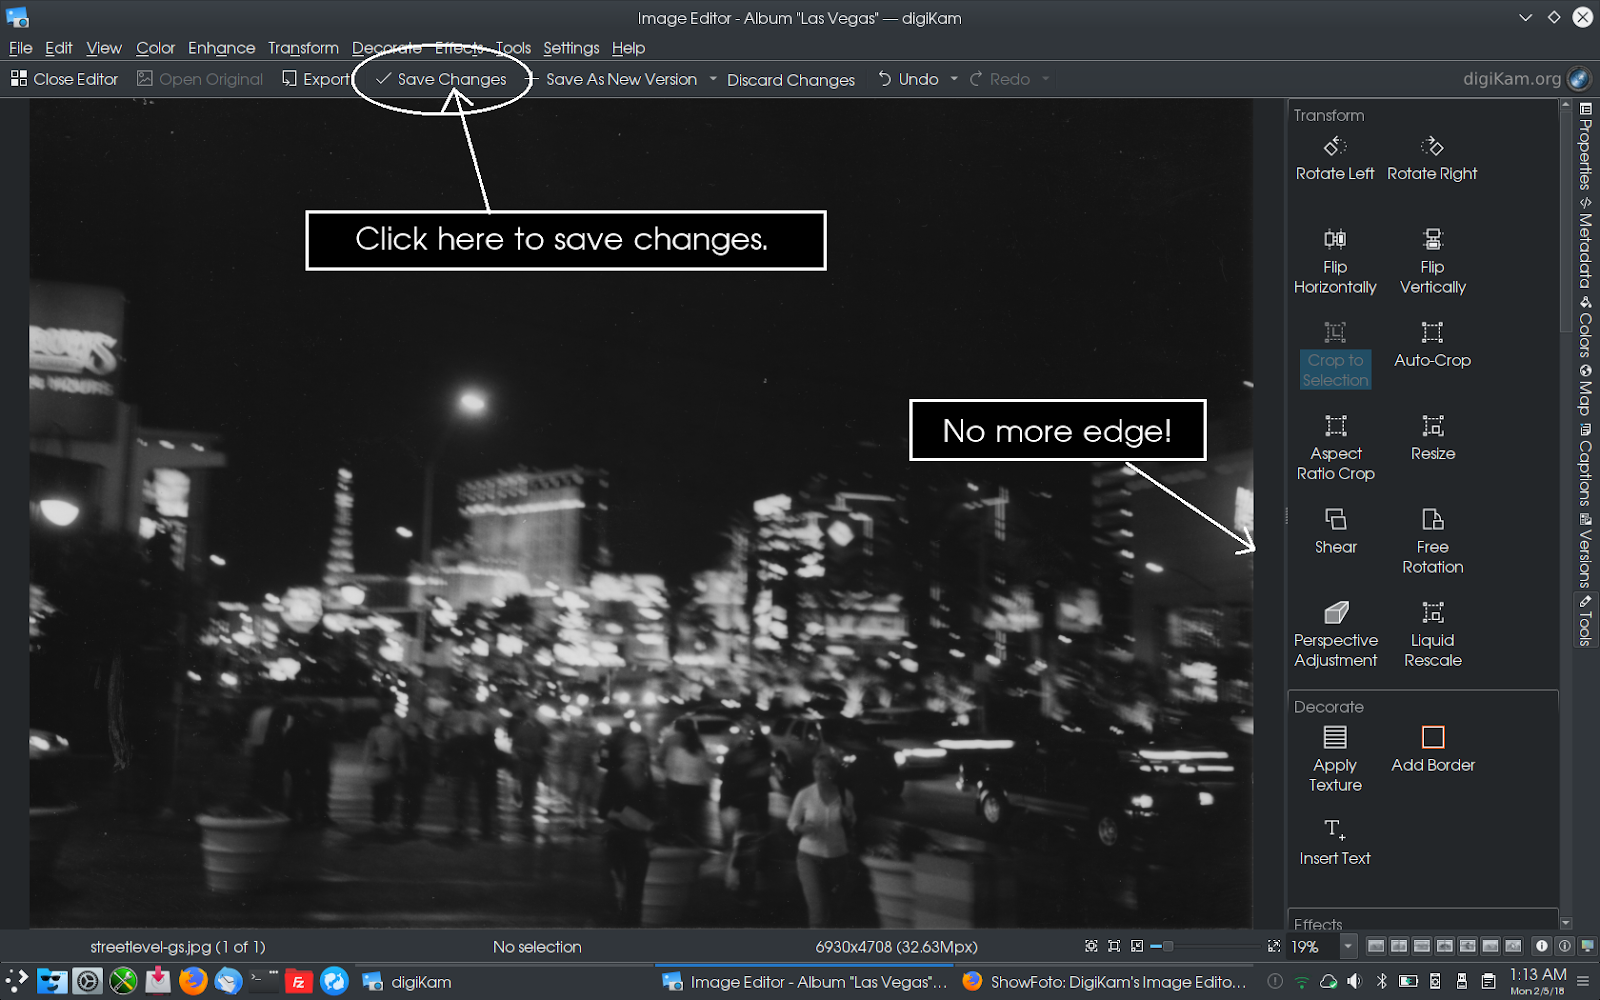 Click on Save Changes to save your changes to the current version of the photograph, or click on Save as New Version if you wish to create a new file containing the changes to your photograph. For the next article, I would like to show you some other things that can be done with photographs. |

