| Previous
Page |
PCLinuxOS
Magazine |
PCLinuxOS |
Article List |
Disclaimer |
Next Page |
Until AM: So You Think You Can Scratch? |
|
by phorneker In the past, I used Mixxx for mixing music and manipulating sound clips the same as a DJ does with vinyl. In recent years, I noticed that Mixxx in the repository no longer works with the updated PCLinuxOS installation. The problem here is that Mixxx terminates with a Segmentation Fault message complaining that it cannot find a specific function in the VAMP library. Naturally, the first thing I did was to download the latest version (2.1.4) of the source code and attempt to compile Mixxx. I found out that Mixxx will not compile under GCC 7.3 whereas it compiled under GCC 4.9, which we previously had in the repository. On another machine with Slackware pre-15 release installed, Mixxx compiled under GCC 8.2. So now, I am left with no choice but to replace Mixxx with another application that does the same thing. Fortunately, I came across the Until AM website in a Google search. Installation of Until AM for Chrome You will need to have the google-chrome package installed from the repository (search "chrome" in Synaptic) for any of the following to work. 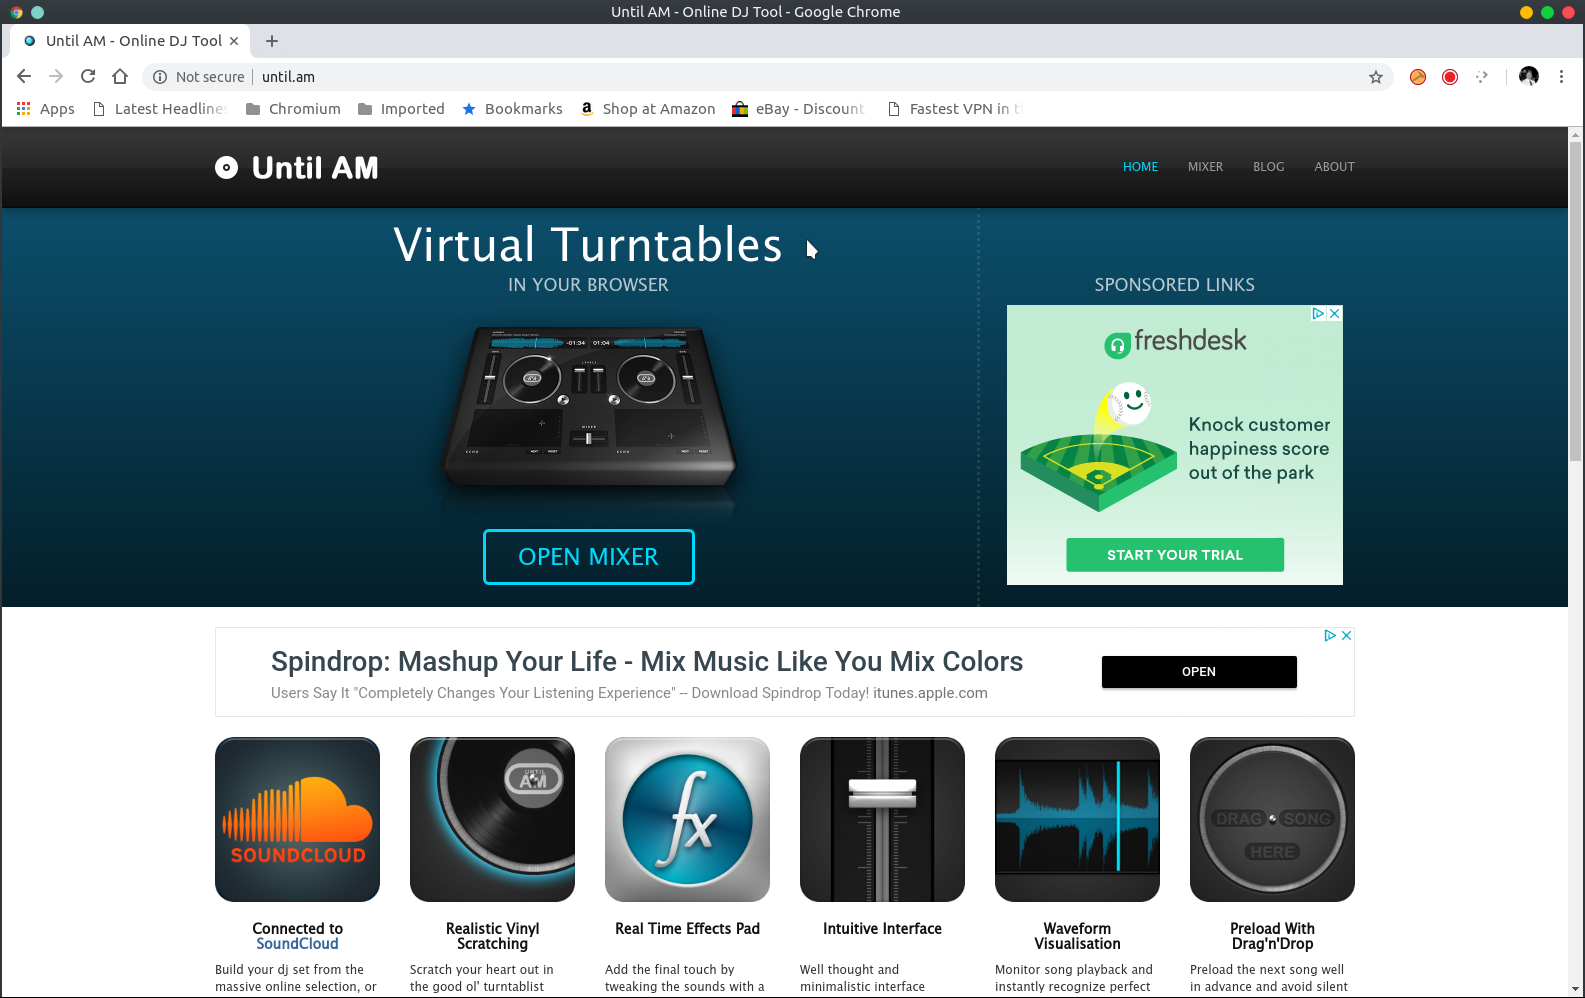 Scrolling down, I discovered there are two versions of Until AM available. The first link is for the web browser based application, and the second link is the offline application that utilizes the Chrome runtime library. This article covers the latter version. 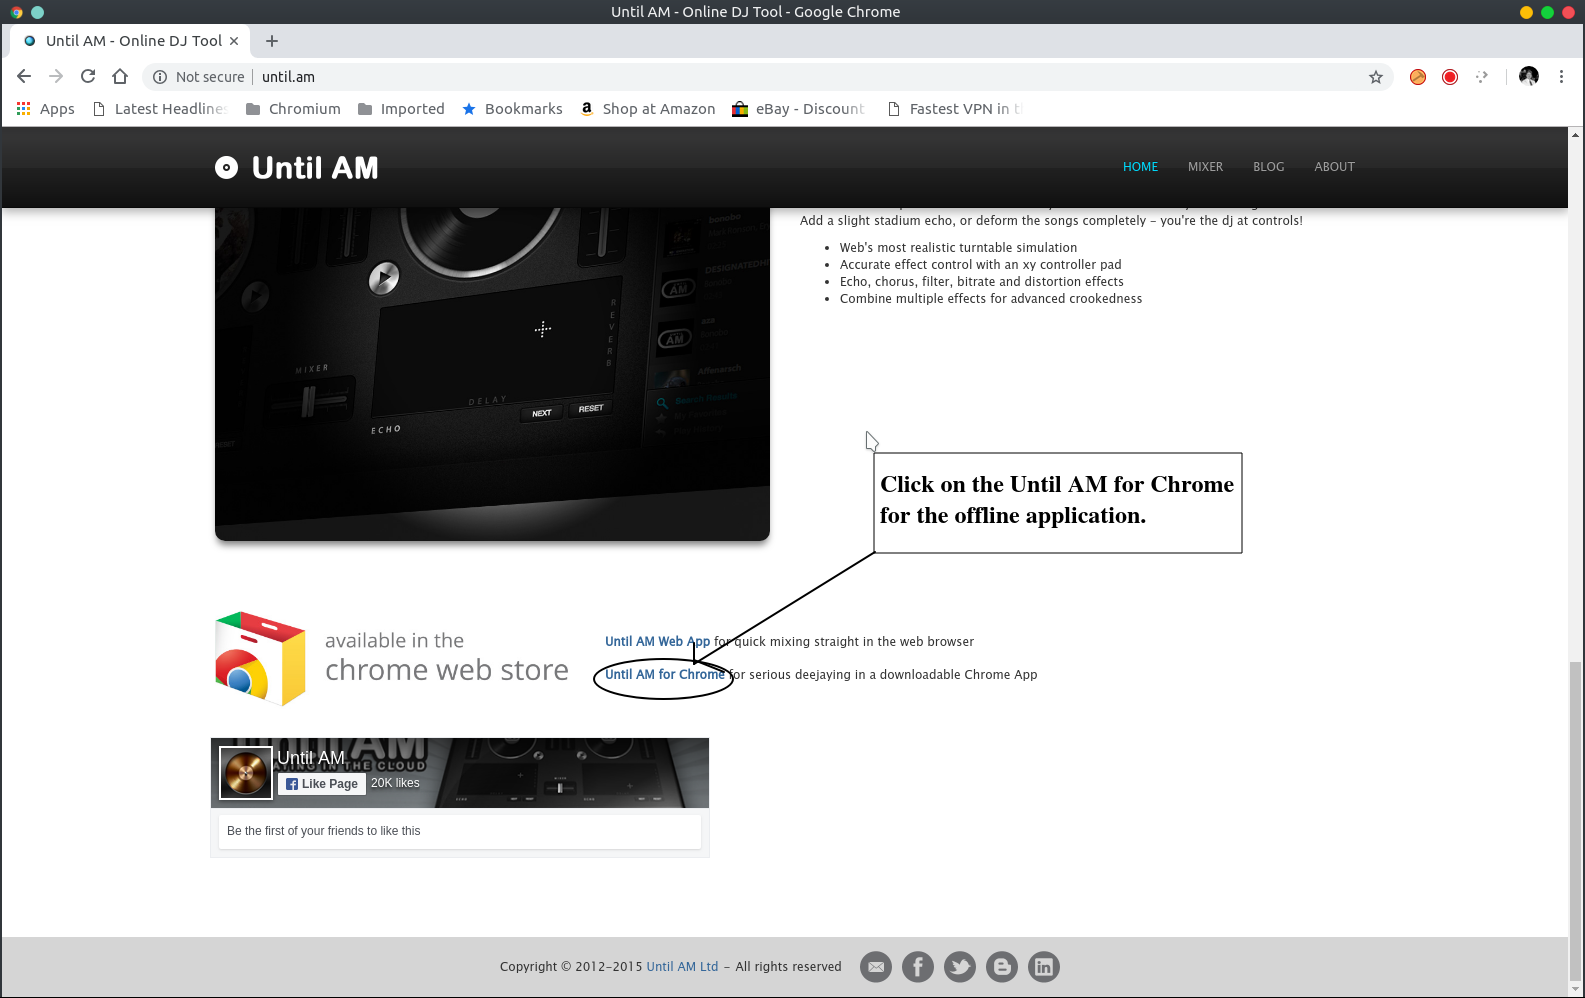 Clicking on the "Until AM for Chrome" link will take you to the Chrome Web Store. 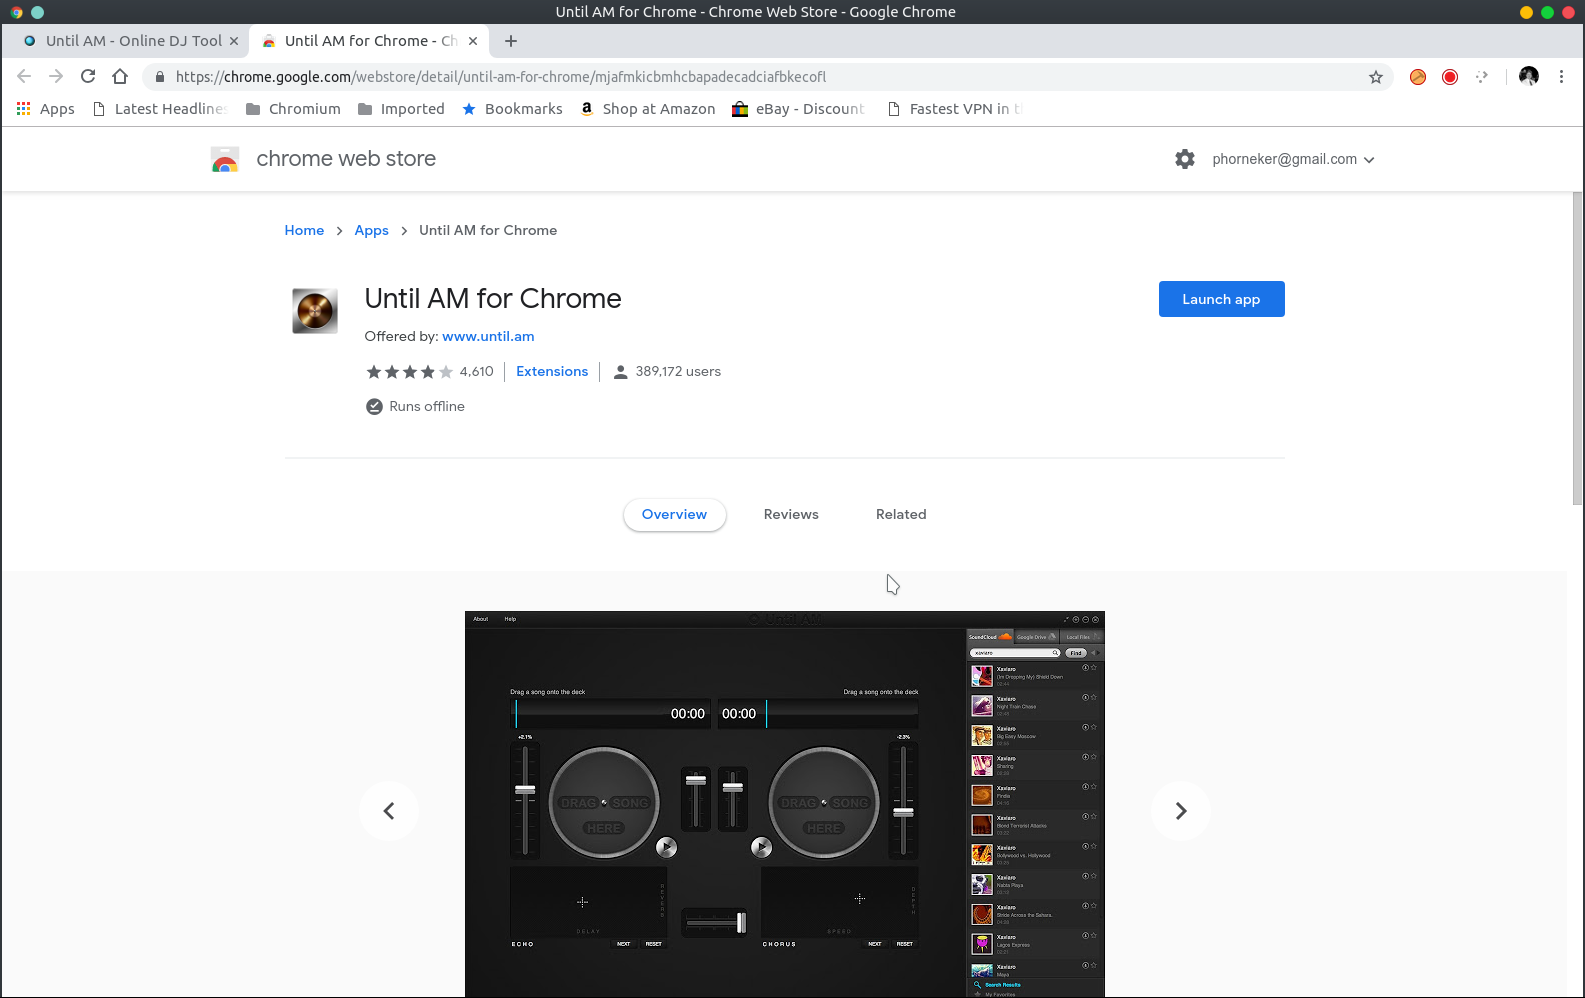 Here, the screenshot shows the button "Launch App". This is because the application has already been installed. If this application were not installed, the button would read "Install on Chrome" Simply click on the Install button for the crx package (crx stands for Chrome Extension) to download and install into Chrome. Once installed, Until AM for Chrome will appear in the Chrome Apps menu on Plasma 5, XFCE, MATE, and other desktops with the freedesktop.org specification. 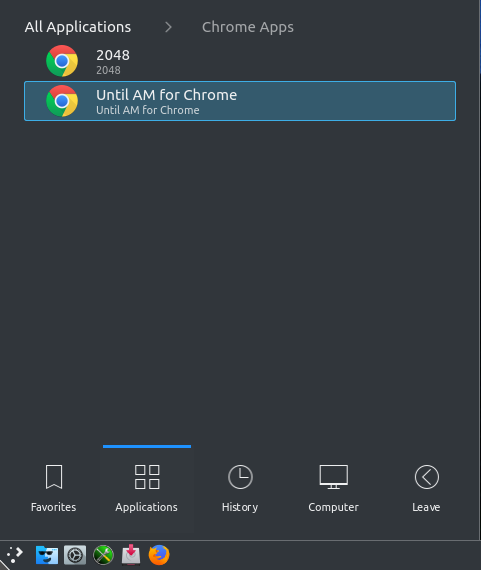 It will also appear in the Chrome Apps page within Google Chrome itself. 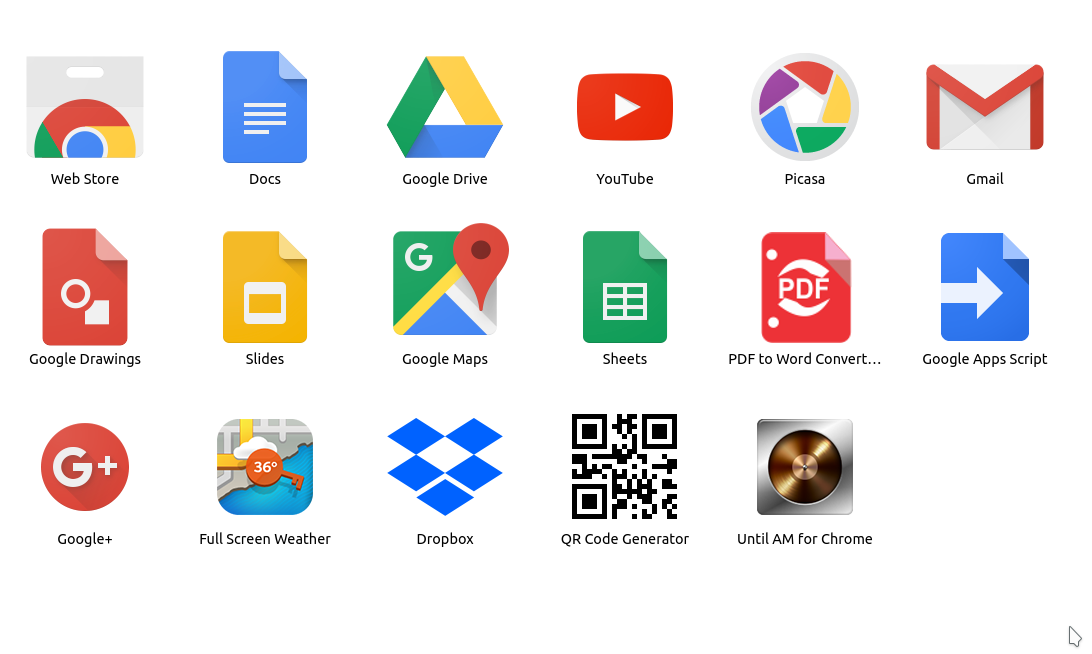 Next, Launch Until AM. Now that we have Until AM for Chrome installed, all we have to do is launch it. This can be done from within Chrome (the application icon should appear in the local Apps page), or from the Chrome menu. 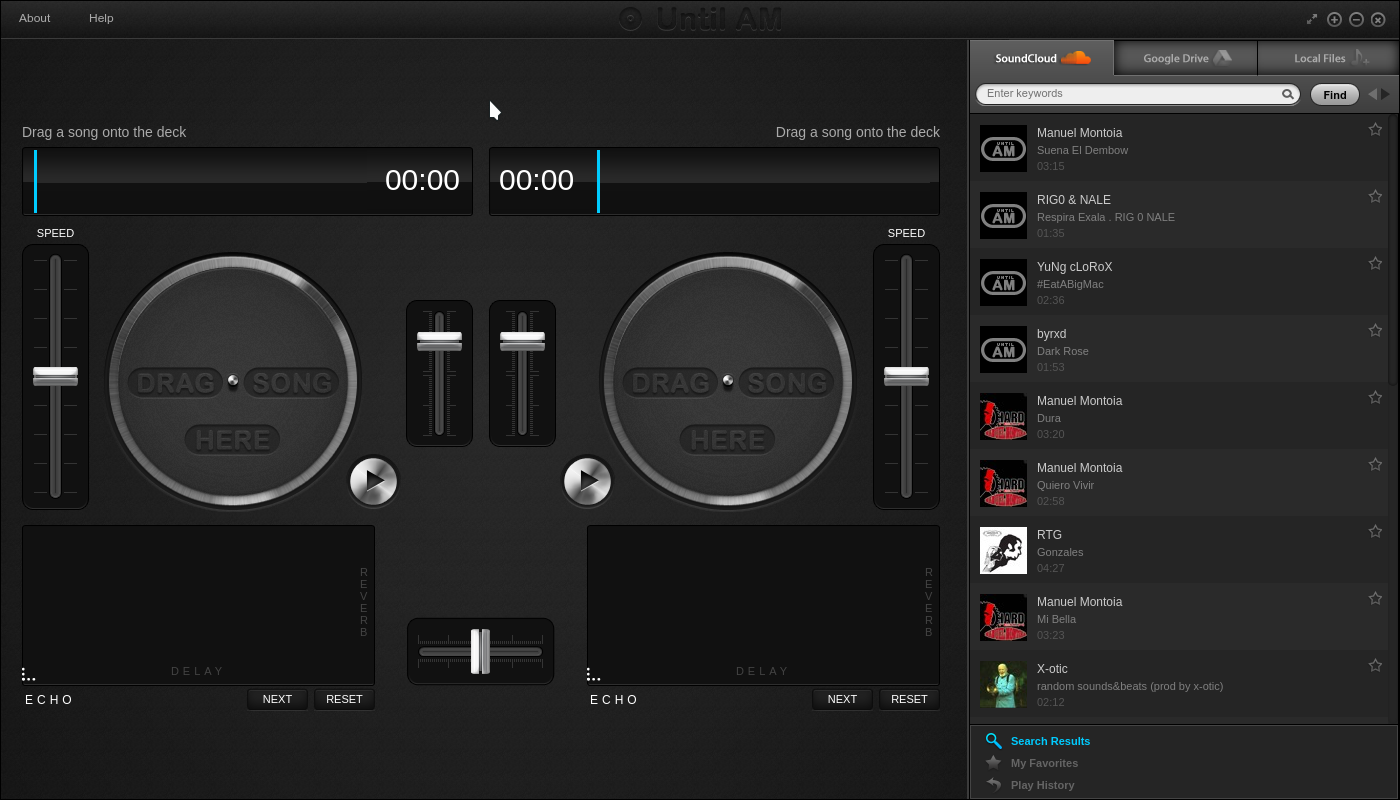 What we see are two virtual turntables and a sidebar where music can be sourced. Also, the layout of the controls on the second turntable is a mirror image of the layout of the first turntable. The top of each turntable has a visual representation of the audio file that has been loaded into the virtual turntable. The clock next to the audio file represents the position in the audio file where the needle is on the virtual vinyl. For the first turntable, the control on the left is to adjust the playback speed. The control to the right is the volume control for the turntable itself. The metallic button powers on and off the turntable. If an audio file is loaded, playback of the audio presumes that the needle is on the virtual vinyl at the time of power up or power down. Below each turntable is a panel where audio effects are applied to the playback. Between the panels is a fader that controls the mixed output. When set to the left side, music from the left turntable becomes the audio output. When set to the right side, music from the right turntable becomes the audio output. However, anywhere in between is where the mixing of audio from both turntables happens. Placing this in the center provides equal output from both turntables. This is where the magic behind the mix happens. The help menu gives us this list of keyboard shortcuts. These shortcuts are useful only after you had some practice using Until AM. 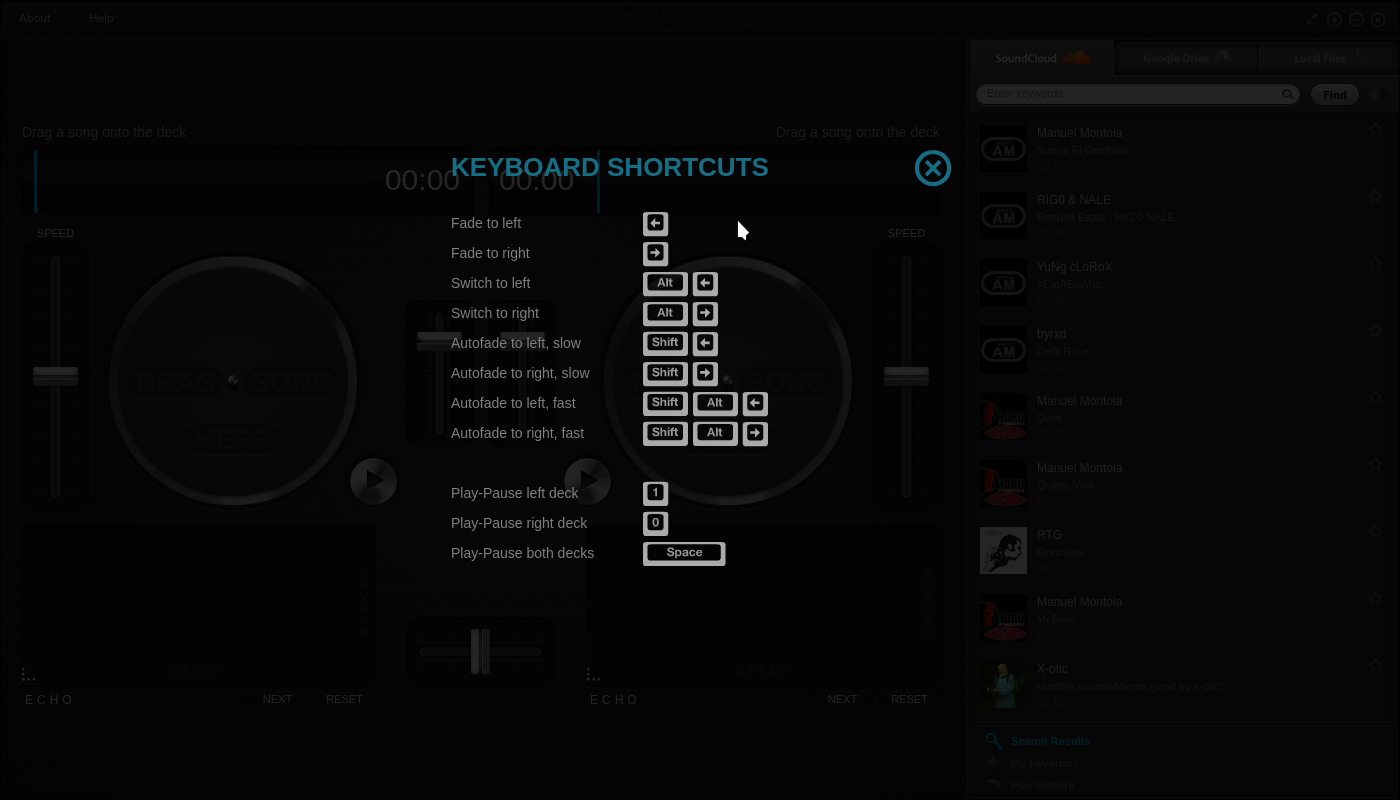
You can import music from SoundCloud, Google Drive or on your local hard drive. The SoundCloud option does not require a SoundCloud account for access, but you will need to have a Google account to use the Google Drive option. 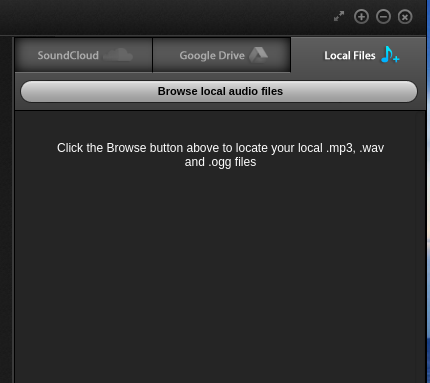 With this option, you can load the list of files to use with locally stored files in OGG, MP3 and WAVE (uncompressed) format. While I have an extensive collection of music in my Music and samples directories, it is more fun to load files from SoundCloud. 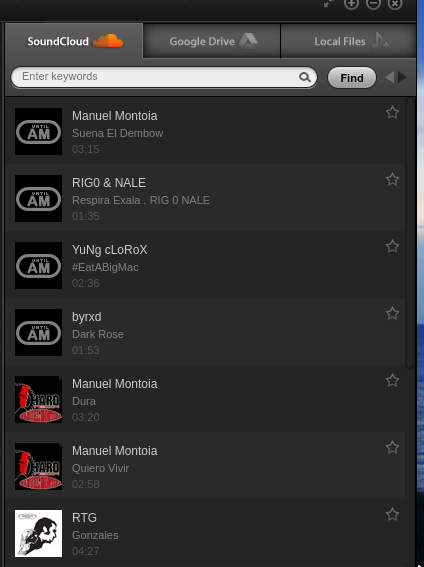 All you need to do is to search for files the same way we search on Google (using keywords). Let us type pclinuxos into the search box and see what comes up. 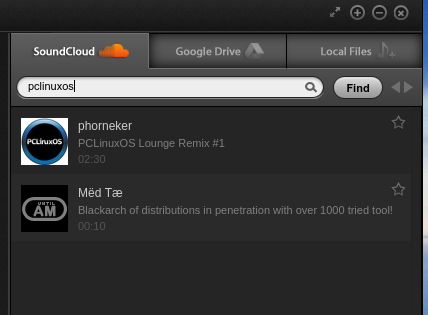 Sure enough, my remix of "GIMP Image Manipulator" appears (the one with the PCLinuxOS logo), as well as a ten second sound clip (with the default Until AM logo assigned to the clip) of a voiced message indicating a missing sound URL (despite what it says in the description). If you visit my page on SoundCloud, there is a (heavily edited) remix I did of a Donald Trump campaign speech tagged #Comedy along with a LMMS rendered version of the 1948 Duke Ellington classic "Satin Doll". 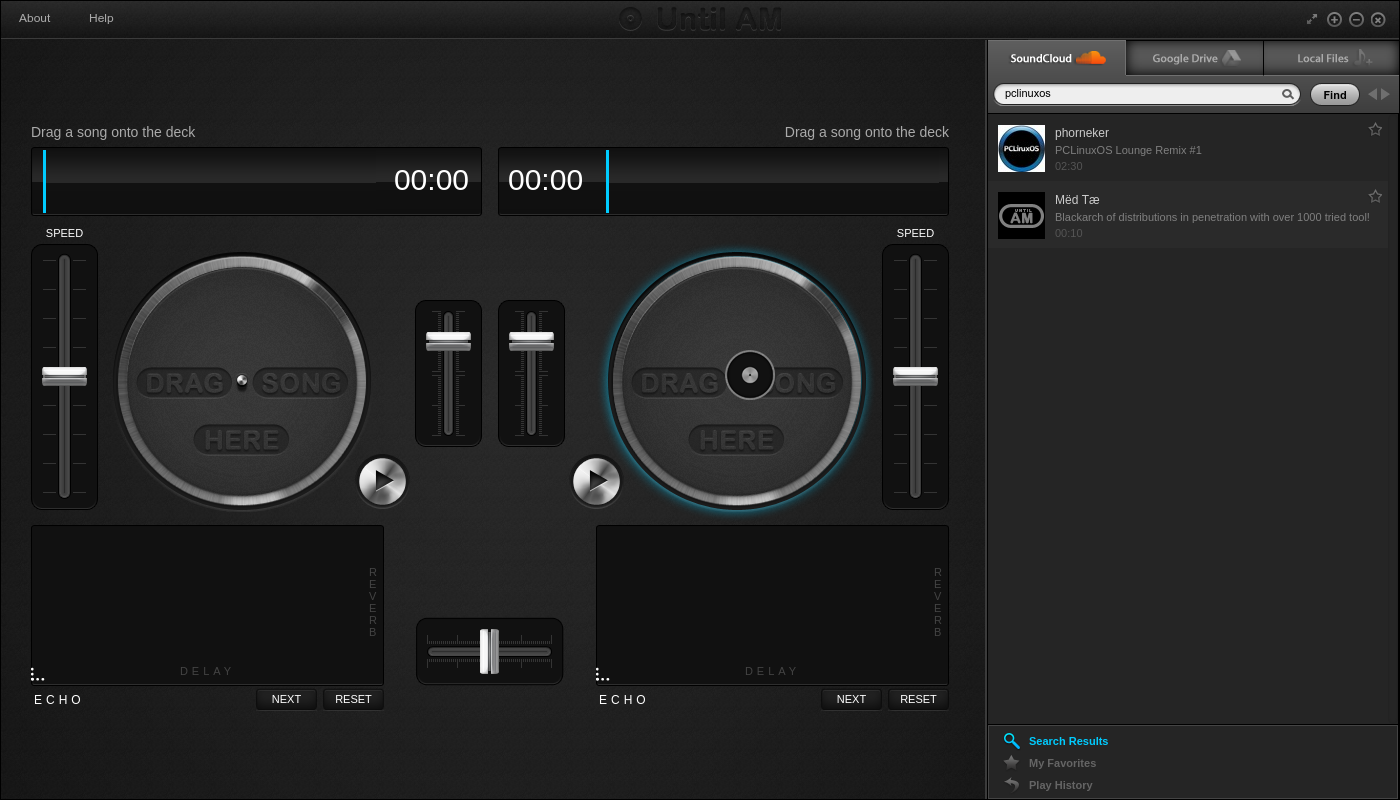 Simply drag the item with the PCLinuxOS logo on it to a turntable. (The cursor will turn into a vinyl record as shown on the graphic). The logo will appear with the image of a vinyl record embedded in the logo. You can load the same file into both turntables, or you can have a different audio file on each turntable. 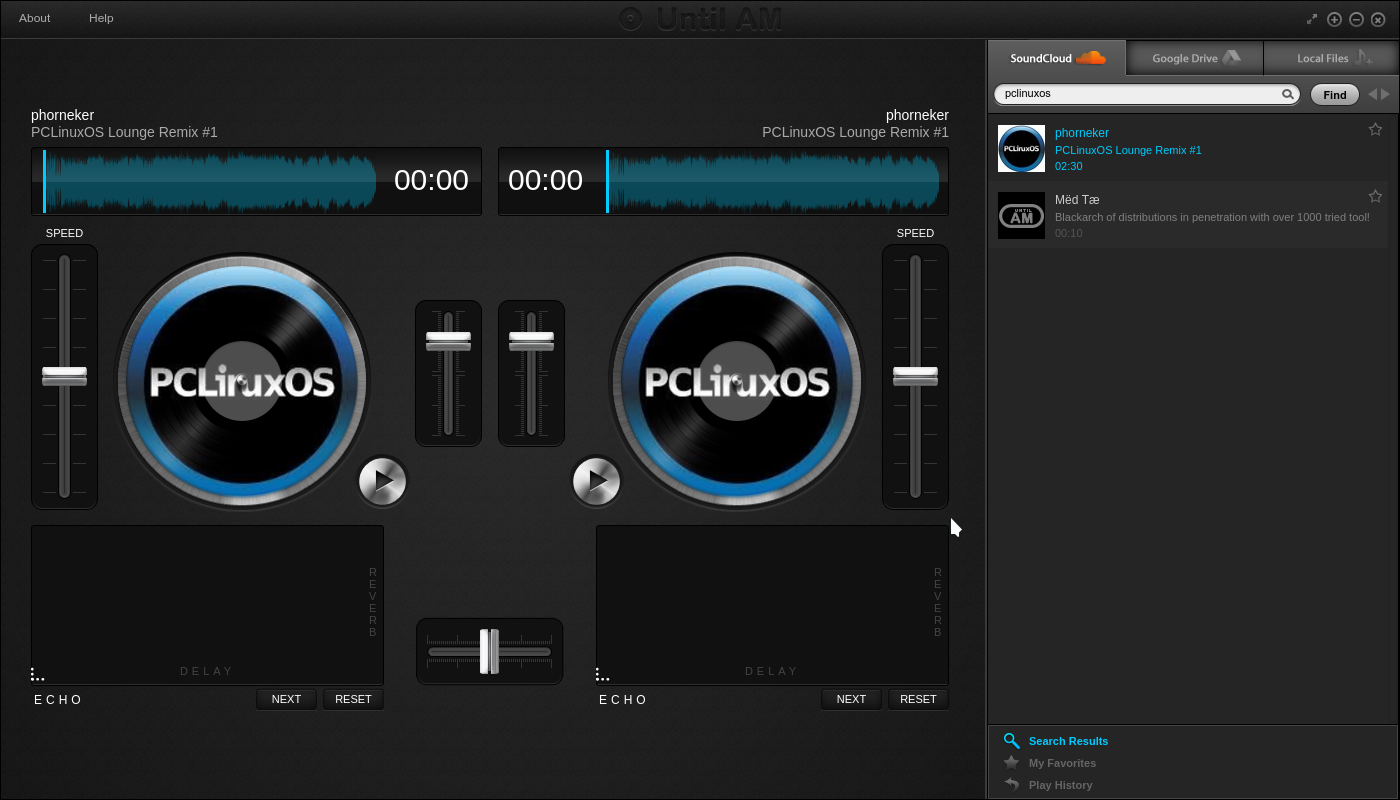 Here, the same file is loaded into both turntables. It is similar to mixing two copies of a vinyl album. Since we can search SoundCloud for music, let us say we want to mix in a sound clip of Steve Ballmer. Here is what we get when steve ballmer is typed into the search box. 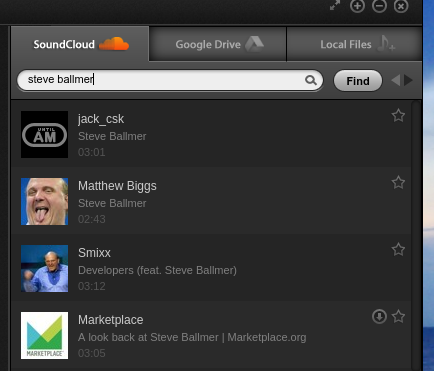 The clip from Matthew Biggs is Steve Ballmer saying "I love this company". The tongue sticking out is appropriate here. The clip with "Developers, Developers, Developers" is the one produced by Smixx. Dragging either of these will place a picture of Steve Ballmer on the turntable. 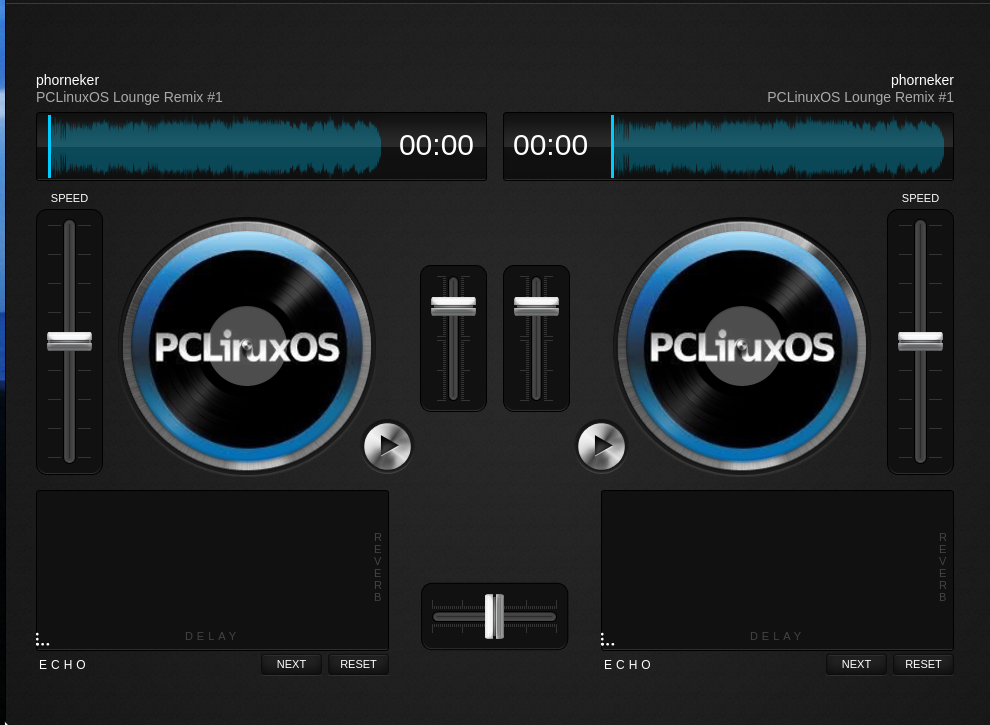 Now that we have the turntables loaded, simply press the metallic button with the play symbol to start the turntable. To scratch, move the mouse over a turntable, hold down the left button, and drag the mouse back and forth. You should be able to hear the scratching sound. The sound emulated is similar to sounds produced with a physical CDJ unit (from manufacturers such as Pioneer), that is a hardware CD player that emulates a turntable with controls that simulate vinyl. Releasing the mouse button places the turntable back in playback mode. Note: A wireless mouse is recommended here as there is no wire to get in the way of audio file scratching. For those of you who are wondering what Steve Ballmer looks like in Until AM for Chrome, I have the same setup with a Steve Ballmer track loaded. 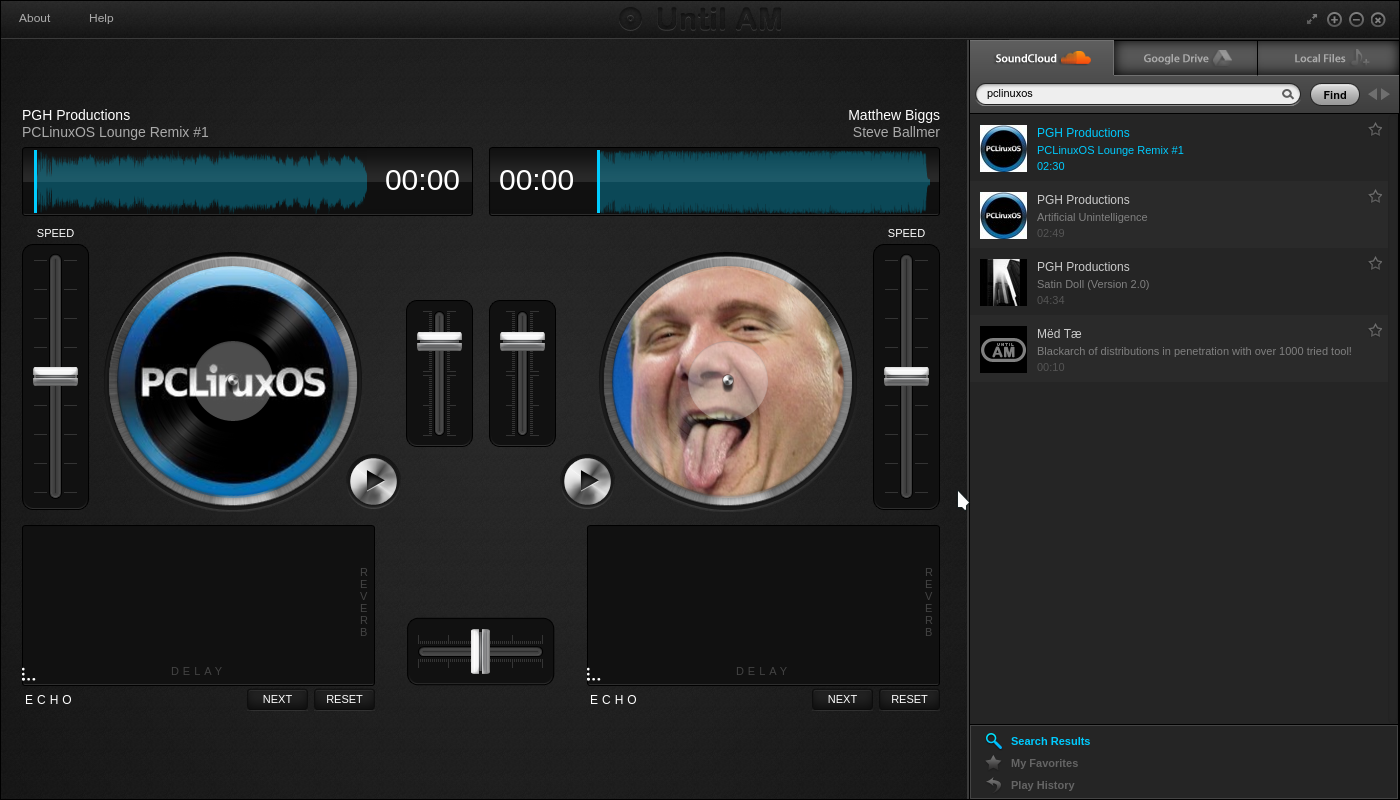
Unless you are planning only live performances, you will want to record what you create with Until AM for Chrome. You will need to have PulseAudio installed and enabled in PCLinuxOS in order to record anything from Chrome applications or from web browsers themselves. PulseAudio should have already been installed when you installed PCLinuxOS. If you removed PulseAudio, you will need to install the task-pulseaudio package (which will pull in all dependencies) and reboot your system for PulseAudio to be active. Having said that, we will need to launch the PulseAudio Control Panel (with Until AM already running), which should be in the Sound menu. 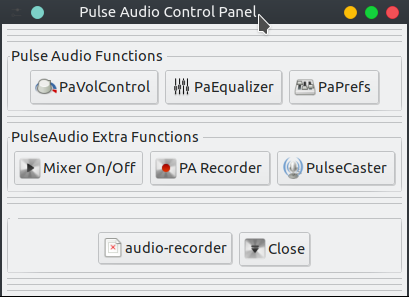 Click on the button labelled PA Recorder. 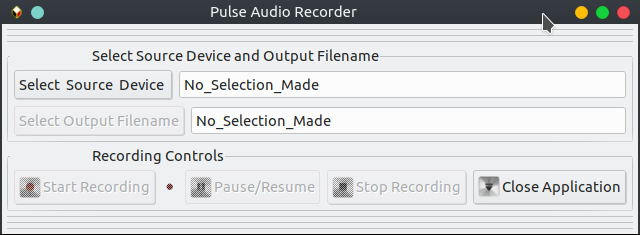 Then click on Select Source Device. Until AM should already be running with the window in the background. 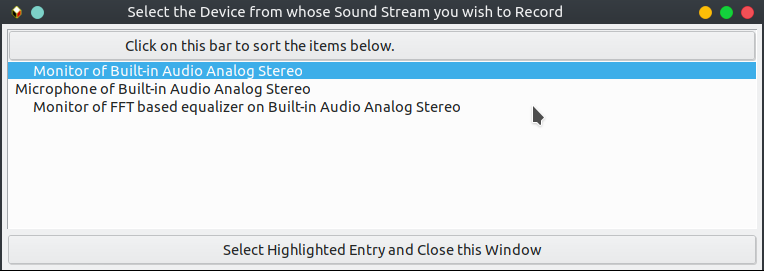 The proper item should already be selected as Until AM outputs to the Monitor of Built-in Audio Analog Stereo. (This selection is for a Hewlett-Packard Compaq 8510p laptop.) Click on Select Highlighted Entry and Close this Window. 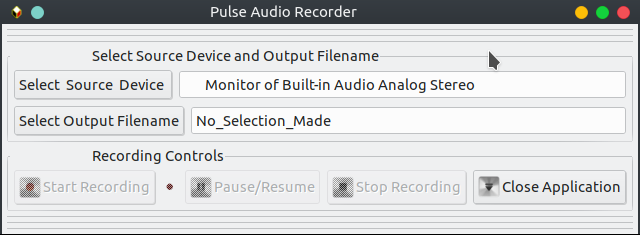 Now, we need to specify the name of the file where the recording will be stored. Click on Select Output Filename. 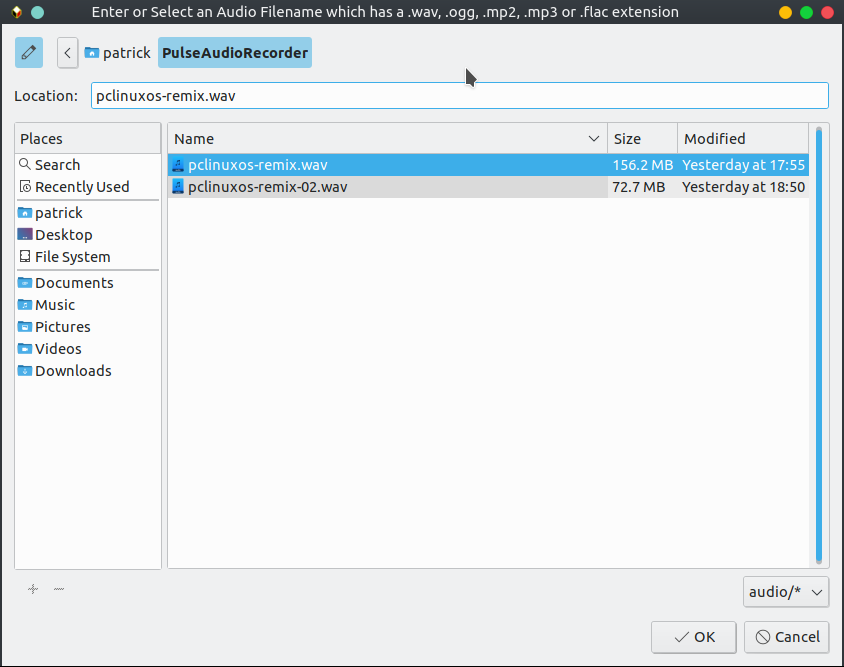 Recordings will be stored in the PulseAudioRecorder directory in your home directory. Click on the pencil if no files are showing. You may store files in MP3, OGG, FLAC, MP2 or WAVE formats. I use the WAVE format as the stored audio is uncompressed (and hence tends to work faster than storing audio files with compression). Click on OK when finished. 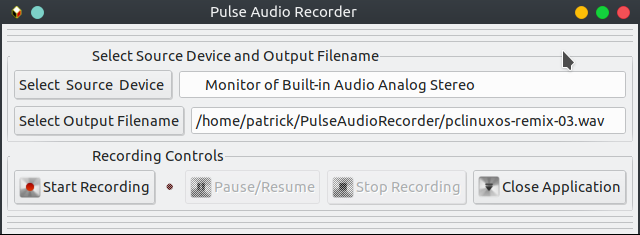 Now we are ready to start recording our projects. Click on Start Recording, then click on the Until AM window to bring the DJ console to the front.  When finished, bring the Pulse Audio Recorder window to the front and click on Stop Recording. It is easier when you run Until AM from Plasma 5, XFCE or MATE as you will be able to bring the recorder window to the front by selecting it from the panel. |


