| Previous
Page |
PCLinuxOS
Magazine |
PCLinuxOS |
Article List |
Disclaimer |
Next Page |
Inkscape Tutorial: Snowflakes And Christmas Trees |
|
by Meemaw I found a tutorial the other day that I thought was really fun! When we are finished, we will have a pile of snowflakes plus a decorated tree. We'll do the snowflakes first. Using the Pen tool, draw a vertical line. Make the Stroke 8 or 10 with a Square cap.  Draw a V shape similar to what is below. Make sure you center it on the first line, then group the two shapes using Object > Group or the Group button on the toolbar..  We're going to duplicate this object several times to make our snowflake. Remember, the rotate tool is shown when you click on an object a second time. Make sure you move your center of rotation to the bottom before you start.  With the object selected, choose Control+D to duplicate it, then grab a rotation handle, and hold Control as you rotate to snap the angle. 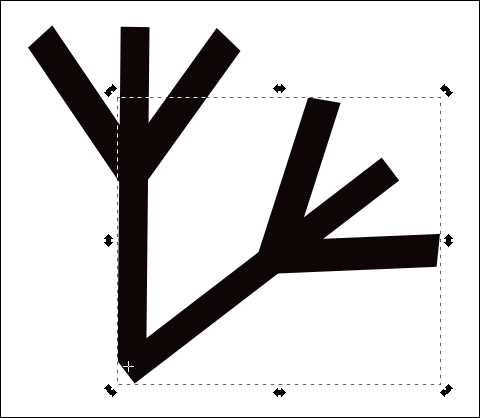 Repeat this duplicate/rotate method until you have a full snowflake shape. It can have 6 "sides or eight. Select all pieces and group them together. 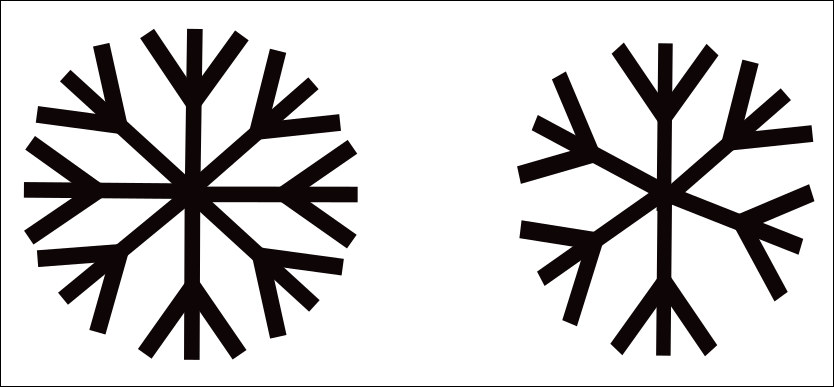 You can simply change these to white (or really light blue) and duplicate your snowflakes to make a background. You can add a blue rectangle to the background as well.  When you finish that, select all of them and move them aside. This is also a good time to save your work, if you haven't done so already. We'll make the tree now. Select the Polygon tool and choose the Star shape. Now, change your settings to the following: Corners - 3, Spoke Ratio - .380. Hold the Control key down while you drag to create this triangle shape. Fill it with a green color. With the triangle still selected, click on Path > Object to Path to create some nodes. Choose the Nodes tool and select the middle nodes on all sides, then click Make nodes symmetric. 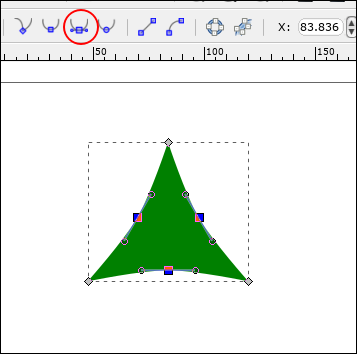 This curved the paths and will allow you to adjust them to look more like a tree. You want to pull the bottom down and the sides out a bit. 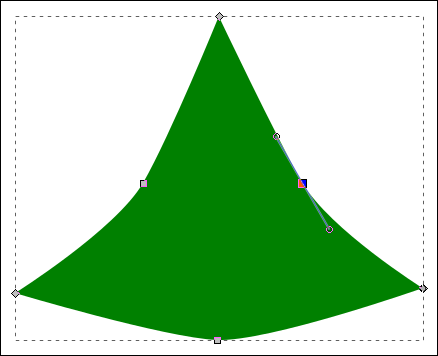 We're going to create a shadow. First, duplicate (Control+D) the triangle shape. Then, using the Pen tool, draw a simple curved line over this new triangle. Select both the triangle and the line, then choose Path > Division to make the cut.  You should end up with two shapes -- grab the shadow shape on the right and delete the rest. Change the color to a darker green to make it look like a shadow. 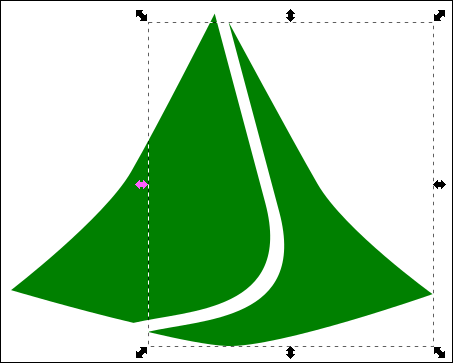 Position the shadow shape over the original triangle (using Object > Align and Distribute to align the right sides will make this much easier). It will be easier to work with if you group these two pieces together. 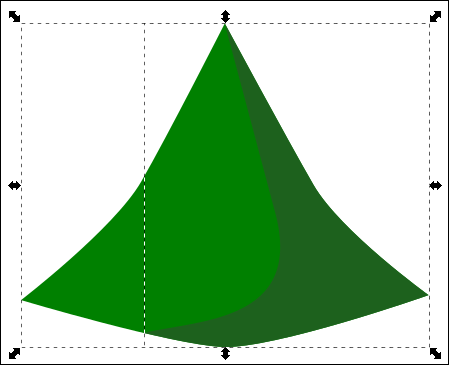 We've created our tree part, so now we can duplicate it at least twice, resize, and position the three or four pieces for our tree. As you go down, make each piece larger (since trees are smaller at the top) and put the lower ones behind the upper ones. Now, use Align & Distribute to center all the tree parts, then group them. 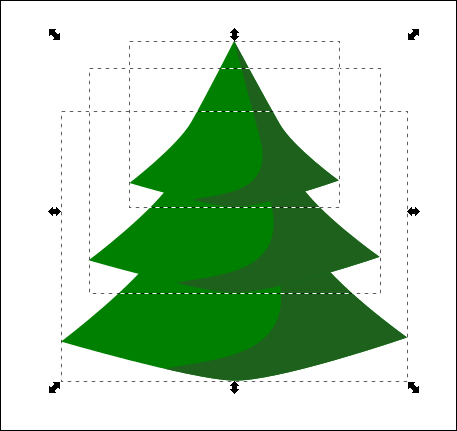 Now, select the Rectangle tool and draw a small, brown, rectangle for the tree trunk. Click on Path > Object to Path to adjust this rectangle so it looks more like a tree trunk. 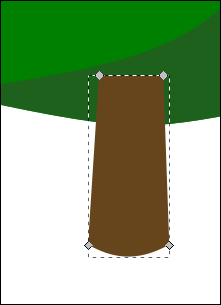 We will need to create a shadow for the tree trunk, just like we did on the tree. Draw your line over the duplicated tree trunk, click Path > Division, and change the color of the one piece. Position it under the tree, so it looks like it should. 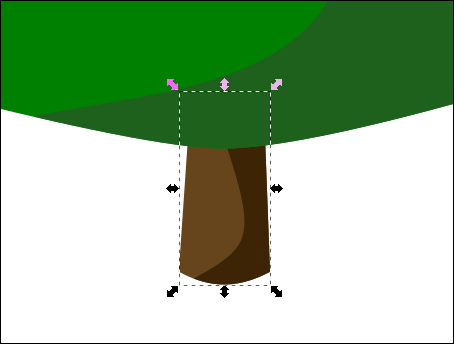 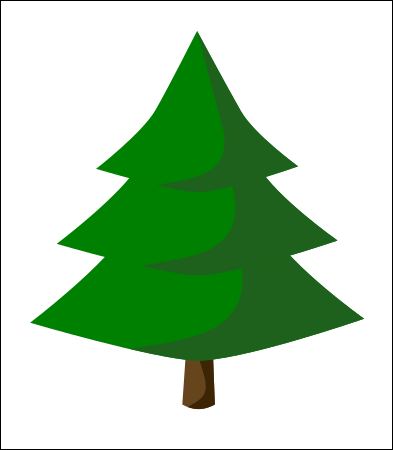 This is optional, but I'm going to draw a pot to put the tree in. Draw a couple of ovals over each other with the Ellipse tool. Click Object to Path on both of these. To make the pot shape, select the Nodes tool, select the side and bottom nodes on the bottom ellipse, and then click Add nodes. You will get another node in between each of the ones you selected. 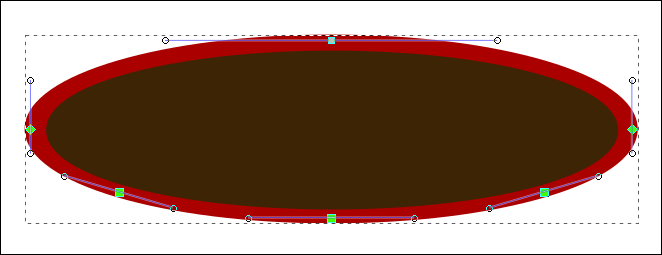 Select the three bottom nodes, click on the center one, and drag them down to create the pot. 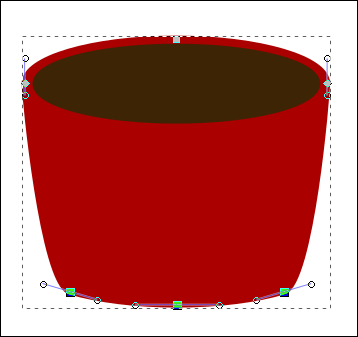 Just like we did on the tree and trunk, duplicate the pot and create the shadow.  Position the pot, tree and trunk and group them all. 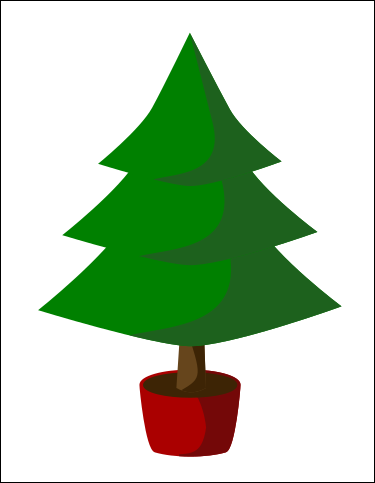 This tree needs some ornaments. Click on the Polygon tool again and change your settings to a 5 pointed star with a spoke ratio of .550 and .140 rounded, filled with yellow. 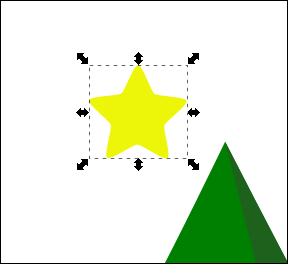 Now for some round ornaments. Create a red circle and a white oval for a reflection.  Again, we will put a shadow on the ornament. Do it the same way as above. 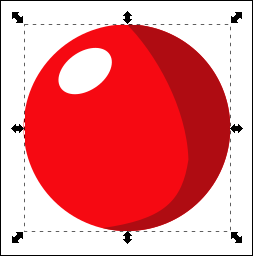 To be a little more realistic, we'll need a shadow behind the ornament on the tree, using the same shadow color as we used on the tree. In this case, it's just as easy to draw a circle the same color as the tree shadow, duplicate and place behind the ornaments that need shadows.  When you are finished with the tree and ornaments you can always group the whole bunch.  All that's left to do is add your snowflake background to finish the scene. I also added a drop shadow to the tree. I think it looks great! It was fun as well!  You can get a lot more creative with the snowflakes, but I'll let you play with that yourself. Have a Merry Christmas, or whatever holiday you celebrate this time of year. |


