| Previous
Page |
PCLinuxOS
Magazine |
PCLinuxOS |
Article List |
Disclaimer |
Next Page |
Image Noise Reduction By Image Stacking/Blending |
|
by The Cranky Zombie and Tuxlink Just what is Image Stacking/Blending? Simply put, it is a way to use multiple photos of an image to reduce the noise in the final image to produce a cleaner and clearer final image. Image Stacking/Blending is not the same as Focus Stacking, which is normally used when taking Macro or Close Up images. Software Requirements
Computer running the Linux OS Hardware Requirements
Your DSLR camera 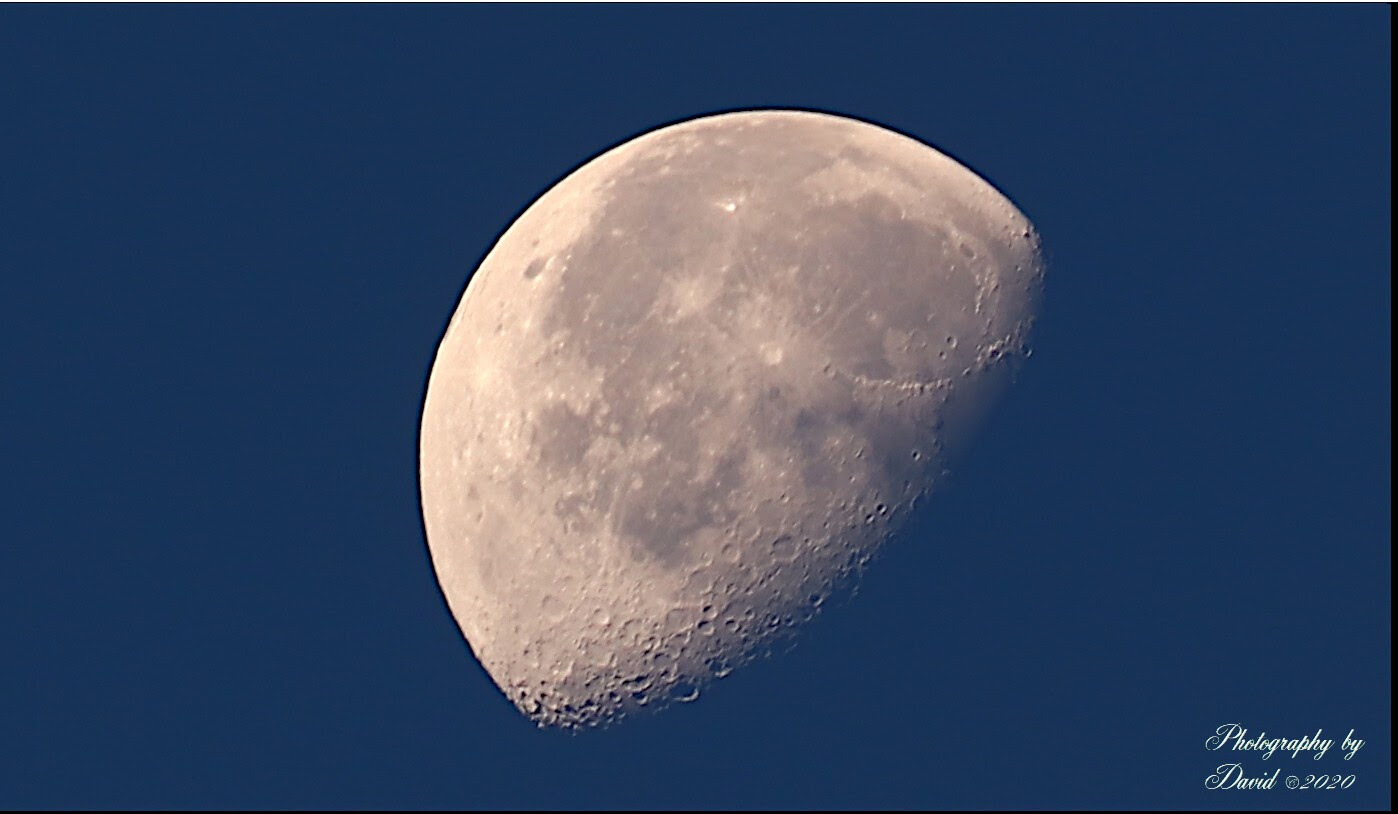 Waning Gibbous Moon - Stacked image from 5 individual photos. So how do we begin? To begin, choose a subject. In this case, we are going to use an image of an early morning moon shot. I set up my camera with a Tamron 300mm lens on a tripod, and used a remote shutter release. I selected my ISO, aperture, shutter speed and then focused on the subject carefully in live view mode. I then took a series of 10 images using continuous shooting mode. I choose to lock the mirror up and use a remote shutter release to prevent mirror slap and camera shake.Now is the time to get down to the nitty gritty. Once all the images had been taken, I transferred them from the camera to my computer. Once on the computer, I opened them in GiMP and set the view of each of them to 90%. Carefully, I check each photo for focus and choose the best five of the group. No matter how I set things up, it seems that there are always a few of the images that will be out of focus or blurred in some way. This can be caused by many things, but the air itself can cause an image to be blurry, due to turbulence in the air between the lens and the subject itself. Here's a hint. If you are taking an image of the moon, stars or the planets, it is best to take when the air is cool, as it will be less turbulent, and result in better images. Now that we have selected the best five images, I then aligned them so the moon appeared as close as possible to the same place in the window for each image. Now I cropped each frame, and copied and pasted each as a new image. 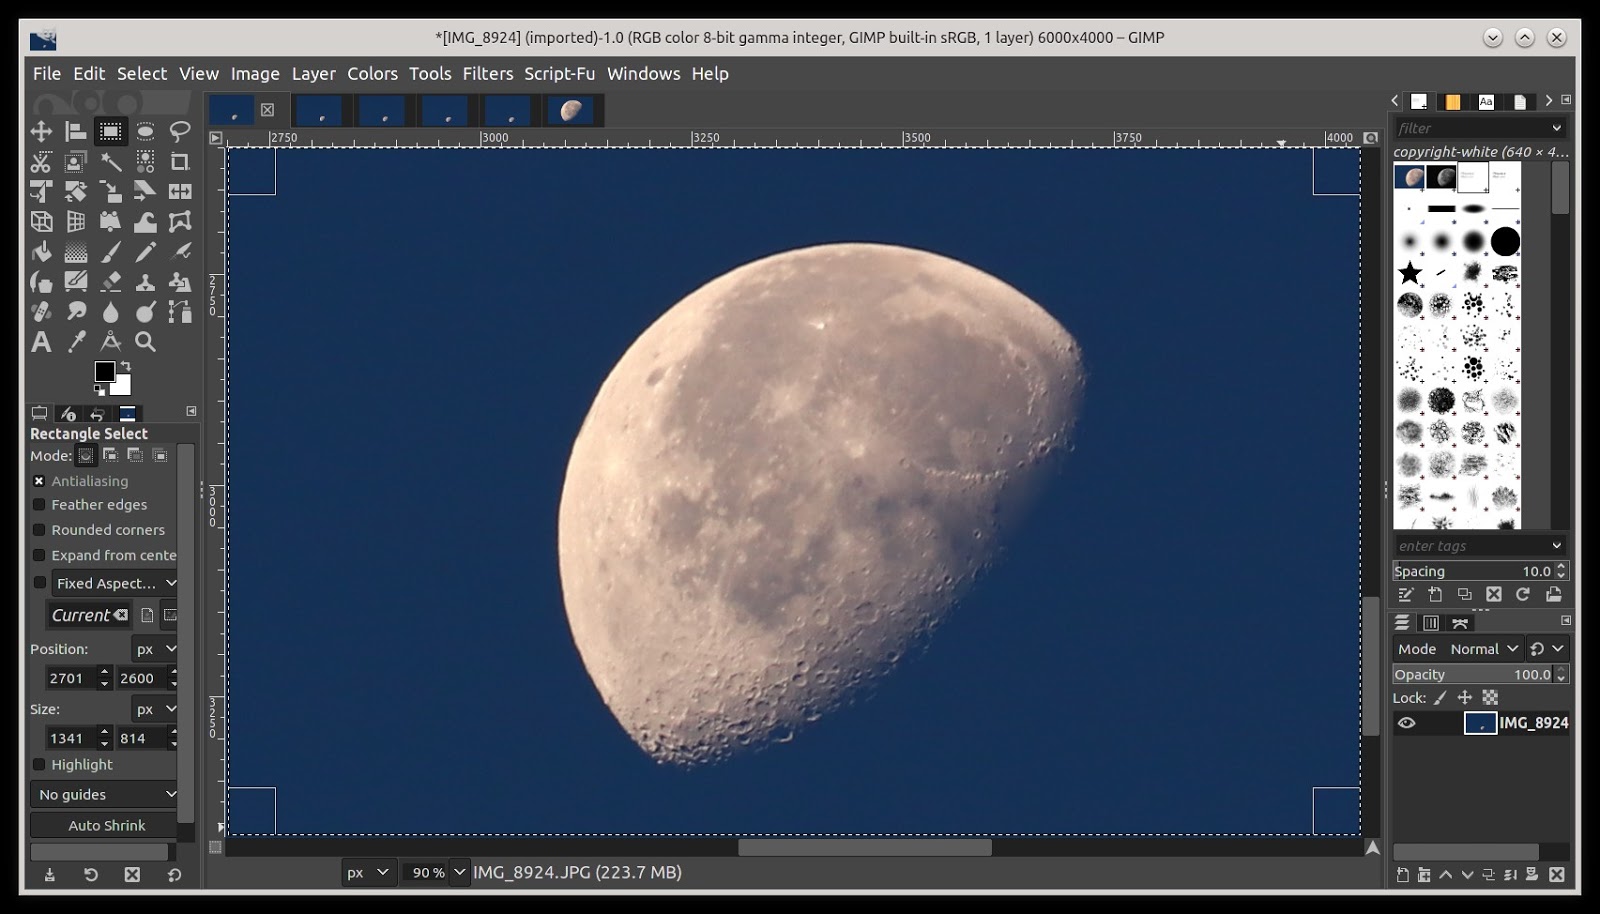 Enlarged and cropped 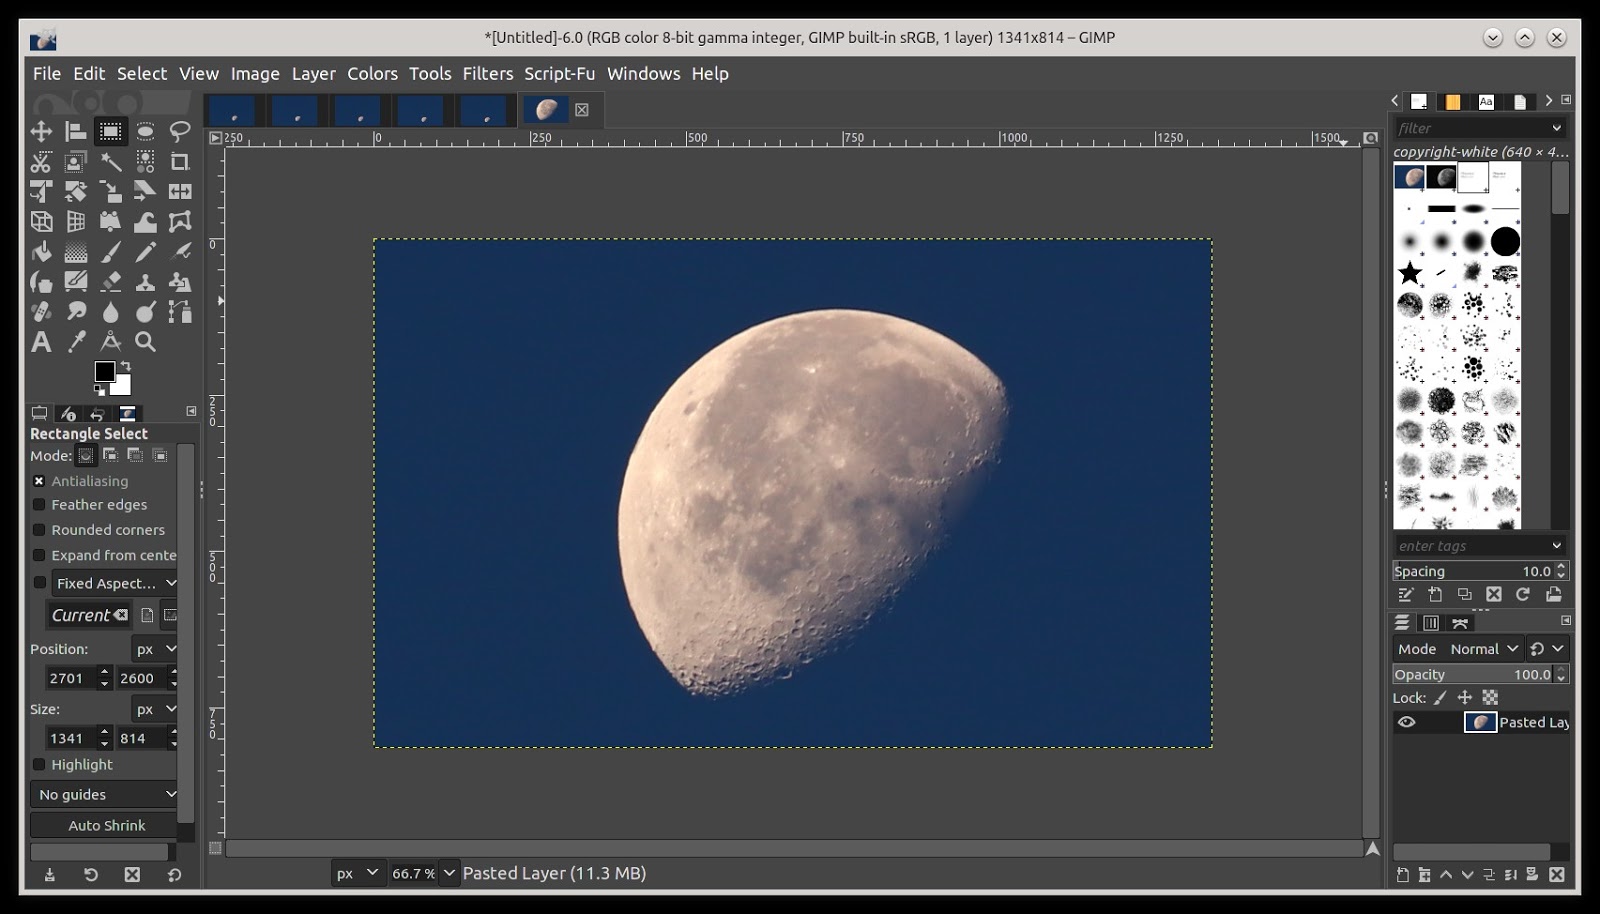 New image from first image I repeated the above steps for each of the five images. 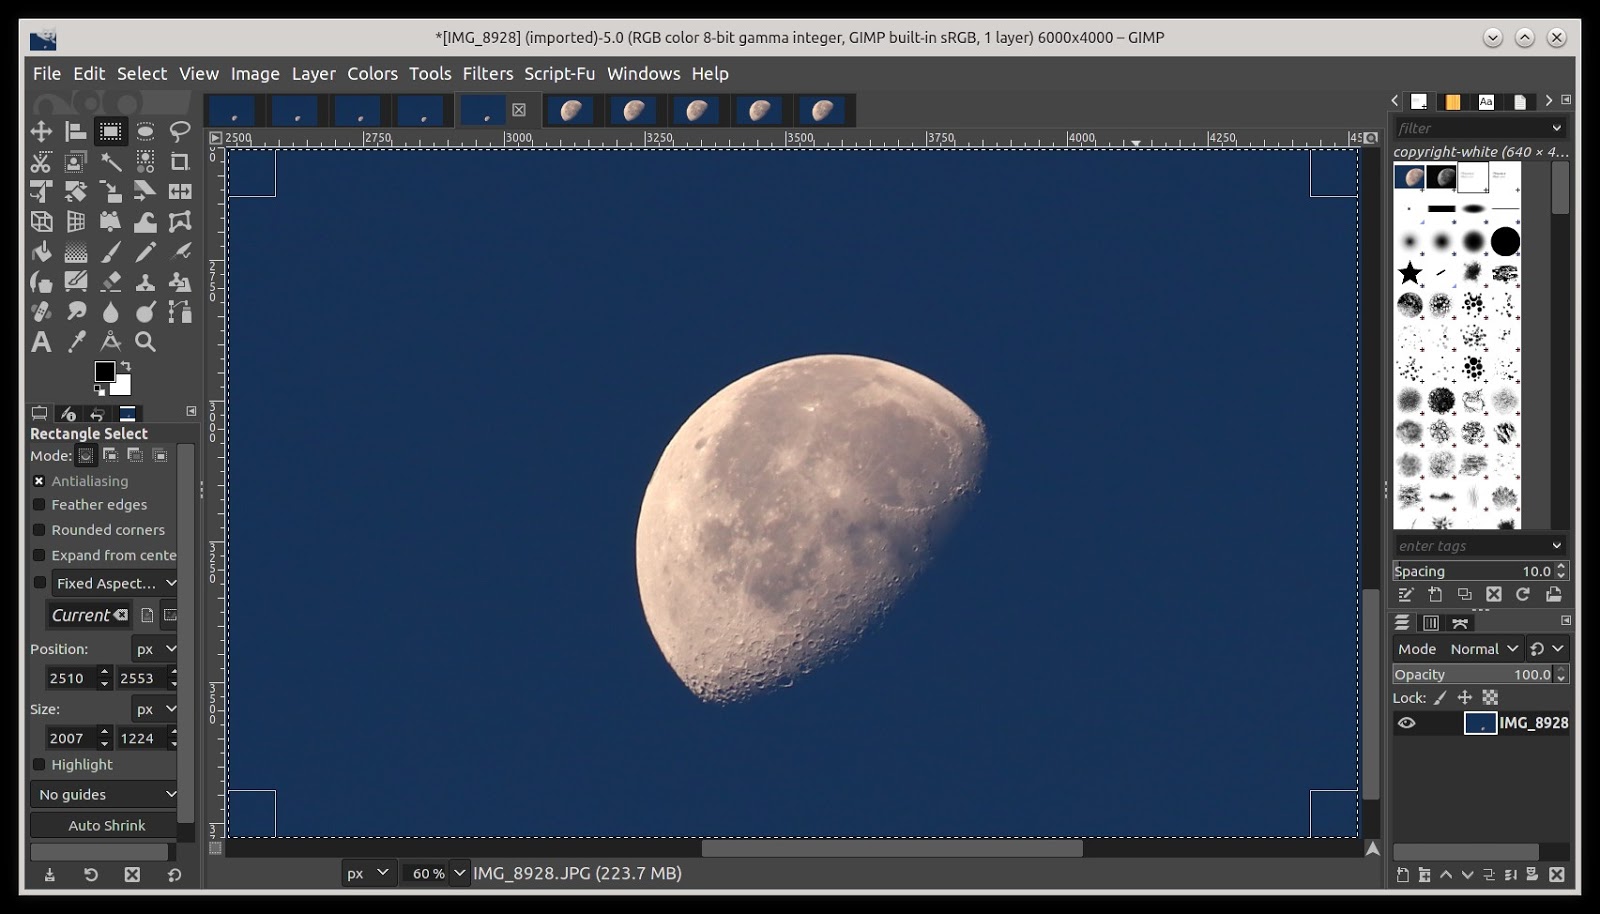 I then save each of the new images using export as img1, img2, img3, img4 and img5. Once they have been saved, I closed all the images. 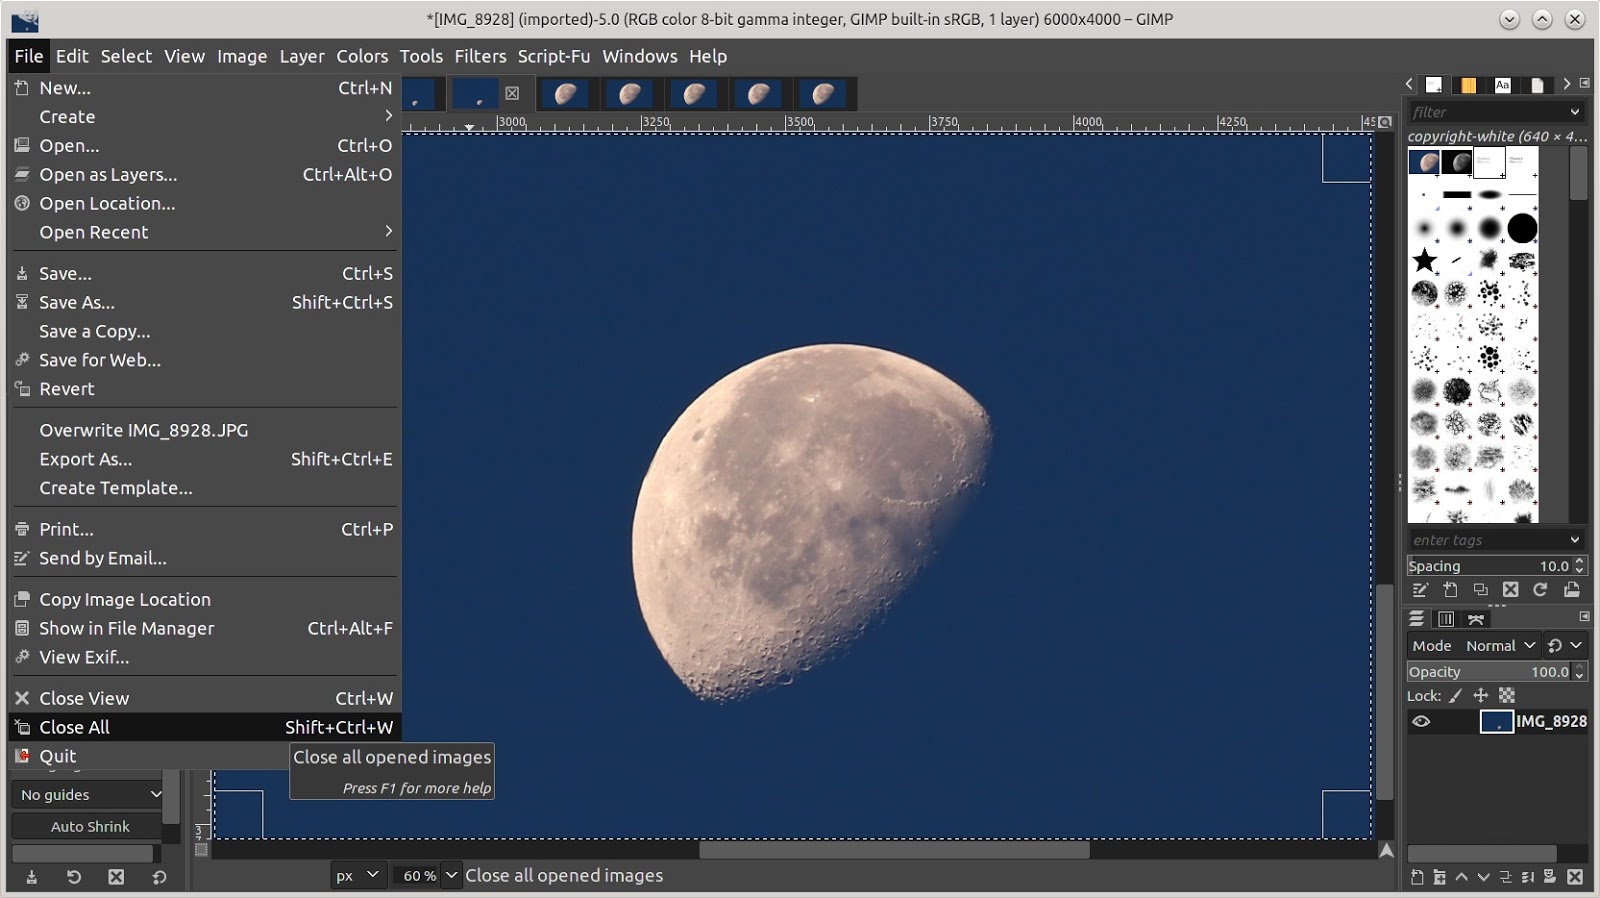 Now we need to open our newly saved images as layers. Choose File > Open as layers, and choose the files you saved. Hold down the Shift key, as you choose each file. 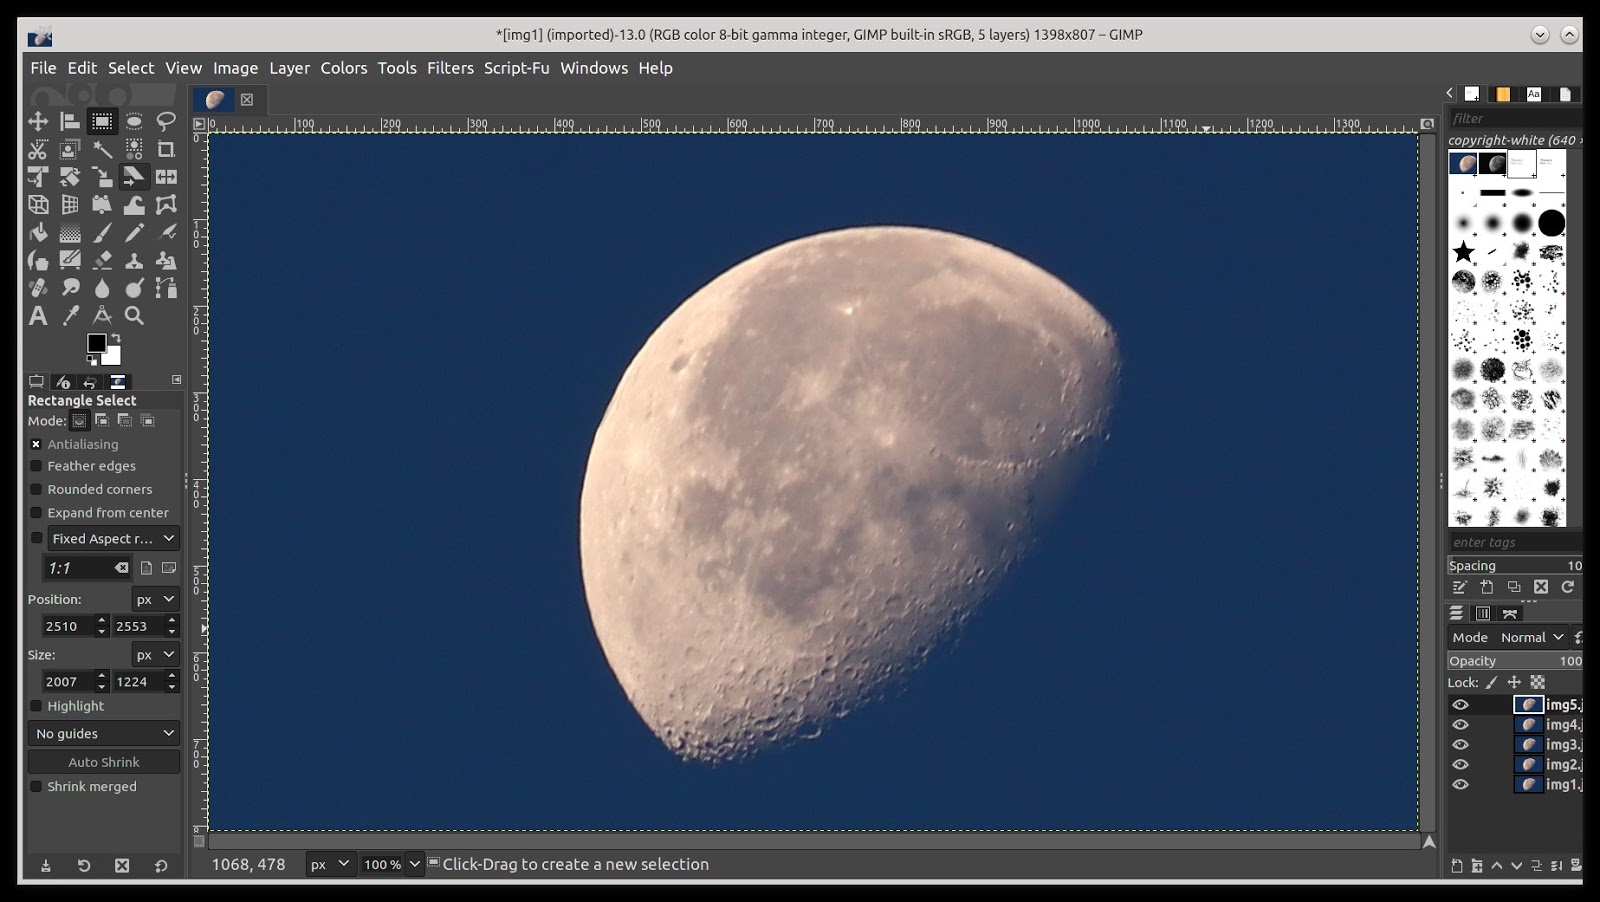 Open Images as layers You will see one image displayed, but if you look at the bottom right corner of the screen, you will see each of your images have been loaded as a separate layer. Now we are going to align each image, and then blend (stack) them together using the plugin called G'MIC-QT. In GiMP click on Filters > G'MIC-QT. The plugin will open a new window. 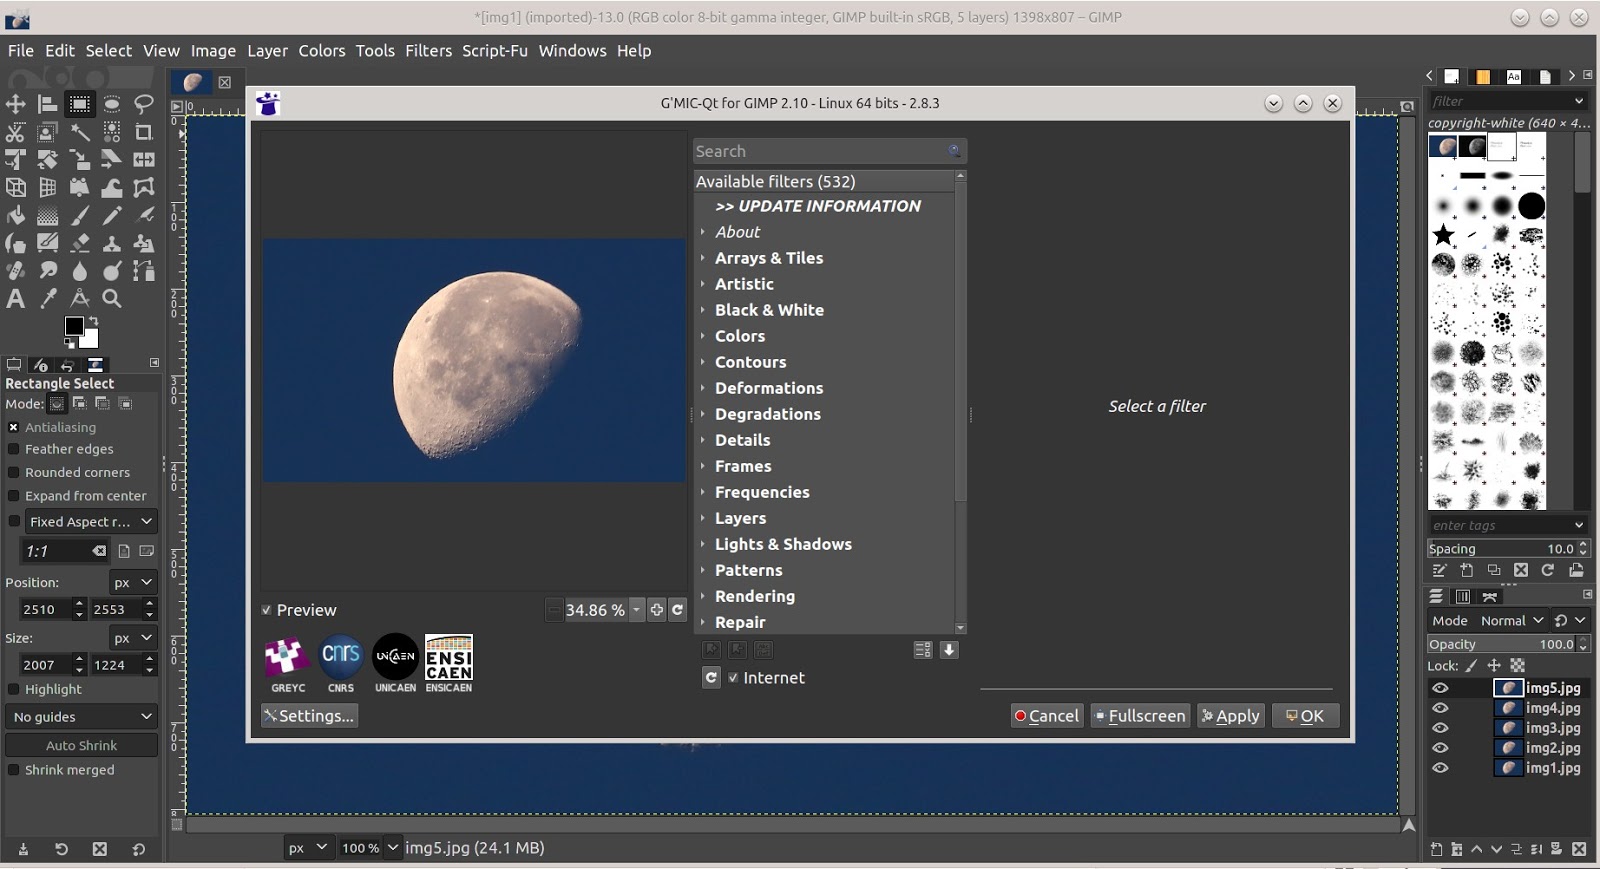 Now click on Layers > Align Layers. We are going to use the default setting for this step. So now, press the Apply button. 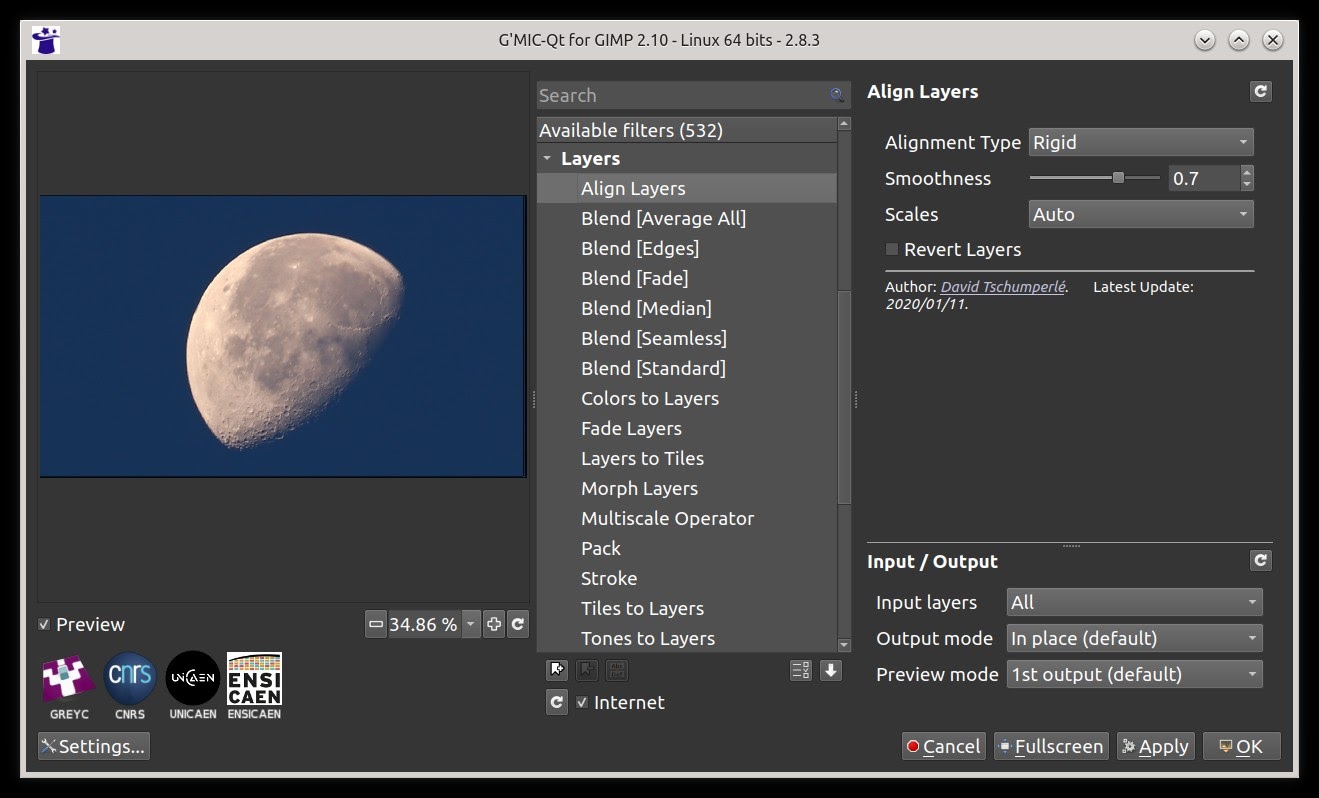 Apply Layers This can take a bit of time depending on how many layers are used and the size of each layer in pixels. When G'MIC-QT has completed the process, the window will remain open. Now we want to select Blend [Median]. 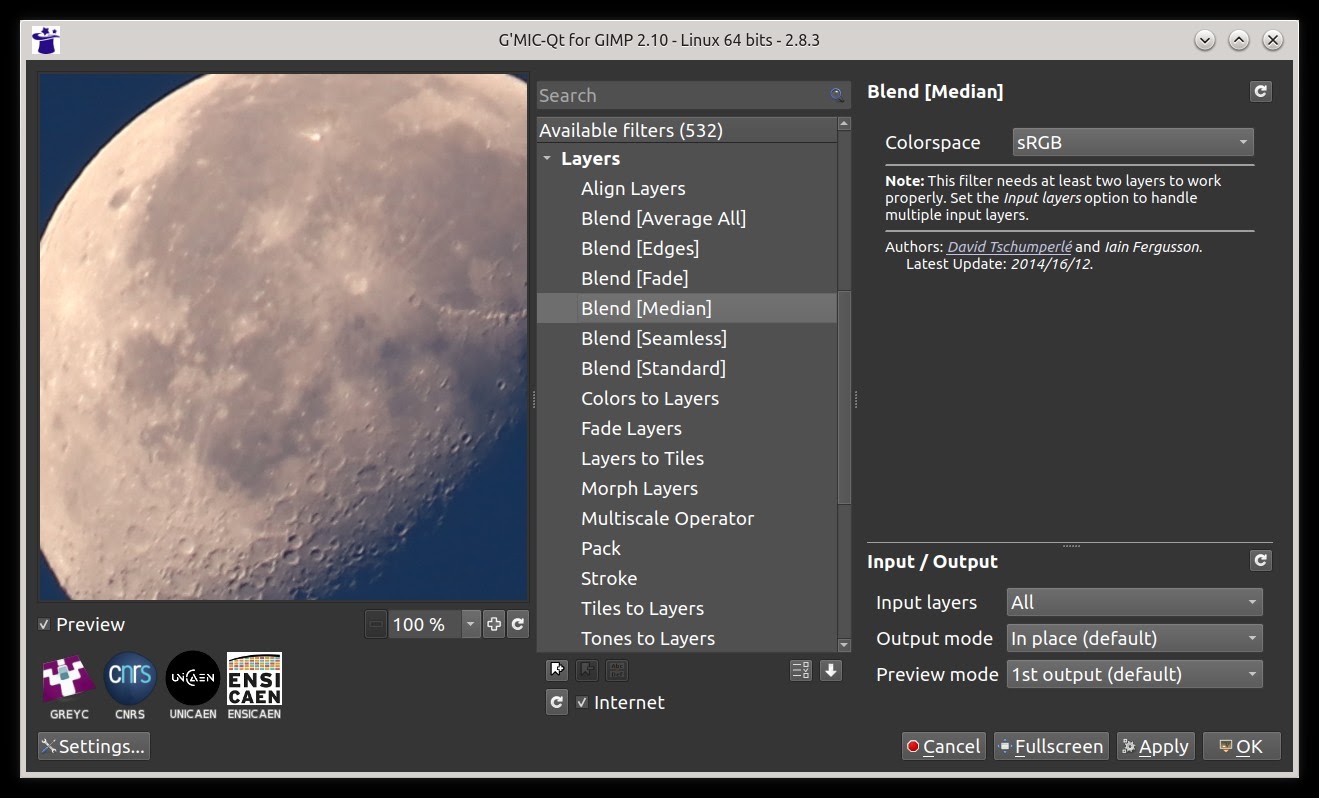 Blend Median Again, in this step, we will be using the default values. Now we will click OK. This step can take a while to complete. When this step has completed, the G'MIC-QT window will close. 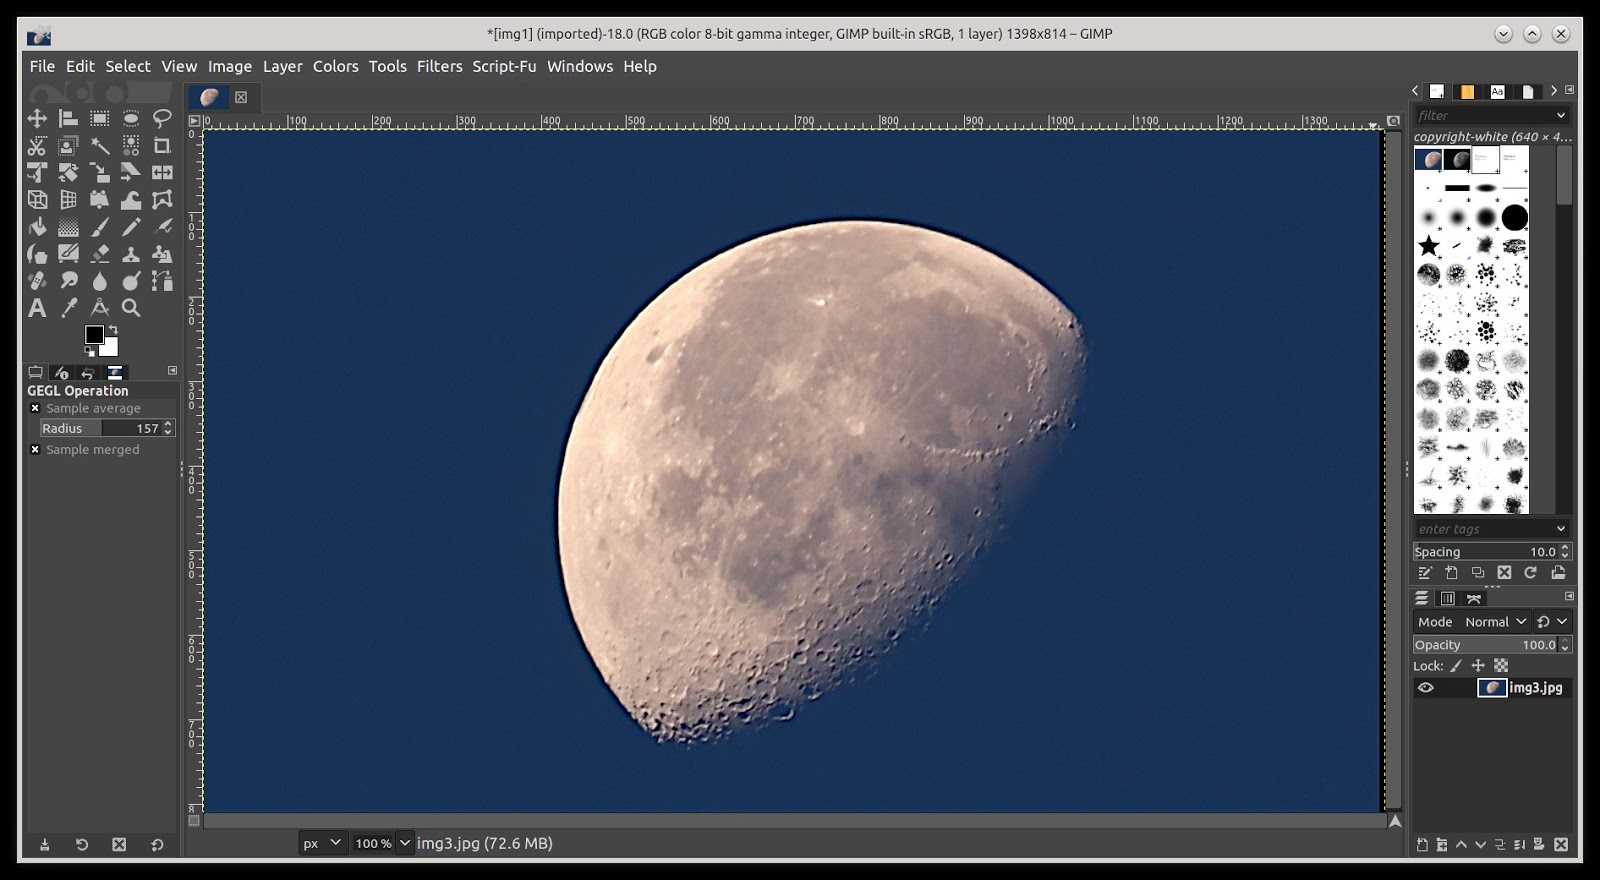 Blend process completed The blend process has been completed. You will note that all the layers have been stacked together, as can be seen in the bottom right corner of the GiMP window. Now select Image > Flatten Image. Now we want to save our finished image, File > Export As..., and give it a new file name. 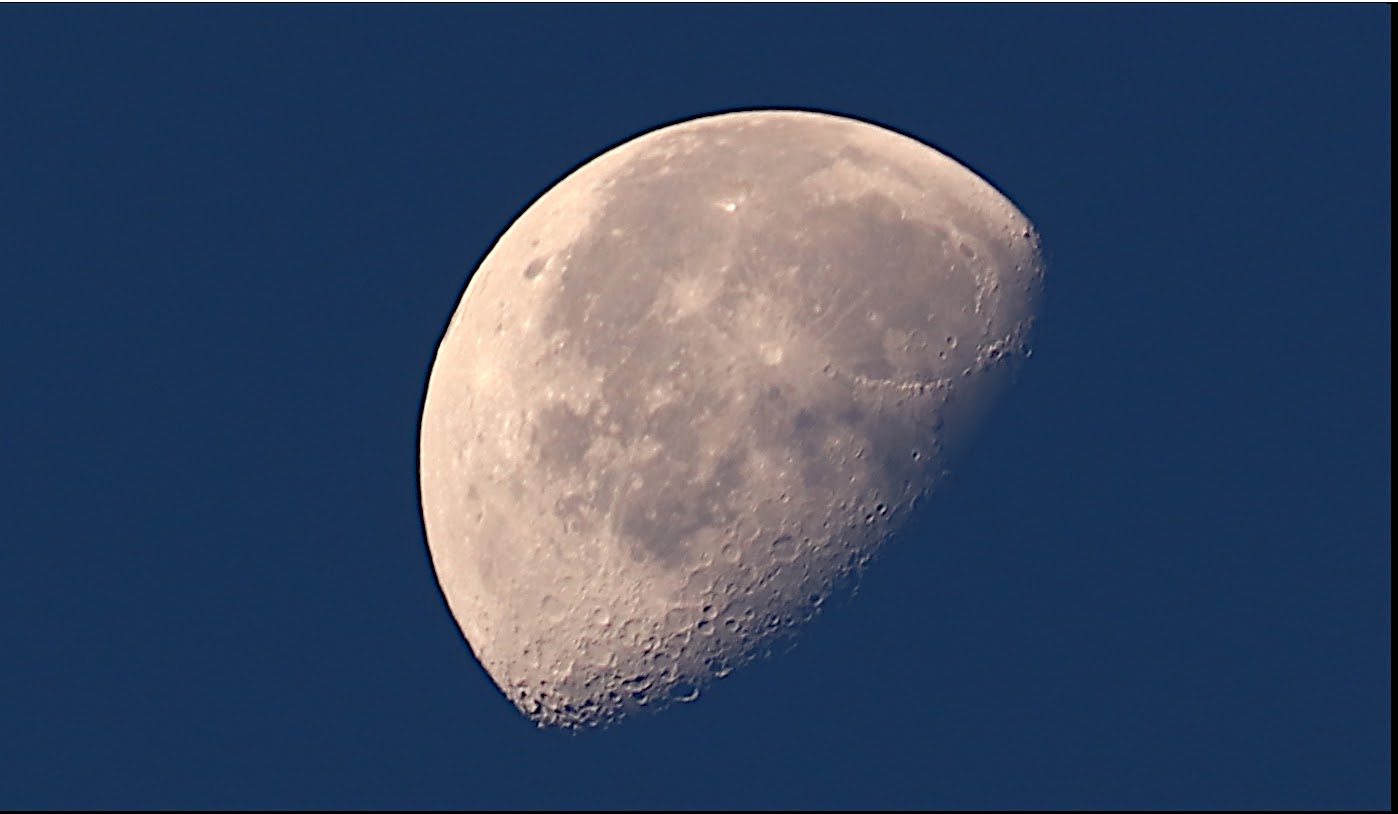 Our final stacked (blended) image. Some final thoughts. When it comes to aligning the images, G'MIC-QT plugin doesn't seem to work well if the images have much distance between frames. 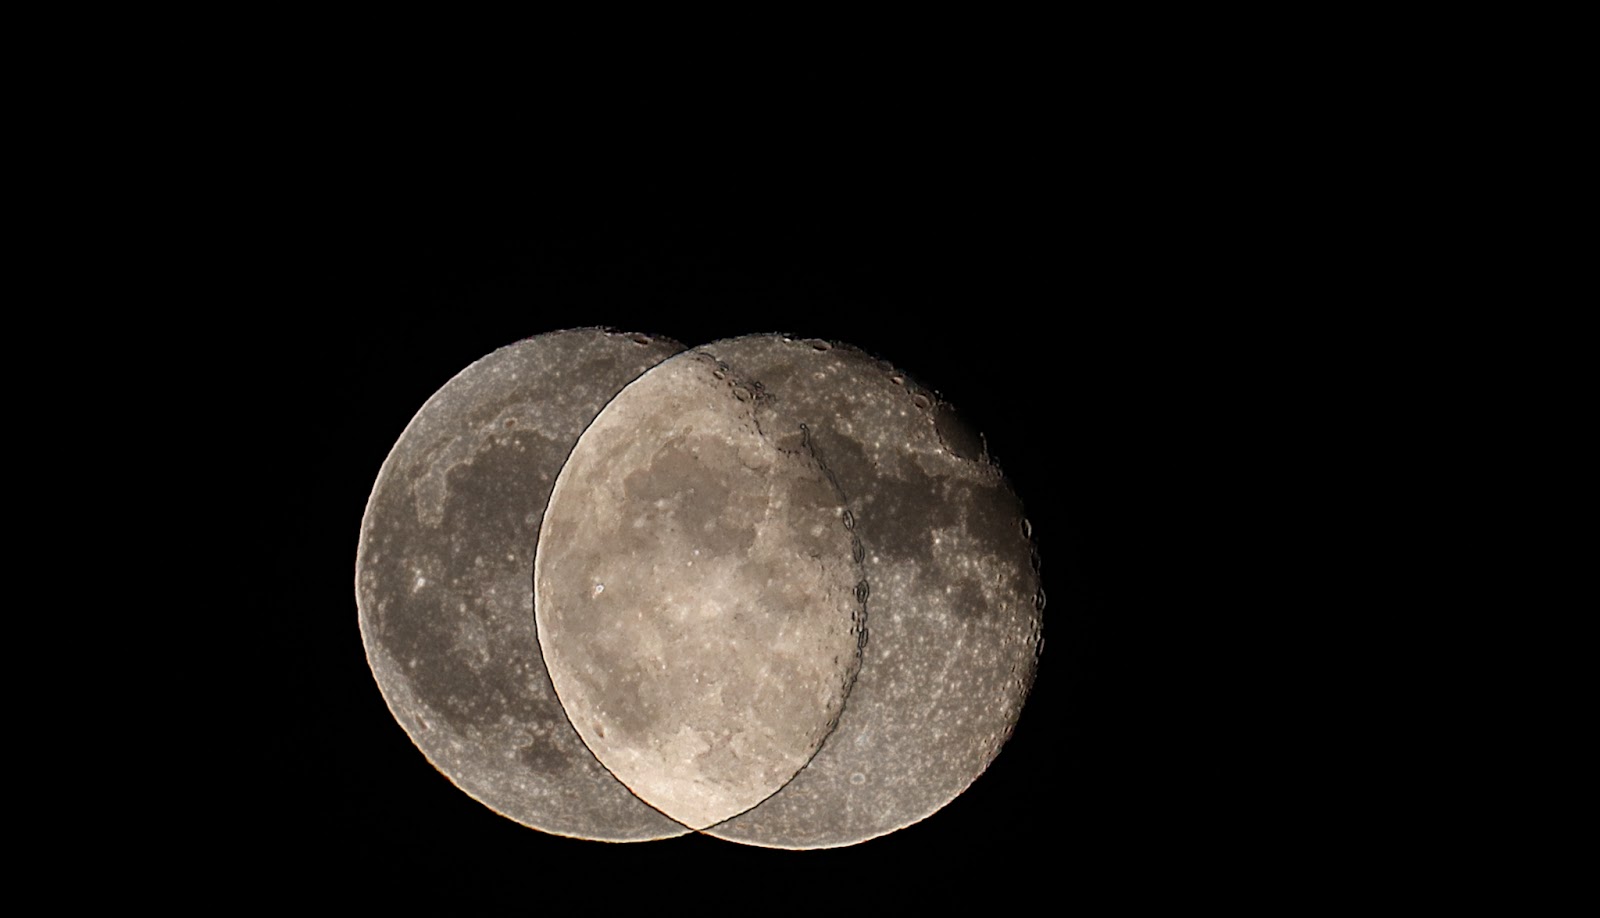 The above images were taken 10 seconds apart. And failed to stack. It can also make the final image turn out a whole lot worse than its individual original image, as can be seen below. 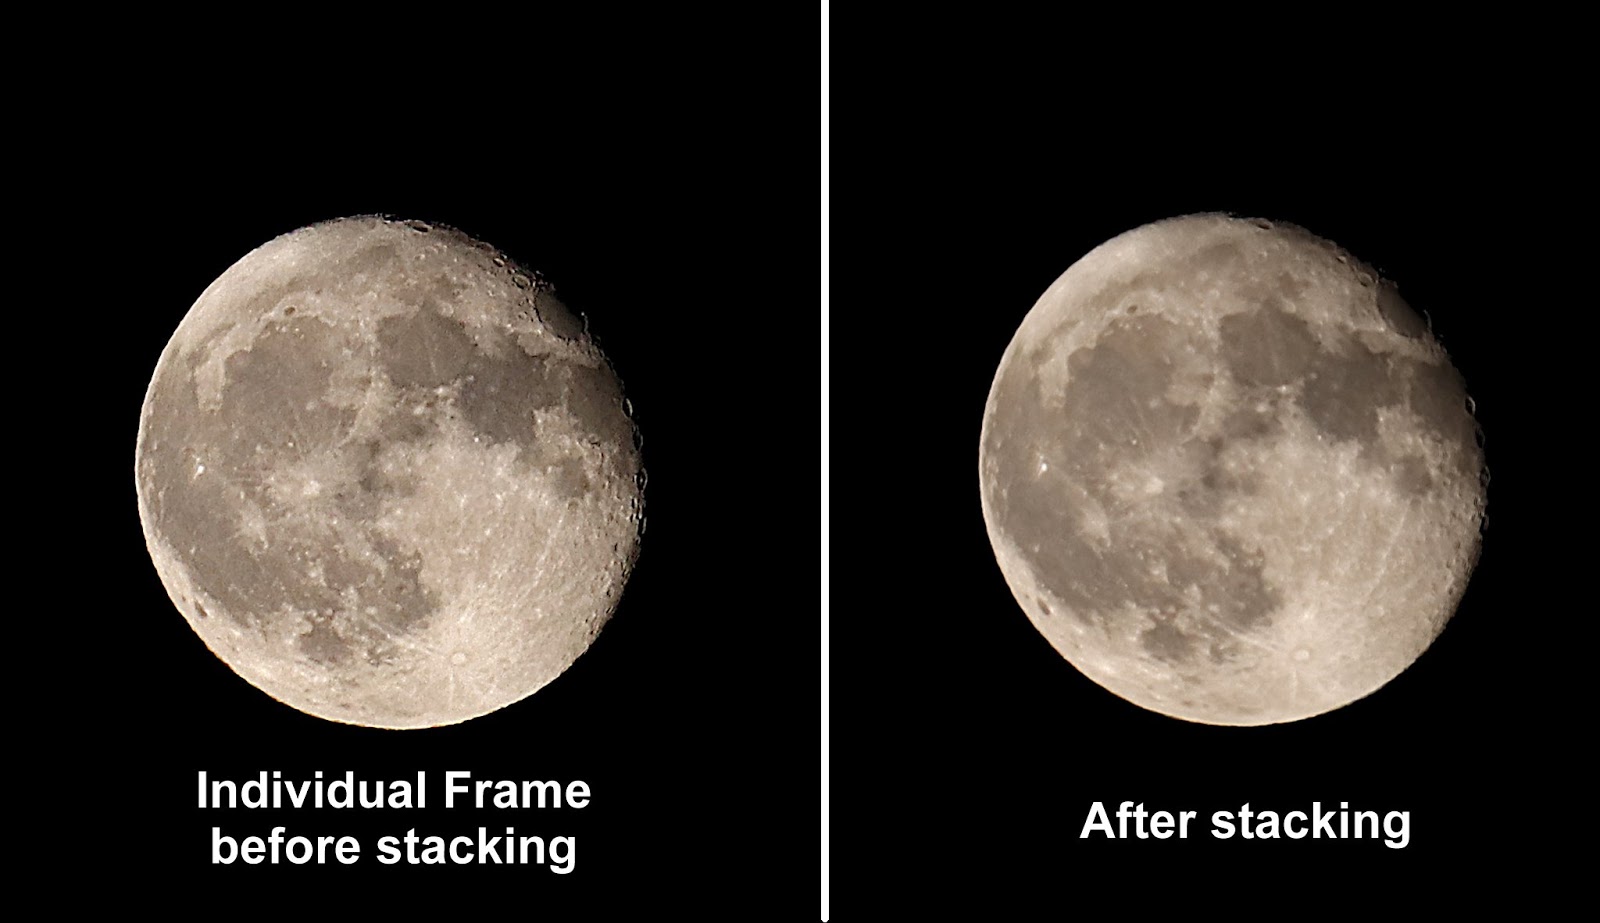 I have found that it works much much better if you take a very short video clip, and then break the video clip into its individual frames and process that. You can use ffmpeg to extract the frames from the video clip. A couple of second videos will give you plenty of frames to work with, in most cases. Also, there is a program in Synaptic called Siril, which is supposed to be really good for image processing, though I haven had a chance to use it yet. |


