| Previous
Page |
PCLinuxOS
Magazine |
PCLinuxOS |
Article List |
Disclaimer |
Next Page |
GIMP Tutorial: Create A Rubber Stamp Text Effect |
|
by Meemaw I found this as a Photoshop tutorial, and I always experiment with Photoshop tutorials to see if they work in GIMP. This one had several effects that I wasn't sure of (I've never used Photoshop), so I tailored it to GIMP. To begin, go to the File > New... menu item and create a new document with a white background at the desired size and resolution. 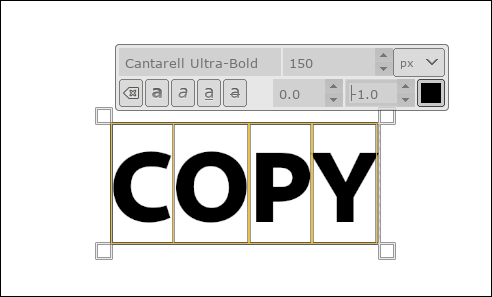 It will work better if you use a heavy font. I'm using Cantarell Ultra Bold. Make it fairly large (150 pts in this image) and type in uppercase. You can keep the color as black. If with your font, you don't like the tight spacing between the letters, you can easily fix it through the text tool panel. You can find the kerning adjustment on the right side of the text settings. 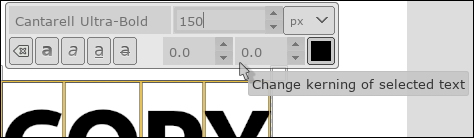 Click between the letters whose spacing you want to adjust, or select all text and then from the kerning display, set the kerning value to a larger or smaller number to increase or decrease character spacing. 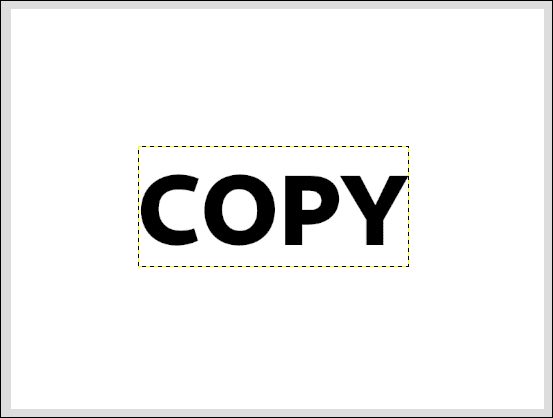 While you are adjusting, center your text on the page. If you decide you want it bigger, scale the text layer. Now we're going to put a rounded rectangle around our text (some stamps have boxes around them). I did this on a new transparent layer rather than the text layer. Using the Rectangle Select tool, make sure Rounded Corners is chosen and make the radius 30, or whatever looks good to you. 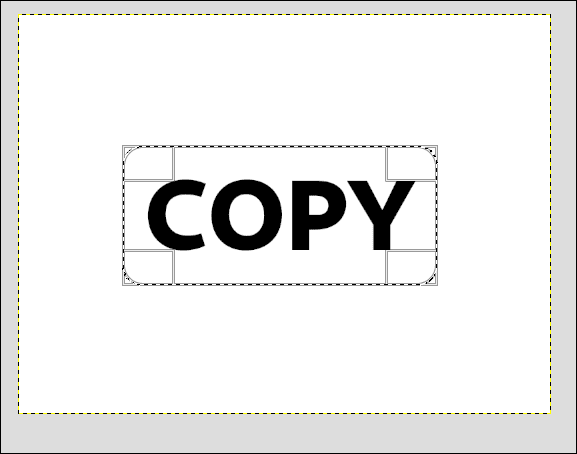 Draw the rectangle a bit larger than your text so it surrounds it with some space on all the sides. When you get your rectangle drawn, go to Edit > Stroke Selection to add the stroke color to the box. Make your stroke width about 20. 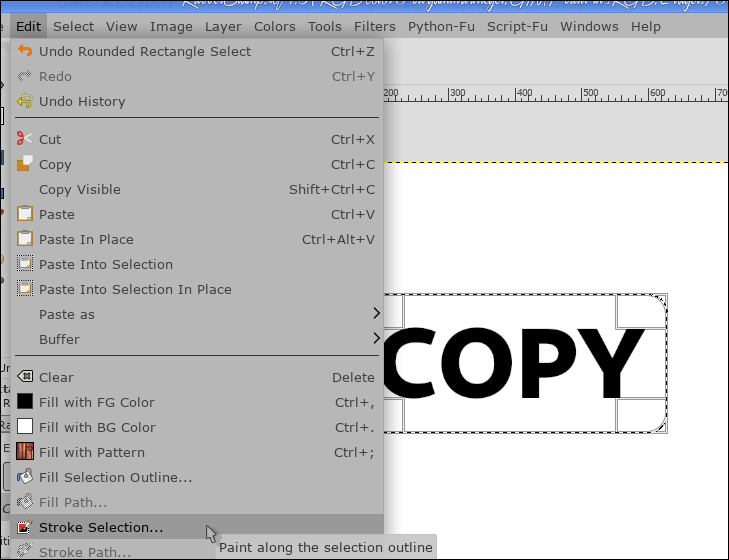 Make sure your rectangle is centered under your text using the Move tool. Once you have them aligned, you can merge the two layers.  Now we need to do the pattern. Since your drawing is just black so far, choose the Select By Color tool and click on the black. GIMP should choose your text and your rectangle. If you want to change the color of your stamp, you can do it now.  With your text still selected, go to Filters > G'MIC > Patterns > Sponge. I made my size 7, but you should play with it to see what you like. Now it looks a bit like a rubber stamp. Since you're finished editing text, you can choose Select > None to deselect your text and box.  The next thing I did was to rotate the stamp just a little and crop it. Also, if you want to actually use it for a stamp, you can select the white background layer and delete it. Then you can export it as a .png so you can add it to a document, if that's your aim. One boss I worked for kept copies of all important papers (before offices were more paper-free), and each copy he kept was stamped with a stamp that said "COPY". 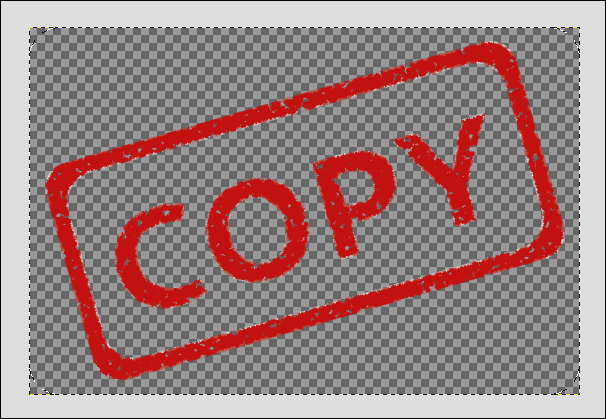 So I have made a copy of this recipe, and "stamped" it "COPY". In LibreOffice, you can insert the image, with no wrap (or wrap through), and set the stamp image at 50% opacity. 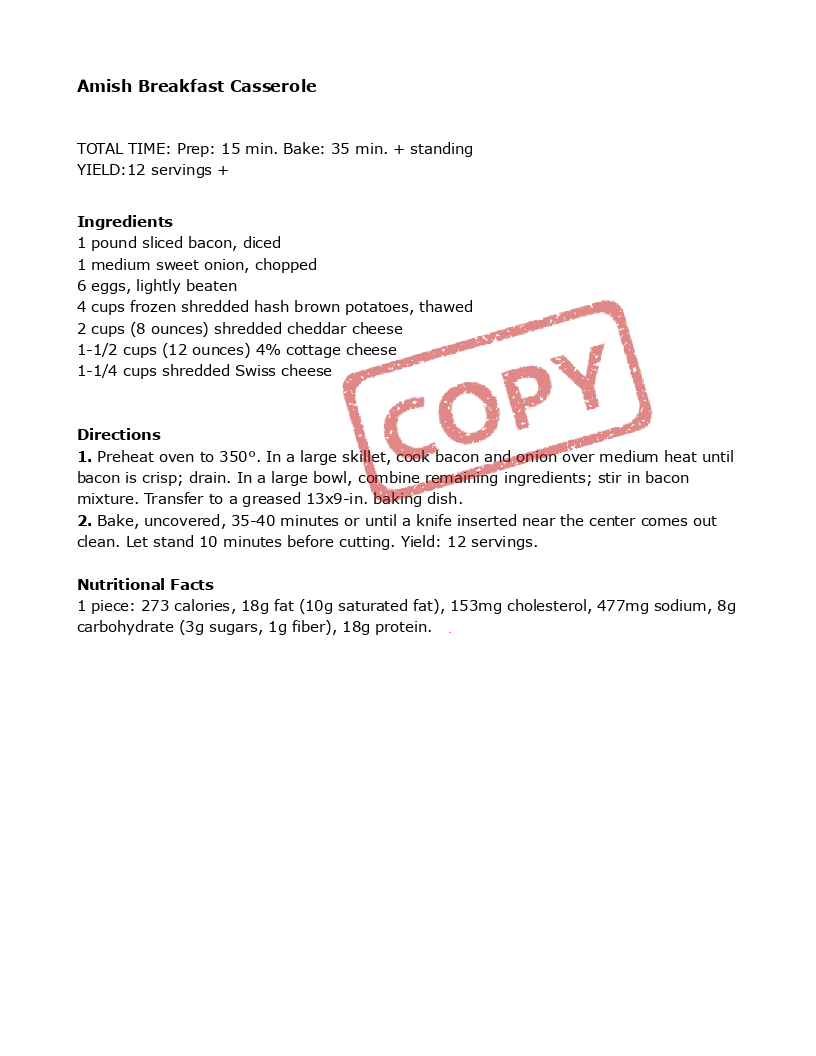 |