| Previous
Page |
PCLinuxOS
Magazine |
PCLinuxOS |
Article List |
Disclaimer |
Next Page |
Inkscape Tutorial: Repeat An Object Around A Shape |
|
by Meemaw I watch GIMP and Inkscape tutorials on YouTube, and have found several really great ones! The guy from Logos by Nick is very good, and posted one about putting a shape around another shape. This is useful if you have a pattern you want to use in a curved border or around a circle. Let's look at it. Start with a pattern or shape in Inkscape. I have a star I want to use for a flyer I'm making. I did an article similar to this in April, 2014, but we'll do a different project this time. Make sure that whatever you use (curves and shapes) can be changed to a path. 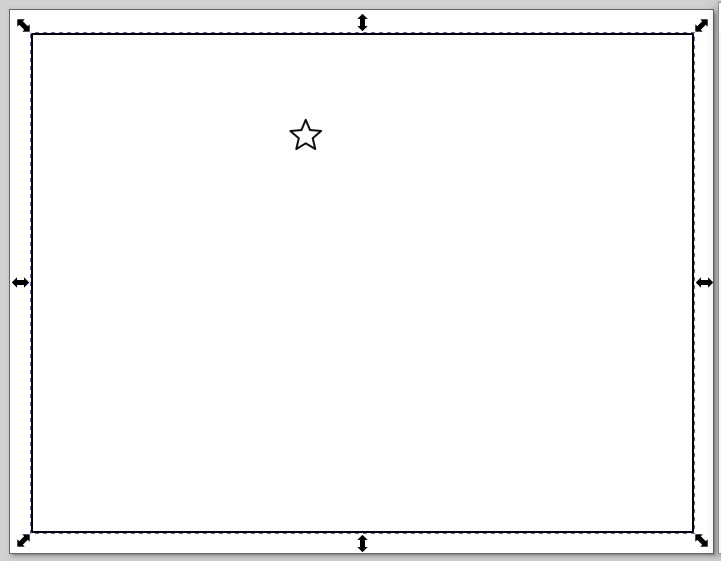 In Inkscape I'll draw the star and the rectangle I want to use. Then I'll change them both to paths using Path > Object to path. Select the rectangle, then click on Path > Path effects... and from the window that appears, choose the plus sign at the bottom to add an effect. 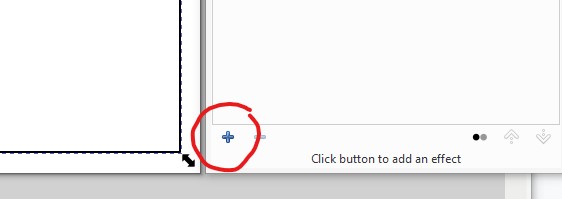 A new window will appear with all the path effects. Just as a reminder, the newer versions of Inkscape have this window. You can customize the window to show a list of effects or tiled icons (large or small). Mine is tiled with small icons. Choose Pattern Along Path.  The Path Effects window you had before will change to include all the settings: 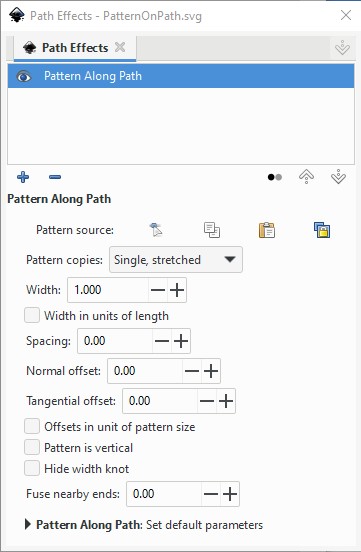 The easiest way is to copy the object you want to repeat (in my case, it's the star). Then choose the rectangle, and click on the Paste Path icon, which is third to the right where it says Pattern Source towards the top of the window. When you click the icon, you will see your pattern appear. 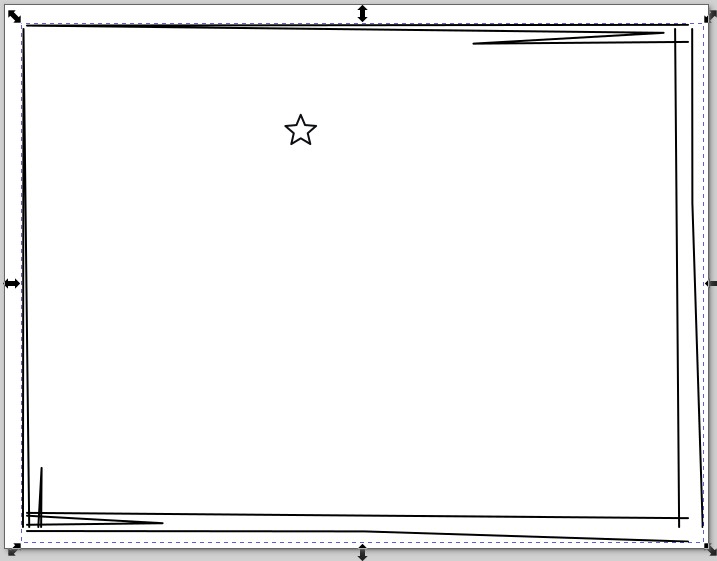 Ooops! Did you get this? I forgot to warn you! Just under Pattern Source is Pattern Copies, and the default, at least on my Inkscape, is Single, Stretched. That means it takes one object and stretches it out over the whole path. Looks weird, doesn't it? OK, click on Undo (<CTRL> + Z). Change the copies to Repeated, Stretched and click your Paste Path again (you may have to copy the star again). 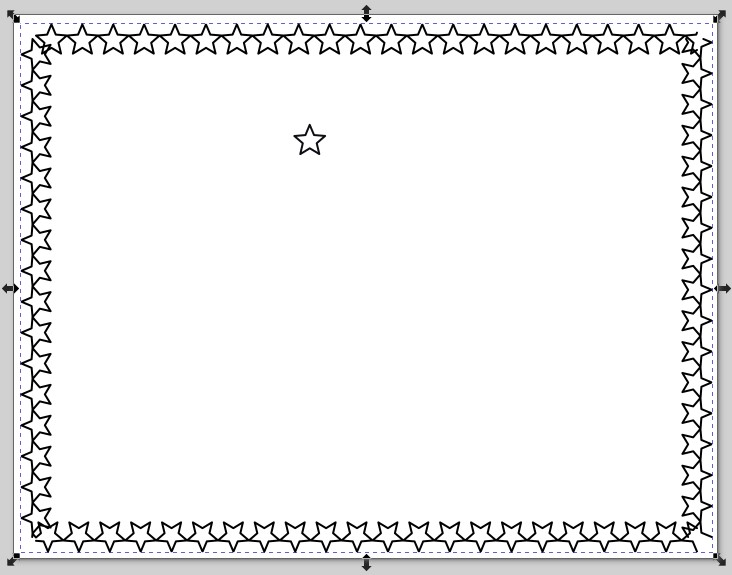 Ahhh, there's a border. On this one, you can see that the points on the stars are touching. If I don't want them that close together I can change the Spacing setting. In this one, I have changed the spacing to 3. You can actually change that without undoing this time. 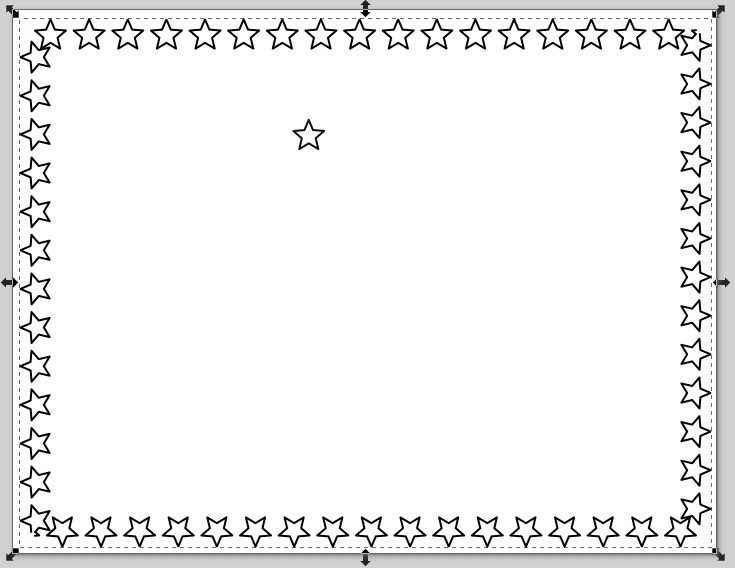 Negative numbers are allowed as well. In this one, I used hexagons around an oval and set the spacing to -4. Notice that they overlap. 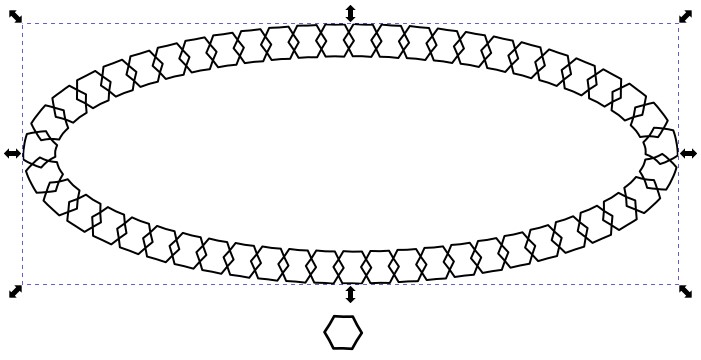 Many effects can be obtained simply by changing the path your object follows, and the settings you choose. Play with the settings until you get what you want. When you are happy with your creation, you simply finalize it by clicking Path > Object to path one more time. When you've done that, you can actually edit your creation. I've done a red star border, and finalized it, but now I've decided that I just want a corner or two. Choosing Path > Break Apart, my border is separated into single stars, and I can delete or move those I don't want. 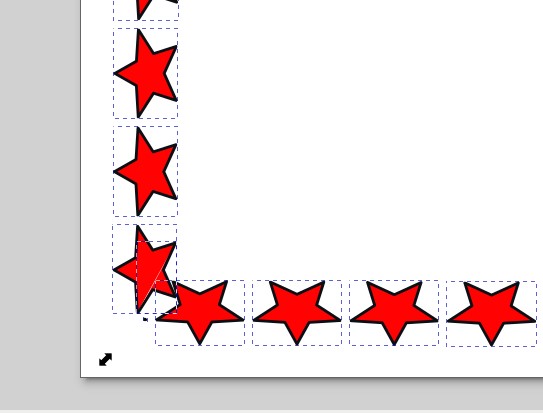 I chose the top half and moved it away. Then I chose the right half, flipped it, and moved it into the angle of the left. 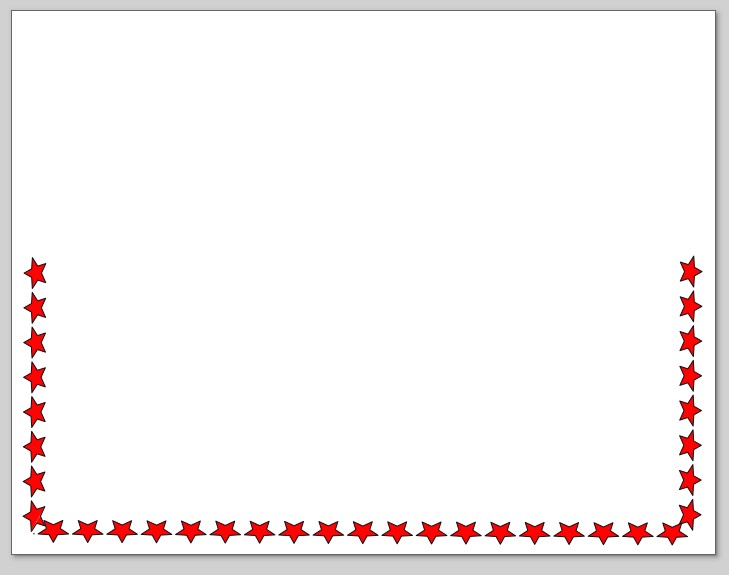 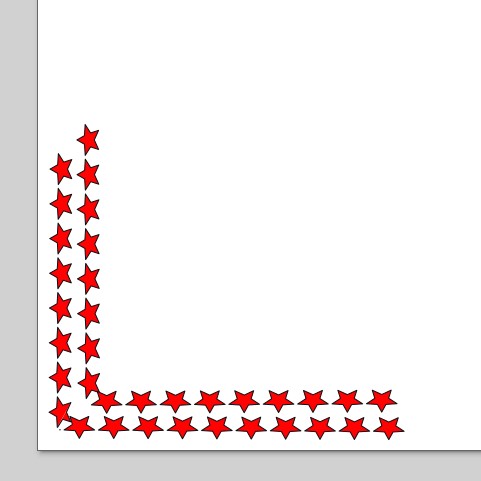 To finish it off, I'm going to move/delete individual stars, duplicate and place a second corner, and finish my flyer. 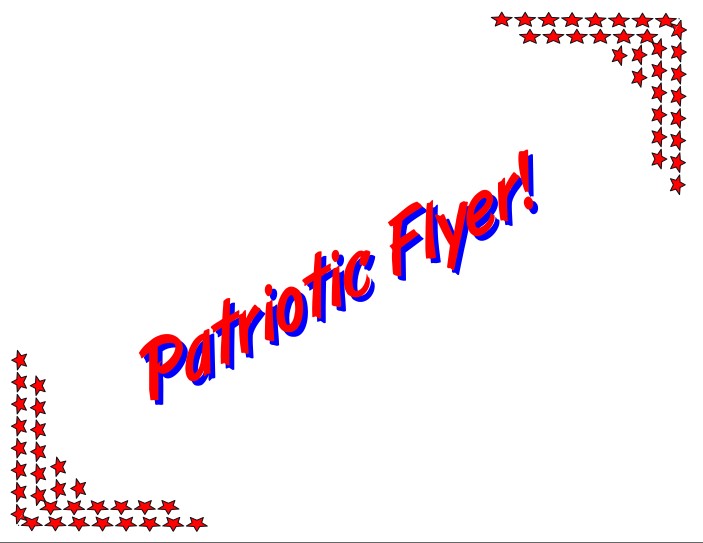 In the video, Nick creates a garland of sorts - a leaf arrangement that can be part of an award - the same way I created the corners. I'm also going to share some differences you can get in your pattern depending on the settings you choose. The settings are marked so you can see what's different. All of these are made with a leaf-like object around a circle. I also added an extra dark gray circle so you could see what and where the original path was. 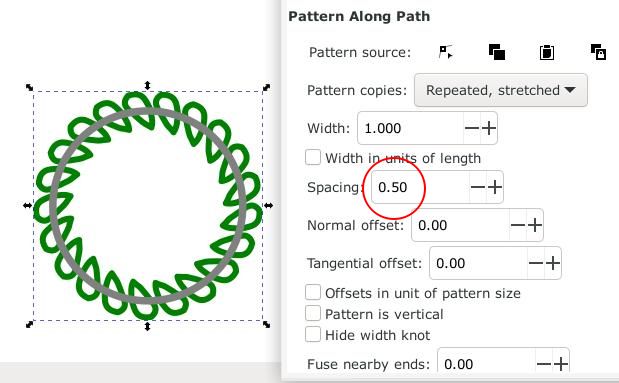 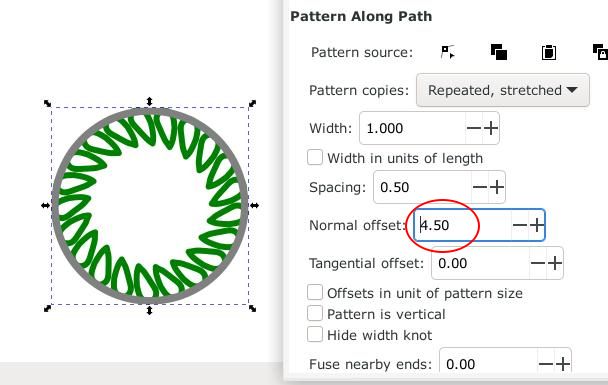 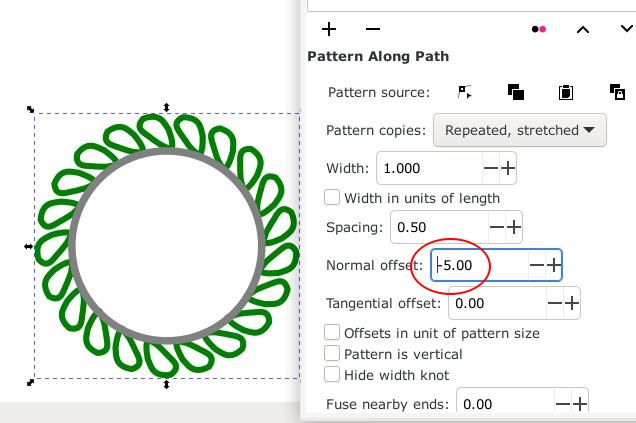 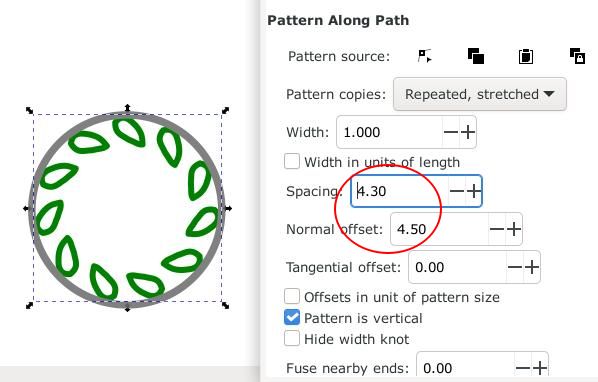 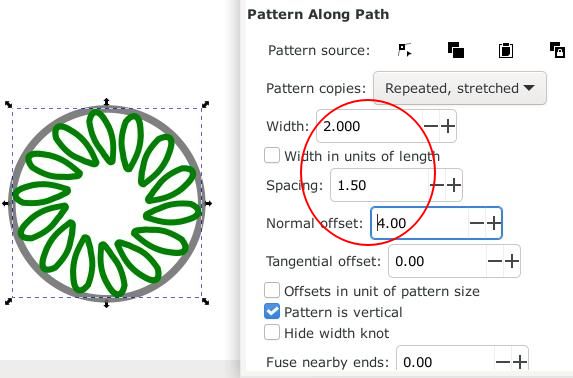 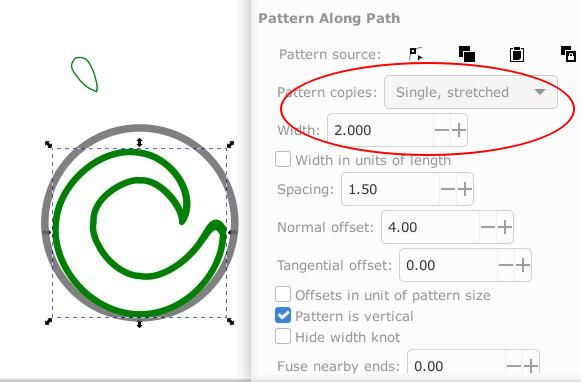 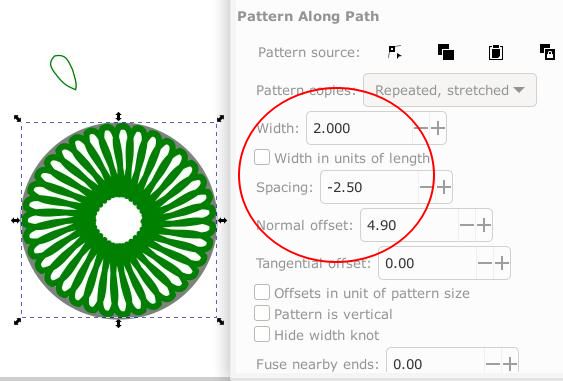 |