| Previous
Page |
PCLinuxOS
Magazine |
PCLinuxOS |
Article List |
Disclaimer |
Next Page |
Inkscape Tutorial: Design A Mandala |
|
by Meemaw I go on YouTube regularly to try to learn more about GIMP & Inkscape. Recently, I found another channel called IronEcho Design, and he had a couple of videos about creating a mandala. Mandalas are symmetrical geometric designs and are getting a bit more popular. They can be simple lines, or more complicated. I got these first two from Pixabay. 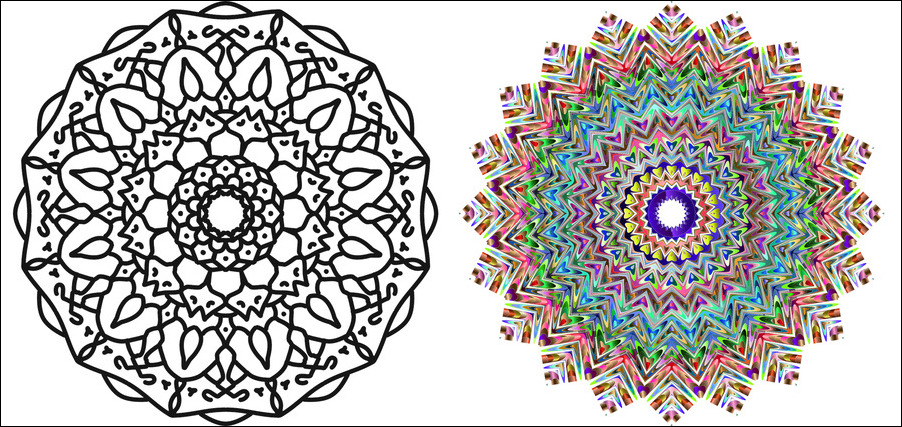 Rick from IronEcho Design has at least two tutorials on mandalas, so I thought I'd share the process with you. The first step is always to open Inkscape. In this project it will be good to activate Snapping. I usually deactivate it so I can move things wherever I want them, but it needs to be turned on for now. Also, instead of making this huge, choose Letter or A4 size. Remember that since this is saved as an .svg, you can export it in a bigger size when you're finished. The next thing you should do is create 2 guides, one horizontal and one vertical, in the exact center of your page. The easiest way is to click Extensions > Render > Guides Creator. 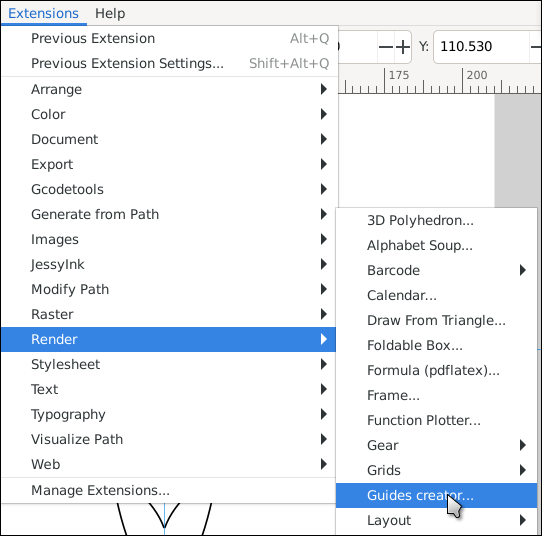 In the window that appears, choose 2 rows and 2 columns, and the guides will be in the center of your page. 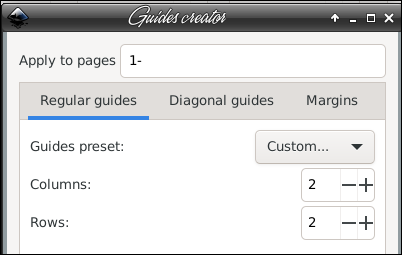 Now we're ready. Using the Bezier tool, draw 3 or 4 lines touching the top half of the vertical guide. Let each one snap to the guide. Don't worry about their shape yet. Select them all, then group them. Also, click Path > Object to path. Now we can use the Path Effects to help our work along. Click Path > Path Effects, and the path effects dialog will open. 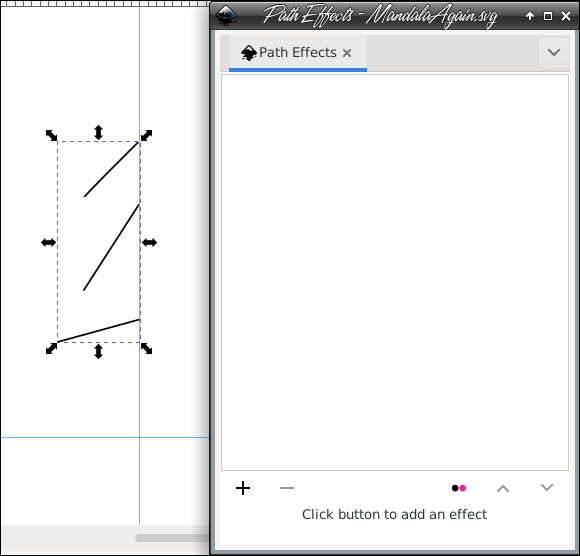 Pretty empty, huh? Well, there aren't any effects unless we add them. The first one you need to add is Mirror symmetry. With your lines chosen, you'll see that the effect has mirrored your lines. 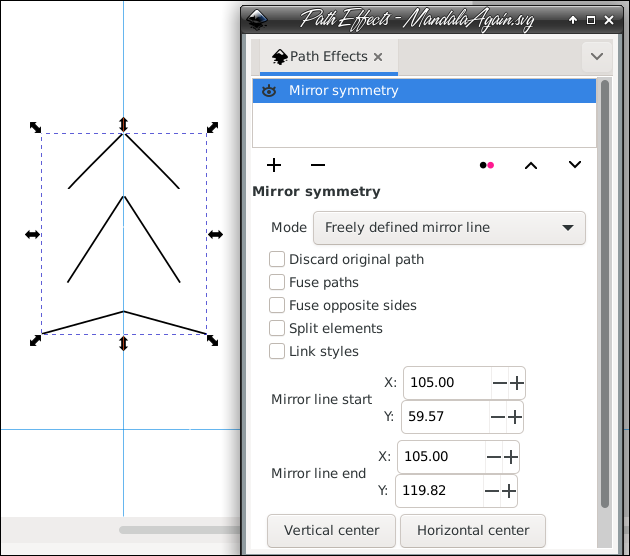 Now add Rotate Copies. When you first see it, it looks really weird, but that's fixable. Change to the Edit paths by nodes tool. A small square will appear in the center of that jumble. 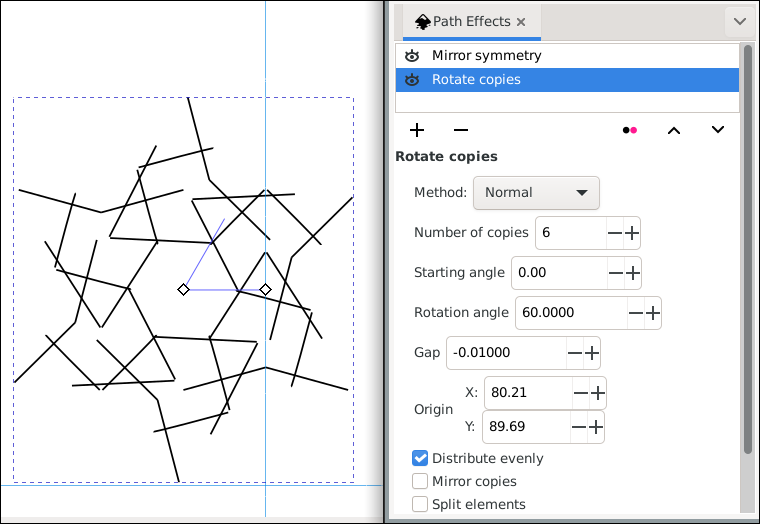 Grab that square (handle) and move it down to the spot where your two guides intersect. While you're doing that your lines wil (magically) move around the guides, now making a symmetrical drawing. 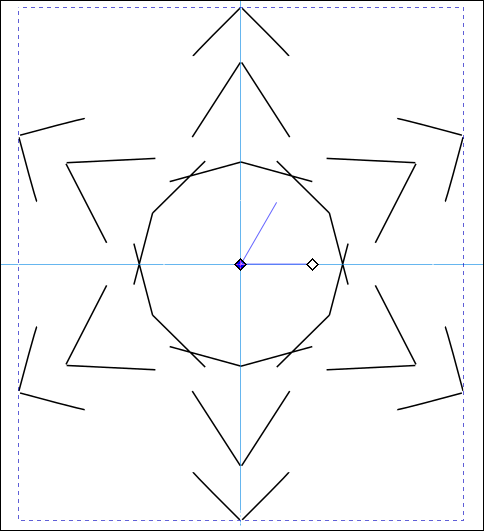 What's really cool now is that if you edit one of the lines you originally drew (curving it or moving it) the same edit will affect all the copies of the line around the drawing. I'm going to edit a bit. 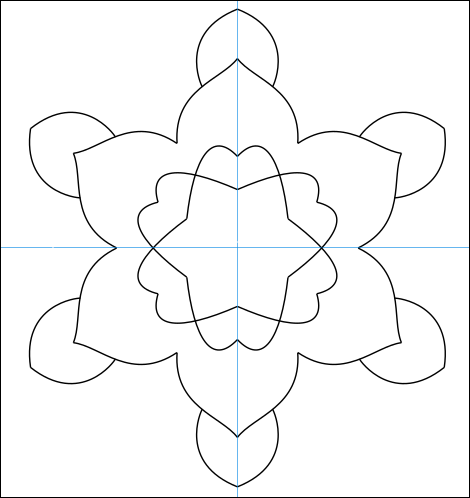 There's a lot I can do to this, but first, I'm going to group everything and rotate it just a bit. That way, I can do the same thing again and fill in between the outer figures. OH... if you add any small items, like circles or spirals, add them the same way (next to the guide) and use the same path effects. The circles and lines were added before I rotated my drawing. 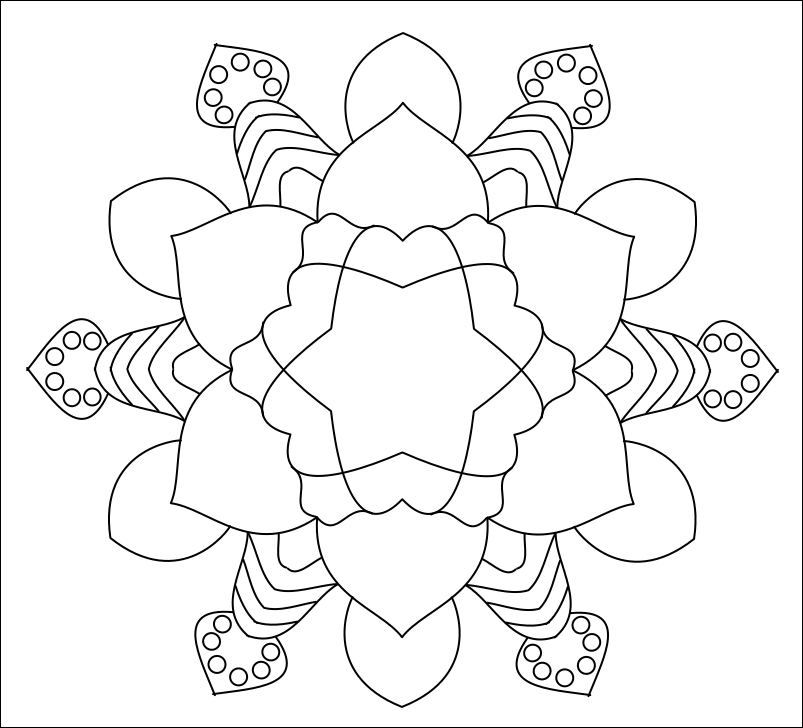 Just keep using the two path effects that you've been using, save frequently, and keep going to get what you want. Rick from IronEcho said to save the parts you do separately, because the more you group and try to work with, the more it taxes your CPU. You can group and save all when you're finished creating... or just save and export. I'm sure I could do more, but I decided to stop here: 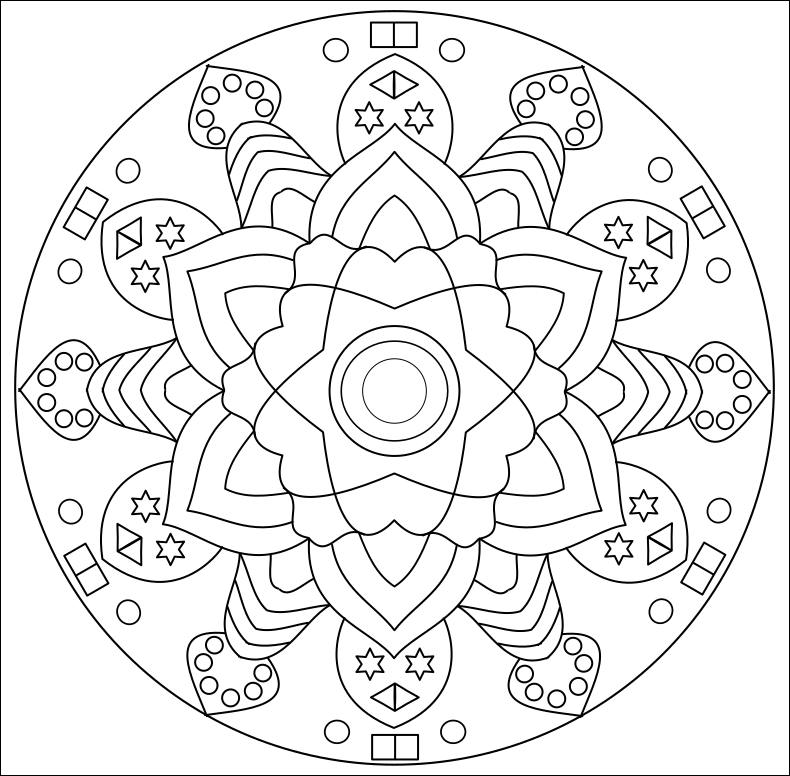 The other good thing about this is that you can design it however you want, so every design is unique. You can also fill it with colors. I'm sure yours will be wonderful! 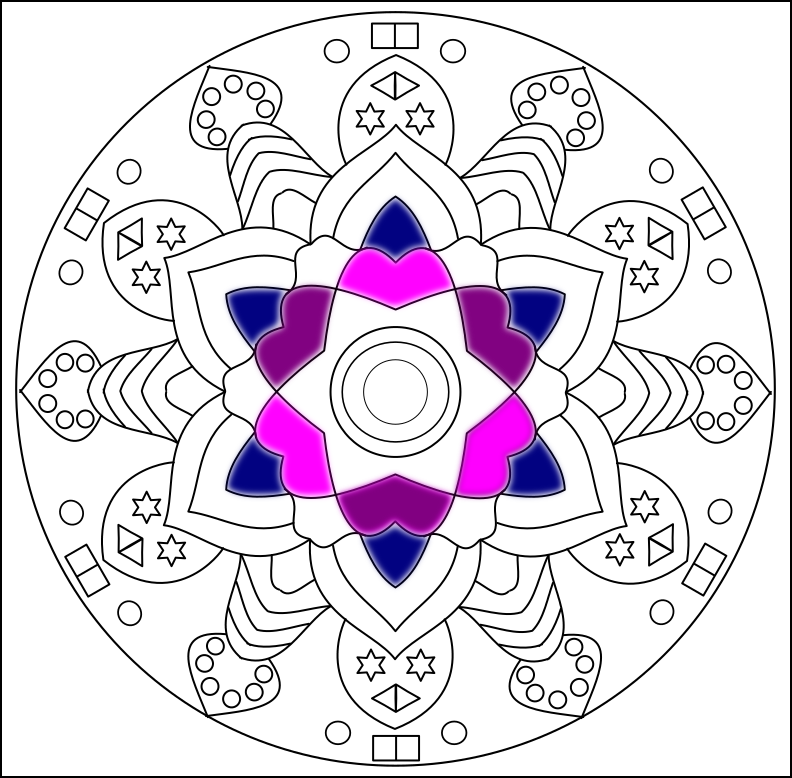 |