| Previous
Page |
PCLinuxOS
Magazine |
PCLinuxOS |
Article List |
Disclaimer |
Next Page |
GIMP Tutorial: Colorizing A Black & White Photo |
|
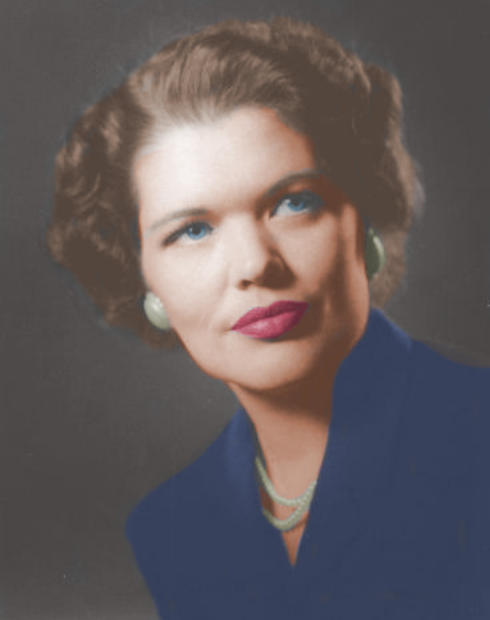
by Meemaw On YouTube, I have found several tutorials for colorizing a photo. Michael Davies Design has one, as well as Logos By Nick and others. I also found one by JBColourisation. I also did an article on colorizing a photo back in 2013, but there are several methods, so we'll do a different method this time. We'll be using layer masks for this, and I just heard an easier description of a layer mask. It's like "a window that's been blacked out" so you can't see what's inside, and when you paint the layer mask, you're "making a hole" that shows what you want seen. Depending on your photo, you can choose whatever color you want, but if you are doing a face, you might find a reference photo or two to help you get the skin tone right. So, I've opened the image I want to colorize (my mother was so pretty!) 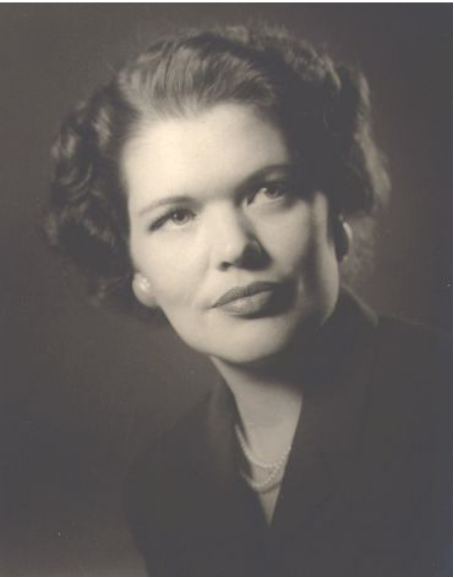 Since it's a portrait, and I want accurate skin tones, I'm going to look on Wikimedia Commons for a color photo that has skin tones I can use. 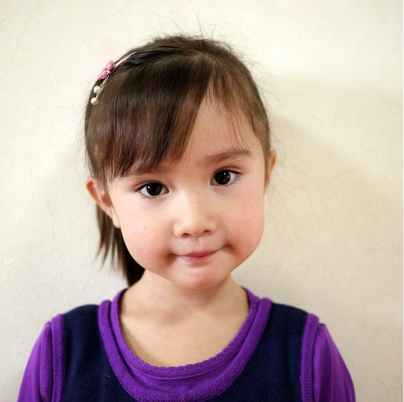 The first step, however, after you open your images, is to make sure the photo you want to colorize is desaturated. Some photos that look black & white still have some color in them. Click on Colors > Desaturate > Desaturate. Then change to the other photo and use the color picker to choose the skin color. Now go back to your photo and add a transparent layer to it with the settings shown below: 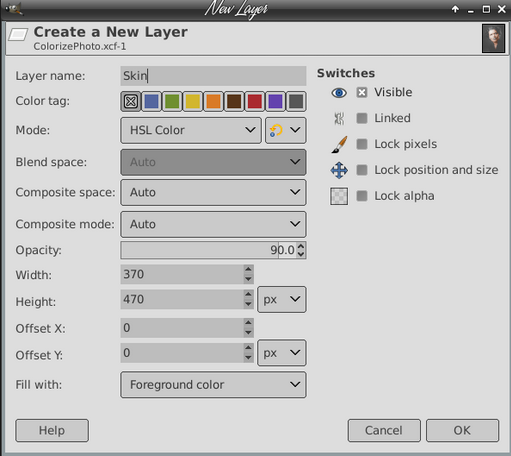 Notice it says Mode: HSL Color, and Fill with: Foreground Color. Since you've chosen the skin tone, it should fill with your chosen skin tone. 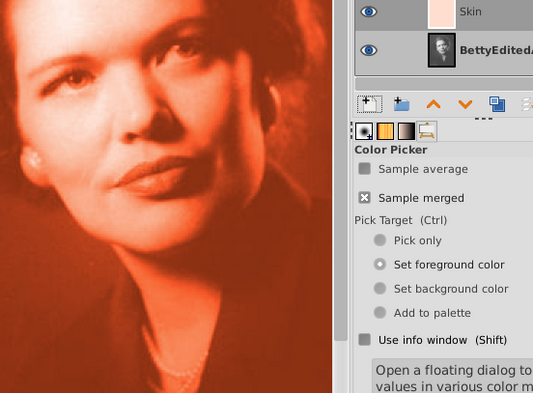 Yikes! That's really dark! From the color I chose, I wouldn't have thought it would be that dark, but it's fixable. Go ahead and add a Layer Mask to your layer. Make it Black (Full Transparency). When you do that, your photo will change to black & white again, and your layer will have an extra rectangle in the layers dialog. See the difference below. 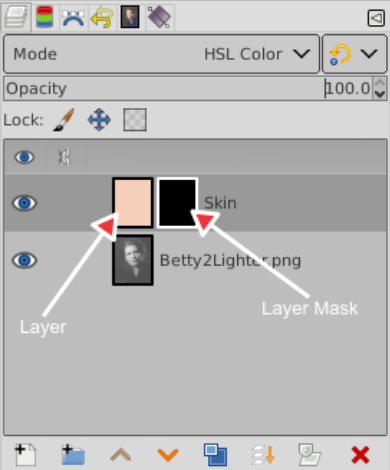 Click on the layer mask, and using a soft brush (mine's about 50%) and the color white, paint on the skin. Don't worry about overlapping things, because you can always change back to black and fill in the places that shouldn't be skin-colored. I know it's too intense still, so click on the layer itself rather than the layer mask, click on Colors > Hue and Saturation, and decrease the saturation until it looks like you want it. You'll have to do that with each layer. When you have the skin the way you want it, add a new layer for the hair, and more for the lips, and anything else that is in the photo (I need to do the eyes, the jewelry, her suit and the background, too). I have the skin, hair & lips done here:  Feel free to go back to different layers and zoom in to touch up mistakes as you go. Then, pick the colors, add the layer and the layer mask, and use your brush to paint the appropriate sections. You can also choose a color (I think my mother's suit was blue) without having a reference photo, and use that in your new layer. You'll make a separate layer (and layer mask) for each item that needs to be a different color. Here's the end result:
I'm sure yours will turn out just as good, or better! |