| Previous
Page |
PCLinuxOS
Magazine |
PCLinuxOS |
Article List |
Disclaimer |
Next Page |
Tip Top Tips: How To Make Pipewire Sound Even Better |
|
by hunter0one & Paul Arnote
First, here’s the tip that hunter0one posted: The sound quality of PipeWire can be improved even more at the cost of more CPU power, or you can lower it to use even less. Here's how. Make a directory within your home .config folder (~/.config) called pipewire then copy pipewire-pulse.conf and client.conf from /usr/share/pipewire to your new directory ~/.config/pipewire. Open both of these files in a text editor and somewhere within you will find resample.quality = 4. You can change the 4 to a number between 1 and 10. 1 uses the least CPU power but sounds the worst, while 10 sounds the best but uses more processing power. I use 10 on my Ryzen machine, and it sounds great, but you may use whatever you like. Make sure you uncomment it (remove the # at the beginning). Afterwards, restart your machine or log out and log back in. You will now be using the new resample quality. Congrats! So, to get started, make the directory in your ~/.config directory, named “pipewire” (without the quotes, of course). Notice that the name for the directory is “pipewire,” not “Pipewire.” Notice the difference? I hope so, because on Linux, the case (upper or lower) makes a difference. Your “new” directory should be all lowercase letters. Below is mine, as visible in Thunar. 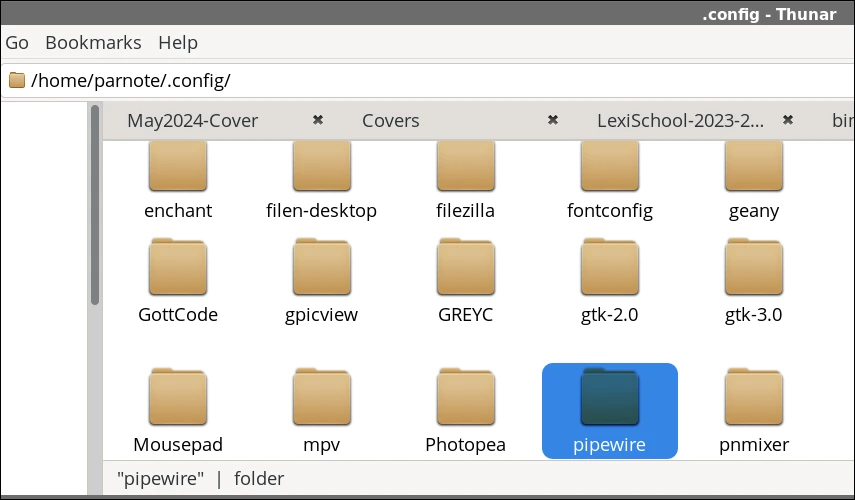 Now, copy the client.conf and pipewire-pulse.conf files from the /usr/share/pipewire directory to the ~/.config/pipewire directory you just created. You may need to do this as the root user. Doing it this way makes the pipewire settings adjustable on a per-user basis, instead of making them apply to all users on the system. If you have multiple users on your computer, you may need to repeat this step for each user. The areas of the client.conf and pipewire-pulse.conf files that need to be modified are shown below. Be sure you’re editing the files from the ~/.config/pipewire directory. If you mess anything up, you can easily delete them and just start over. 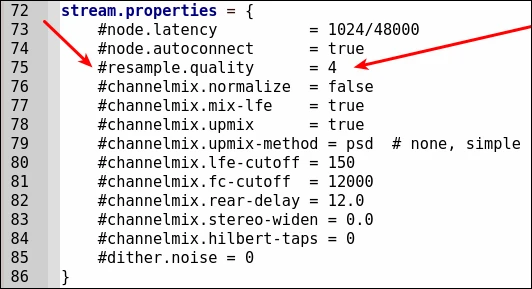 client.conf
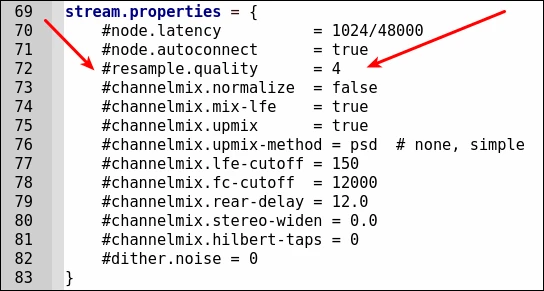 pipewire-pulse.conf The above images are snippets from the files loaded into Geany. In the client.conf file, the line you need to change is line 75. In the pipewire-pulse.conf file, the line you need to change is line 72. Turning on line-numbering in your text editor will help you find the entry quickly. To help make sure you’re looking at the right entries, I’ve pointed them out with red arrows in both images. Now, remove the “#” symbol from the beginning of that line. Next, change the value from the default value of “4” to whatever quality level suits your needs. Keep in mind that a quality level of “1” will most likely sound like shiitake mushrooms, but will use the least amount of CPU cycles. Likewise, a quality level of “10” will/should provide the highest quality sound, but will also use the most CPU cycles. Make the same change to both files. Don’t change one file without changing the other, in a nutshell. Once you’ve made your changes, you need to either reboot, or log out and back into your session. Some users have commented that they haven’t seen any (or much) difference with altering the settings. Others, though, have. So, just like with a lot of things, your mileage may vary, depending on the hardware in your computer. |