| Previous
Page |
PCLinuxOS
Magazine |
PCLinuxOS |
Article List |
Disclaimer |
Next Page |
The Easiest Ways To View/Sample Font Files |
|
by Paul Arnote (parnote) As you can imagine, as the magazine's Chief Editor for the past 15 years, I care a LOT about fonts. I have a lot of regard for the fonts installed on my computer, mostly because I tend to use them when putting the magazine together. Personally, I have just a small handful of fonts that I routinely use for my daily activities, but that’s not always the case when producing the magazine. One of the things I miss from my time with Windows (the last version I used as a “daily driver” was WinXP) is the ability to double-click my mouse on a font (*.ttf or the newer *.otf) file, and a sample of that font is displayed in Windows Font Viewer. As a side note, I also “used” Windows 7 when I worked in the hospitals, but they were so locked down, it was more like using a “dumb terminal.” Of course, I started my search for a font viewer by looking in the PCLinuxOS repository. But I found only one program that even came close, but it felt like overkill. I knew *someone* must have wanted or needed a simple font viewer besides just me, so I took my search online. Believe it or not, there’s not much available for Linux. Most of what I found was for Windows. Ever since coming over from the “dark side” of computing (Windows), I've casually searched for a simple way to view a sample of font files. It wasn't until just recently that I discovered not one, not two, but three methods of viewing font file samples. Sure, you could open a blank word processing document and play with fonts there. But, if I just want to see what a font looks like, this seems like a very arduous and tedious task. I might be trying to see if I want to install a particular font on my computer, and any word processor program is only going to show you fonts that are already installed on your computer. Being able to simply view what a font looks like, without installing it on your computer, was beginning to look like a difficult task to conquer.
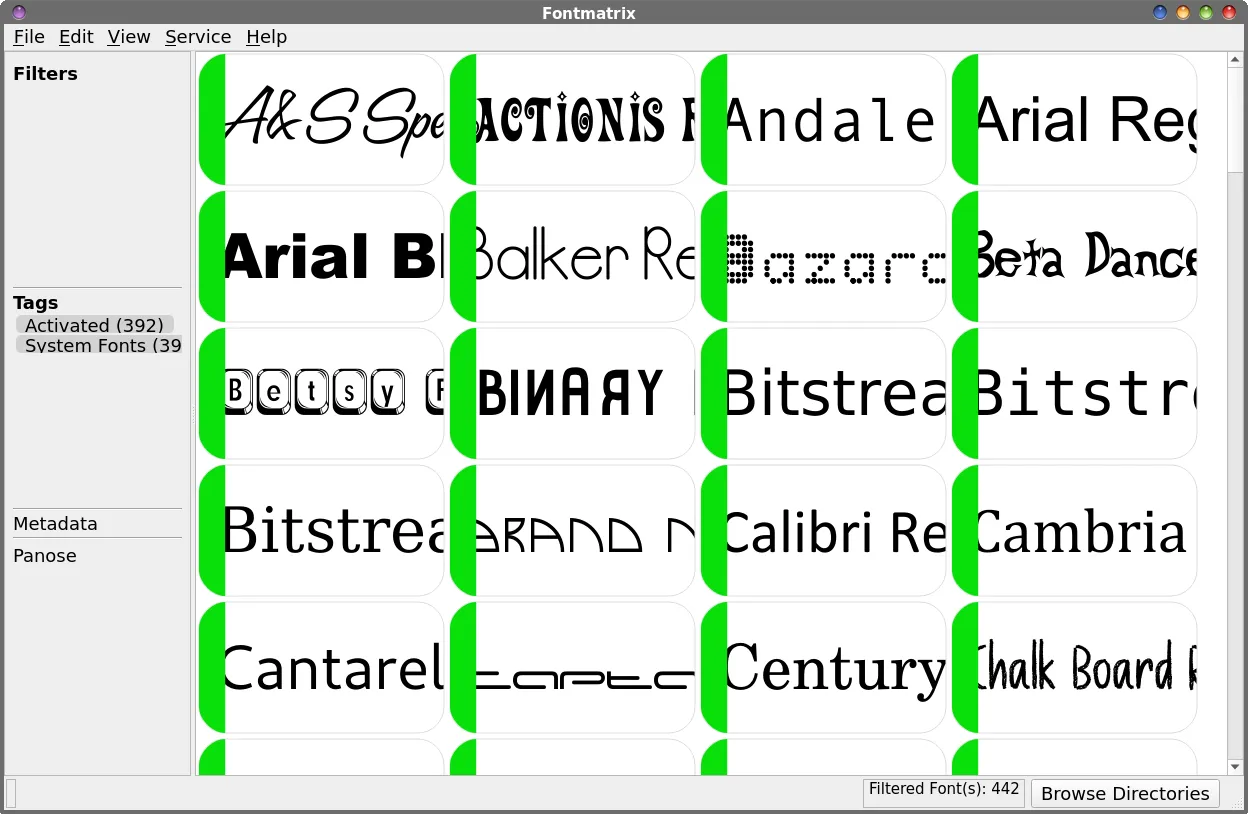 Fontmatrix is the one program that is in the PCLinuxOS repository that's specifically for dealing with font files installed on your computer system. And, while very capable, it seems a bit like overkill for what I'm looking for. It actually may not be overkill, but something about it just “feels” like overkill. I'm all for keeping things simple, and Fontmatrix feels like anything but simple. In the image above, Fontmatrix displays all of the fonts already installed on your computer. If you click on the “Browse Directories” button in the lower right corner of the Fontmatrix window, you can import fonts from other directories into your font collection. To be perfectly honest, I don't know if it just adds it to your catalog of fonts in Fontmatrix, or if it installs them on your system at the same time. 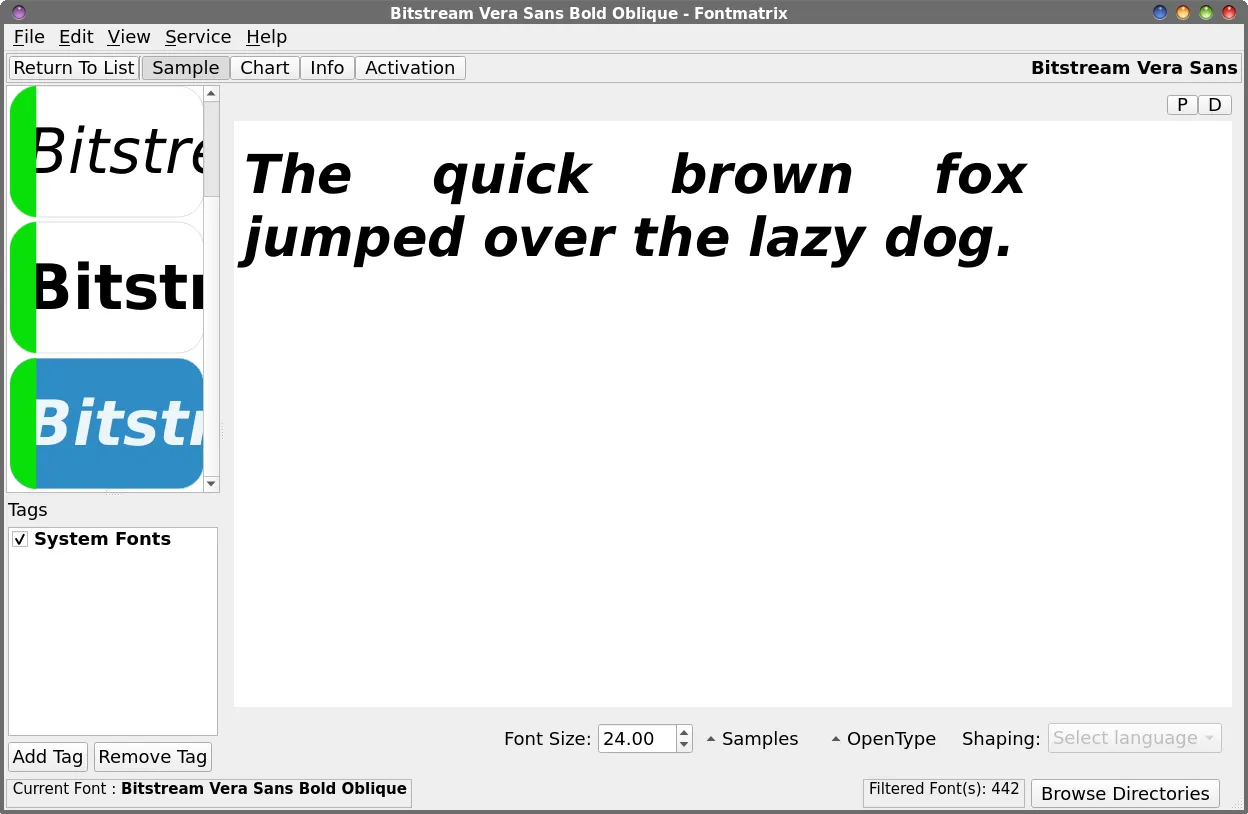 Double-clicking on a font in the first image loads the entire font family into Fontmatrix, and causes it to switch to the “Sample” tab. Select which member of the font family you want to view, and the sample text is displayed in your selected font. You can adjust the display size at the bottom center of the window, by adjusting the number in the “Font Size” setting. The full name of the selected font is shown in bold at the lower left corner of the window.
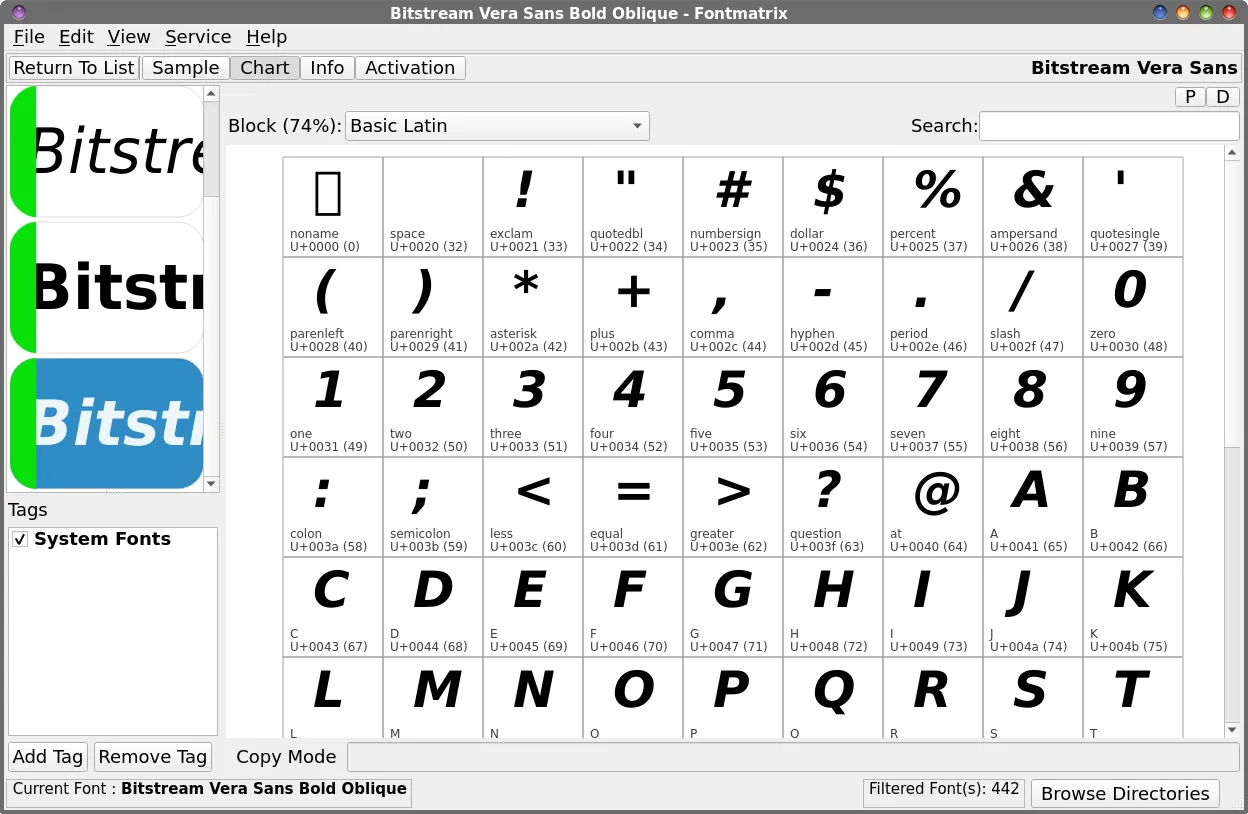 Selecting the “Chart” tab, Fontmatrix will display all of the characters in the selected font file. It also displays the “name” of the character, the Unicode hexadecimal value for that character, and the ASCII keycode for each character. 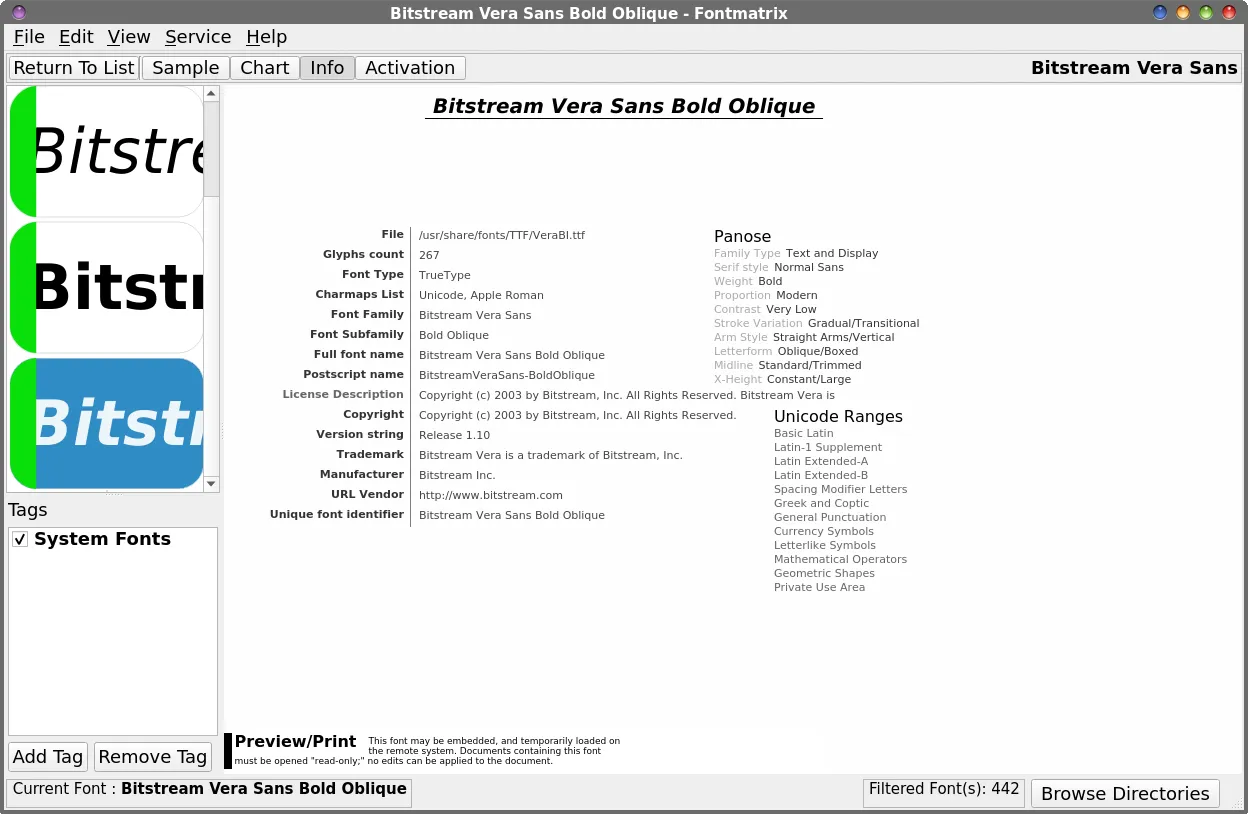 Clicking on the “Info” tab will reveal all of the font information, such as who owns the copyright, who made the font, and all sorts of information that most people never even think about with font files. 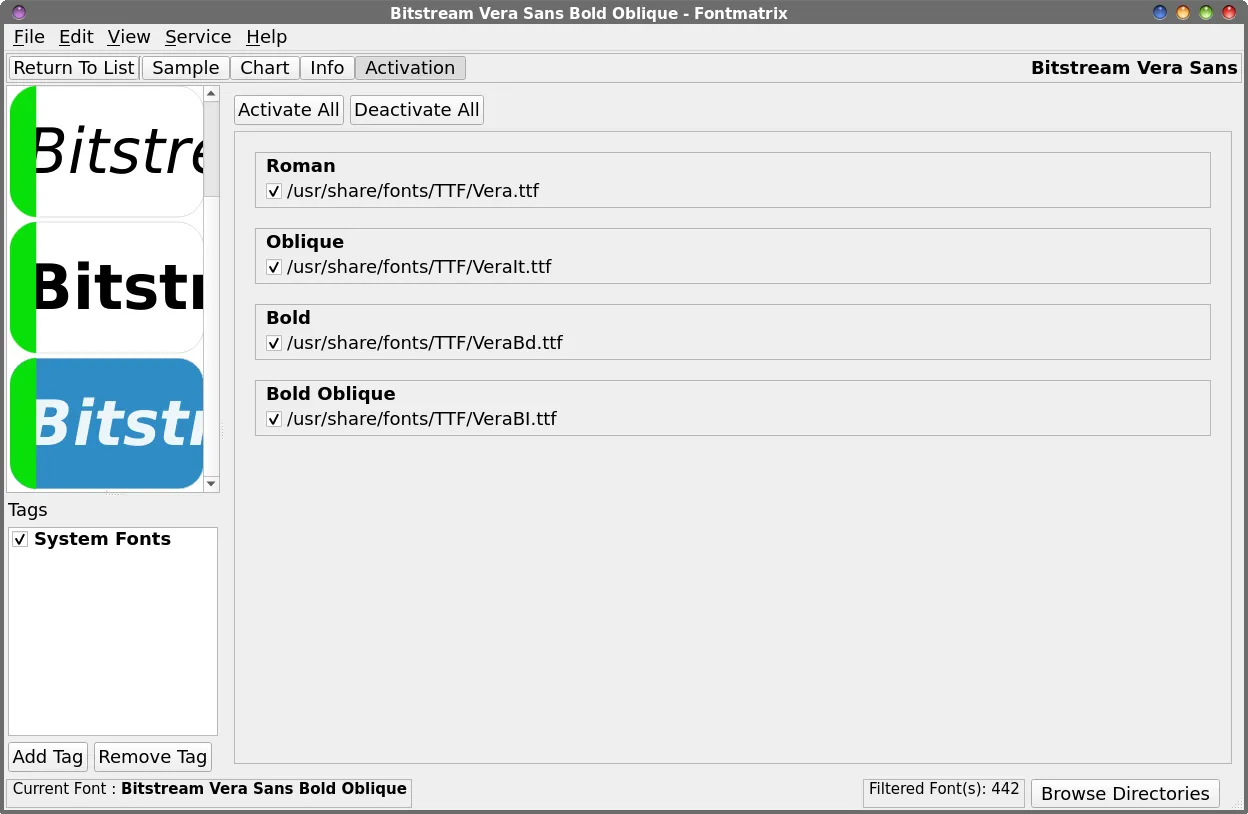 Under the “Activation” tab, you have (presumably) the option of activating or deactivating an installed font on your computer. You can remove individual members of a font family, or the entire font family. 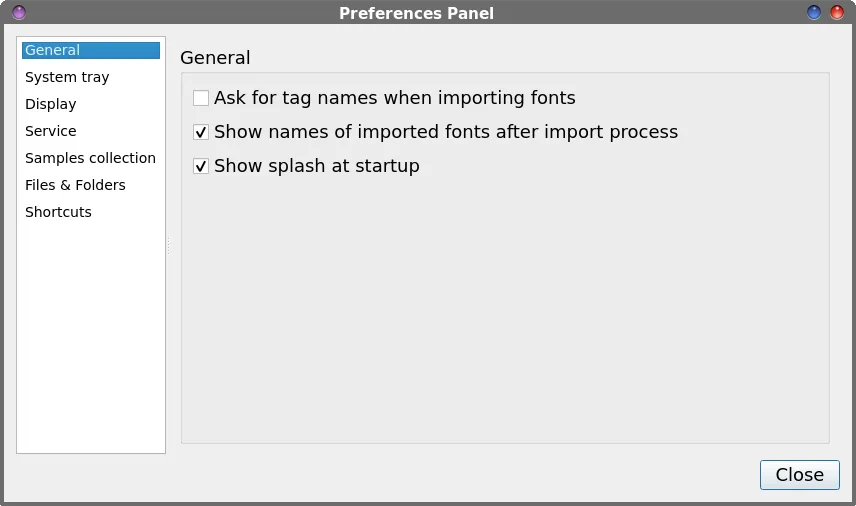
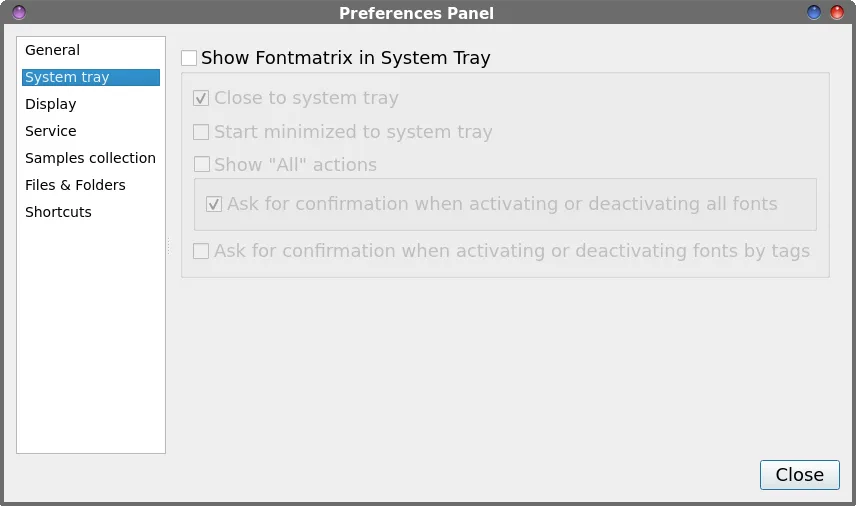 Under the “Edit” menu, there's the “Preferences” option. Selecting it will bring up the first dialog, shown above. In both of the first two settings, I've left everything at their default values. The selections should be self-explanatory. 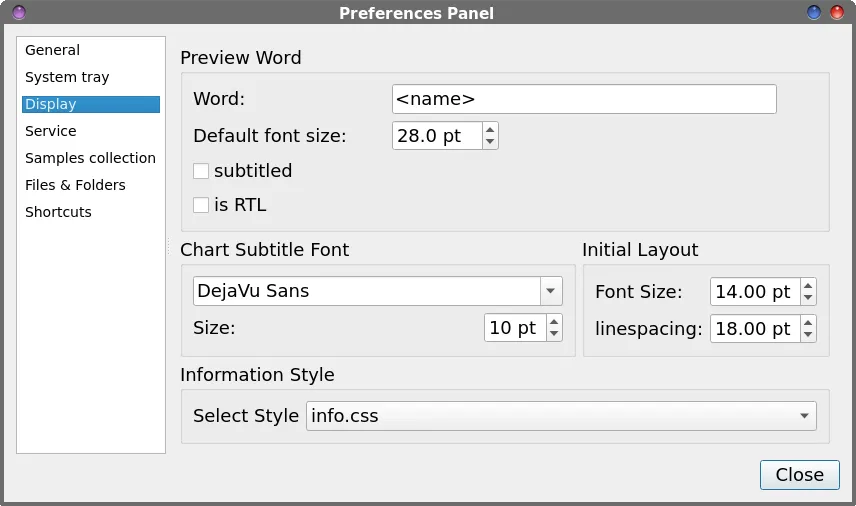
The next section, named “Display,” contains the settings for the display of the font names in Fontmatrix's main window, as well as the font on the “Chart” tab. As far as I can tell, the default value of 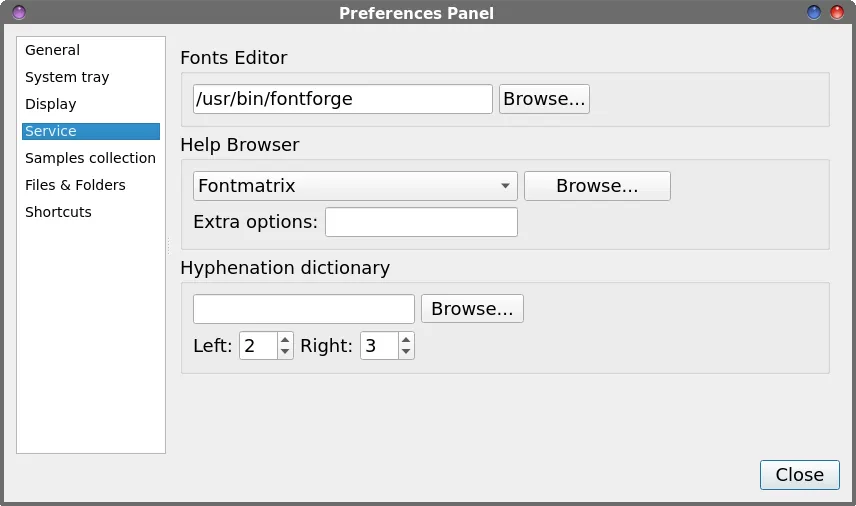 The “Service” section makes a few choices available to the user. If you have the FontForge font editor installed, you can point to the location where that is installed. The “Help Browser” section tells Fontmatrix if you want the Help file open in a Fontmatrix window, or in your browser. If you have a “Hyphenation” dictionary installed for LibreOffice, you can point Fontmatrix to that dictionary. Just a word about the Help file, by the way. When I pulled it up, it didn't match up with what I was seeing in the Fontmatrix window. For example, my copy of Fontmatrix has five menu items in the main window, while the help file lists seven. So, immediately, I notice that the two don't match up, significantly decreasing the usefulness of the help file. The help file talks about one entry in particular (the “Browse fonts” sidebar), which is nowhere to be found in my copy of Fontmatrix. It's a shame, because that particular feature sounded like it might be something I might find interesting and useful. I thought perhaps there have been later releases, but then I compared the version I have installed on my computer with the latest version available on GitHub. Nope. That's not it. The version from the PCLinuxOS repository is the latest version available from GitHub. So, I have no explanation for why the help file doesn't match up with the installed version of Fontmatrix. 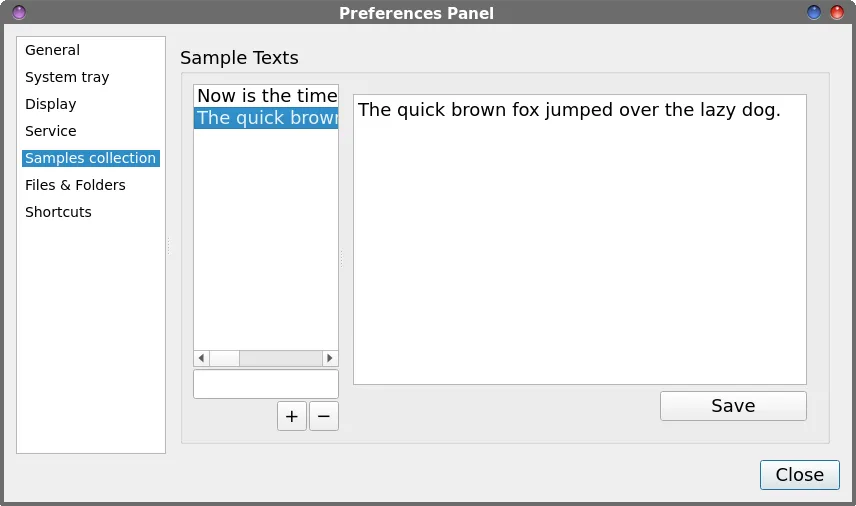 The “Samples collection” is where you set the text that is displayed on the font sample page. Type in whatever you want into the text entry box (bottom left side of the right pane), and then select the “Save” button. You can even enter Lorem Ipsum text (you can find examples on the internet, courtesy of your favorite search engine … here's one I used). 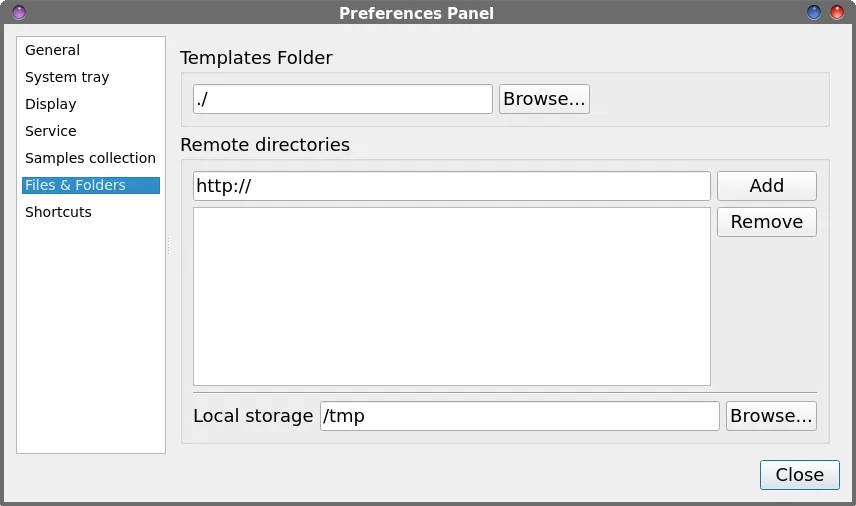 In the “Files & Folders” field, I've left everything at their default values, as pictured above. 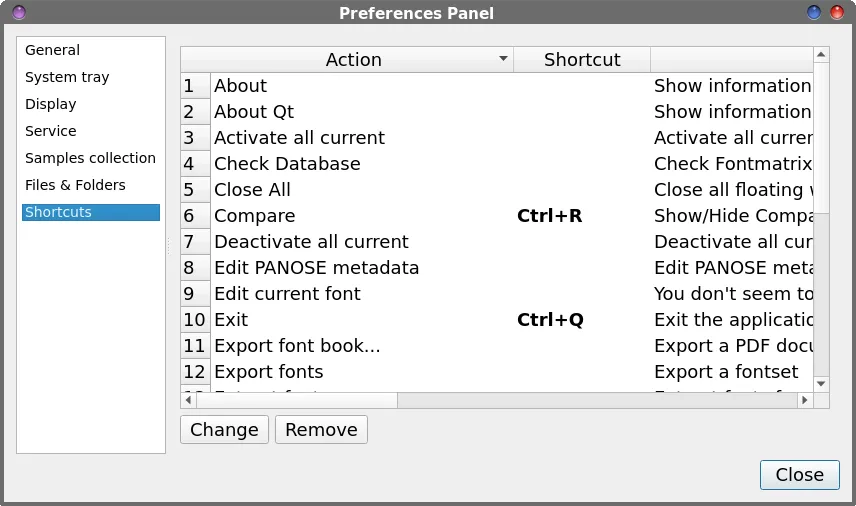 Under the “Shortcuts” section, you can set your own keyboard shortcuts for interacting with Fontmatrix. A few come predefined, and you can change them to shortcuts that better correspond to how you work (if you want). I've also left all of these at their default values. Verdict: Fontmatrix is a good program, but it feels like it has been overcomplicated, like someone spent way too much time overthinking things. The “missing” items from the program that are discussed in the help file are pretty discouraging, and that alone doesn't give me a lot of confidence. While it's great for viewing fonts on my system … both installed and uninstalled … it still isn't the “simple” solution I've been searching for. Plus, I don't think I need to give up 83.2 MB of storage space for the program. Grade: C-
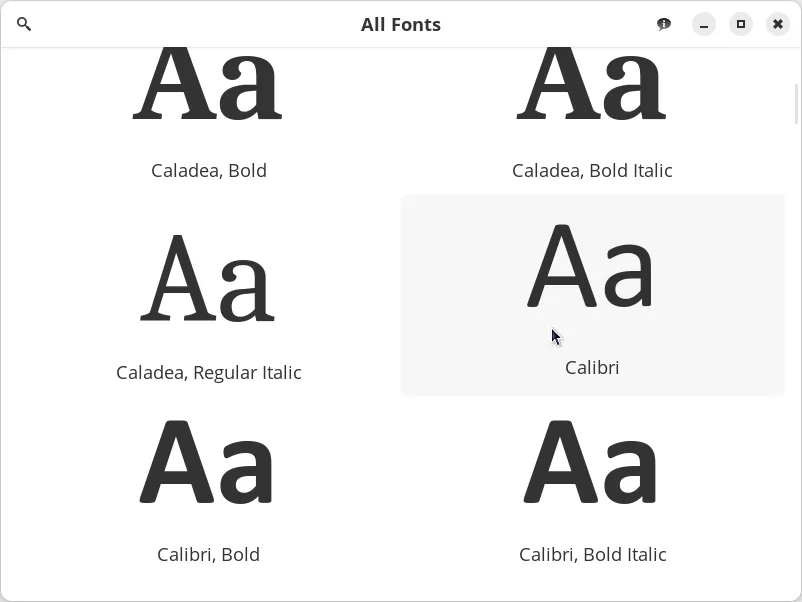 During my search for a font viewer, I kept coming across people talking about Gnome Fonts Viewer. Well, lo' and behold, wouldn't you know that it exists as a flatpak package. I went and grabbed the flatpak, and was pleasantly surprised that a) it ran at all, and b) that all of the functions of Gnome Fonts Viewer worked exactly as they should. If you need to review how to install a flatpak file, take a look at the article we ran on Flatpak and AppImage files here. The main window (shown above) lists all of the fonts it can find on your system. Each font is represented by “Aa” displayed in each font, with the font name just below it. 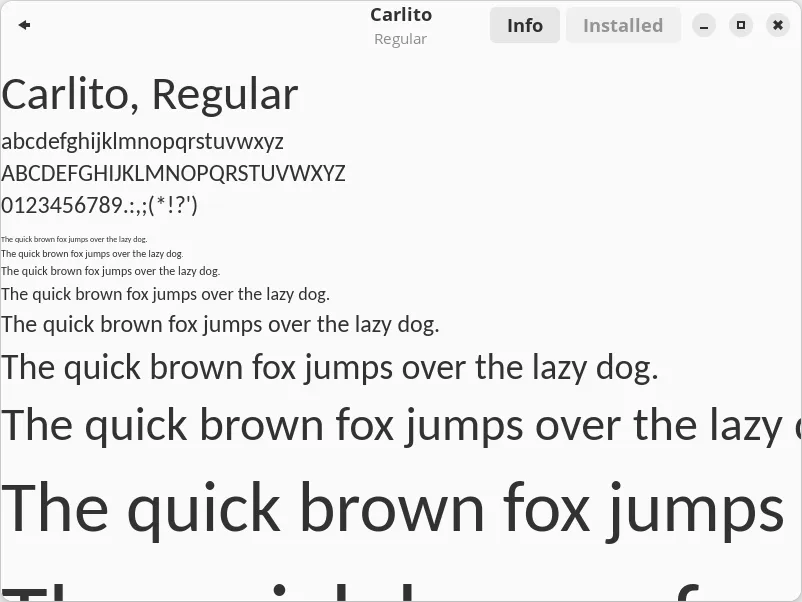 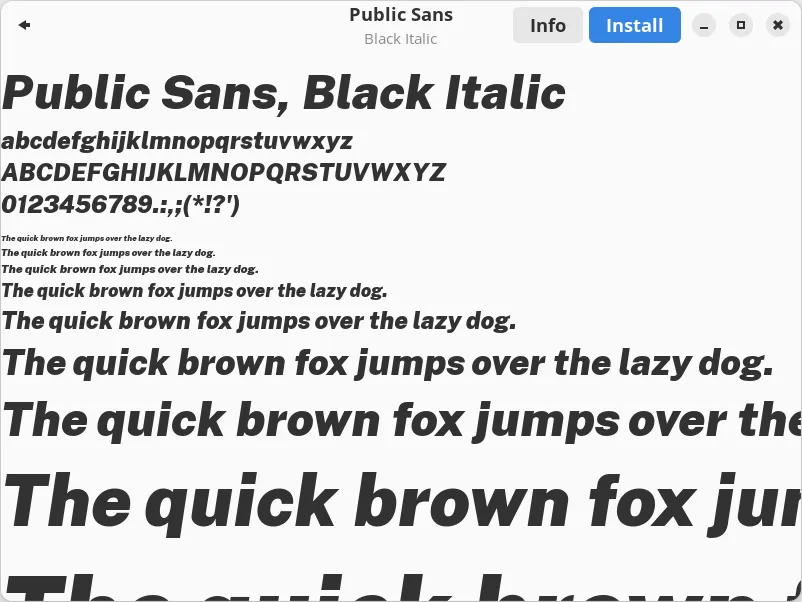 Double-clicking on a font in the main window will open that font with the phrase “The quick brown fox jumps over the lazy dog.” already displayed, in several different font sizes. The name of the font appears at the top of the window. Notice how in the first image, the button at the top of the window says “Installed.” But, in the second window, that same button has changed to a blue button that says “Install.” If you click on the “Install” button, that font is then properly installed on your system, and it appears in /usr/share/fonts, typically in its own directory. The “Install” button installs all members of that font family, not just the one font family member that you happened to be viewing at that moment. 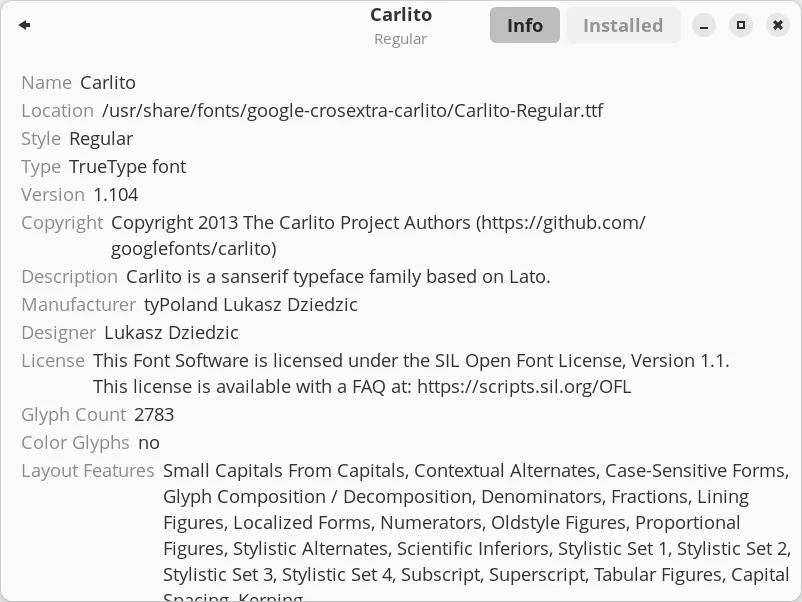 Selecting the “Info” button at the top of the program's window displays all the information about that font, that's stored within the font file, as shown above. The second item listed in the “Info” listing is the path to where that particular font file is stored on my computer. 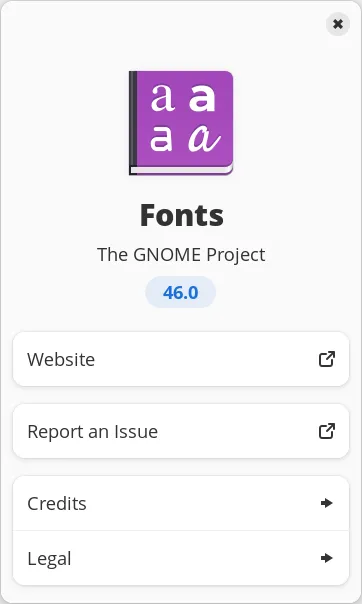 The “About” dialog for Gnome Fonts Viewer
WHAT IF you discovered that you already had everything you needed already installed on your computer to create a very simple and effective font viewer? When I discovered this, I was amazed to find out I had this ability all along, but never knew about it. I was in awe at how easy it was. 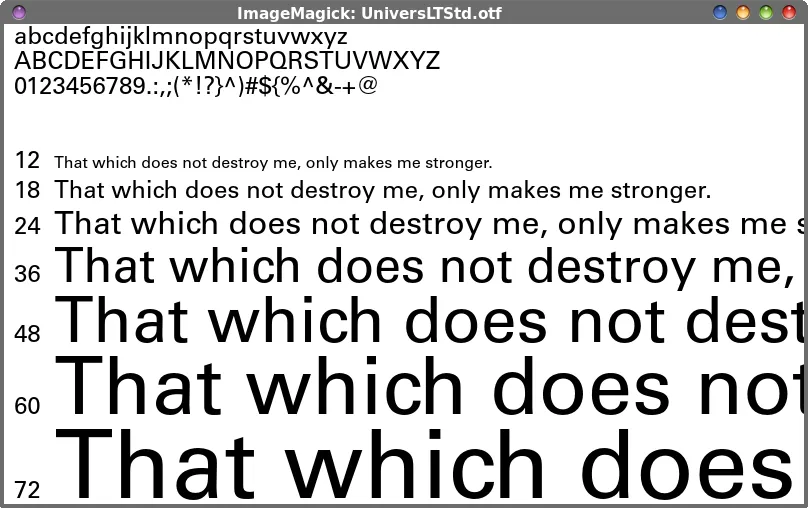 During my search for a solution, one small entry from StackExchange caught my eye (it's the third solution down). I was stunned! Certainly, it can NOT be THAT easy! Just about every PCLinuxOS user has ImageMagick installed on their computer (and if you don't, you should have this graphics powerhouse at your disposal). ImageMagick continues to amaze me with its abilities. One of the programs in the ImageMagick suite of programs is called display. 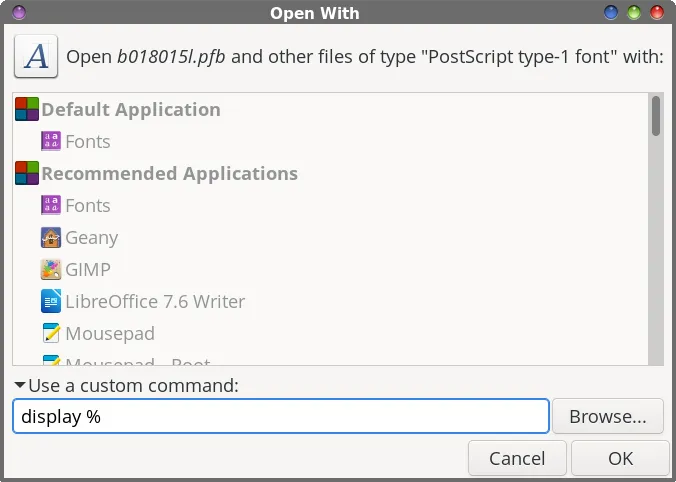 The “pot” keeps getting sweeter for the use of the display command to serve as our font viewer. ImageMagick's display command can open TrueType font files (*.ttf), OpenType font files (*.otf), and PostScript Type 1 files (*.pfb) PFB stands for PostScript Font Binary, and they are older than TTF and OTF font file formats, and are heavily tied to Adobe. PostScript Type 1 files came out in 1984. TTF files came out in 1991, developed by Apple. OTF files came out in 1996, as a joint venture between Microsoft and Adobe. Keep in mind that I use the Xfce desktop exclusively, so my images and approach reflect how to set this up under that desktop. However, it should be a trivial task to do the same thing under other desktops, like Mate, KDE, LXQt, etc. In the image above, find a font file on your system (in this particular image, it's a PostScript Type 1 *.pfb file), right-click on the file, select “Properties,” drop down the list under “Open With…”, and select “Use a custom command.” Then, in the text box, type display %, and then the “OK” button. Repeat these steps for samples of the TTF and OTF files on your computer. Now, whenever you double-click on any of these font files, you will get the first image shown in this section of the article, showing you a sample of the selected font in the ImageMagick window that appears. 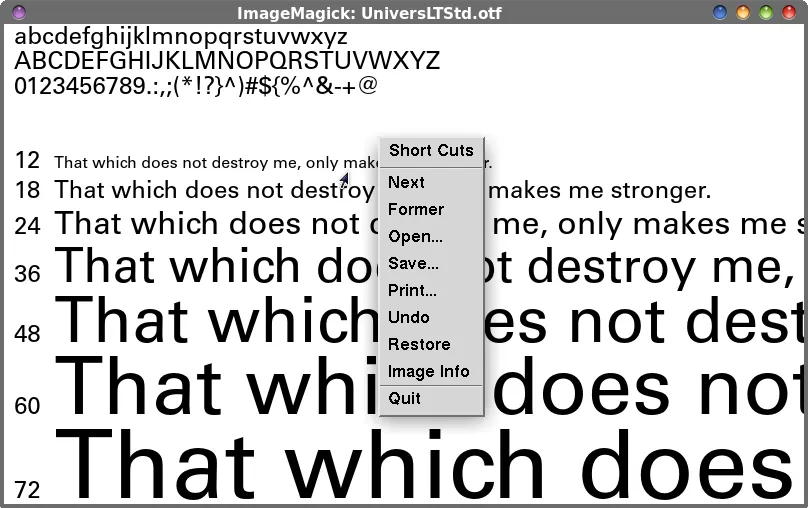 That sample, for what it's worth, is a PNG graphic file! Right-click your mouse anywhere within that image, and navigate to “Save…” in the context menu. 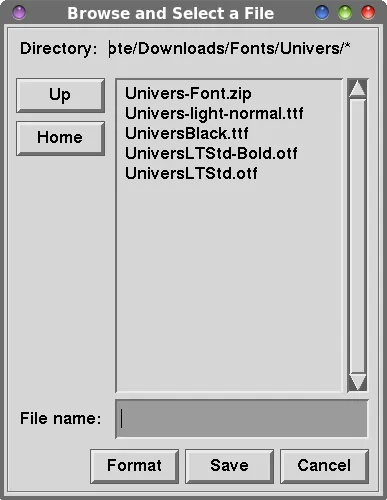 Now, type the filename you want to save this image as (I used UniversLTStd.png), and you can save the image to your hard drive. This makes it super easy to create a catalog of your fonts. The images are all the same size (800 x 480), so all you have to do is save an image for each font file, and then combine them all into a PDF file. To create that PDF file, probably one of the easiest ways is to load each image into LibreOffice Writer, and then output it as a PDF file. Ideally, you'd probably want only one or two images per page of your catalog. The text displayed by the use of the display command appears to be predefined (“That which does not destroy me, only makes me stronger.”). To me, that sounds just as good as “The quick brown fox jumps over the lazy dog.” or any other sample text. While it is possible to change that text, in the end, you lose the display of the sample text in multiple sizes. I've not yet figured out how to make it mimic the display of the default text, with multiple font sizes. As a result, I don't try to redefine that sample text, because I like seeing a representation of the font at different font sizes. If you're interested, there is a sample script from the ImageMagick legacy website that resets the sample text. But, it also doesn't present font samples in different sizes. Even though the sample script appears to be somewhat unfinished, it does run perfectly, as is (there are options in the script that are never accessed, as if the plan was to implement them but, in the end, they were not implemented). Just save it to where you save your bash scripts, and mark it as an executable file. To make it even more useful, use this command line syntax (should you decide to give this sample script a try): show-fonts.sh -2 -p 48 [name-of-font-file]. I've got it saved on my computer. It may come in handy when/if I figure out how to replicate the display of the fonts in multiple font sizes. Verdict: This is EXACTLY what I’ve been looking for ever since I switched from being a Windows user to being a Linux user. I love that it works for ALL types of font files, too. Even Gnome Fonts Viewer had difficulty displaying PostScript Type 1 font files. My only complaint about this method is that ImageMagick uses more of the X-Windows styled dialogs to save the PNG files, almost as if they are “homegrown” in appearance, instead of using the Gtk+ or Qt styled dialogs that we are more accustomed to. The dialog boxes used in this manner are not as intuitive or easy to navigate as the Gtk+ or Qt styled dialog boxes that we’ve become used to. While this method does NOT allow me the option of installing a font, I’m more than ok with that. Much of the time, I’m merely wanting to VIEW a font file. I may view 20 or more font files before finding the ONE that I want to install. To install the selected font, it’s a trivial matter to switch to another program … Fontmatrix, Gnome Fonts Viewer and PCC all work well for this … and install the font (or font family) to my hard drive for use. What I like most is that this method uses what I already have installed on my system (ImageMagick), with no other software needed. Grade: A+.
|