| Previous
Page |
PCLinuxOS
Magazine |
PCLinuxOS |
Article List |
Disclaimer |
Next Page |
Inkscape Tutorial: Inkscape 1.4 Released! |
|
by Meemaw
Rather than creating something this month, we'll look at some of the new features or version 1.4. The full list of improvements is here. Before you start using this new and improved Inkscape, you'll need to make sure you updated it on November 22 or after, because there was a bug. Texstar, wonderful person that he is, got it fixed within a week of knowing about it. If you want to read that post, it is here.
The welcome screen has two more items than before: Shape Builder and Custom. Custom has five custom layout templates, one with a certain size page. Shape Builder has 17 custom-made patterns that you can use. Simply double-click on the one you want and it will open. 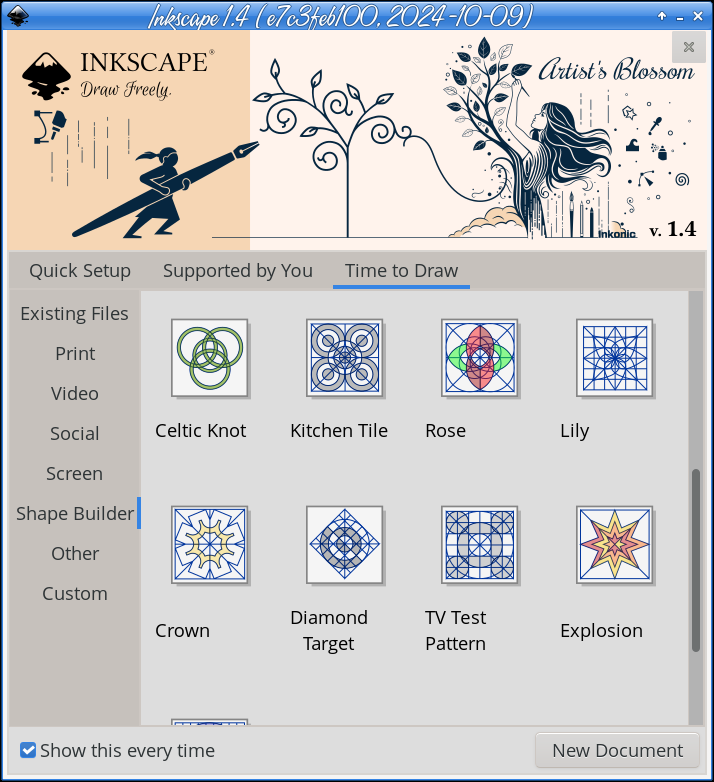
We use filters to create certain effects, but if you are anything like me, you don't always remember the name of the filter you want to use, or would like to try something new but don't want to apply — undo — apply — undo for a long time. In this newest version, there is a Filter Gallery, accessible from the Filters menu. You'll see a display of all filters, but there is a sidebar with the section list, and a small sample of each in the main window. The gear icon at the top right of the window will let you adjust the size of your sample. If you find the filter you want, and double-click it, the filter will be applied to your drawing. 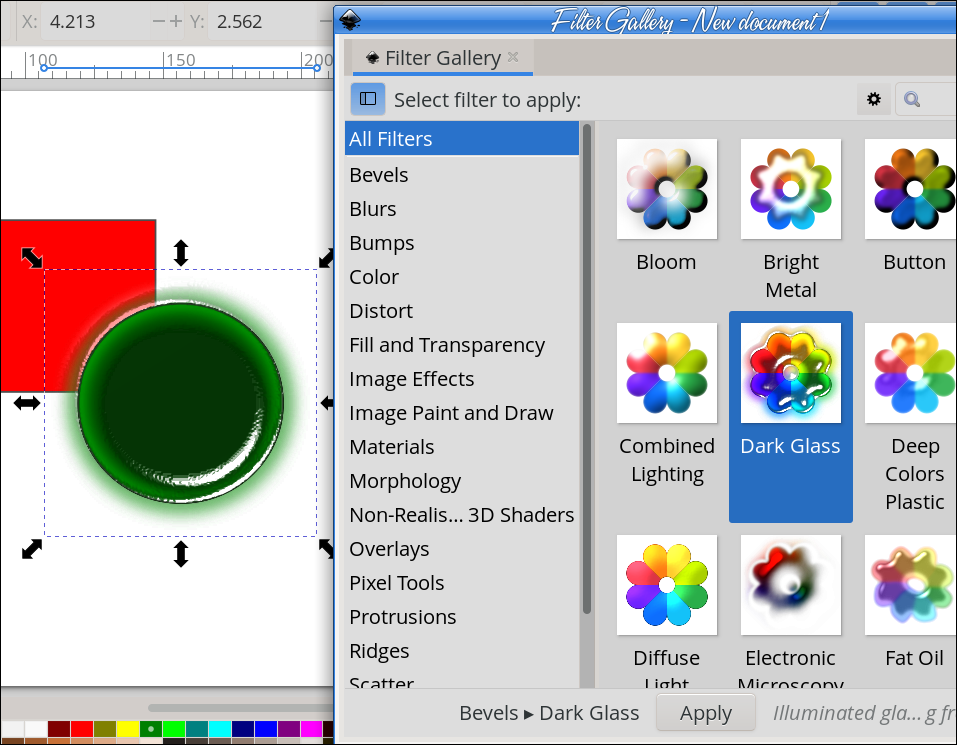
In Document Properties, you can choose the type of grid you want to use. There are now three customizable grid types: Rectangular, Axonometric, or Modular. 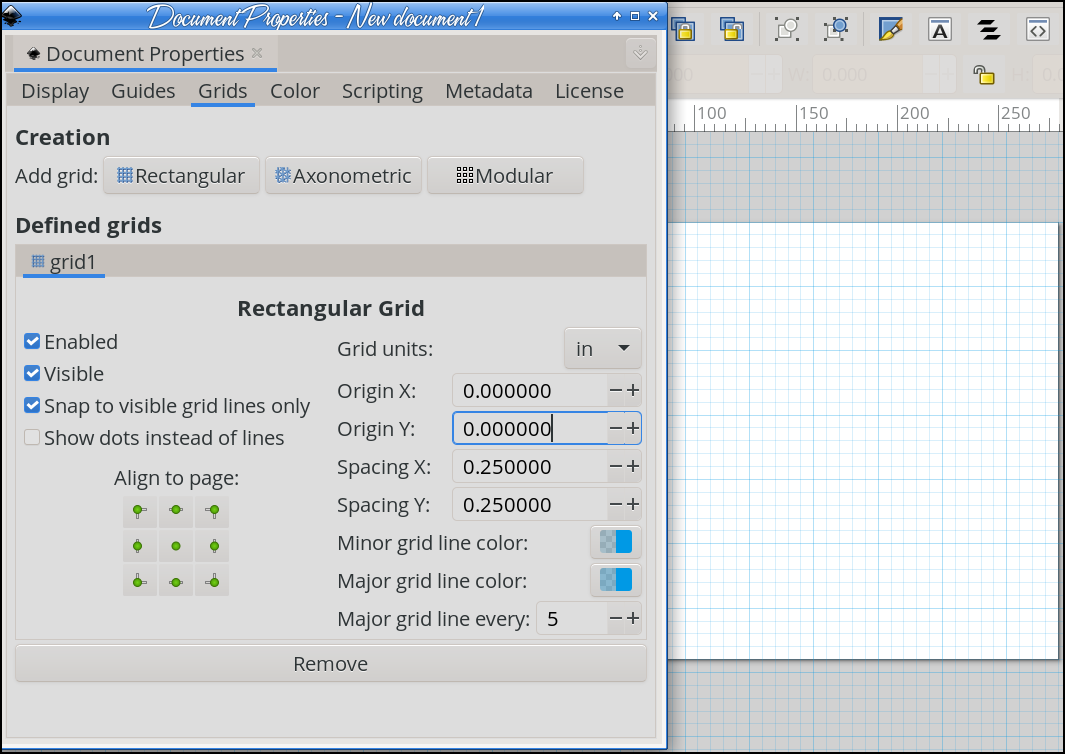 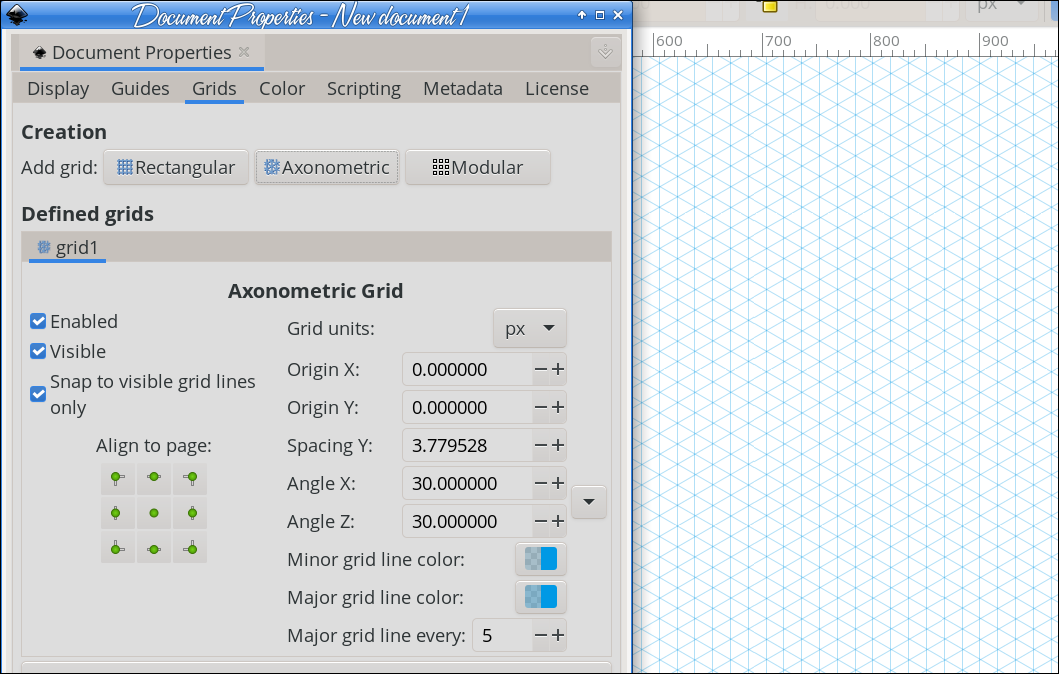 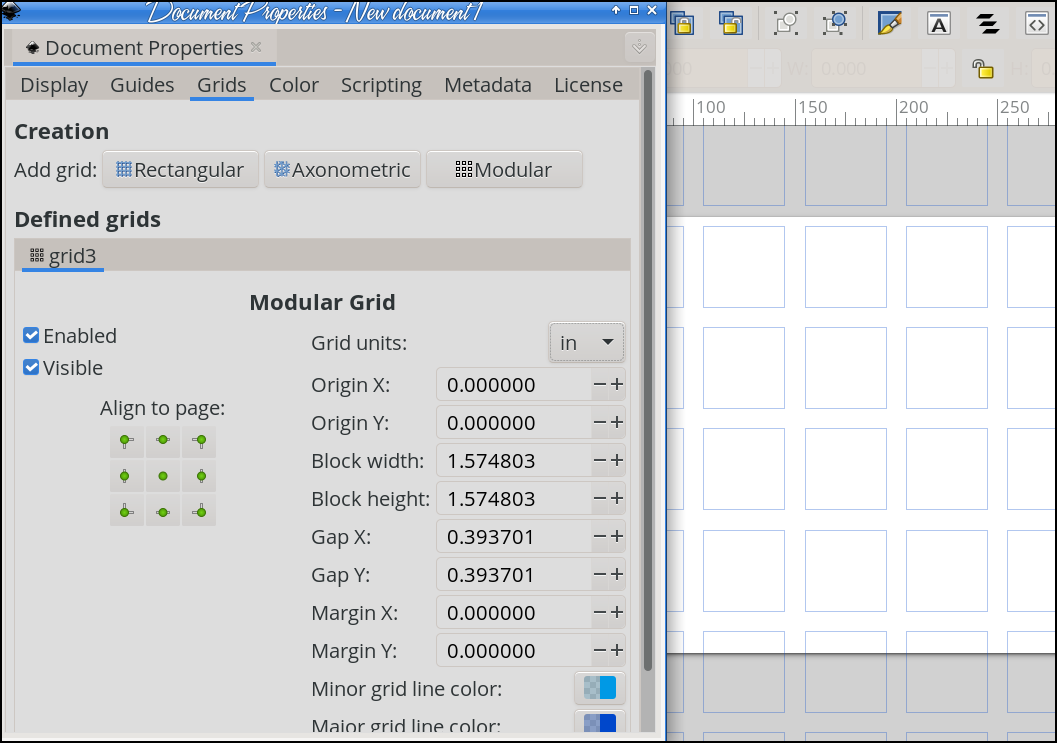
From the site: Inkscape is testing out a unified font browser preview. Activate this feature in Preferences and restart. After that, you will access visual previews for fonts with settings such as adding your own sample text. Check for particular font characteristics by searching fonts by collection type. Click on the one you want and watch it be applied to your text. We'll have to look at this more.
When you want to quickly get an overview which extensions are available to you, you can now browse your Inkscape extensions in a gallery similar to the one for filters. 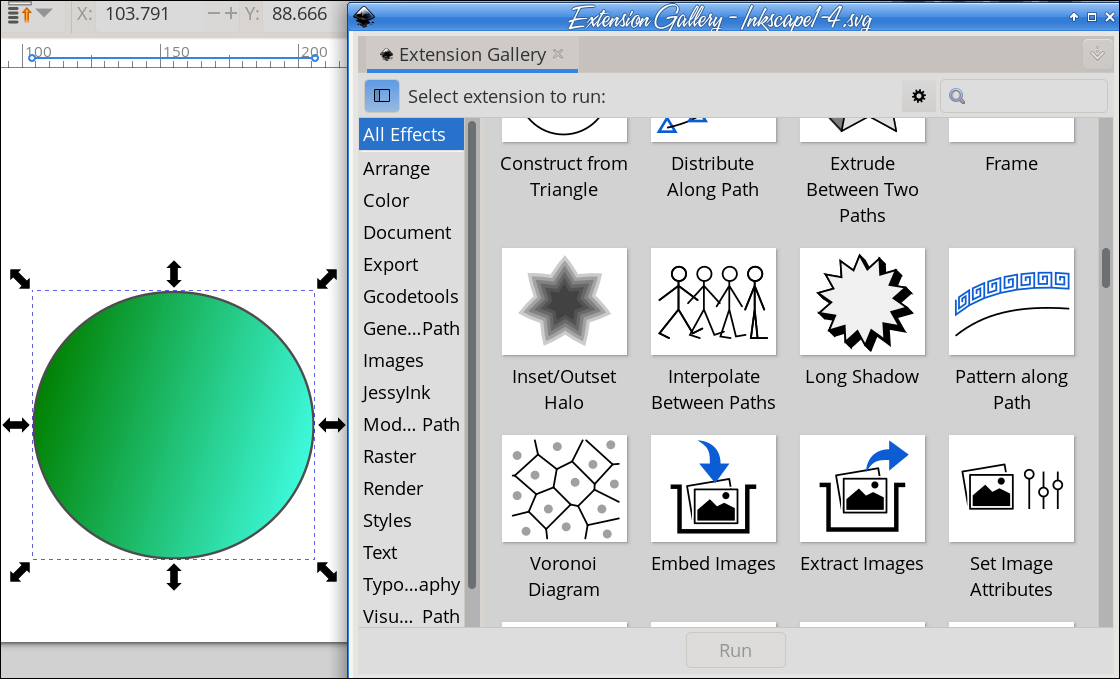
Toolbars now try to make use of the available space by not hiding options in dropdown menus when there's enough space. Instead, they are sorted into multiple dropdown menus, when the window is shrunk or there is not enough space. Previously, any options that did not fit went into the same small arrow dropdown at the end of the toolbar and were hard to discover.
A new mode to only draw squares with Alt + Ctrl has been added to the tool.
The Spray Tool now shows an outline preview of the next item that it is going to spray, including its shape, rotation, and size. The preview is only visible when the tool is not currently spraying. That way, you can choose where to place the next item (with a single click instead of holding the mouse button down). It is possible to change the previewed (soon-to-be-sprayed) item by right-clicking and then moving the mouse by a tiny amount. 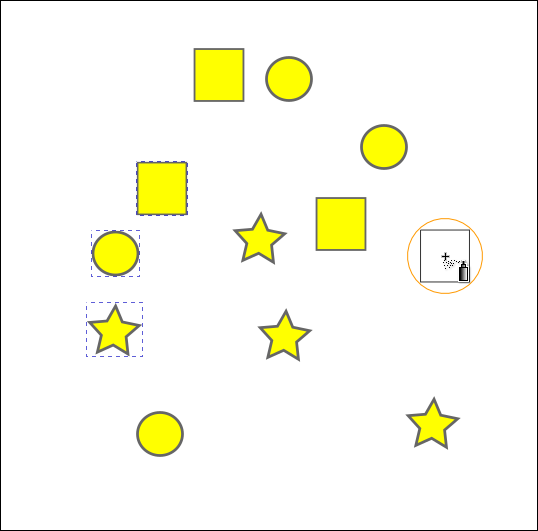
The alignment options field Relative to now hides irrelevant options when only a single item is selected, with Page being the default.
It is now possible to control the gradient's angle numerically from the Gradient Editor section of the Fill and Stroke dialog. An additional slider allows for changing the angle by simply dragging. A button to rotate the gradient by 90° completes the new angle controls. 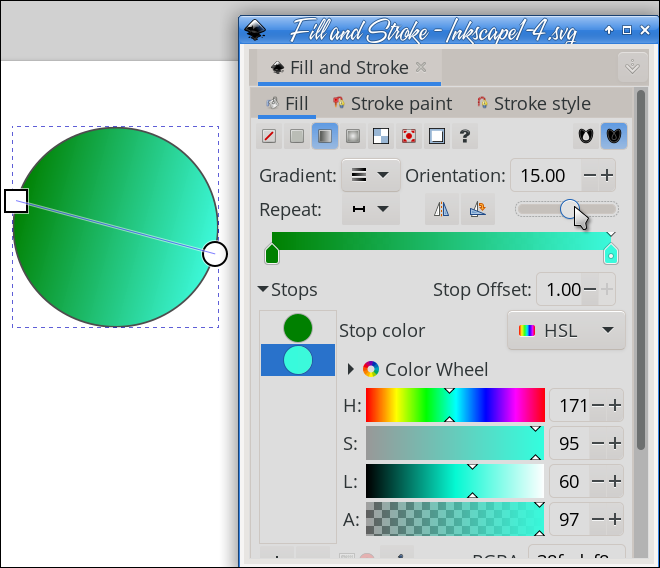
Also in the Fill & Stroke dialog, the Pattern Fill section has many more options than before. You can edit the pattern you use, changing its size and even its rotation angle. An “Edit on Canvas” button gives you a box with handles that allow you to edit it in the drawing rather than entering numbers in the dialog. 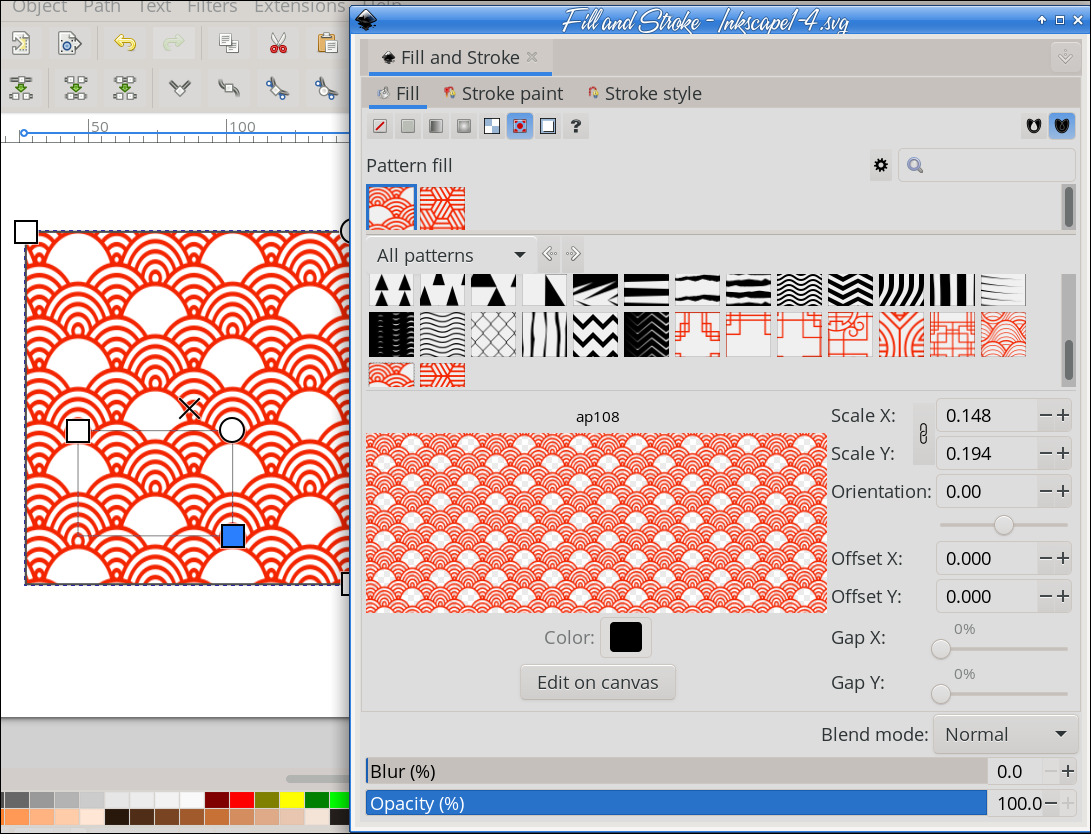
There is also a new tool called Shape Builder, just below the Nodes tool in the toolbar at left. We'll look at that in a future article. Many more changes are there. I hope you'll read the release notes and see what more there is that's changed. |


