| Previous
Page |
PCLinuxOS Magazine |
PCLinuxOS |
Article List |
Disclaimer |
Next Page |
How To Install The Typst.vim Plugin |
|
by David Pardue (kalwisti)
Plugins extend Vim's core functionality. As a user with limited Vim experience, the mechanics of installing a plugin were confusing to me at first. Fortunately, I found two helpful videos by Jay LaCroix and Eric Murphy which cover the basics of configuring Vim and installing plugins. I recommend that you begin by watching these tutorials, as they will make it easier to follow the instructions. The “hybrid” method below is a combination of some tips offered by Jay and Eric, as well as the instructions presented by Junegunn Choi on GitHub. It is straightforward and effective.
Check that you already have these packages installed on your system:
When you start a new file in Vim, the window is almost blank. The lines are unnumbered and the blue tildes show you where a line is not, i.e., that there is nothing there — yet. 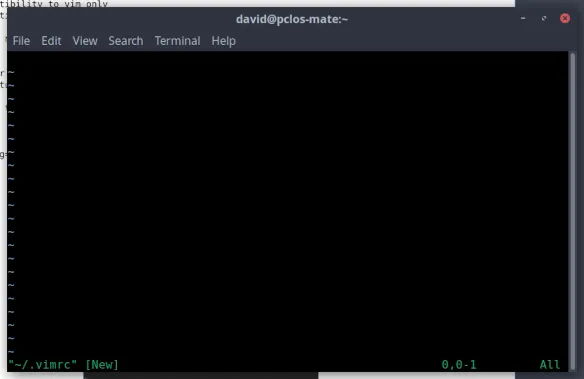 We will begin by creating a local .vimrc file and adding some simple customizations. (This file contains Vim's core global settings.) Open a Terminal/Konsole and type: $ vim ~/.vimrc Go into Insert mode and add the following:
" Set compatibility to vim only
" Show line numbers
" Status bar
" Auto-wrap text extending beyond screen length
" Encoding
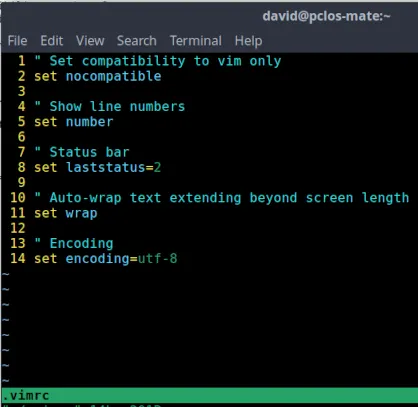 Note the double quote (") at the start of lines 1, 4, 7, 10 and 13. It is part of Vim's comment syntax. It causes the whole line to be ignored. You do not need a closing quote. • Save your changes and exit Vim.
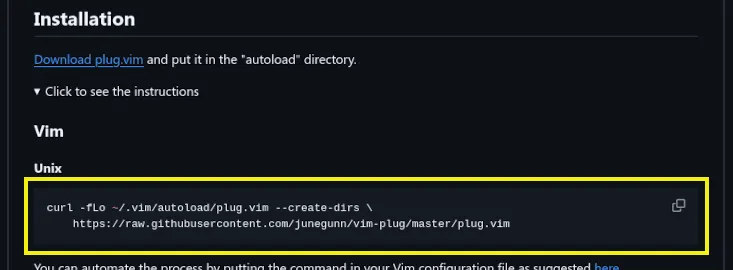
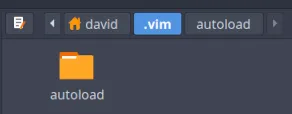
The next step is to download the vim-plug Plugin Manager from Junegunn's GitHub repository and place it in the autoload directory. Note that are multiple methods to install plugins in Vim. This how-to uses the easy, dependable and performant "vim-plug" Plugin Manager.
Open a Terminal/Konsole and type (all in one line): You can copy the command above directly from Junegunn's GitHub instructions, if you wish.
 Afterwards, you will see something like the screen below: 
Open a Terminal/Konsole and type $ vim ~/.vimrc. At the end of the file, add the following lines:
" Plugin section
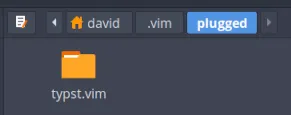
Plug 'kaarmu/typst.vim' This section begins with the command call plug#begin(),, lists the plugin(s) with a Plug command, and ends with the call plug#end() command. The 'kaarmu/typst.vim' entry designates the actual typst.vim plugin. It follows the pattern (developer's) username + repository name. 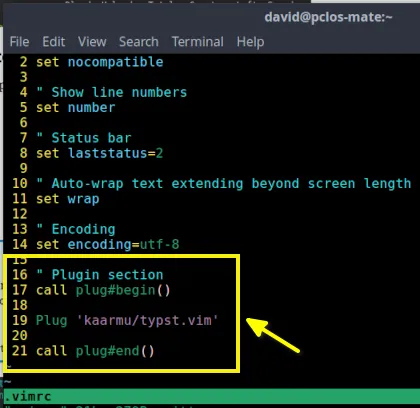
You can add more plugins later, if you wish. Additional plugin entries should be placed between the "plug#begin" and "plug#end" lines. The plugin entries should follow the naming convention described above.)
Restart Vim: $ vim In Command mode, type: :PlugInstall (This opens the plugin manager within Vim and proceeds to install all plugins listed in the .vimrc file. Installed plugins automatically load the next time Vim is started.) 

You might find these three commands useful; they are also issued from Vim's Command mode: PlugUpdate — to install or update the plugins :PlugDiff — to review the changes from the last update :PlugClean — to remove plugins no longer in the list Basic Usage of typst.vim Plugin :TypstWatch Use Vim to open your local Typst file and begin editing. In Command mode, type: :TypstWatch The typst-watch command activates a mode where Typst continuously monitors the specified file for any changes. When you save your changes, Typst will recompile the file and update the displayed PDF. This command will open the compiled PDF in a PDF reader—Evince Document Viewer, in the screenshot below: 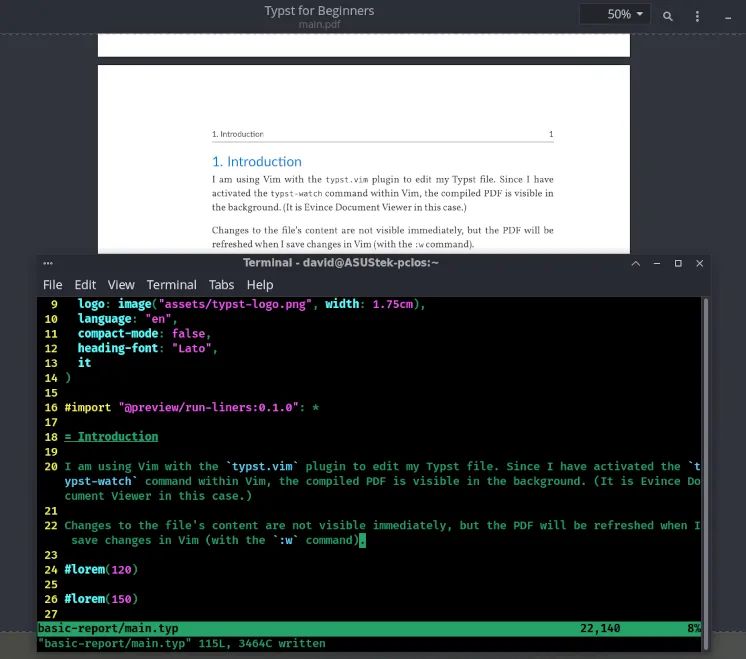
If you have more than one PDF viewer installed and need to change the default PDF reader in your desktop environment, I have a publicly shared Typst project with tips on how to accomplish this in KDE Plasma, Xfce, and MATE [subsubsection 6.1.1, pages 6–8].
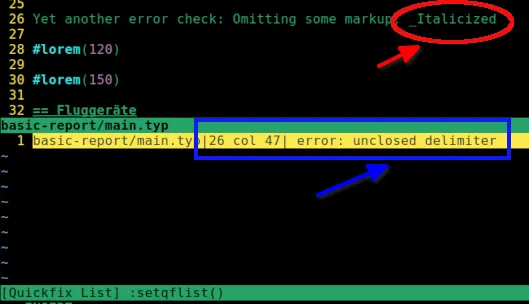
The typst.vim plugin includes error checking. In the example below, I intentionally omitted the required colon following "Thylacine" in the term list. (It should be " / Thylacine: ") When I saved my file, the plugin notified me that there was an error: 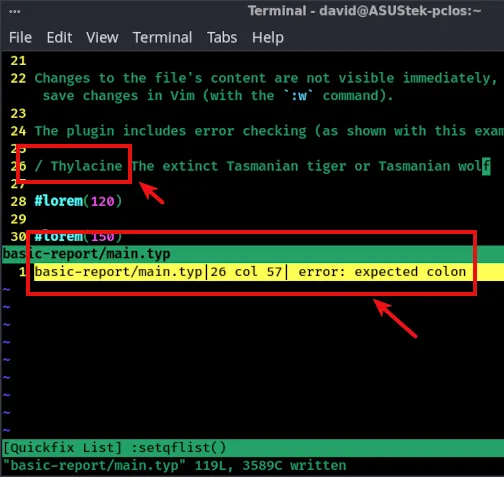
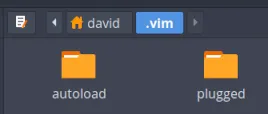
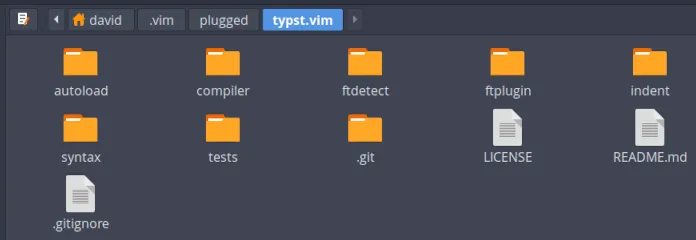
In case you are curious, here is a graphical overview of the Vim-related directory structure after you have installed the vim-plug Plugin Manager and the typst.vim plugin: Within your /home directory, you will have a .vimrc file and a .viminfo file. 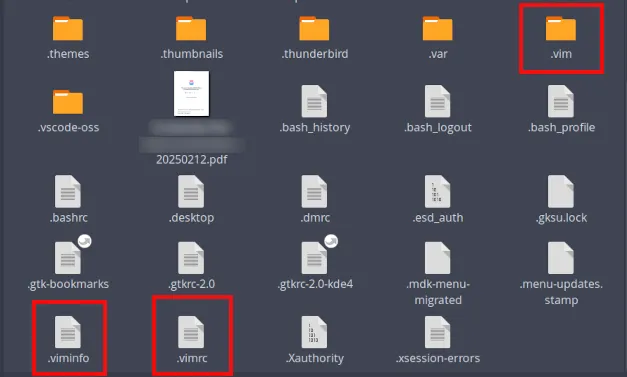
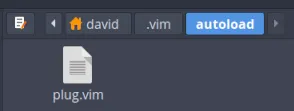
A subdirectory named autoload will contain the plug.vim file:
|