
| Previous
Page |
PCLinuxOS
Magazine |
PCLinuxOS |
Article List |
Disclaimer |
Next Page |
Adding An Extra Hard Drive To Your PCLinuxOS |
by Agent Smith (Alessandro Ebersol)

It happened to me, thanks to my wine folder (Ah, Windows games...) and torrents, my 500 GB hard drive was full to the brim. But how did I solve this problem?
Linux has two options for adding extra disks. One is LVM, logical volume manager, and the other is to use the new hard disk as a pluggable mounted drive. LVM, as defined by Wikipedia: “The Logical Volume Manager (LVM) is a device mapping framework for the Linux (and NetBSD) kernel that provides flexible management of logical volumes, creating an abstraction layer over physical storage. Originally developed in 1998 by Heinz Mauelshagen at Sistina Software, with influence from the HP-UX volume manager design, LVM allows administrators to group physical volumes (PVs) into volume groups (VGs) and create logical volumes (LVs) that can span multiple disks. Logical volumes can be resized, moved, or captured while systems are running and support thin provisioning, caching, striping, mirroring, and RAID-type layouts. LVM is widely integrated into modern Linux distributions and supports root file system configurations, offering operational flexibility and dynamic storage management without service interruption.” However, LVM should preferably be done before installing the operating system, since placing the root partition in LVM after installation is quite difficult, and it would probably be better to reinstall. In addition, it is not possible to simply create an LVM on an already mounted partition. So, we will see how to add an extra hard drive as a pluggable unit within an already working system, which is what I did to solve my space shortage problems.
In order to keep this tutorial structured, I will list the steps necessary to install an extra hard drive on an already installed and functioning Linux system.
And that's it, just use the new hard drive.
I'm going to use a 500 GB Seagate hard drive that I had from another computer.
I connected the hard drive to the computer, and it was recognized as sdb. 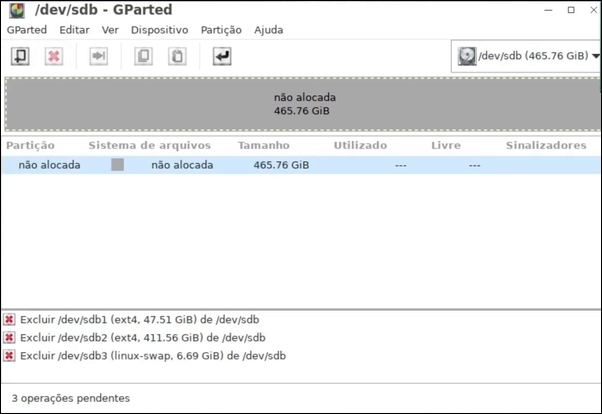
I formatted the entire disk as a single partition in EXT4. 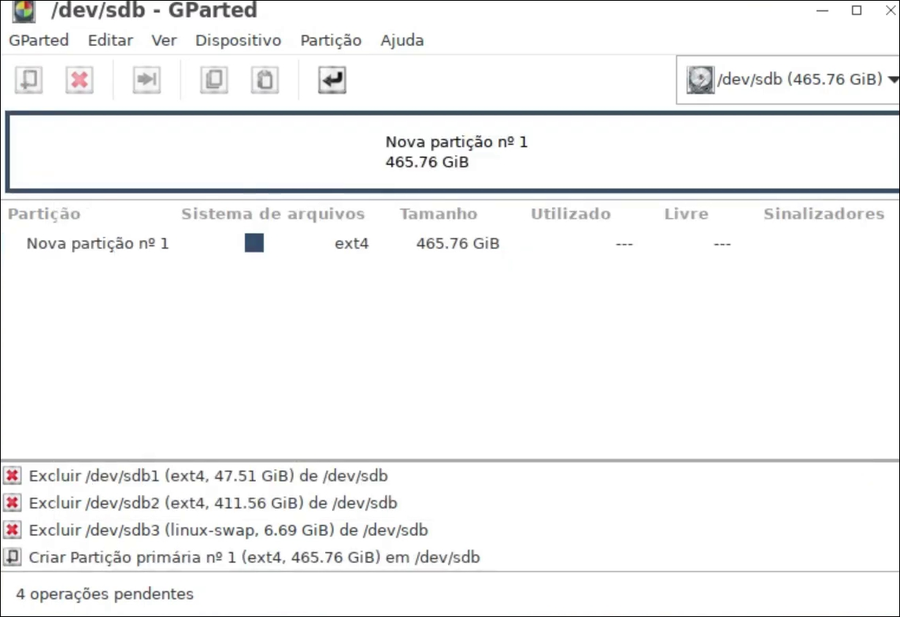

As root, I created the mount point for the new hard drive in the /media folder and named it hd_extra (you can name it whatever you want). 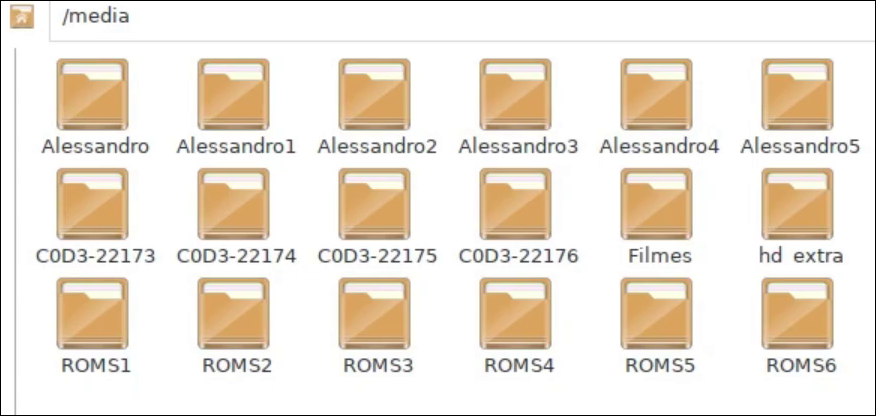
As root, go to the /etc folder, find the fstab file, and edit it in your favorite plain text editor. I edited it with leafpad and added the entry for hd_extra, copying the same parameters that were in the entry for my /home partition and indicating the UUID of the new hard drive and its mount point (/media/hd_extra). 
No major problems, just reboot so that the computer recognizes the new settings.
After restarting, the new hard drive is automatically mounted and appears in the file manager. 
Become root, open a terminal, and type chmod -R 777 /media/hd_extra (here should be the name you specified in your installation) By doing this, you allow anyone to write to the new hard drive, making it possible to transfer your files to it. In the case of the .wine folder, after moving it to the new hard drive, you need to create a symbolic link so that everything works normally. In your /home folder, open a terminal and type the following command: ln -s /media/hd_extra/.wine ~/.wine And that's it, Wine won't notice any difference and will continue to work as usual, but now it will store the files on the new hard drive. Note that the command I showed above is valid for my installation, since I used specific names. Another thing: The use of the new HD is not automatic, it must be specified, both as a download location and in torrent programs. I hope you appreciate this simple method of adding extra space to your installation and can continue using your PCLinuxOS without running out of space for your files. I moved my wine folder, my downloads, torrents, and dosbox to the new hard drive, which freed up a lot of space in my /home. |

