| Previous
Page |
PCLinuxOS
Magazine |
PCLinuxOS |
Article List |
Disclaimer |
Next Page |
Inkscape Tutorial: Arrows! |
|
by Meemaw
Inkscape will import nearly anything you want (except for WebP images), so most images can be imported for the arrow to be added. This image is from a performance of Disney on Ice, which I attended last year. This part of the show was portion of the movie Moana. 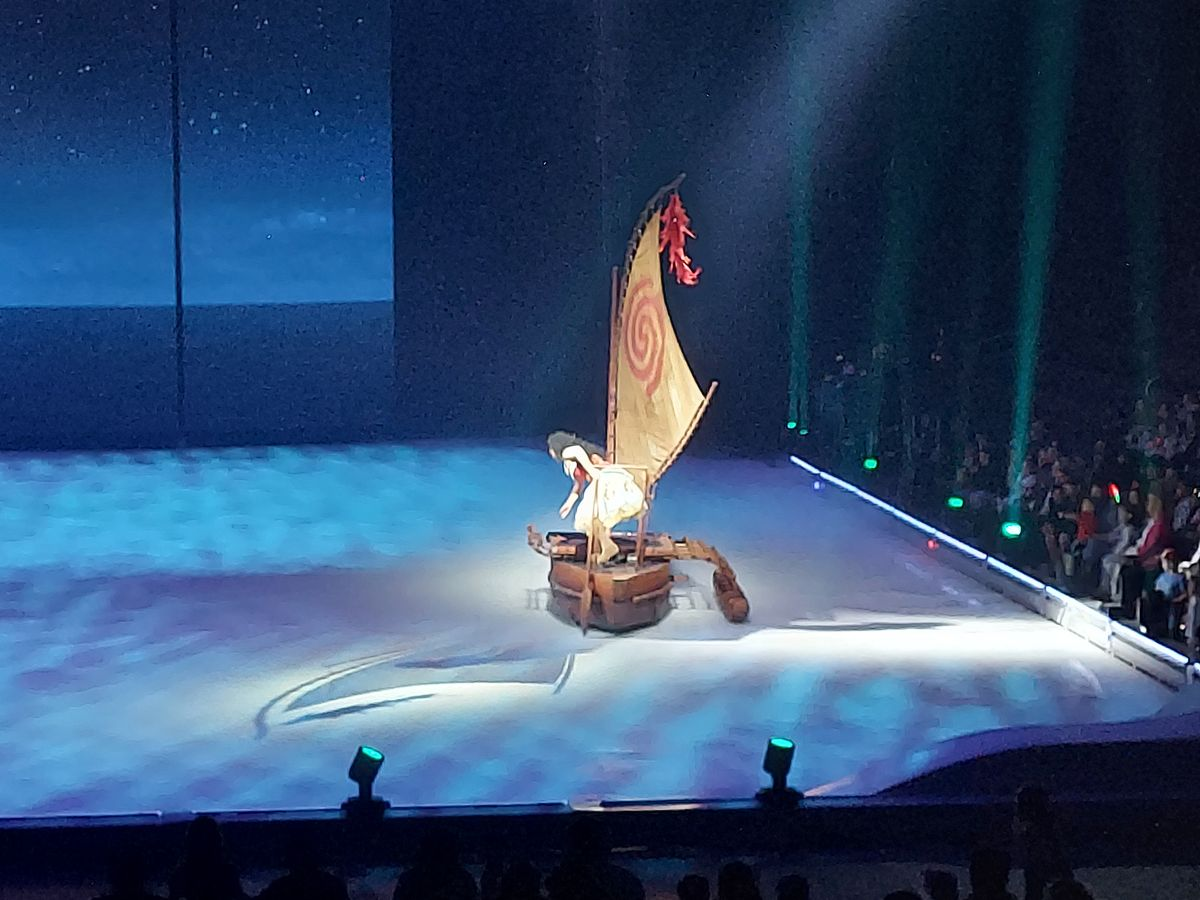 I want to draw an arrow that points to the boat. In Inkscape, you can lock the selected item or create a new layer and lock the lower one. I chose to lock the image by right-clicking the image, and choosing Lock Selected Objects. That way, it doesn’t move around while I’m working. I chose the Bezier line tool, and drew the line from left to right, so the part of the line nearest the boat is the last part I drew, but you can do it either way. 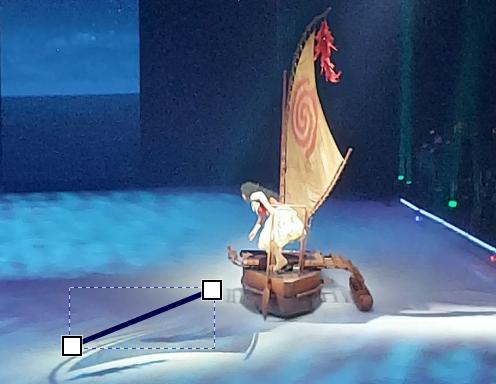 Open the Fill & Stroke window and choose the Stroke Style tab. 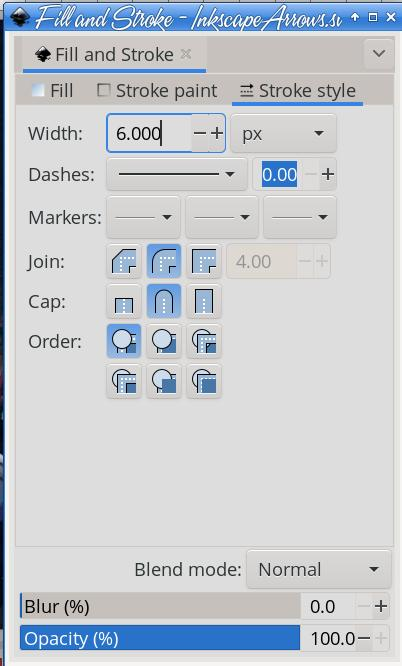 See the line that says Markers? I’ll choose the third one over, which will affect the right end of the line I just drew. It looks like this (you may have to widen your window). 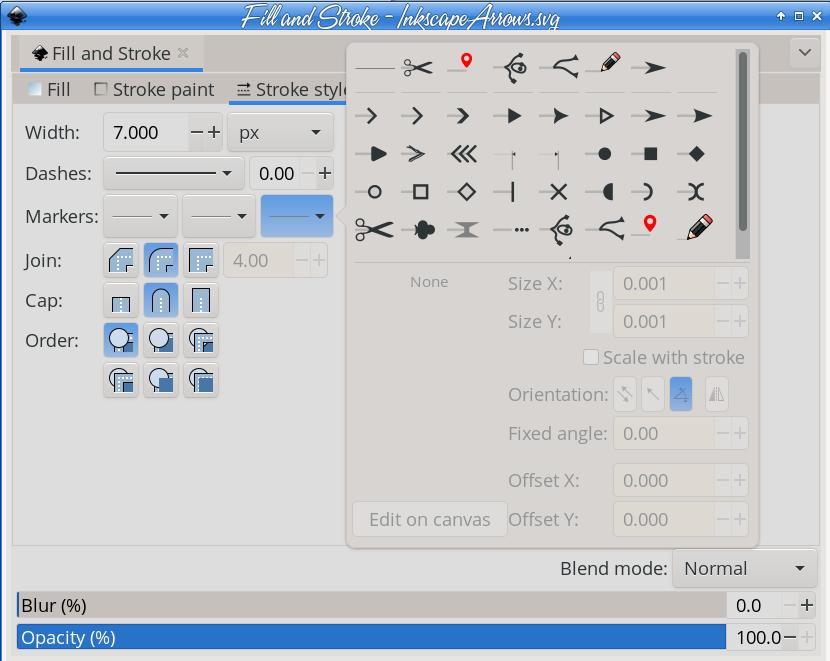 The first line in this window is items I’ve already chosen, but below that are all the possible choices. For my arrow, I selected the one furthest to the right on the first row. It will automatically appear on the end of the line I drew, and even though the node is still at the end of the line, I can see the arrow point under it. 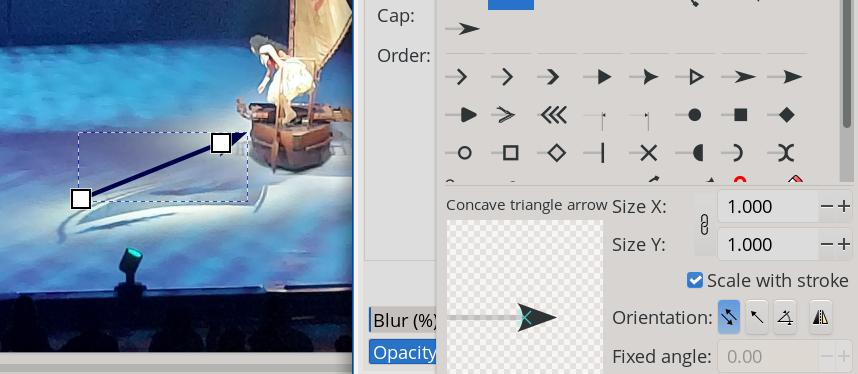 You’ll see towards the bottom of the window that there are settings for size and orientation. I haven’t messed with orientation yet, but you can size the point as big as you want it. As you can also see above, there are many other items you can use on your line. You can choose something for the other end of the line as well, to make the arrow with a tail as well as a head. Also included is a checkbox that says Scale with stroke. If your arrow is too long, you can shorten it, but if that box is checked, your resize will resize everything. If for some reason you want a curved arrow, change to the nodes tool and curve the line like you normally do, and your arrow will be curved. 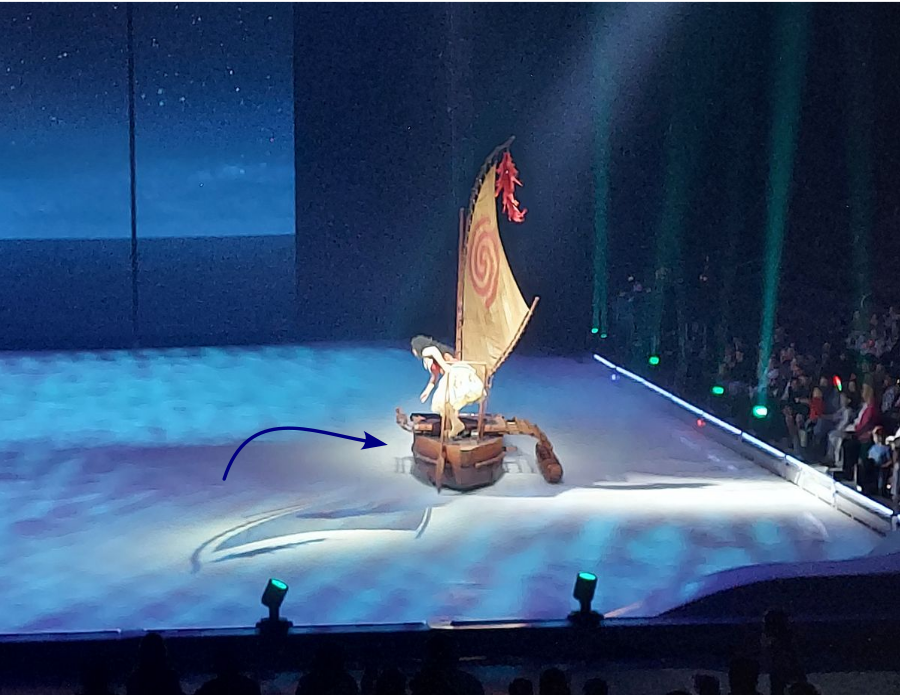 The center marker is a little different. The Markers tool basically puts the object of your choice on the node of your choice. If you drew a single line with a node at each end, the middle marker dropdown won't place anything, since there are no nodes in the center of the line. If you have a line that has several nodes, the markers will be put on each node. 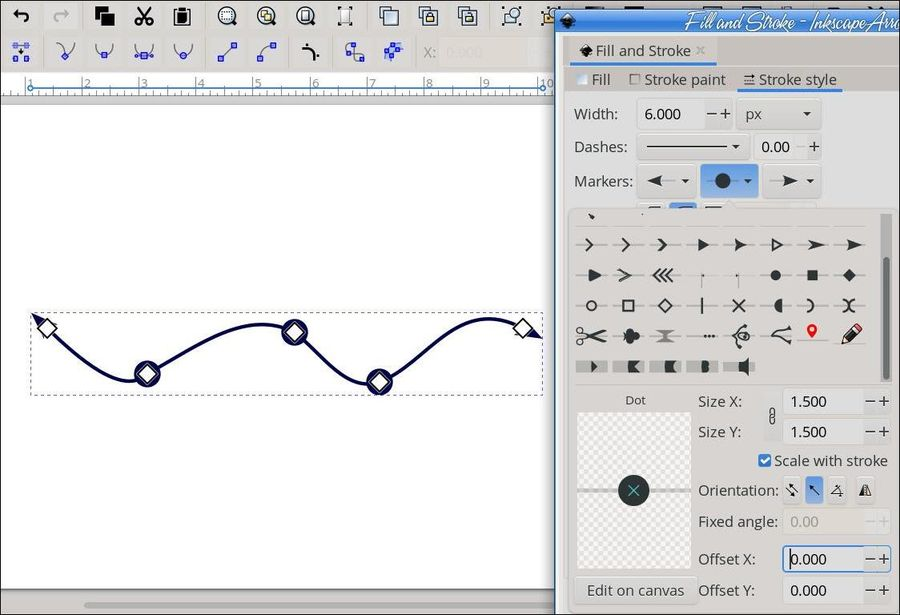 If you want to change the location of the markers, go to the bottom of the window, and change the Offset. Changing Offset X moves the markers away from the nodes, but they stay on the line (right, top). 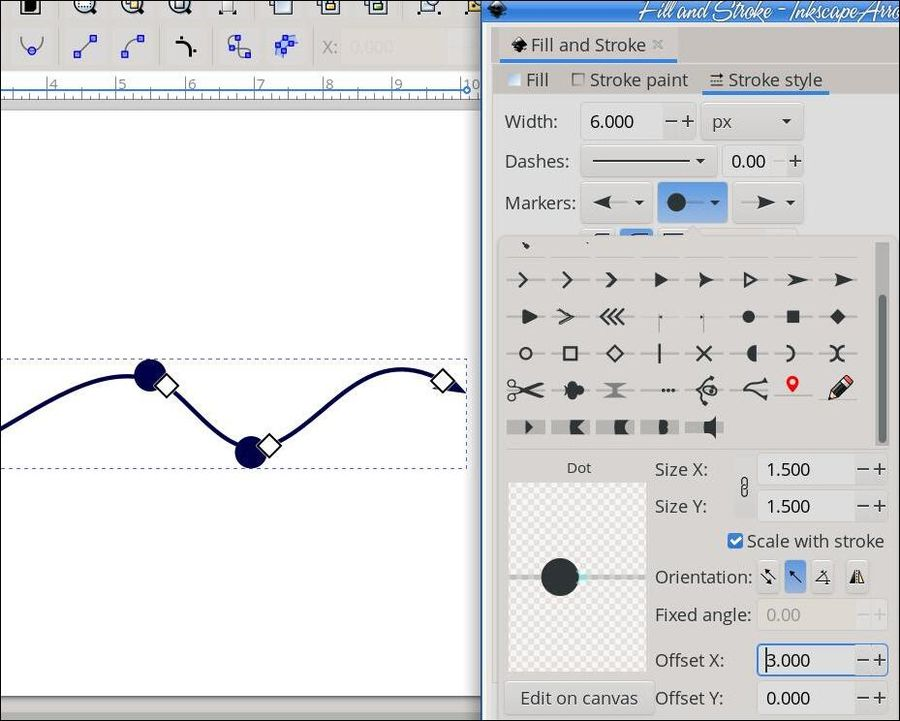 Offset Y moves the markers above or below the line, depending on whether your offset is positive or negative. 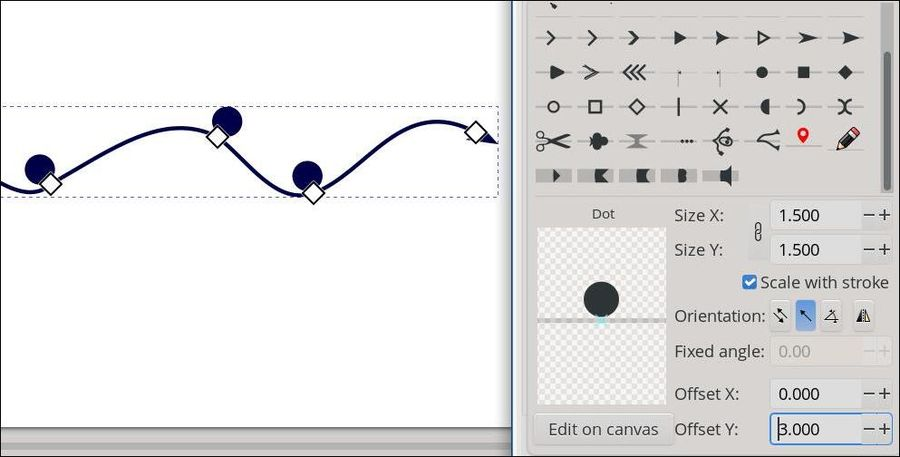 As I stated above, there are many other things you can use besides an arrow. The window has different arrow heads and tails, squares and triangles, scissors, a pencil, and a pin like the one that shows up on a map. There’s even a head and legs to make a stick figure. 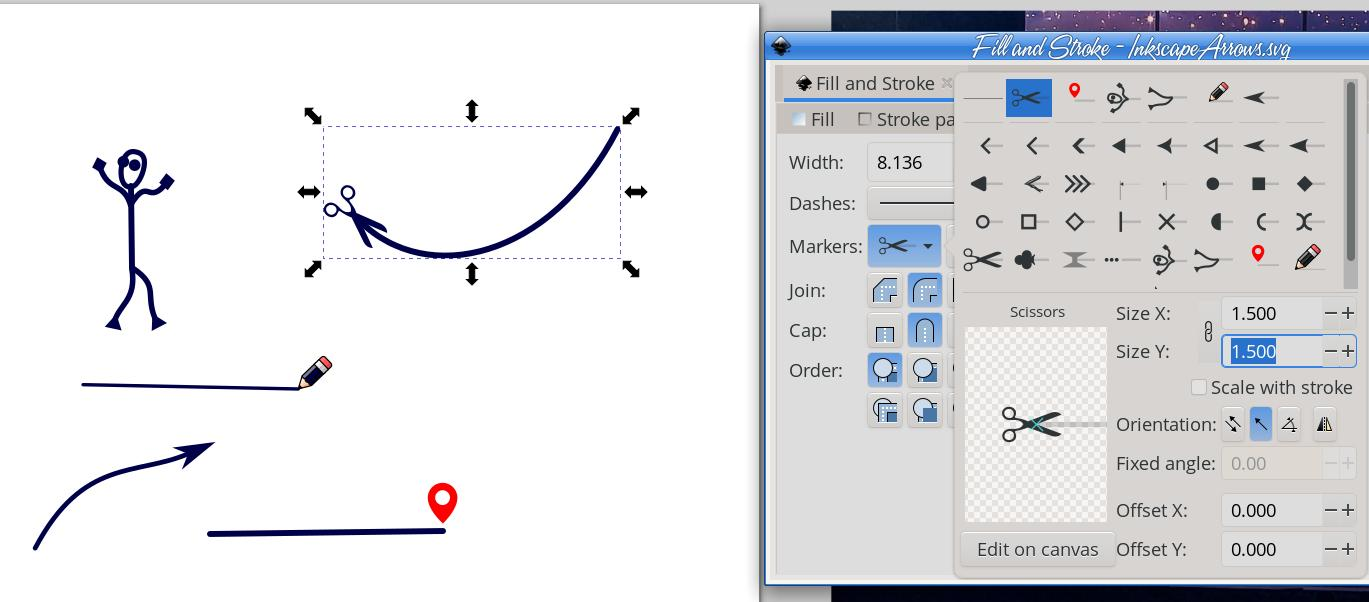 The marker setting on the left is where you started your line, and the one on the right is where you ended your line (the little cartoon guy’s head and feet are on the bottom row). I’m sure with these items, you can design just the right arrow (or whatever you need) very quickly! |