| Previous
Page |
PCLinuxOS
Magazine |
PCLinuxOS |
Article List |
Disclaimer |
Next Page |
Tip Top Tips: Install Resynthesizer Plugin For GIMP3 |
|
Editor’s Note: Tip Top Tips is a semi-monthly column in The PCLinuxOS Magazine. Periodically, we will feature – and possibly even expand upon – one tip from the PCLinuxOS forum. The magazine will not accept independent tip submissions specifically intended for inclusion in the Tip Top Tips column. Rather, if you have a tip, share it in the PCLinuxOS forum’s “Tips & Tricks” section. Occasionally, we may run a “tip” posted elsewhere in the PCLinuxOS forum. Either way, share your tip in the forum, and it just may be selected for publication in The PCLinuxOS Magazine.
This month’s tip was shared by SemperOSS. I think I have seen someone writing about how the Resynthesizer installation is done but could not find it when I wanted to do it myself, so here goes my version for installing it as an ordinary user. First of all, install “flatpak” and “gimp” (make sure GIMP is version 3 or later) with Synaptic. On a command line, run “flatpak install Resynthesizer” and give the answers (first “2” + Enter, then “3” + Enter) as shown in the output below: Looking for matches… Remotes found with refs similar to ‘Resynthesizer’:
1) ‘flathub’ (system)
Which do you want to use (0 to abort)? [0-2]: 2
1) runtime/org.gimp.GIMP.Plugin.Resynthesizer/x86_64/2-40 Which do you want to use (0 to abort)? [0-3]: 3
ID Branch Op Remote Download Installation complete. Now run the command "ln -s ~/.local/share/flatpak/runtime/org.gimp.GIMP.Plugin.Resynthesizer/x86_64/3/active/files/plug-ins/* ~/.config/GIMP/3.0/plug-ins/". If you get the error message "'~/.config/GIMP/3.0/plug-ins/': No such file or directory", run the command "mkdir -p ~/.config/GIMP/3.0/plug-ins/" and try again. You can now start GIMP and see that the following new filters are available:
Here’s an example of the use of the Enhance → Heal Selection… filter, from Meemaw’s GIMP article from July 2023:
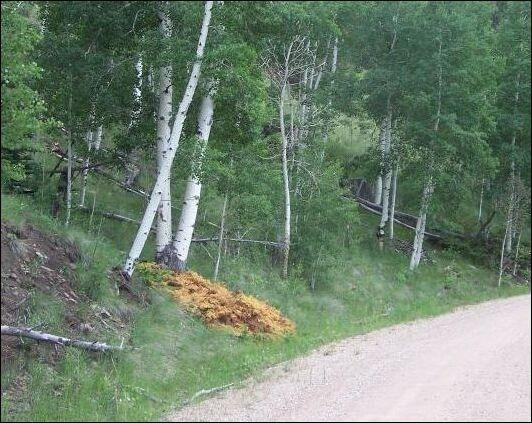 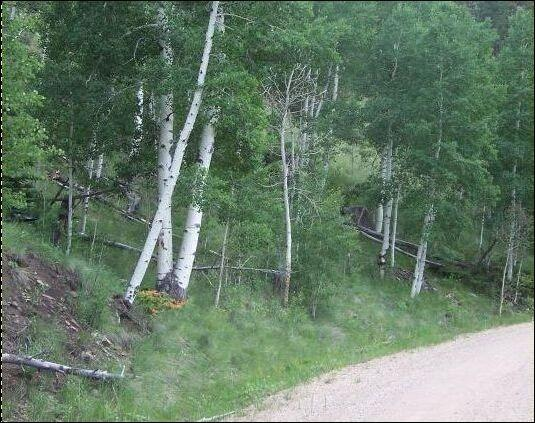 Before After Here’s an example of the Filters → Enhance → Heal Transparency… filter. It will fill up a transparent spot with the pixels around it. Suppose you had a photo that you felt needed more background around the main subject (in this case, green background around flowers), you can use this filter. 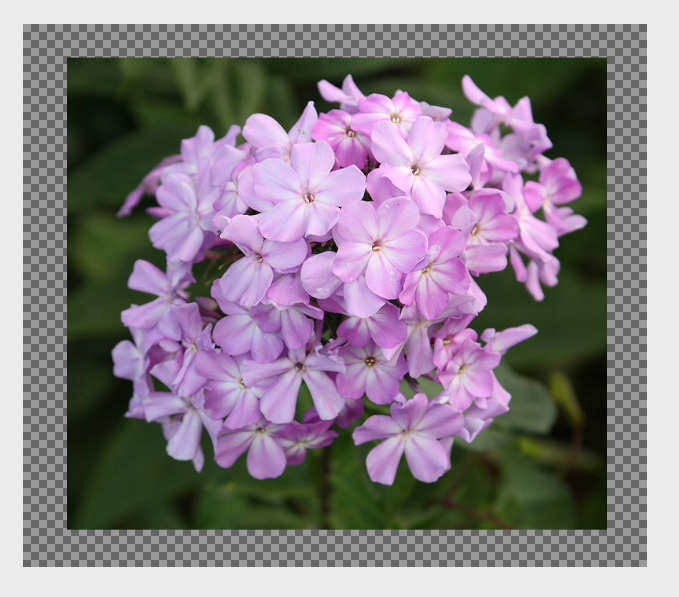 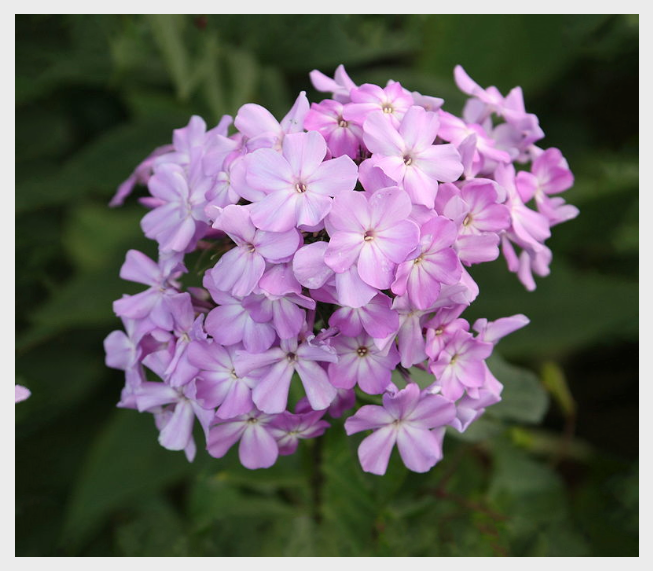 Before After You MUST make sure you add an alpha channel. I merged the photo with the background and made sure the whole thing had an alpha channel. This filter is kind of contrary, and you may get a GIMP error before things work. Experiment with the settings. If you have a transparent spot in the center, it will heal that too. The Filters → Enhance → Uncrop… filter is supposed to add transparency around the outside of your canvas (a percentage you choose) and heal the transparent part (as if you had cropped your photo and are putting it back. I can get it to add the percentage around the outside, but in my trials, it hasn’t healed anything. The Filters → Map → Resynthesize… filter is the “control panel” of the group. If you have a design to use as a source, it can make some pretty weird things. You can fill up a white background with a lot of things. This employed the flowers used earlier. There are more settings in this one. Feel free to play with them, and see what you like best. 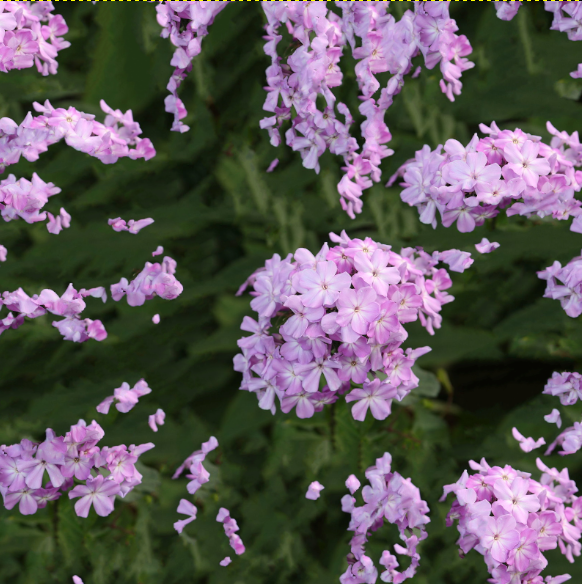 The Filters → Map → Style… filter lets you use the style of another image in the one you’re creating. It’s kind of a “paint” thing. I used the before photo below, and mapped the style of the flowers above to it to get the “After”. 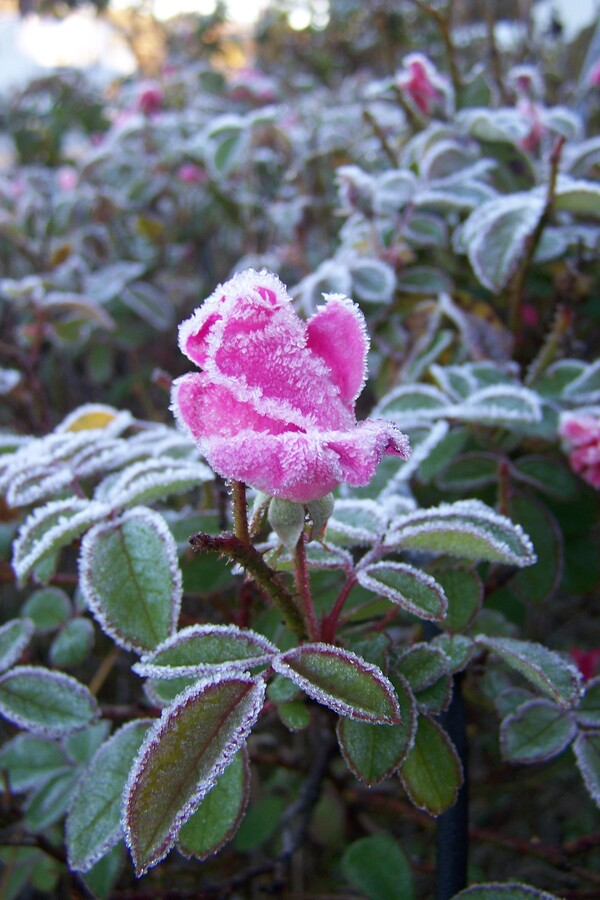 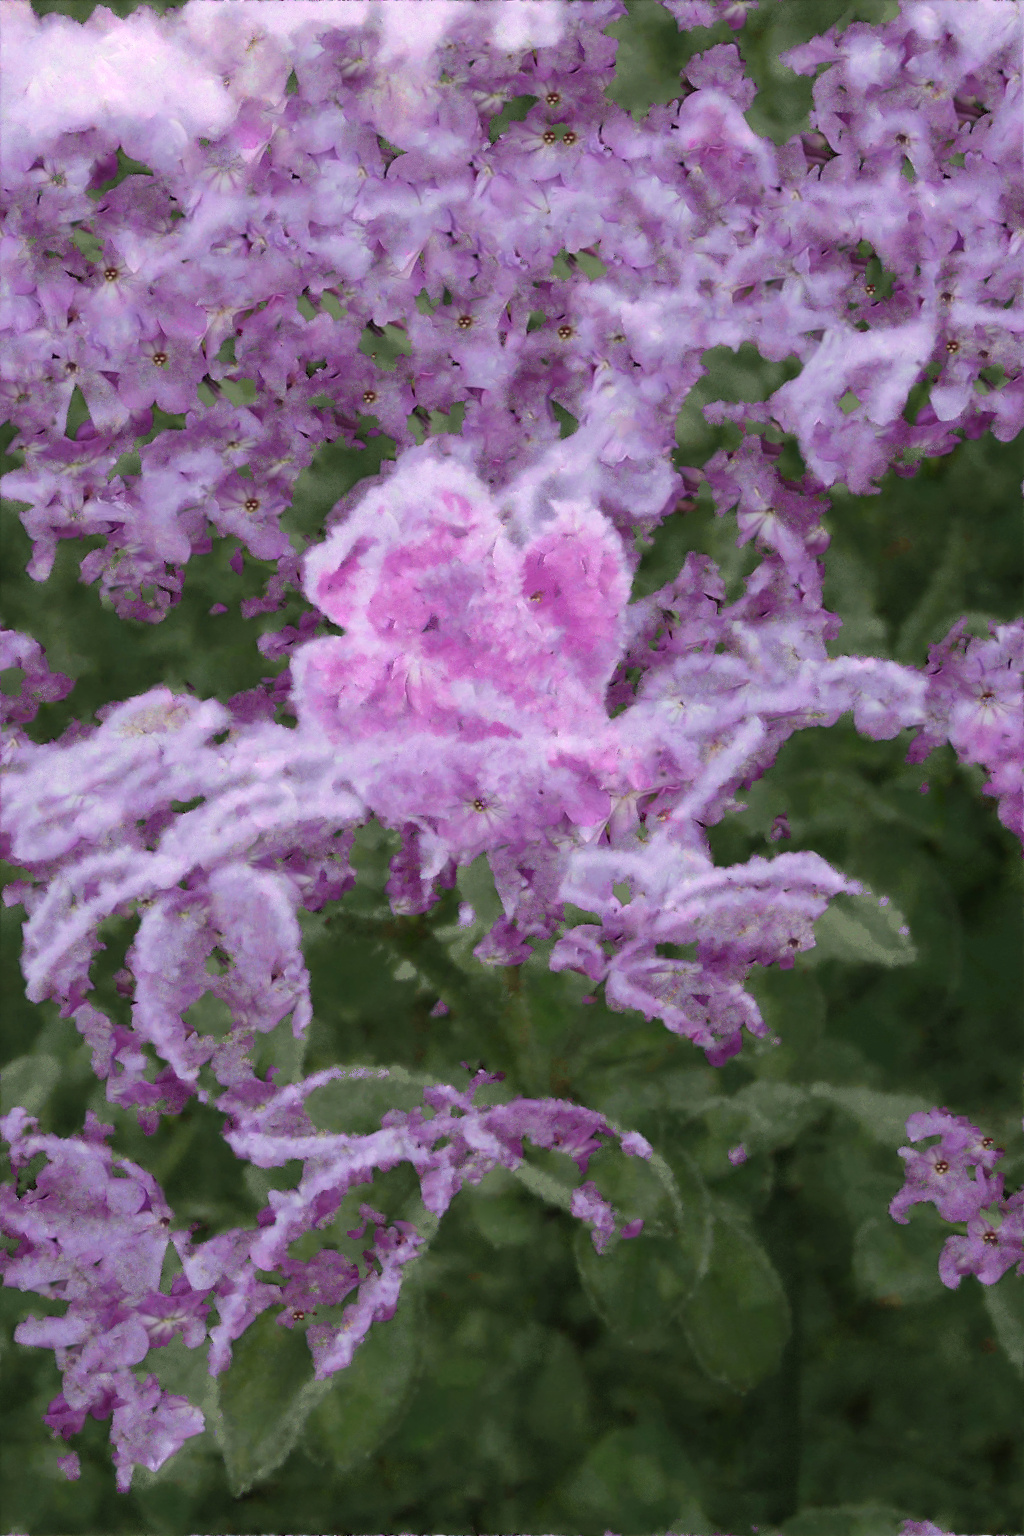 Before After The Filters → Render → Texture… filter, you can create a new image having a texture from another image. I used another flower, and created a texture.  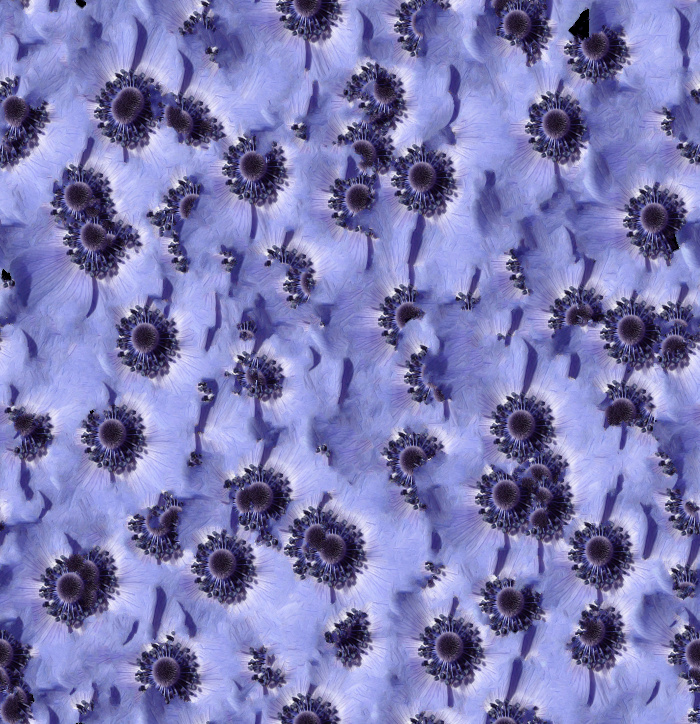 Before After Not the best texture, but it’s quick, and if you check the box that says “Make new image edges suitable for seamless tiling” you will have a texture you can tile in another project. Meemaw found a Quick User’s Guide to the Resynthesizer GIMP plugin, which may be handy and beneficial for future reference. |