| Previous Page |
PCLinuxOS Magazine |
PCLinuxOS |
Article List |
Disclaimer |
Next Page |
Inkscape Tutorial: Create A Letter Logo |
|
by Meemaw
 This tutorial allows you to edit a letter to make it a bit fancier for a logo. It uses the Shape Builder tool very effectively. Let’s get started! Draw your letter with the text tool. Change the font if needed. This project looks good with a plain, thick font. I used Bitstream Vera Sans. The tutorial I referenced used the letter A, but I used an H. Change to the Selection tool and resize it to the size you desire (mine’s about 200) and zoom in. 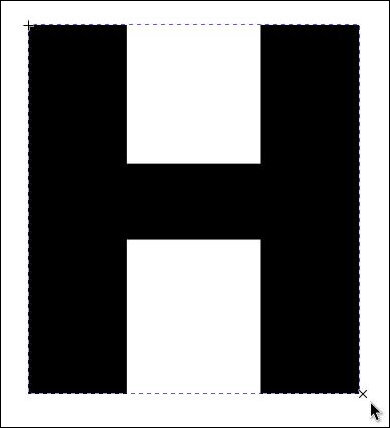
Use Path > Flatten to change it to a vector path rather than a text object. Change the color to a grey (so you can see what you’re doing). Enable Snapping. Using the Pen tool, select the setting which says Create a sequence of straight line segments, 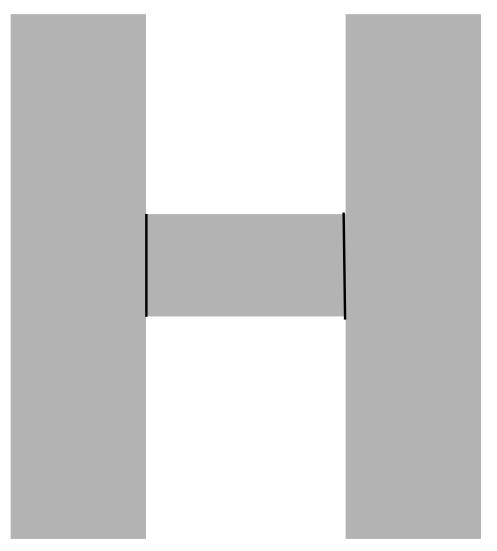
Select your object, then choose the Shape Builder tool. 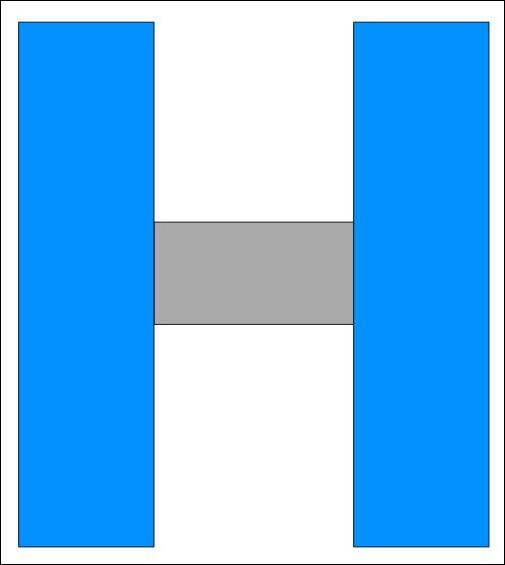 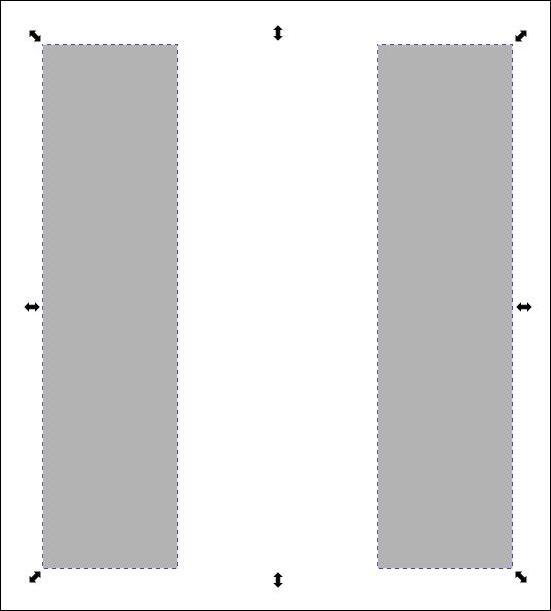
Change to the Nodes tool. You may have a bunch of nodes in the center of your object. You can select those and delete them. You want the corners of your object sharp, so select those and choose the setting Make Selected nodes corner. 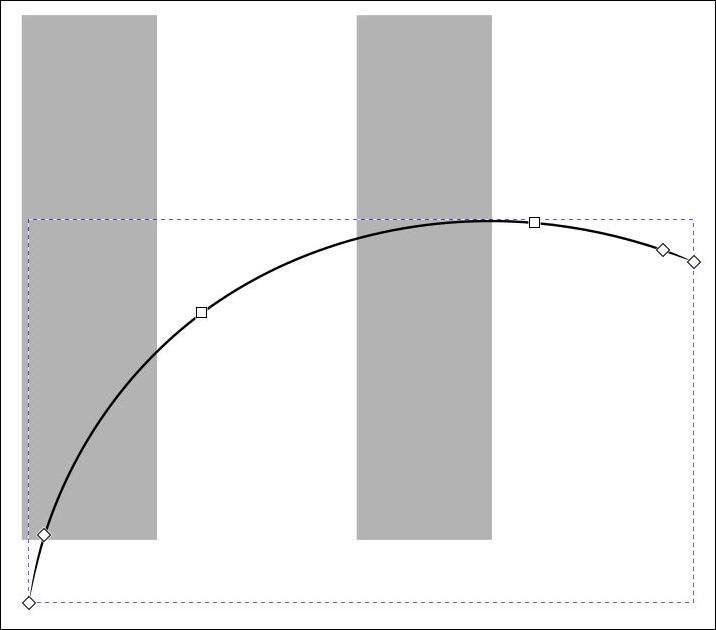 Now, with the curve selected, choose the Path effects tool. We want to use the Taper stroke tool. Before you do anything move the node closest to the left end of the curve to the left end, and also move the node closest to the right end down to the left end as well. 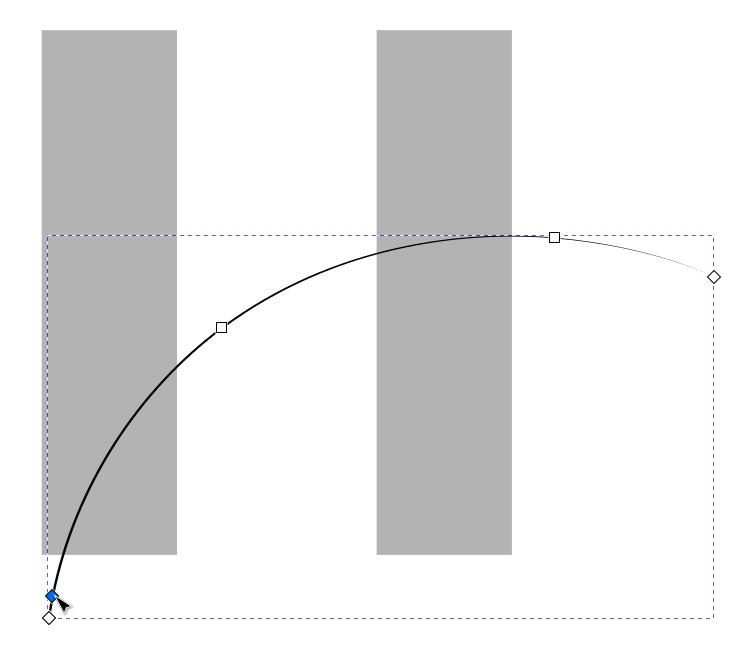 Using the stroke width setting, increase the stroke width until it’s as wide as you want it (close to the width of your starting letter). 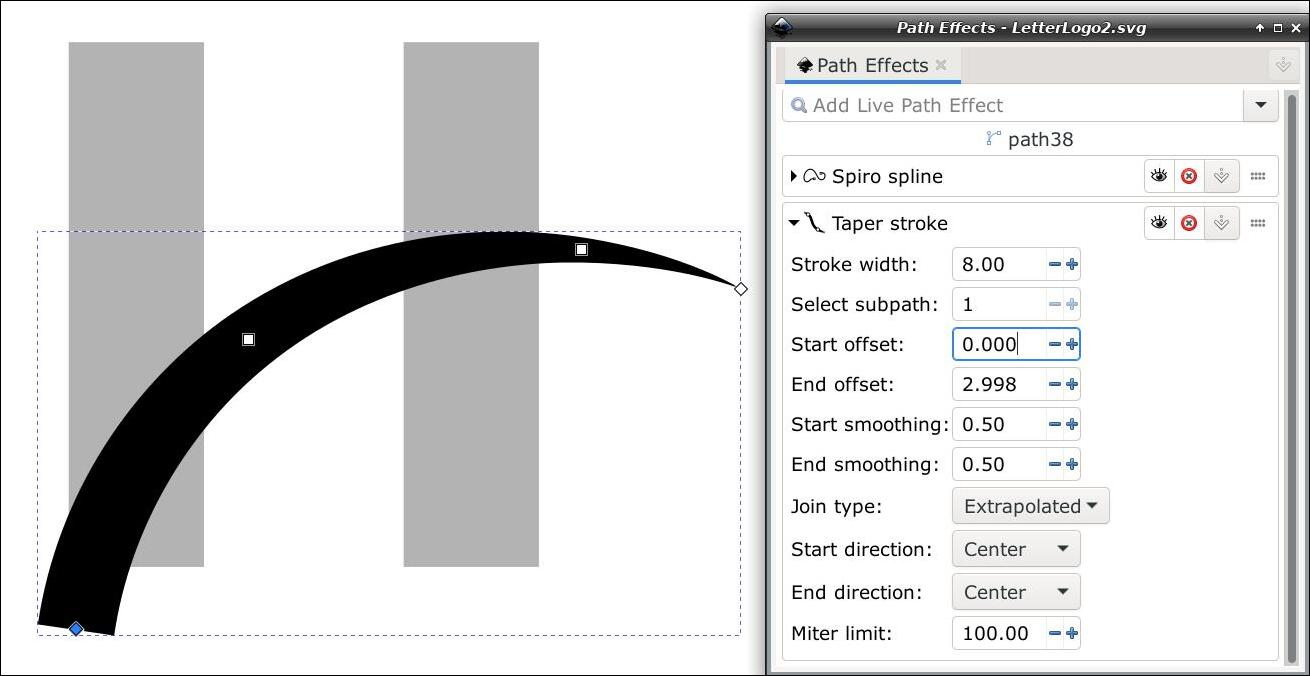 At this point you can still edit your curve with the nodes tool to get the curve you want. Change the curve color to white, and duplicate it. Change the duplicate to black, move it to the left to leave a little point near the left side. Now lower it under the white curve. Duplicate the white again and change it to black. Choose the new black and click twice to show the rotate handles. Enable snap again. Snap the rotate axis on the end of the new black. Disable snap. 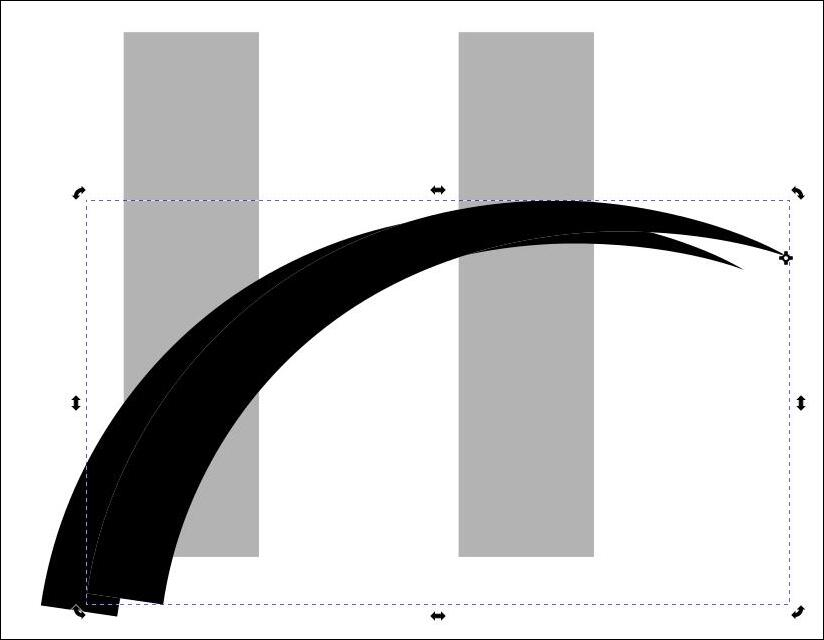 We want to rotate the newer black stroke and lower it under the white. 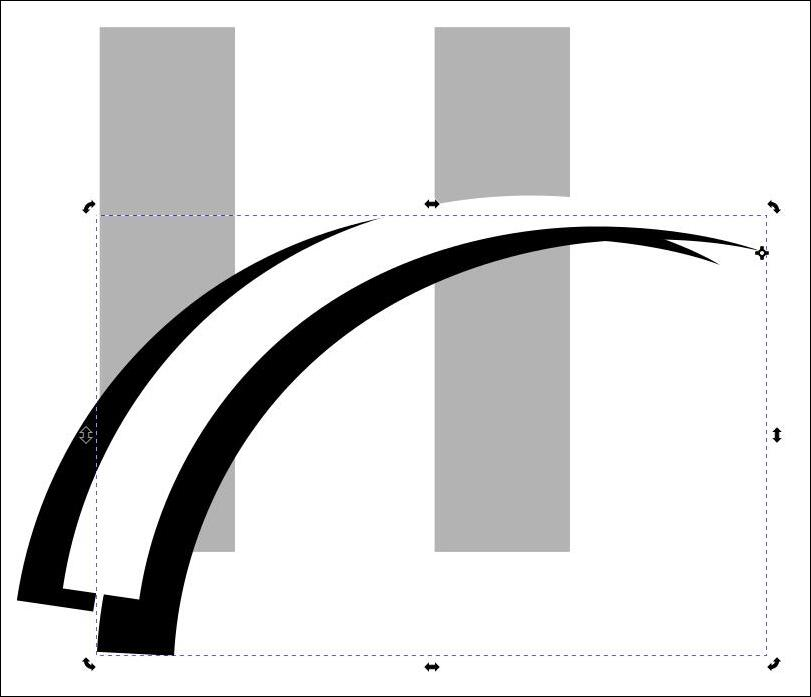
We want the Shape builder again to mark the desired items. Select everything and then choose the Shape Builder tool. Zoom in and mark the pieces you want. Remember, if you mark them individually, you’ll get a load of pieces. If you click & drag, your pieces will not be separate, but together. Be careful and zoom in. It’s really easy to grab something you don’t want. You might have to click the red X in the Shape Builder toolbar 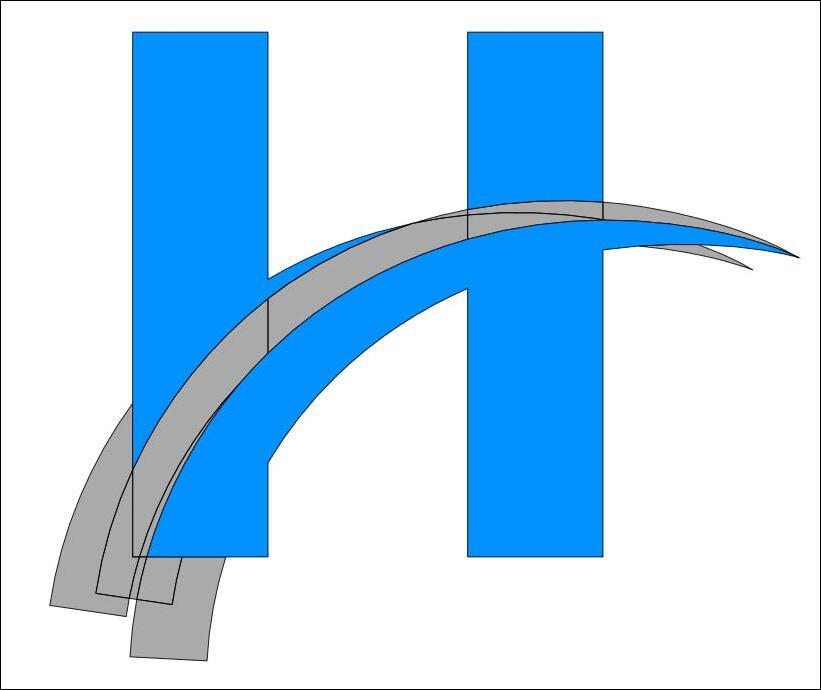
 Now you see that we have three separate items. You can make your logo one color, or make different parts other colors.   You can then select all, then go to Path > Union to save it as one graphic, then export it with the appropriate name. |
 and snap on the corners of the center cross piece. That will create straight lines down the cross piece. Disable snapping.
 The Shape Builder allows you to choose those parts of your object you want to keep, and deletes the rest. In the object above, I chose the uprights, and not the cross piece.
 Change to the Pen tool and choose the setting Spiro/spline.
  Create a curved path, and use the Nodes tool to edit it the way you want.
 and start over.