| Previous
Page |
PCLinuxOS
Magazine |
PCLinuxOS |
Article List |
Disclaimer |
Next Page |
GIMP Tutorial: Masks Explained
|
|
by Meemaw We've used masks in several of our projects. Sometimes it's hard to understand exactly what a mask does, so I'm going to try to explain it in this article. A mask is a layer you can add to your project to affect certain parts of it. However, instead of being another layer, the mask is attached to a layer and affects the pixels on that layer. It's used to block or show the pixels on the layer it is part of, so your project is changed in some way. Basically, a white mask makes your layer show, but allows you to "cover" part of it to show what's underneath, and a black mask makes your layer transparent, so you see the next layer down, while allowing you to "uncover" any part you want visible. When we did the layer mask on the flower photo, we created two layers, made the bottom layer grayscale, and configured the mask on the color layer to be black, which blocked out the color. Painting a black layer mask with white makes those pixels transparent, so we could see the color in that layer. It just blocks out the layer it's attached to, so we could still see the grayscale layer on the rest of the photo. This resulted in our flower showing as color and the rest of the photo as grayscale. 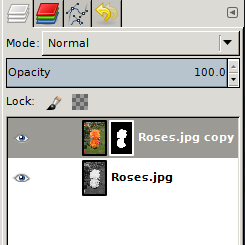 On the infant photograph, we also made the layer mask black. Painting with white makes the mask transparent and the color in that layer shows through. That's also why we had to make several layers, each with its own color. Each layer mask brings out the color we configured on that layer in the areas we painted, while leaving the rest grayscale. 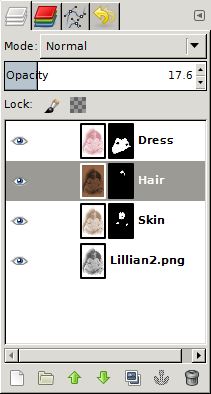 If you have a color and a greyscale layer, you can put a white layer mask on the color layer and paint with black to make the greyscale show through. On the example below, I did just that. 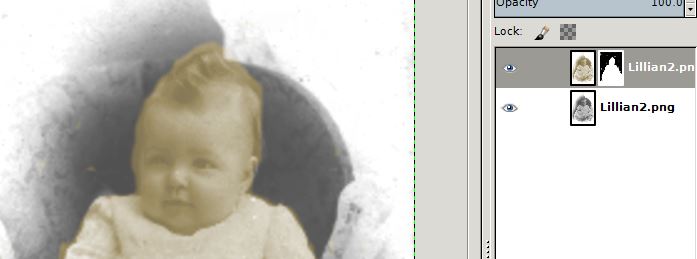 One thing we haven't tried is using a shade of gray. If you paint on a layer mask with 50% gray, then that portion of your layer will be 50% transparent. In the example below, I chose a 65% gray and painted the leaves above and to the left of the rose. You can see that there is color there, but it is not as bright as the rose. Notice the layer section on the right. The layer mask now shows the areas painted with white and gray on it besides the black part of the mask. 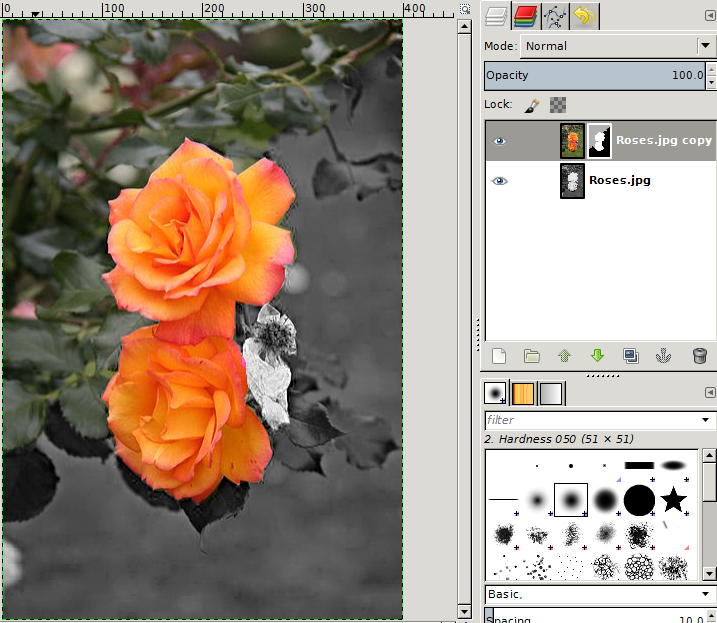 With the right photo and a little imagination, you can make a very dramatic image! Let's try something else. I loaded this photo into Gimp: 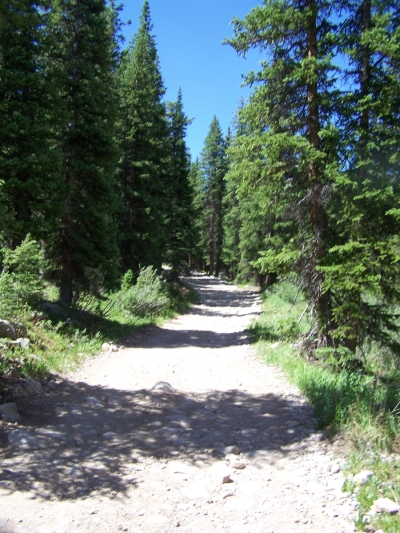 In Gimp, I did the following: Duplicate Layer, then using the bottom layer, click Color > Desaturate. Add a Layer Mask to the color layer. With the layer mask chosen, Blend with a BG to FG gradient (BG is background white on the left of the button, FG is foreground black on the right). 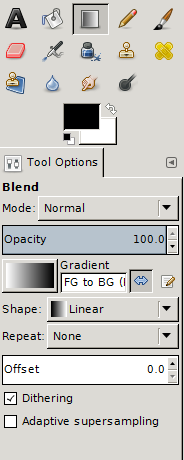 Starting with the top of the photo, click and drag to about two thirds of the way to the bottom of the photo. 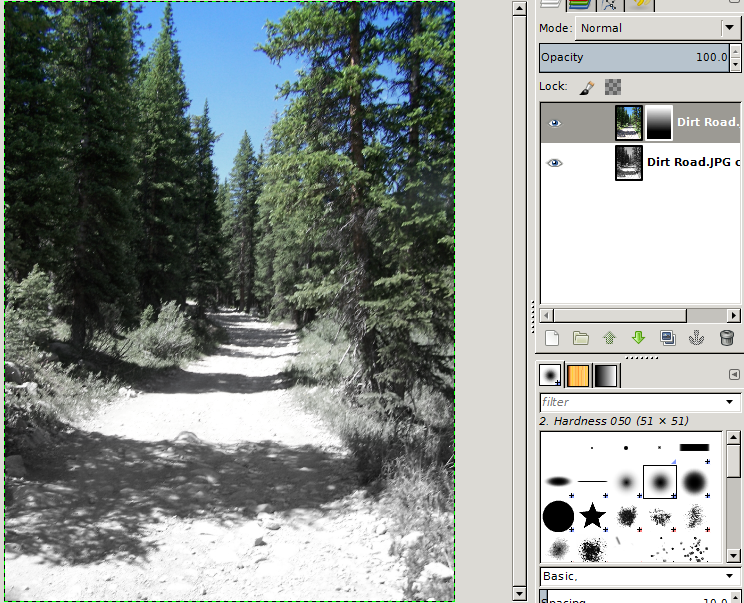 Now we see that the top of the photo is still in color, but the gradient in the layer mask slowly changes the color to grayscale as you get lower in the photo. You can see what is unmasked so the color shows through and what is not. You can make either the color or the grayscale as big or small as you want simply by changing where the gradient starts and ends. The farther down you start makes more color and less grayscale in the photo. If you want color at the bottom, simply start at the bottom of the photo and drag upwards. Experiment with your photo to get the effect you want. To prevent overwriting -- and possibly losing the only copy of your photo -- it's best to always work on a copy of your original image. |