| Previous
Page |
PCLinuxOS
Magazine |
PCLinuxOS |
Article List |
Disclaimer |
Next Page |
Programming With Gtkdialog: Part Four |
|
by Peter Kelly (critter) In the previous article, I stated that comments are not normally allowed in the XML part of the gtkdialog code, but may be included with a little trickery. The most effective way that I have found is that outlined in the excellent series of articles in the Puppy Linux forum by member zigbert. First off, you have to choose a character sequence that will not naturally appear in the code to mark the start of the comment. The bash shell uses the hash '#' character for comments, but gtkdialog often includes color codes in hexadecimal notation that begin with a hash mark. To overcome this, zigbert advocates using a double hash '##' and I have adopted the same practice, but you may choose what you will as long as it is unambiguous to the process.
With the comments so marked, it is a simple matter to filter them out before trying to execute the code. To do this, we pass the text stored in the MY_DIALOG variable (or whatever you called it) to a simple sed statement which removes the comments and then stores the "comment-less" output in a new variable ready for use as usual. You don't need to understand the use of sed to use this procedure. You can just include the one line as in the following example. For the curious, sed substitutes (that's the first s in the code) any text that begins with ## followed by any number of any characters (.*) with whatever appears between the final two forward slashes (//). In this case, there is nothing, which has the desired effect of deleting that text. Comments always appear on a line of their own or at the end of a line of code and so the code gets through unaltered.  For the simple example above, comments are unnecessary, but in more complex code, they can help in debugging, modification and maintenance. Using the colorbutton and spinbutton widgets with signals The colorbutton widget is used to display a useful color selection dialog with optional tool tips and an eyedropper tool to allow you to choose a color from anywhere on the screen. The selected color is then displayed on the face of the button and the color value returned in a variable. 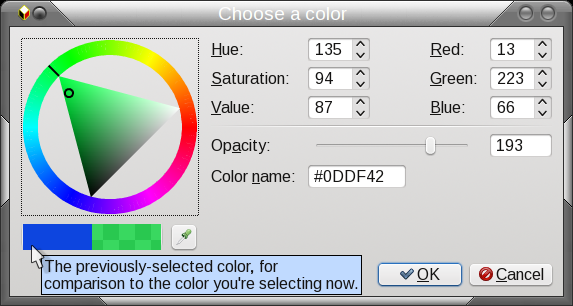 The default appearance of the colorbutton widget is rather uninteresting, as you can see in the picture below. 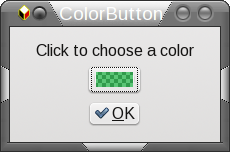 We can improve on this by using a powerful feature of gtkdialog known as signals, which were demonstrated briefly in the second article. If we turn off the visibility of the colorbutton widget, it can still be active but will not appear on the dialog. This means that we can place another button or control on the dialog, and use a signal from that widget to operate the default function of the colorbutton, which is to display the color selection dialog. In the next example, I shall use one of the many functions of the wonderful and powerful ImageMagick toolkit, which is available in the PCLinuxOS repositories.  The ImageMagick logo is a picture of a wizard casting a spell as shown here. I want to make the wizard more Eco-friendly by changing the color of his cap and gown from blue to green. ImageMagick includes a function called mogrify which allows us to change all sorts of things in an image, such as transparency and, the one we are interested in here, fill color. Looking closely at the image we can see that there are in fact many different blueish shades and hues and none of them are a real pure blue. If we try to change only pure blue pixels then mogrify will dutifully change all pixels of pure blue to the new color leaving all others unaffected. The mogrify function accepts as an option a value of from 0 to 100 to specify the fuzziness of the selection. Lower values are more pedantic and demand a closer match while higher values are more easy-going matching values that are 'a bit, sort of like this'. As we don't know what fuzz value to specify, we need a way of changing the value within its upper and lower limits. For this task I have decided to use the spinbutton widget. The final dialog contains, within its various hboxes and vboxes, a pixmap widget, a hidden colorbutton widget, a decorative button to send a signal to the colorbutton widget, a spinbutton widget, a button widget to undo the changes, some text labels and an OK button to accept the changes and save a copy of the image with the wizards new robes. 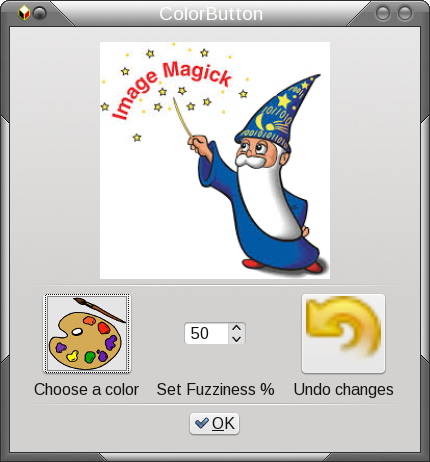 This is the code: 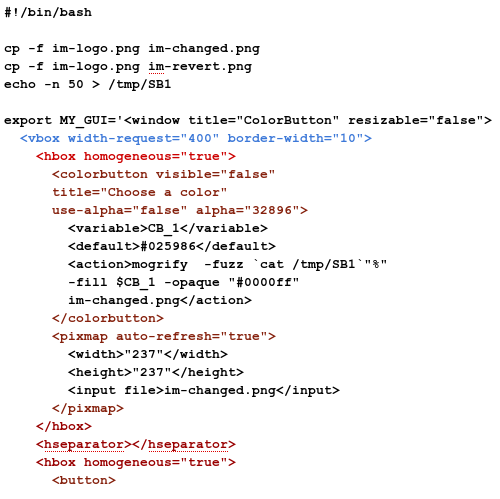 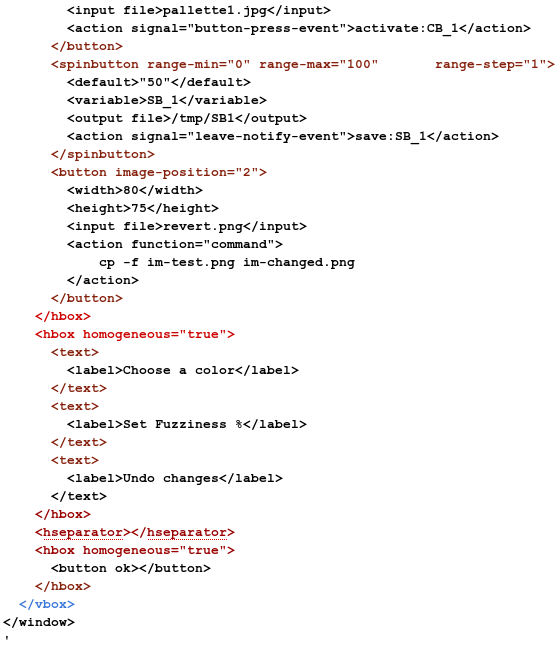  We start by making copies of the original file to work with and initialize the fuzziness value. The colorbutton is set up to have visibility off, a title is added and the chosen value will be stored in variable CB_1. The default value is a color from the wizard's robe somewhere in the middle, but this will be changed when we set a new color. The alpha attributes are not actually used here, but it does no harm to include them. The action that will take place when the color selection dialog is closed is to execute the mogrify function with a fuzziness value taken from the spinbutton setting, the new fill color will be the one we just selected and the color to be replaced is #0000ff - pure blue. The output will be to one of the copies we made. The first button widget is the one that will send the signal to activate the invisible colorbutton. When this button is pressed, a button-press-event signal is raised and we tell gtkdialog to action the activation of colorbutton widget CB_1 upon receipt of this signal. The spinbutton range and step values are set in the tag attributes. A default starting value of 50 seems to be a good value to set here. The leave-notify-event signal is raised whenever the mouse pointer leaves the widget, and the action that takes place here is to save the current value of the spinbutton into the file declared in the output file tag pair. The revert button simply copies the unchanged copy we made over the changed copy so that we may try again. The final OK button exits the script leaving the file im-changed.png as our result. Before leaving, the script the temporary files are removed. The results: 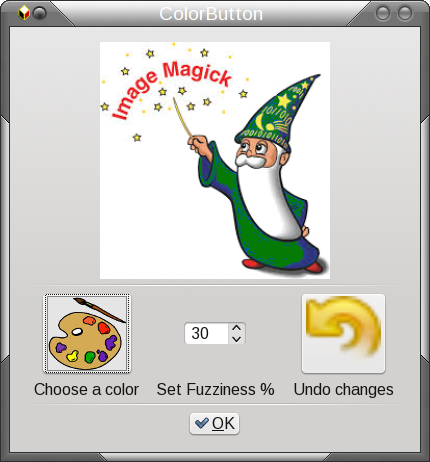 Fuzziness too low 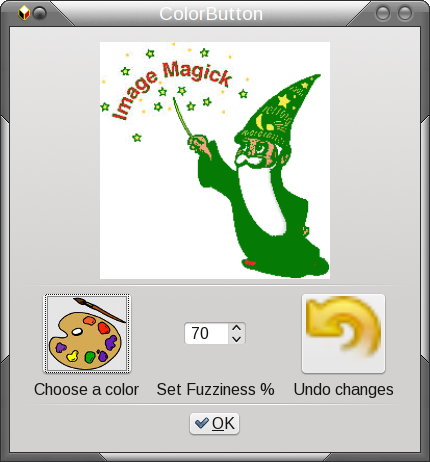 Fuzziness too high 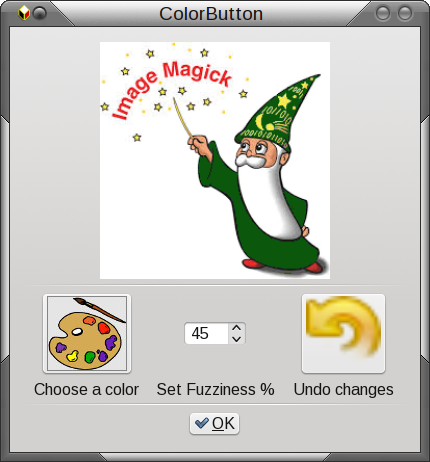 The final image The hscale and vscale widgets I'm going to stick with ImageMagick for the next example, this time using the mogrify command with the resize and rotate options. The majority of the code is similar to previous examples and I have included comments to document the actions, but the two scale widgets introduce some new features. An item provides a marker along the scale and can incorporate three types of data. The value along the scale at which the mark should appear, its position relative to the scale and optionally any text to appear with the mark. Each of these is separated by a vertical bar character.The mark position has a value of 0, 1, 2 or 3 to represent left, right, top and bottom. The text to accompany the mark may include pango markup tags to format the text. https://developer.gnome.org/pango/stable/PangoMarkupFormat.html I have used this feature to highlight the minimum value of 10 on the vertical slider which controls the scaling of the image. Normally, a value of zero would be expected here but that would make no sense for this feature. White-space between the span tags is important and is used here to position the text. This is the code: 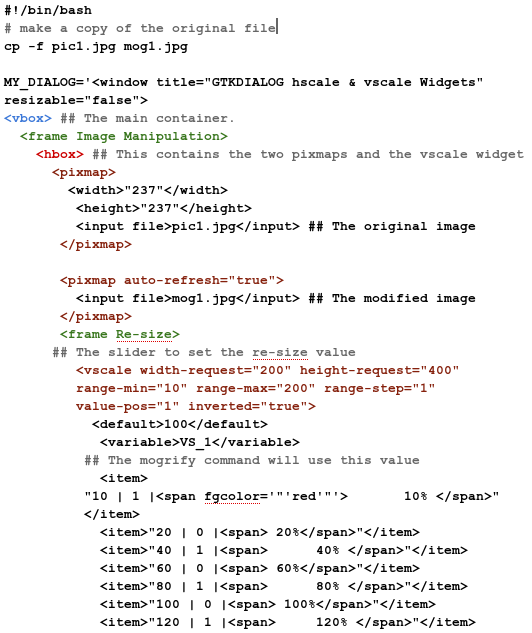 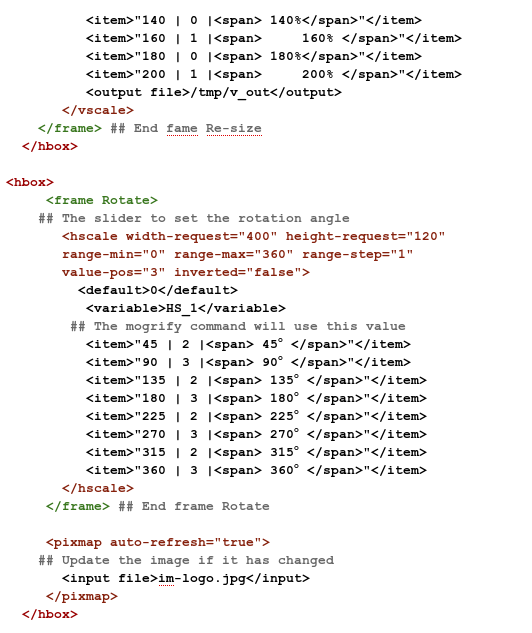 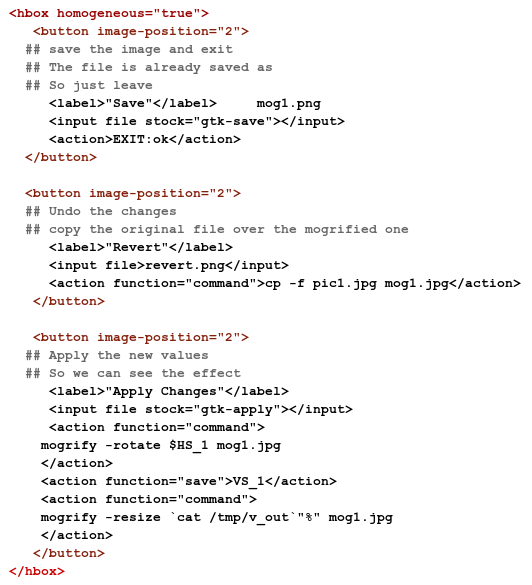 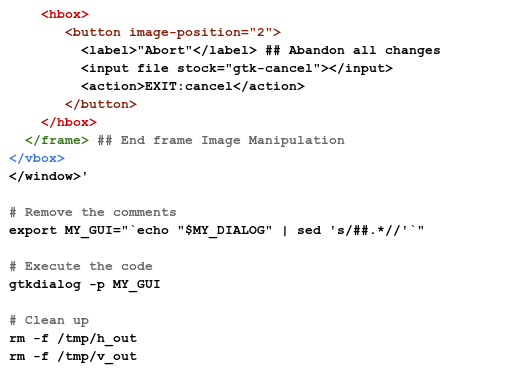 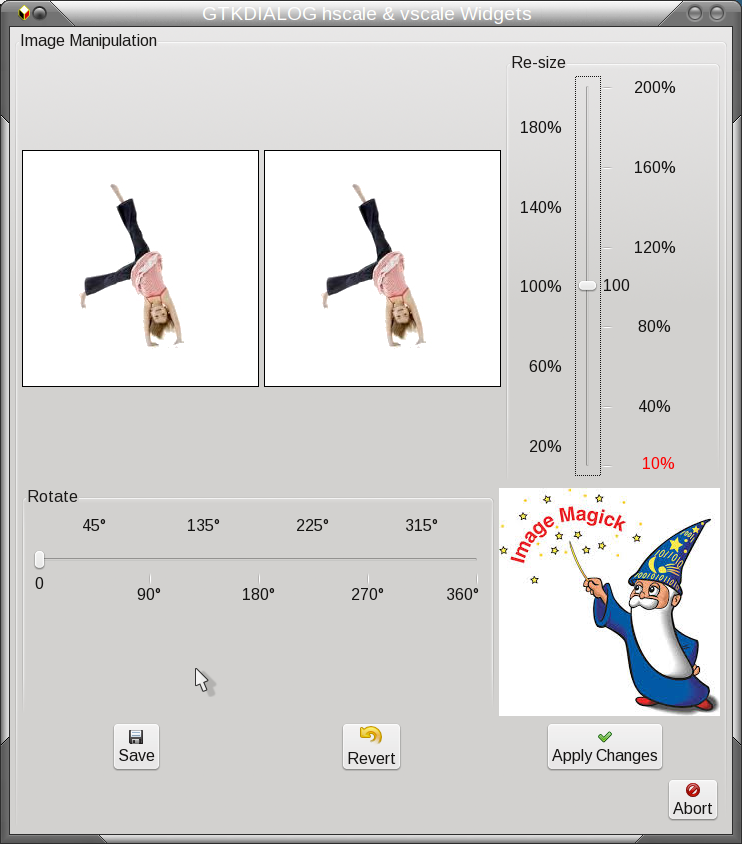 I have added a black border to the image to demonstrate the effects of the transformations. When the image is rotated, you will notice four white triangles around the image, and the little girl will appear to have changed in size relative to the image. These four triangles are added to the image increasing the overall dimensions of the image but the size of the little girl remains the same, unless you have also applied a scaling effect. 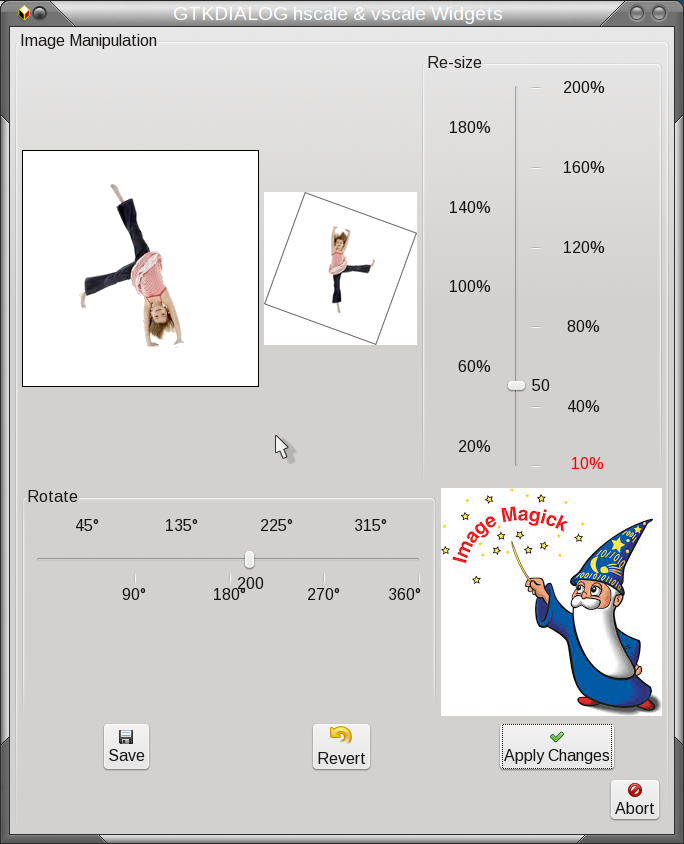 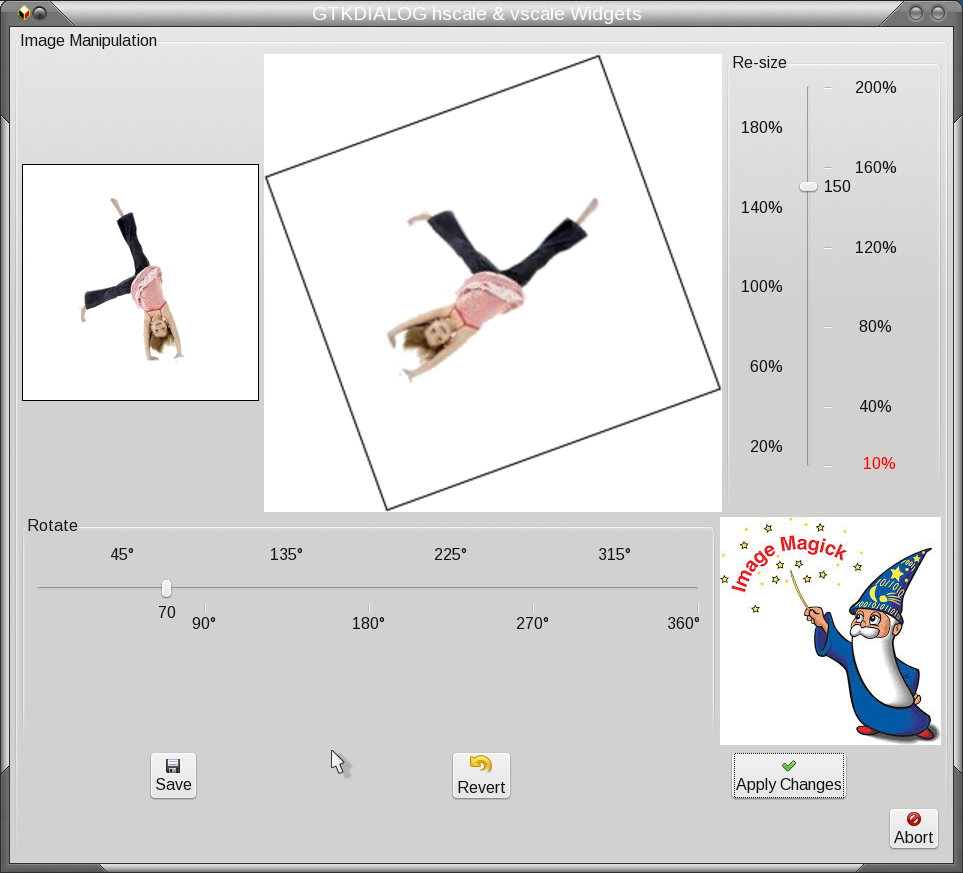 |