| Previous
Page |
PCLinuxOS
Magazine |
PCLinuxOS |
Article List |
Disclaimer |
Next Page |
HTPC: Organize Your Music With Kodi |
|
by Paul Arnote (parnote) As I've mentioned before, Kodi is your one-stop multimedia solution. It can be used to manage video, pictures -- and your music collection. 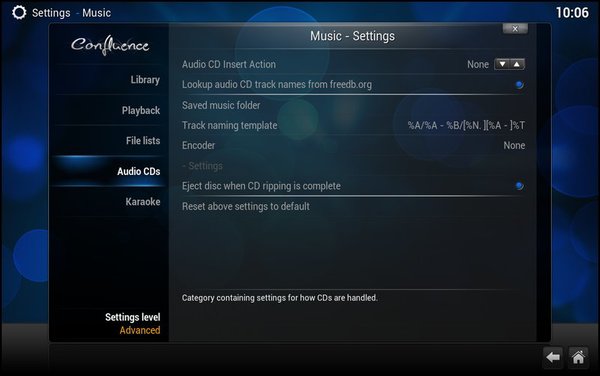 Before we get started, you might want to go back and review the settings in the "Music" section of the HTPC: Getting Started With Kodi article (June 2015 issue of The PCLinuxOS Magazine). For example, in the screenshot above, you can tell Kodi what to do when you insert an audio CD. I have my copy of Kodi setup to automatically "rip" my audio CDs to MP3 files, stored on my computer. This way, I don't have to carry a ton of audio CDs with me (awkward, to say the least) when I travel. Instead, all of my favorite music is stored on my computer's hard drive. 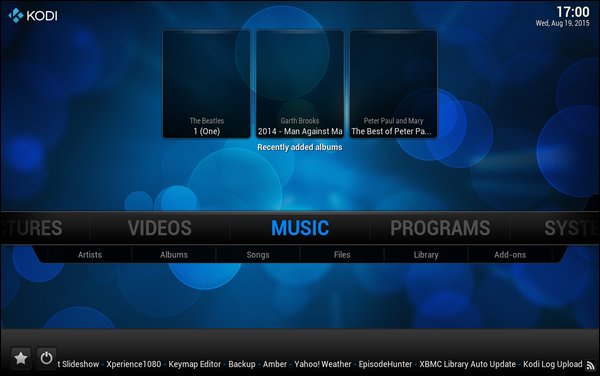 Once you've stored some of your favorite CDs on your computer, the albums will appear at the top of the "Music" screen. 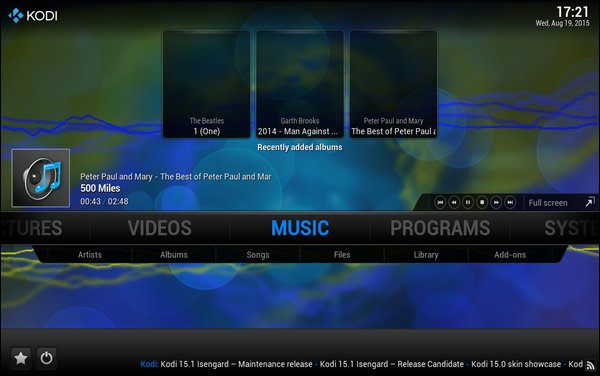 In the above screenshot, clicking on the "Peter Paul and Mary - The Best of Peter Paul and Mary" album (top right) causes the album to start playback. This is indicated by the playback icon (far left, with the speaker and note), the name of the album and track next to it, and the playback controls at the far right. 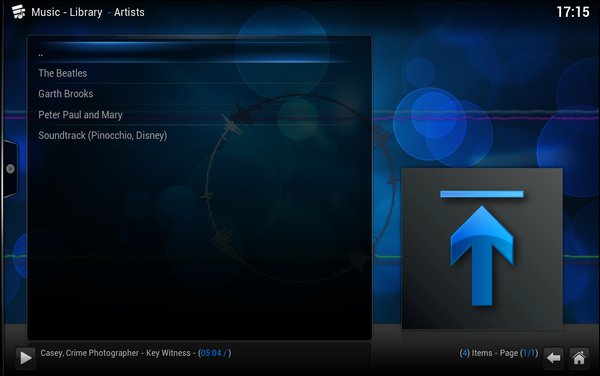 Clicking on the "Artists" subcategory will allow you to select from the songs of a particular artist that are stored on your hard drive. 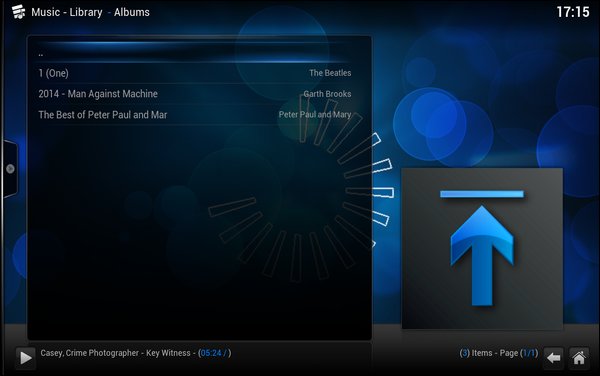 Selecting the "Albums" subcategory allows you to select individual albums for playback that are stored on your computer's hard drive. 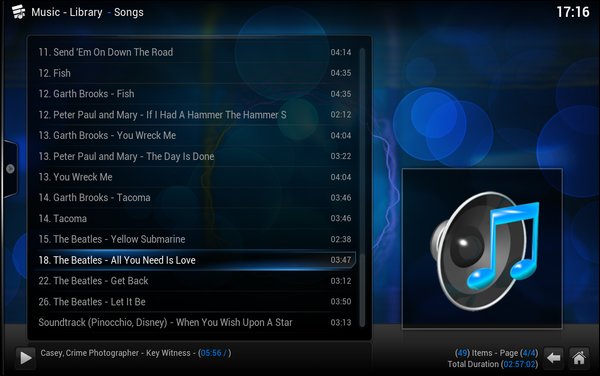 Choosing the "Songs" subcategory will list all of the songs stored on your computer in the directory you've told Kodi to look for music. 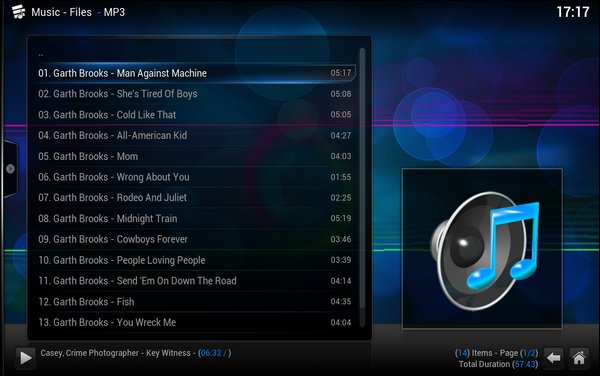 Click on the "Files" subcategory and all of the MP3 files stored on your computer will be displayed in alphabetical and ascending numerical order. Clicking on a filename will start the playback of that file. 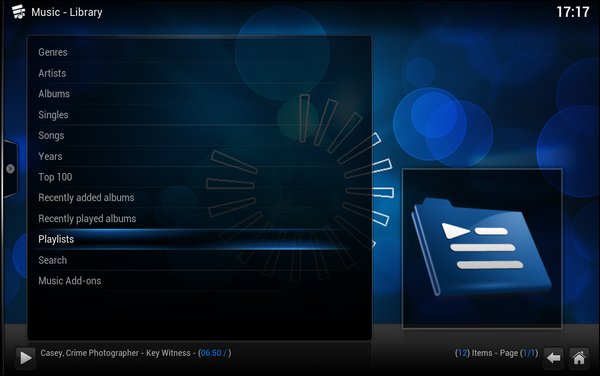 Selecting the "Library" subcategory will bring up a screen like the screenshot above. Select the category that most closely represents what you want to listen to from the list, and then further narrow your selection on the subsequent screens. But the "Music" section allows you to do more than just listen to music that you've stored on your computer's hard drive. You can also listen to thousands -- yes, I said thousands -- of online streaming radio stations from all around the world, right over the internet.  To get started, select the "Add-ons" subcategory. You should see a screen similar to the one shown above. Click on the "Get more..." selection. 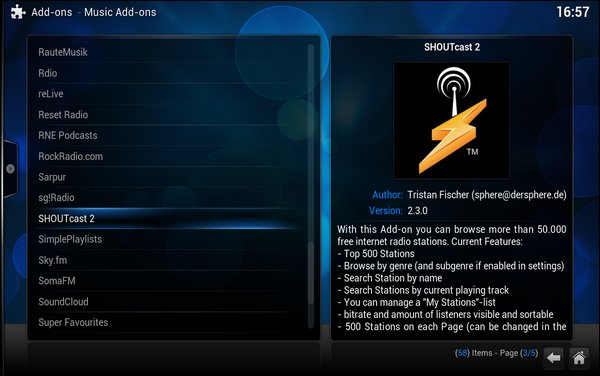 Scroll through the list to find the add-ons you want to add to Kodi. 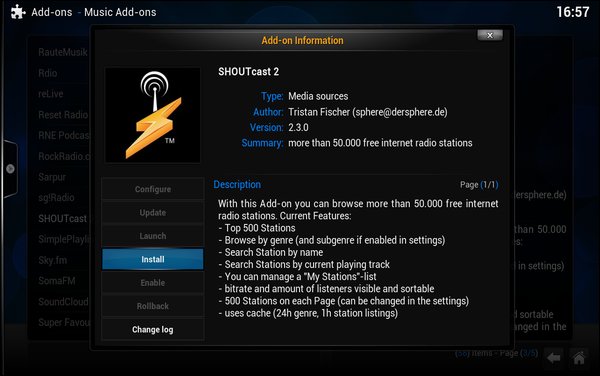 Click on each add-on that you want to use. The "Add-on Information" window will be displayed (as above). From there, you can choose to install, configure, update, launch, enable or rollback the selected add-on. You can also view the changelog for the selected add-on. If you change your mind about adding a particular add-on, click on the "X" in the upper right corner of the "Add-on Information" window. I chose to add the SHOUTcast2, IceCast, Sky.fm, Pandora and NPR add-ons. Your selections will most likely be different, based on your preferences. 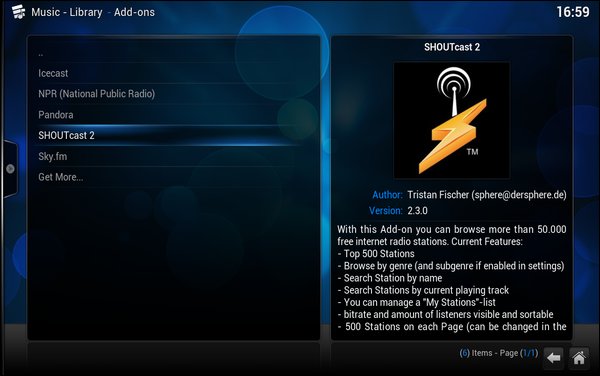 Select the add-on you want to use from the list of installed add-ons. Many of them will have additional selections to choose from. 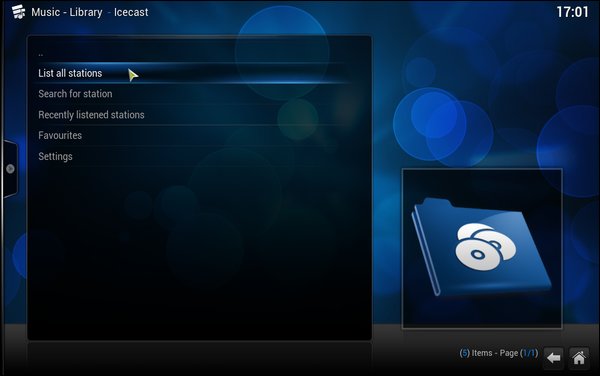 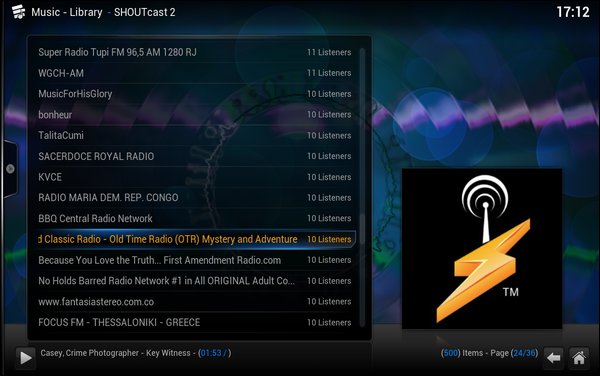 There literally are thousands of selections to be made, and something for everyone's tastes. For example, the IceCast add-on literally just gives you a long list of what seems to be a largely unsorted list of stations (which makes it difficult to find things you might be interested in listening to). The SHOUTcast2 add-on goes an extra step by sorting your choices into categories. Select the category you want to listen to, then make your selection from a sorted list of available stations. In the screenshot above, I selected the "Talk" category in SHOUTcast2, and then selected an old time radio mystery and adventure streaming radio station. Up came the "Casey, Crime Photographer - Key Witness" old time radio episode. 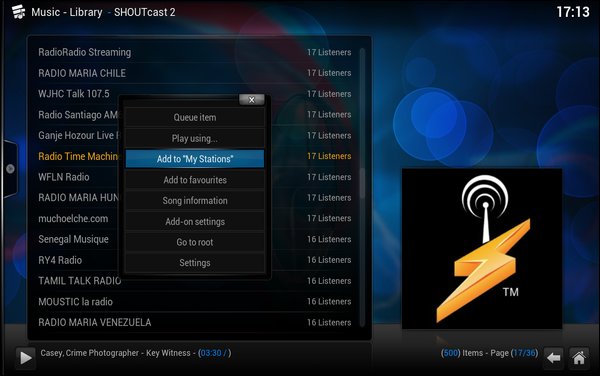 Once you find a station (or stations) you like, you can add them to your "Favorites" list, to make it easier to tune to them again later. Just right click on the station in the list, and choose "Add to My Stations" from the dialog box that opens. Then, when you launch the add-on again, just choose "My Stations" from the list, and your favorite radio stations will be listed there. Summary As you can see, Kodi goes a LONG way in helping you organize your music, along with catering to your every listening whim and pleasure (via the streaming content). While this article doesn't cover everything that Kodi is capable of doing to satisfy your music listening desires, it should go a long way in helping to get you started. |