| Previous
Page |
PCLinuxOS
Magazine |
PCLinuxOS |
Article List |
Disclaimer |
Next Page |
YouTuber - More Tips To Get There With PCLinuxOS |
|
by Alessandro Ebersol (Agent Smith)  Continuing the series of articles on how to become a YouTuber, this month I will address a few necessary (and useful) programs, real tools to produce gameplays and make your videos. We will see two emulators, one the EP128 emulator, and the other, the classic MAME. Ep128Emu ep128emu is an open source, portable emulator of the Enterprise 128, ZX Spectrum 48/128, Amstrad CPC 464/664/6128 and Videoton TVC computers, written in C++, and supporting Windows and POSIX platforms (32 and 64 bit Windows and Linux, and MacOS X have been tested). And, it is an exclusive of PCLinuxOS. No other distro has it in their repos, since it was ported by our dear colleague MBantz. It implements accurate, high quality hardware emulation. However, the system requirements are higher than that of most other emulators. It was written and is maintained by Istvan Varga. Features
What matters is the video capture, and, according to its website data on Github, the Ep128Emu is able to "video recording and sound output in a video file in AVI format with video YV12 uncompressed 768x576 RLE8 or 384x288 at 24 to 60 frames per second, and 48000 Hz stereo PCM audio 16-bit.” 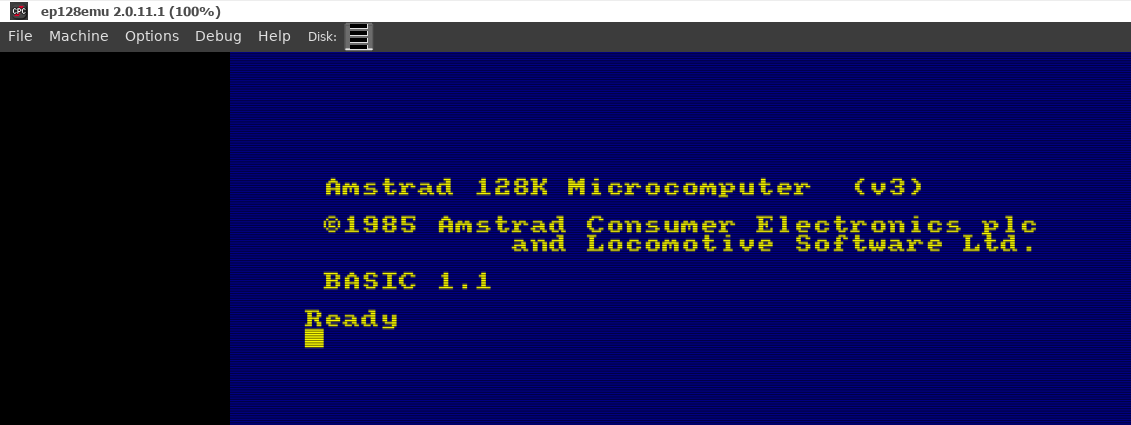 Main Screen To do so, choose the resolution among the two available (768x576 or 384x288 RLE8) and, as shown below, start recording:’ 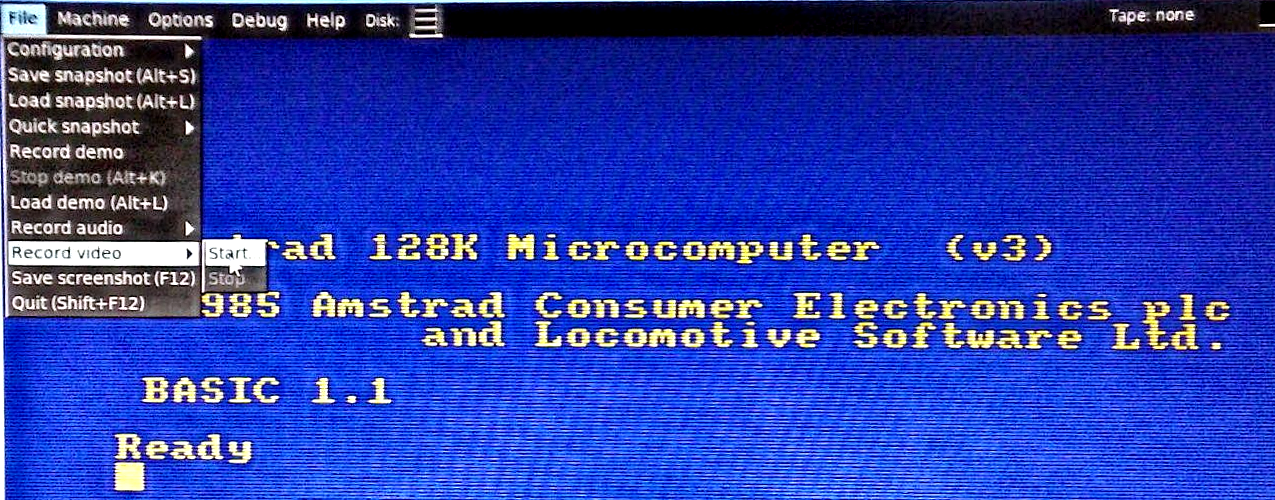 The program will ask the filename and where it will be saved (the extension must be AVI), and start recording. To stop, open the File menu, Record video and press Stop. MAME MAME means Multiple Arcade Machine Emulator. When used in conjunction with data files of a game (ROMs), MAME reproduces more or less faithfully, the game on a PC. MAME can emulate over 8000 classic arcade games from the 70's, 80's, 90's and 2000's. The ROM images that MAME utilizes are "downloaded" ROM chips of the printed circuit boards of the games. MAME then becomes the hardware for the games, taking the place of their original CPUs and support chips. Therefore, these games are not simulations, but the real games that appeared in arcades. The purpose of MAME is to preserve these early decades of the history of arcade games. While the game technology advances, MAME prevents these important "classic" games from being forgotten and lost. And with MAME, it's extremely easy to record video gameplays. But some changes are needed. Now, let's look at the process, step-by-step: Search $ home/.mame/mame.ini (MAME configuration file). Open this file in your favorite plain text editor. Look for this section:’
# In this section, look for aviwrite, and set it to 1. Now, to record a video of your gameplay, it is configured the key combo Left-Shift + F12. Press one time to start recording, and the second to stop recording. It will record your gameplay in an AVI file in the folder snap. The produced AVIs are not compressed, huge, and slow to create. Therefore, there's the need of a video editor to do the post-production. As an example, I made a recording (to write this article) of 34 minutes of gameplay. The resulting file was 32GB's large. Of course, I processed the file with Winff, and converted it to a 600MB MP4 file. And so I end another article of tips to be a YouTuber. More next month. See you there! |