banner
Previous Page
PCLinuxOS Magazine
PCLinuxOS
Article List
Disclaimer
Next Page

GIMP Tutorial: PlayIng With G'MIC, Part 4


by Meemaw

I've been having fun exploring G'MIC! I think I could explore for months, since our version of G'MIC says it has 569 filters, and that's just in G'MIC … GIMP already has hundreds of its own filters. Let's play some more.

I went to the Repair section. One of the effects is called Bayer Reconstruction, and looks similar to the GIMP tool Colors > Desaturate > Desaturate. The first image is from G'MIC, and the second is from the GIMP tool, using a photo of mine.


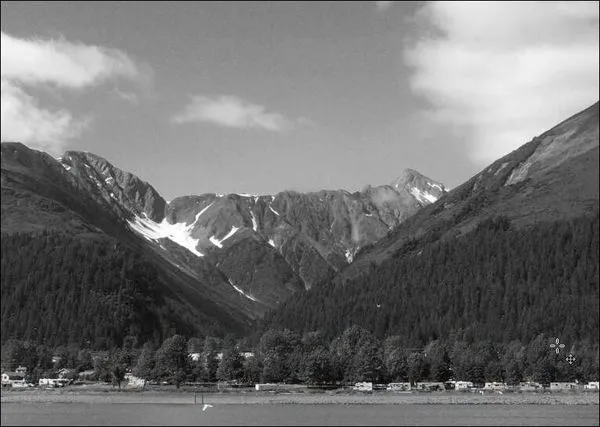
Bayer Reconstruction

The only change I made in Desaturate was to change the mode to Average.


Desaturate
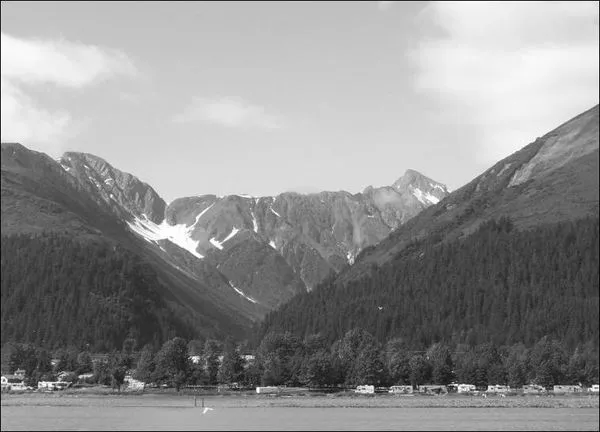
Desaturate

I skipped to the Rendering section, and looked at a couple. Rendering > 3D Random Objects puts objects in your page (or on top of your photo).


Rendering > 3D Random Objects

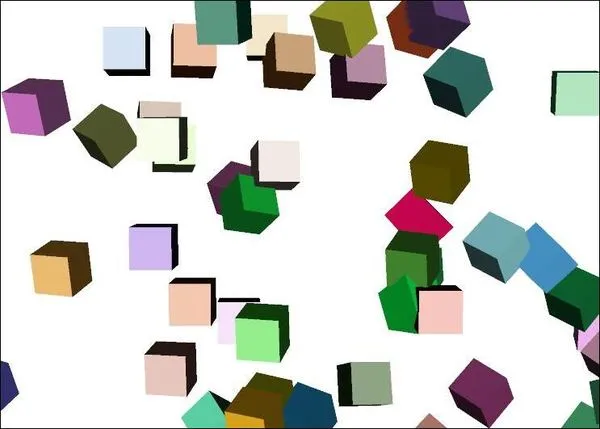
You can choose the following objects: cube, cone, cylinder, sphere, torus (kinda like a donut), and can adjust size, density, and things like light direction and rendering mode. I'm sure it would be useful for some backgrounds (maybe the background for some type of notice).


Rendering > Tree is an interesting filter. I did an Inkscape tutorial in 2018 about creating a tree, but this does it much more easily.


Rendering > Tree


Rendering > Tree


This one has many settings, from leaf and trunk colors to how sparse or heavy the branches and leaves are. You could apply this several times with several settings to get your forest. In GIMP, it is added to the page as a floating layer, so you can copy your tree to a transparent page and save it as a .png, then insert it as many times as you need in any project. You can also export it as a GIMP brush.

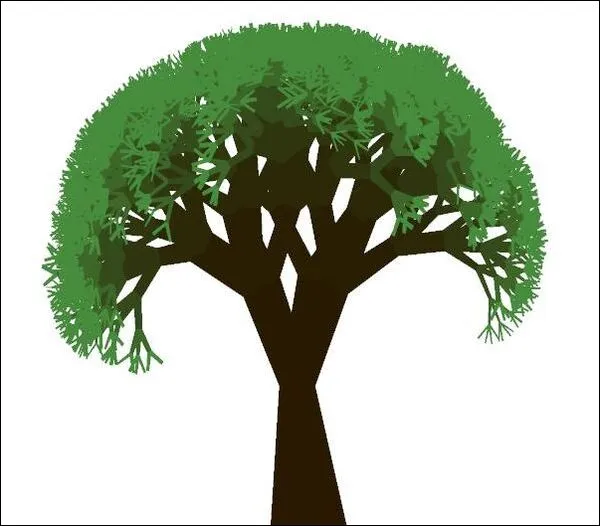
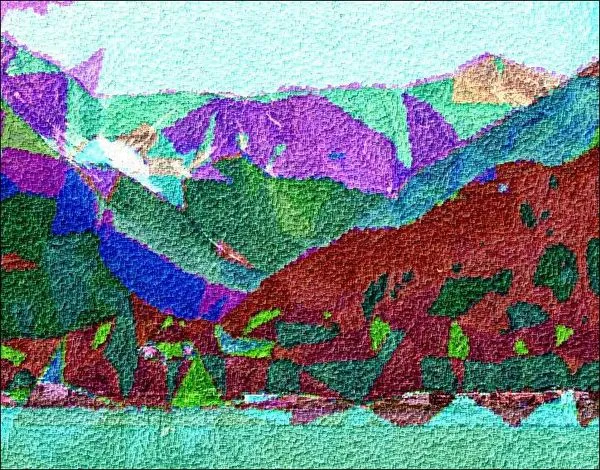
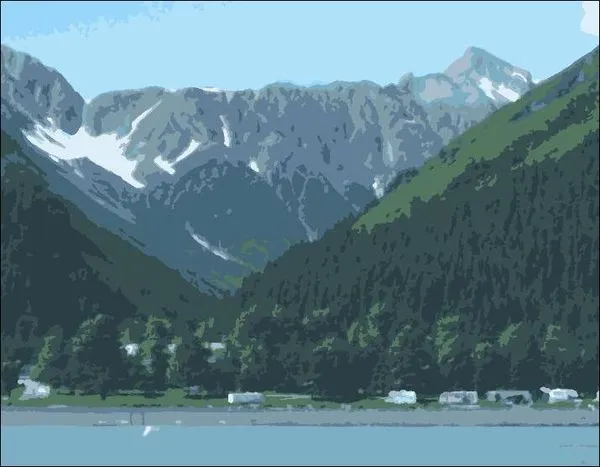
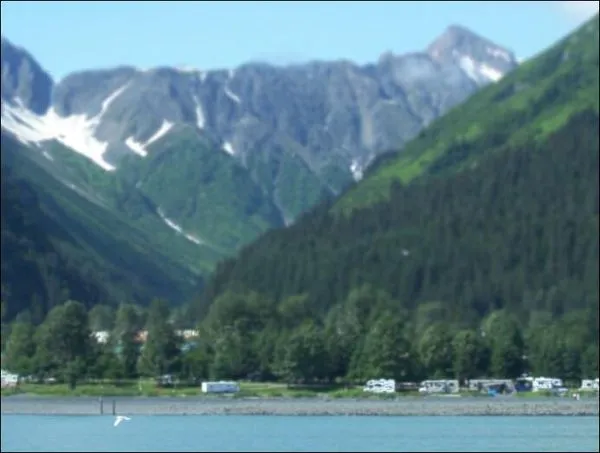
The Silhouettes section is interesting, too. It has five categories: Animals, Icons, Misc, Nature and Others. Settings include the color and size of the silhouette. It could be useful to insert a silhouette into a photo or project to add an accent. I inserted a heart into this photo.


Silhouettes

There is also a Testing section, which includes filters that others have submitted to G'MIC. They are organized by the submitter's name. For these I have re-opened the photo I took in Seward, Alaska in 2017.
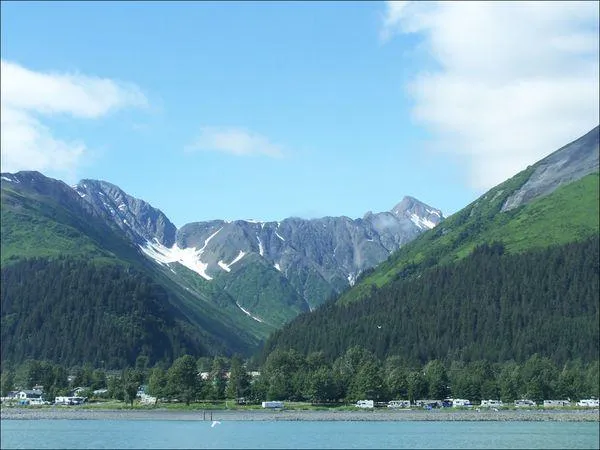

Hallucinogen2


Using Testing > samj > Artistic > Hallucinogen2, you can apply a really weird effect.


Hallucinogen2


In Testing > samj > Artistic > Posterize B, you can see a much more subtle effect.


Posterize B


Using Testing > samj > Degradations > Random Plasma, the plasma effect seems to have been placed over the photo.


Random Plasma


Using Testing > Garagecoder > Depth Blur, it blurs the photo on the basis of depth, blurring parts more that appear farther back from the camera. The settings in this filter were changed from the defaults and are Distance Threshold: 1, Blur Amount: 5, and Blur Percentage: 0.1.


Depth Blur


Again in Testing, but in Testing > Telperion > Mc Pendraw, it changes the photo so it looks like it was done with a paintbrush.


Mc Pendraw


In many of these filters, you might have to mess with different settings to get the effect you want. I hope that you've found a G'MIC filter that makes your project great.


Previous Page              Top              Next Page


Destination Linux