
| Previous
Page |
PCLinuxOS
Magazine |
PCLinuxOS |
Article List |
Disclaimer |
Next Page |
Inkscape Tutorial: Creating A Cutout |
by Meemaw
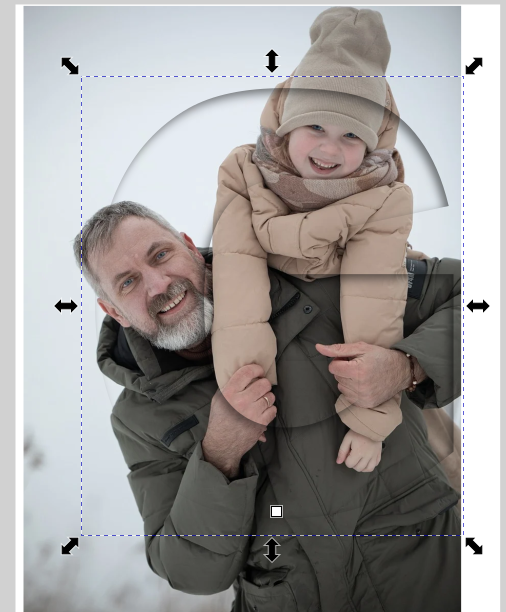
 I saw another cool tutorial the other day on YouTube. This one is from IronEcho Design. He created a cutout effect using a number and a photo. It could be a wonderful idea to use on a brochure or ad. I have done this a couple of times now, and even though it seems hard at first, it is not. Opening Inkscape, import your photo, and use your text tool to create a number or letter, whichever you want. Rick from IronEcho says you only have to link the photo rather than embedding it, and it will save some file size. Create your number in white, because we’re going to use a mask on it, and the mask will keep whatever is under the white. (I used a letter this time.) He also suggests that you can reduce the opacity of your number in order to line up the photo the way you want it. Be sure to return it to 100% (no opacity) before you proceed. I only reduced mine to 70%. 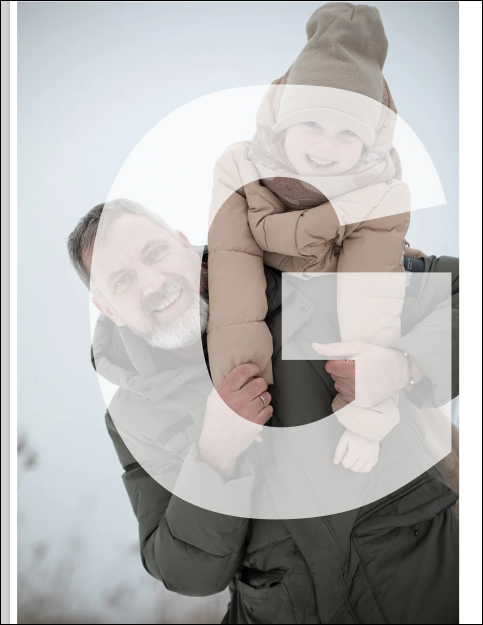 The idea is to have the part of the photo you want to see lined up behind the letter. When you get it lined up, make 2 duplicates of it by pressing <CTRL> + D for each duplicate and moving it aside. 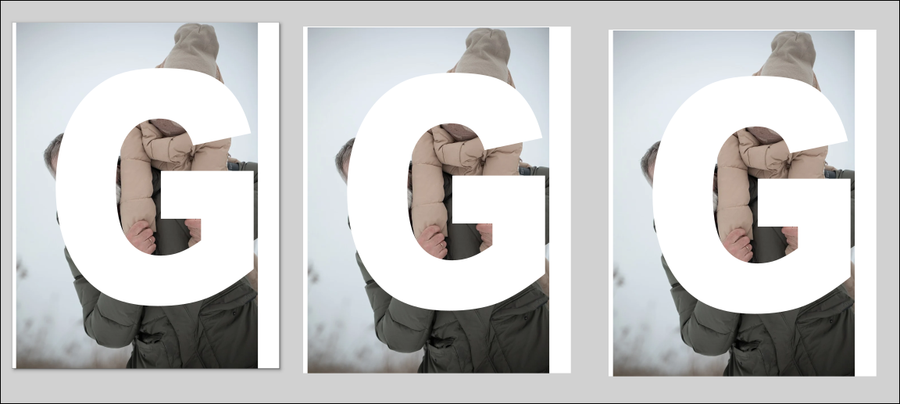 Actually, you don’t need the photo on one of the duplicates, only the number, but you can delete the photo on one AFTER you get the second step done. On the original, select both items, click on Object > Mask > Set Mask. 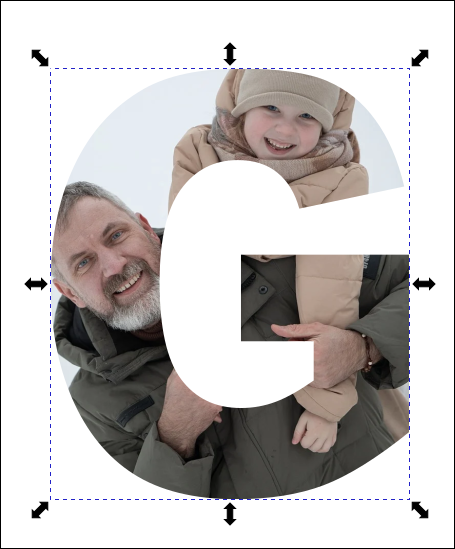 The second thing we’ll do is give the number a little shadow. On one of your duplicates, choose the number/letter. Click on Filters > Shadows & Glows > Drop Shadow. We’ll change the settings as follows:
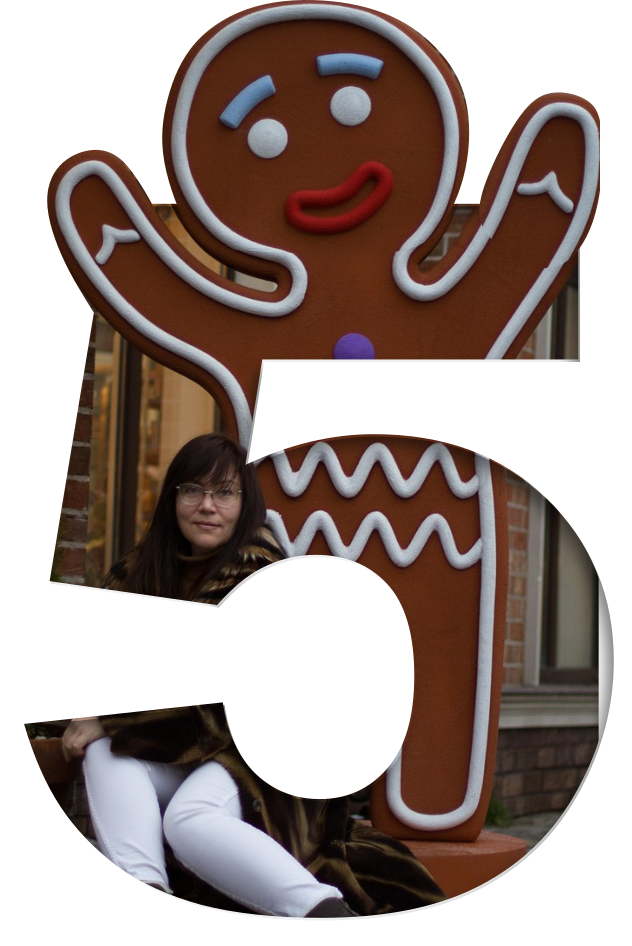
 Now you can see the shadow on the inside of the letter. Grab it and place it over your cutout so it lines up. 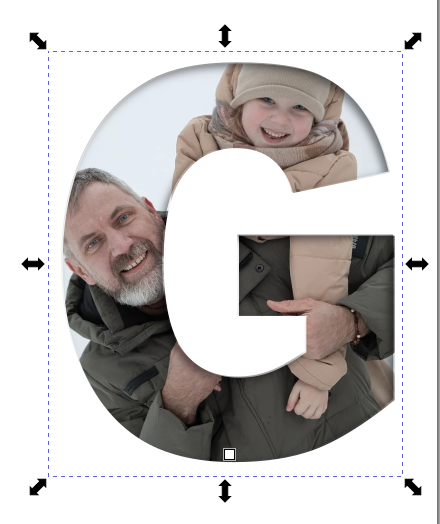 Now your cutout has a little depth. We could stop here, but let’s do something else. I’d like the girl’s hat and the top of the guy’s head to be in the picture. On the third copy, use your Bézier pen, with the mode b-spline (the third one from the left in the tool settings).  Draw around the items you want to include in the cutout. If there is more than one, select them both and click on Path > Combine. That will group them together. With them selected, also select the photo, then click Object > Clip > Set clip. 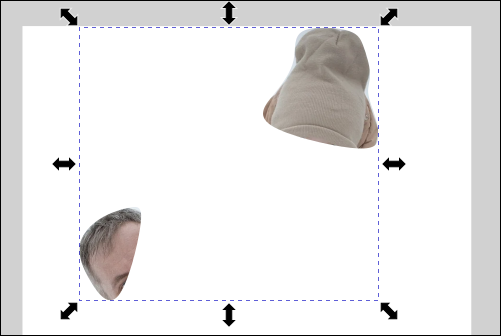 So the clip gives you the extra sections you want. Grab that and place it over your original (the one with the cutout and drop shadow). You might have to zoom in to get them lined up correctly, or use the snap tool. 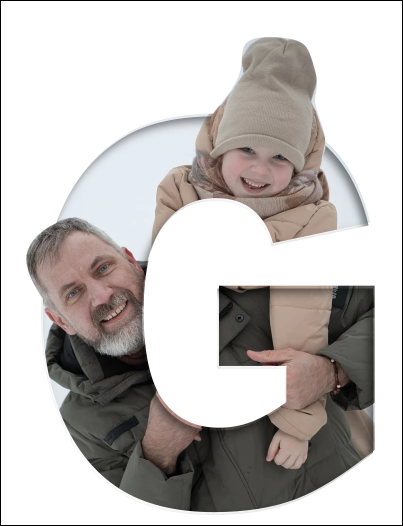 IronEcho’s tutorial also gives a step for adding a drop shadow to the people, but I quit here. You can select them all and group them before you export, or just export your finished picture. Also, if you’re making it for another item, like an ad or a holiday card, you can go ahead and construct your other project. I also made this one. 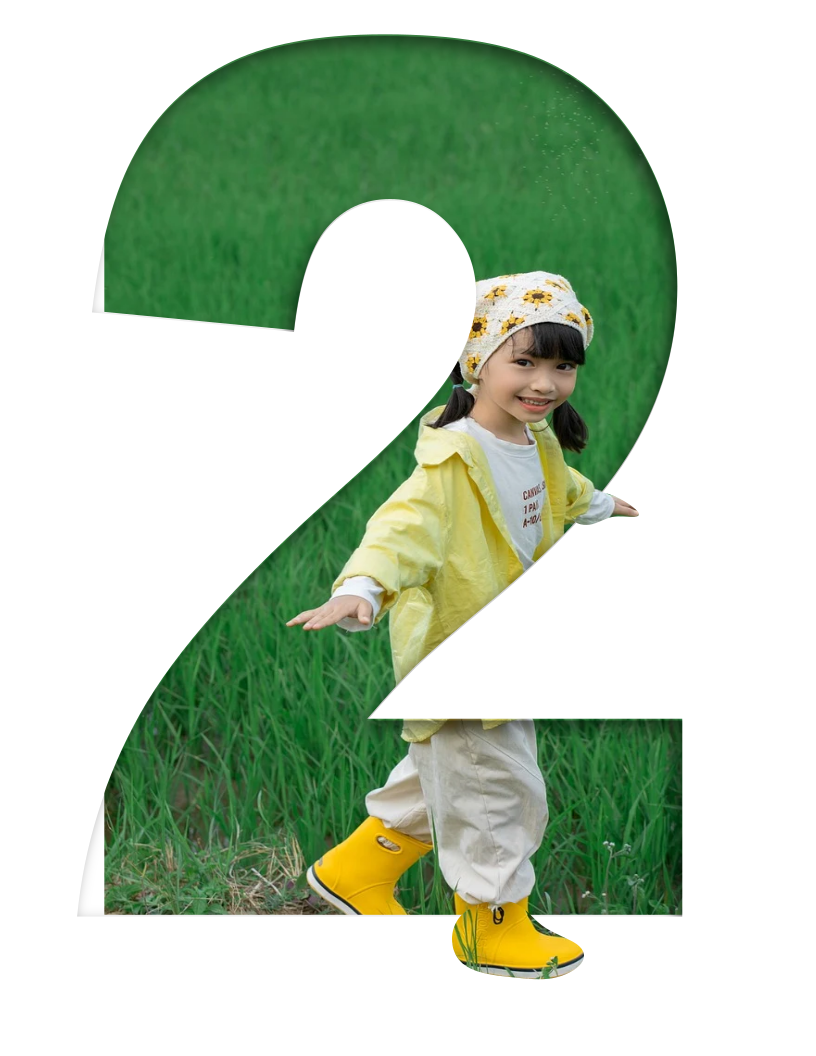
|