| Previous Page |
PCLinuxOS Magazine |
PCLinuxOS |
Article List |
Disclaimer |
Next Page |
GIMP Tutorial: The Resynthesizer Plug-In |
|
by Meemaw
I also looked on our forum. Forum member semperOSS posted this how-to, but it didn’t work for me. Then I went to the GIMP Forum and found this thread. You can download a file named resynth-linux-deb.zip, unzip it and put the 4 folders in your Gimp 3.2 plugins folder.
(For Linux users) ~/.config/GIMP/3.2/plug-ins/ 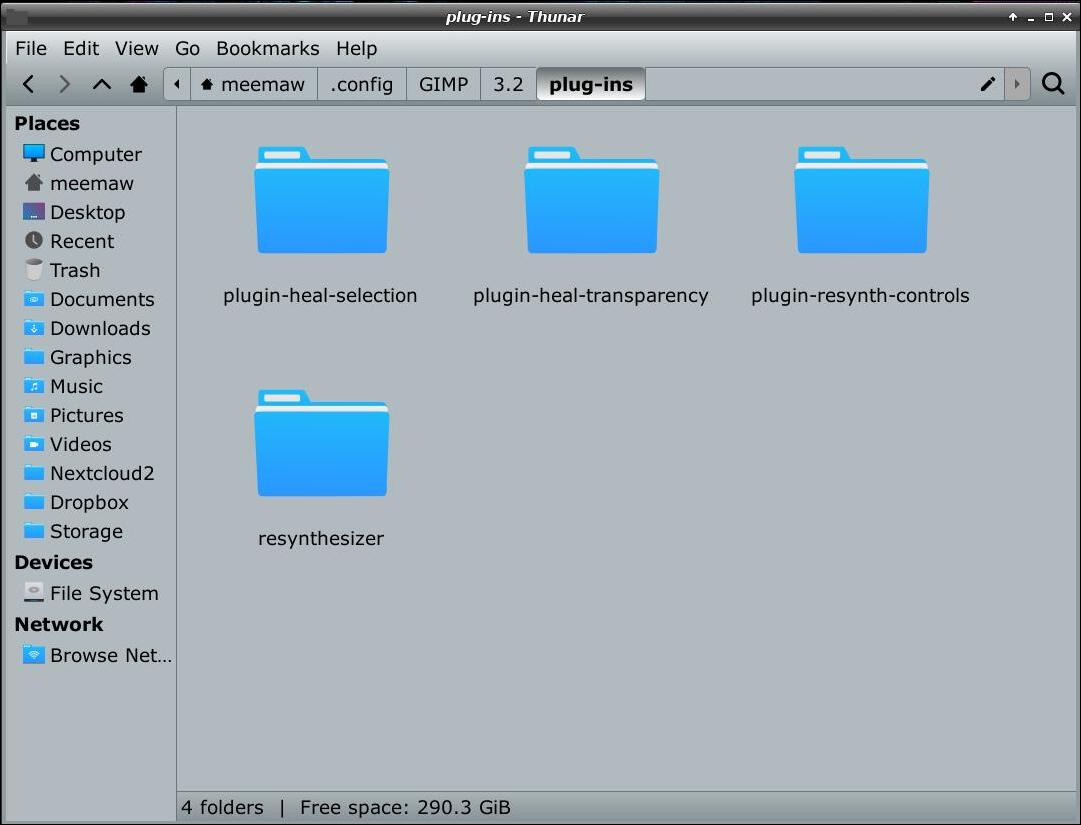 This worked for me, but this file doesn’t seem to contain as many items as the flatpak had.
Filters > Enhance > Heal Selection I also found another zip file called GIMP-Extras.zip which contained the following, but not all of them worked:
Map > Style Since they don’t all work, and I don’t remember where I got them, in the interest of safety, I’m not going to provide a link. So let’s use the first three. Heal Selection is the one I covered three years ago. You can use a selection tool to select the item you want to remove, then select Filters > Enhance > Heal Selection. Whatever you selected should disappear in a few seconds. Here I have a photo of a mountain scene I took on a vacation years ago. I want to use it, but there’s an ATV on the left side of the photo that I want to remove without removing any of the ruins that are there. Using a selection tool, I drew around the ATV, then selected Heal Selection. 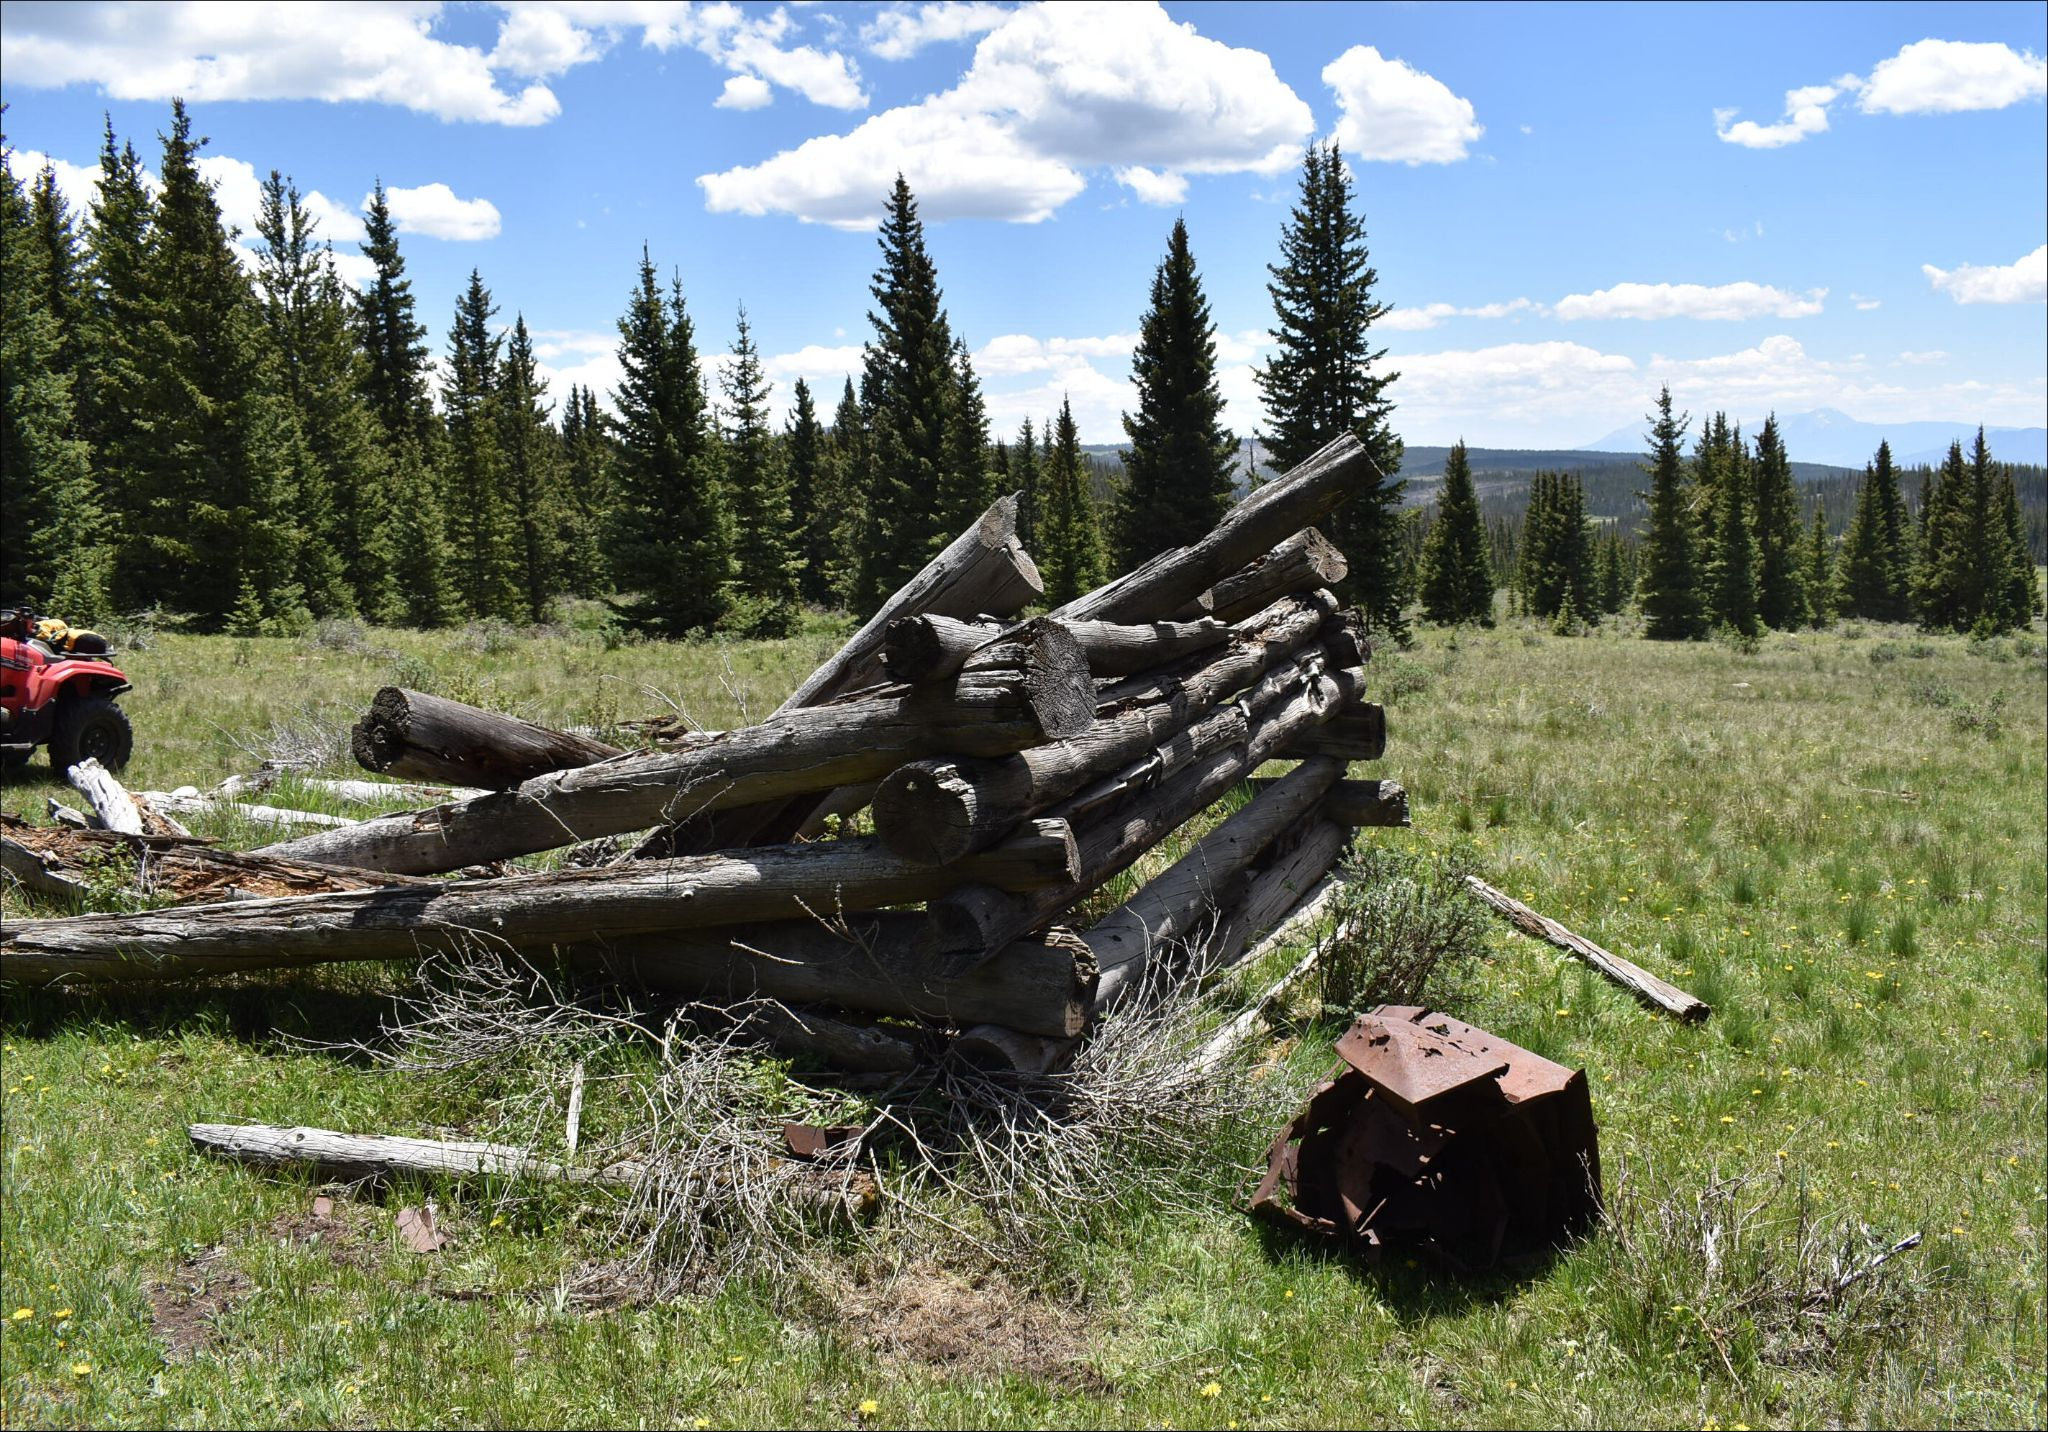 You don’t have to be super careful around items that are staying, unless they are right next to something you’re deleting, so I went around the ATV loosely, except for the piece of wood I wanted to keep. Make sure your selection curve is closed (go all the way around, even along the edge, and when you click on your beginning, press the Enter key to close your selection. 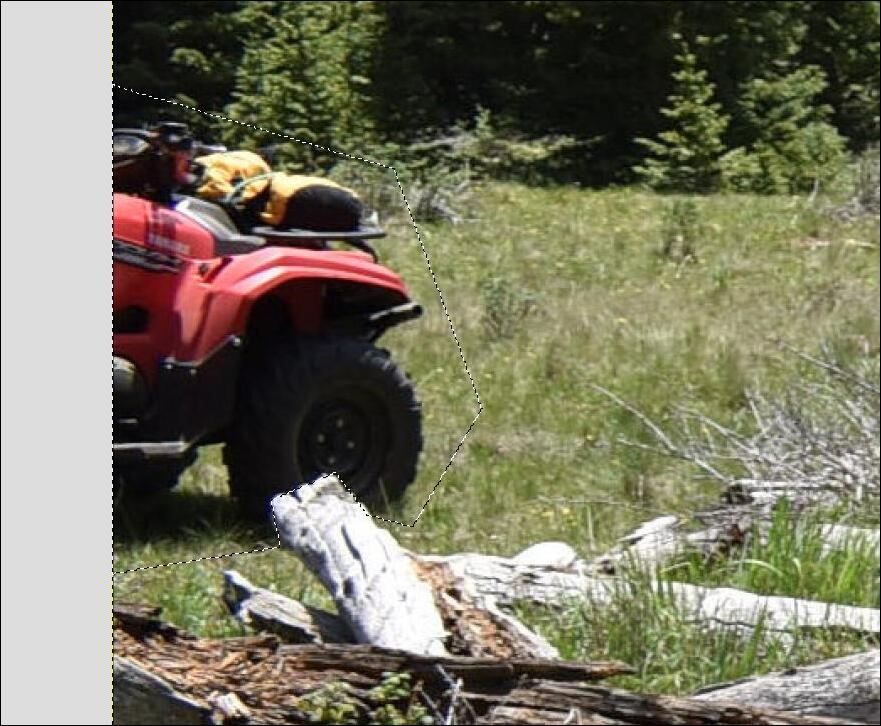 You’ll get a small window asking how big your context sampling needs to be (how far out from your selection you want to use) and where you want to take the sample from. The filter takes pixels from around the selection and fills in the spot being removed. The default is 50. 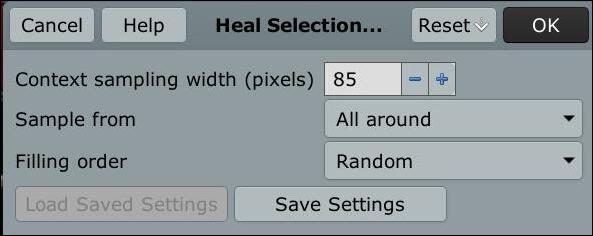 Here’s the result, and the ATV is gone. 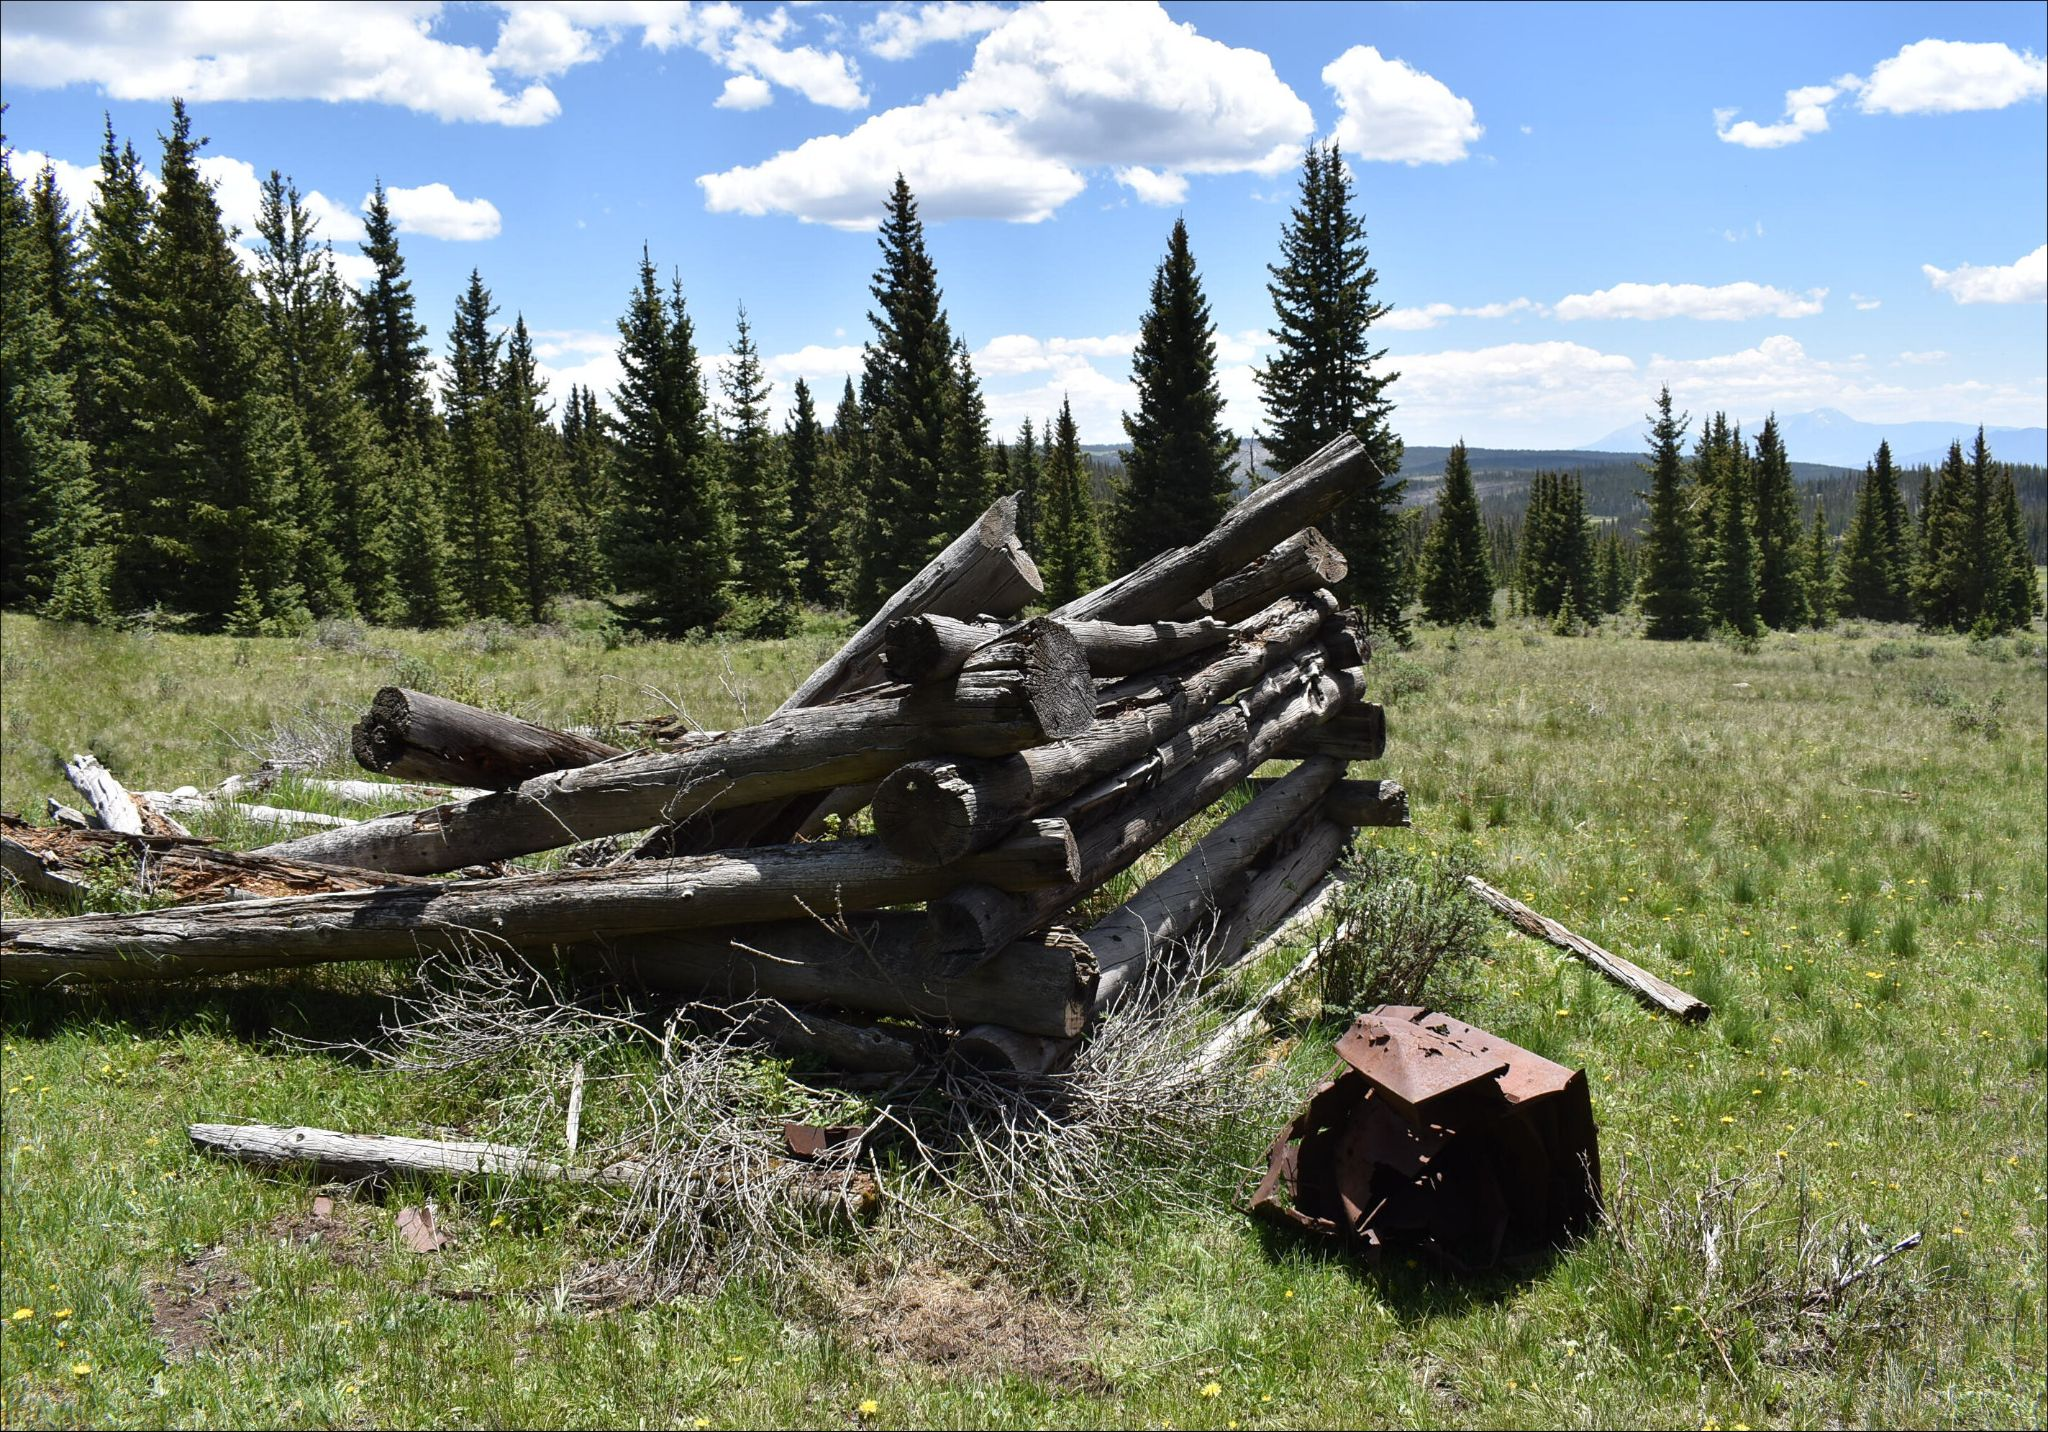 Heal Transparency is another method to remove something. You can load your photo, add an alpha channel (for transparency) if it doesn’t already have one, and use your eraser tool to remove what you want. MAKE SURE your eraser has a sharp edge, because if you use a fuzzy edge, it won’t work. Here I had a photo of a scuba diver underwater. I decided to remove the diver and leave the fish. Using my eraser tool, I removed the diver and the bubbles, and then chose Filters > Enhance > Heal Transparency.  It worked, but I thought I could see some white areas up at the top. 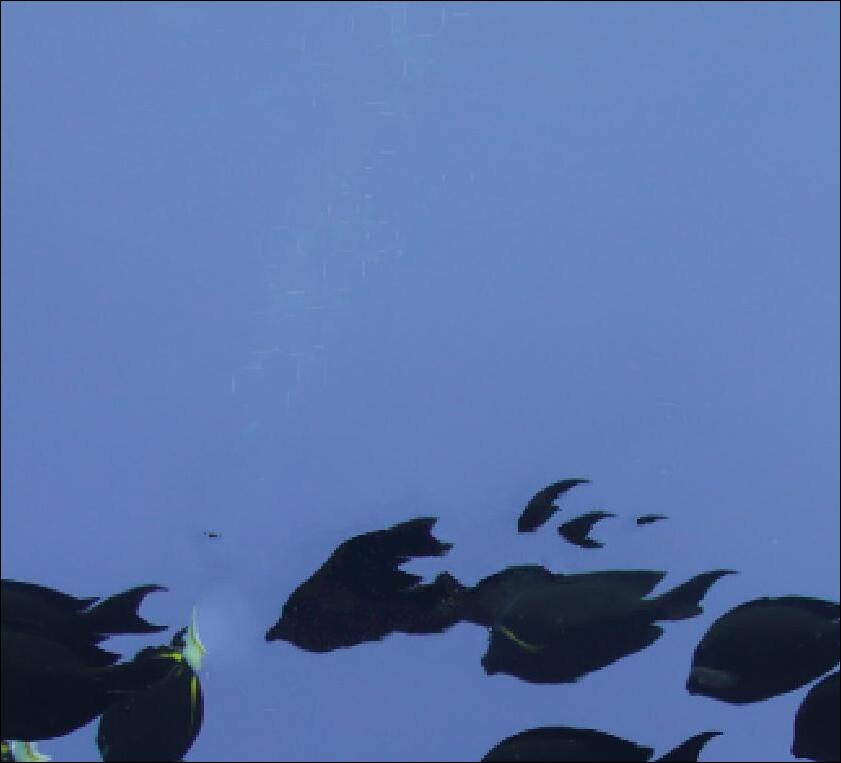 When I zoomed in, I saw some impressions that looked like my eraser strokes on the air bubbles. 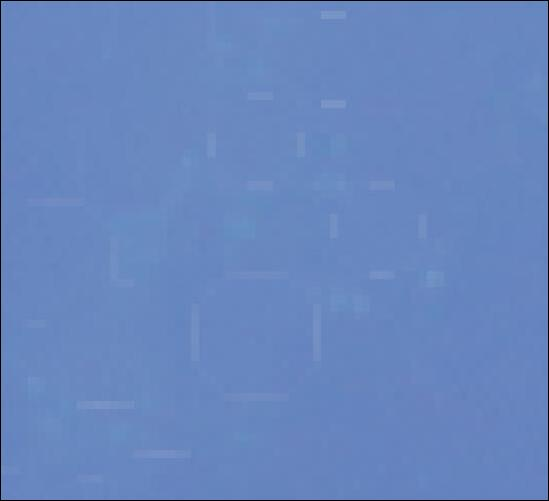 I can only conclude that your eraser strokes need to be continuous rather than just spots. When I undid my work and redid it, I got something better. 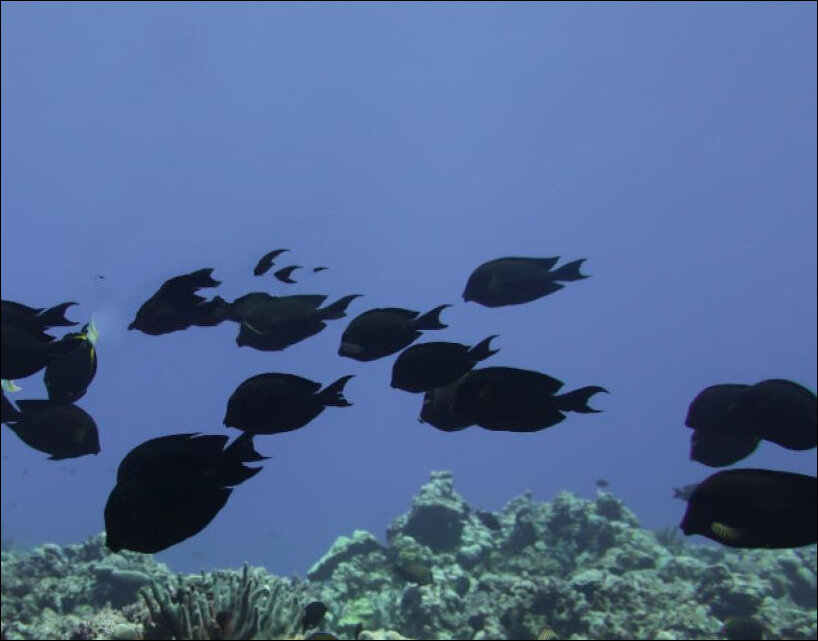 Scuba diver photo from Wikimedia Commons Map > Resynthesize is the third plug-in in the original package. It is the hardest. The other filters are specific directions to do one thing, but this is the controller for everything it can do. From Github’s wiki: The hardest to understand, but the most powerful. Displays every control of the Resynthesizer engine plugin, then runs it. Seems like a "control panel." Here, you can experiment with other uses of the algorithm. To use Map > Resynthesize, you usually:
But you must know specific steps to get one of the many effects. That's what the other plugins do automatically, they "know" the steps. The other plugins can all be replicated by specific steps using Map > Resynthesize. One obscure use of Map > Resynthesize is to make seamlessly tillable tiles. If you tile the plane with such tiles, you can still see that there are rows and columns, but there are no hard edges between the tiles. (Future: make this use another plugin.) One of the things you can do is replace a part of one image with a part of another. I went back to the mountain scenery where I removed the ATV. I decided to replace the metal box on the other side of the ruined building with some roses, so I loaded the original picture and also a photo of some roses;  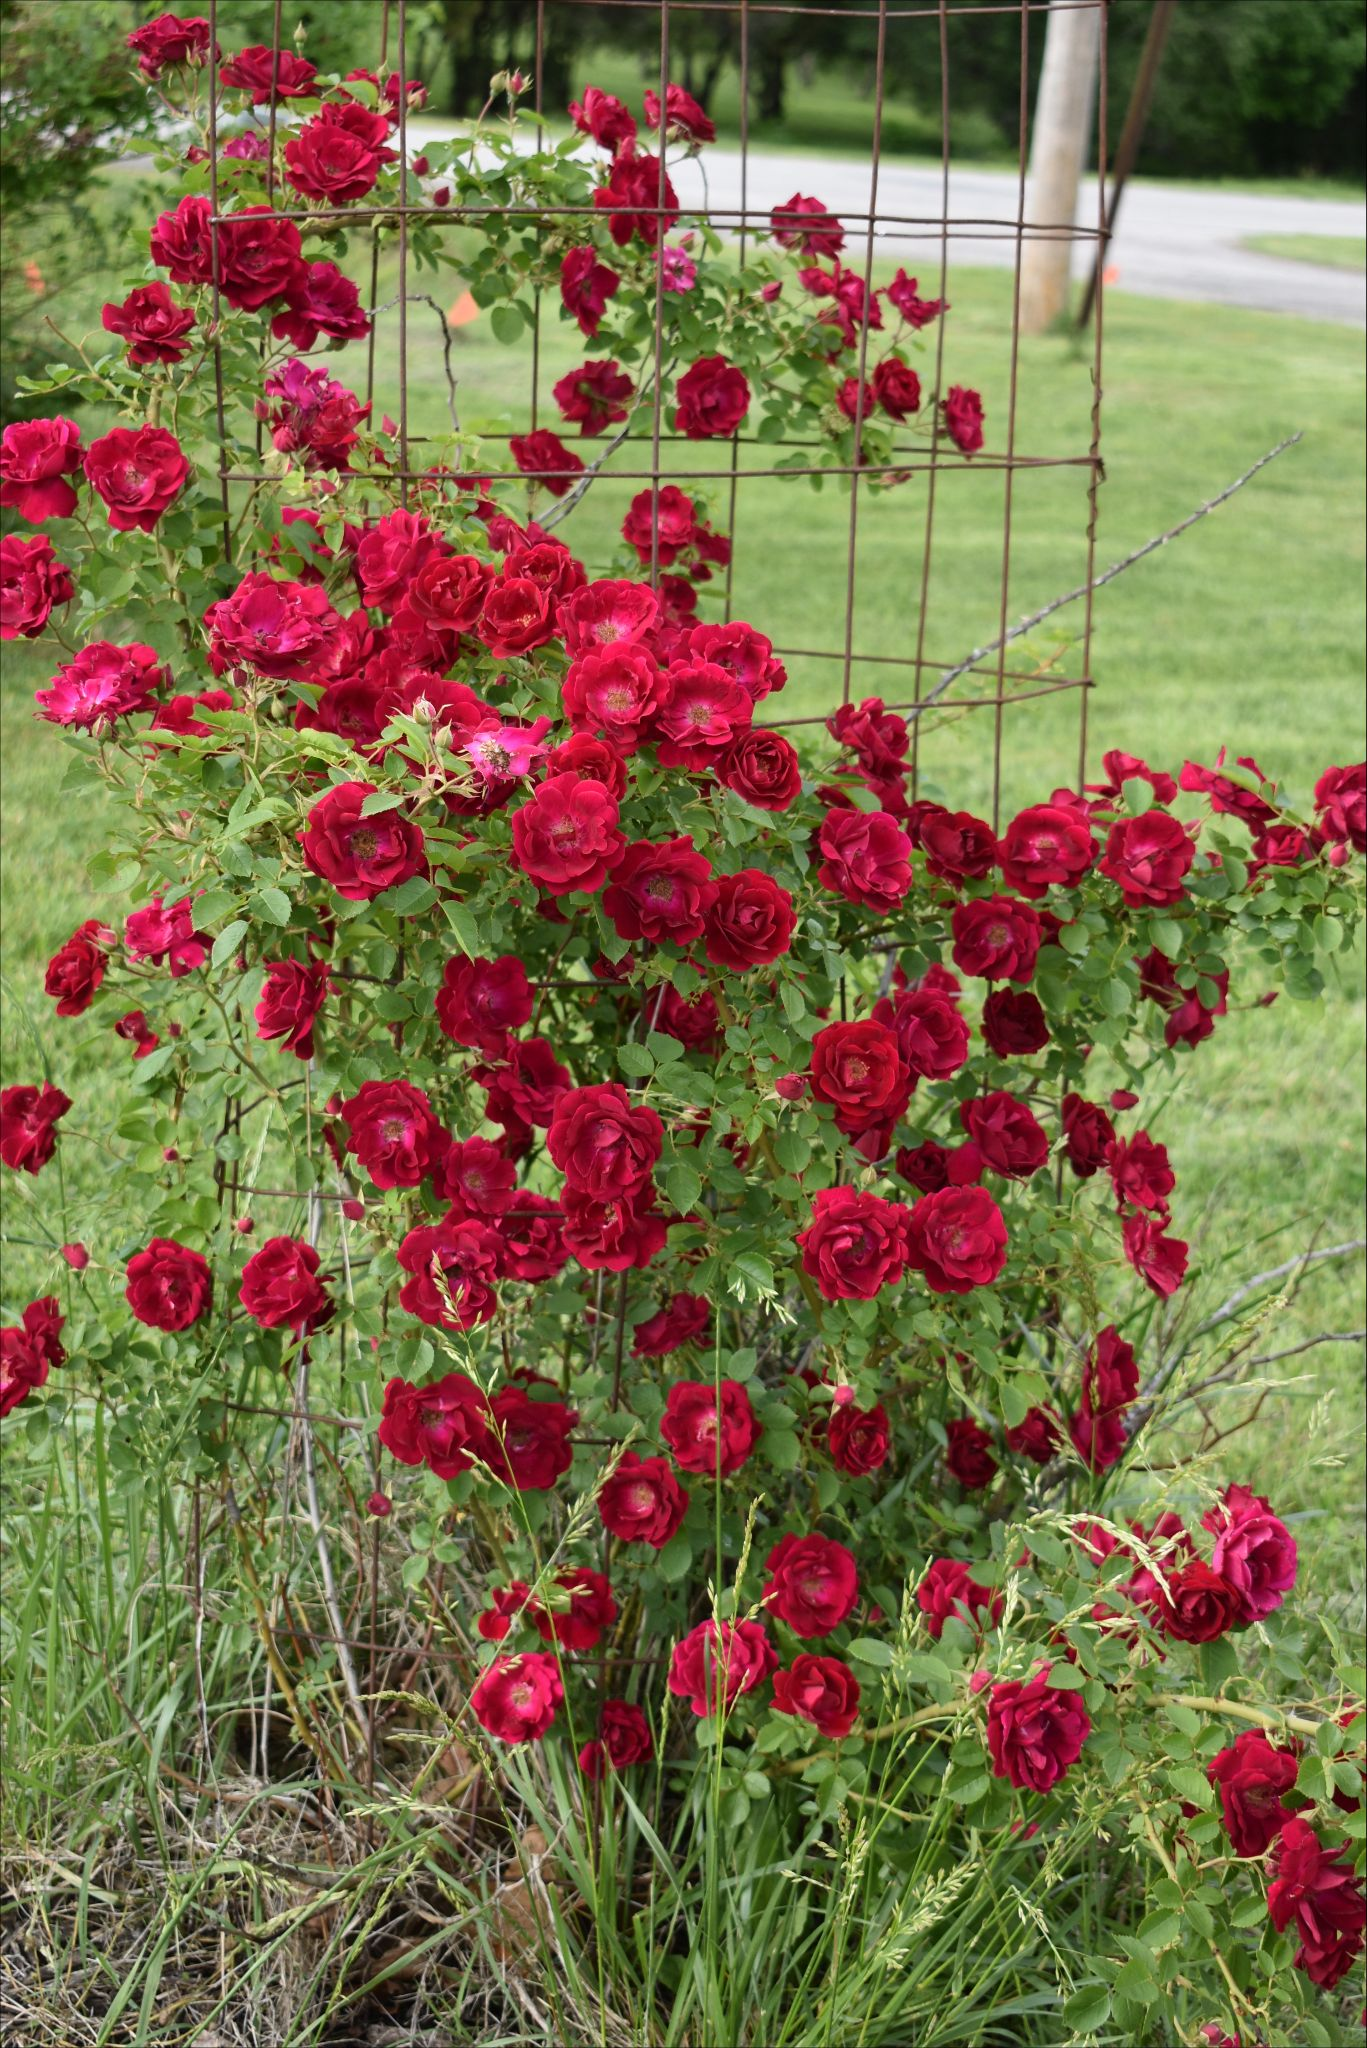 The first thing I did was resize the roses so they wouldn’t look like giant flowers in the other photo. I selected the part I wanted to replace in the first photo, and the flowers I wanted to replace it with from the second photo, then chose Filters > Map > Resynthesize. 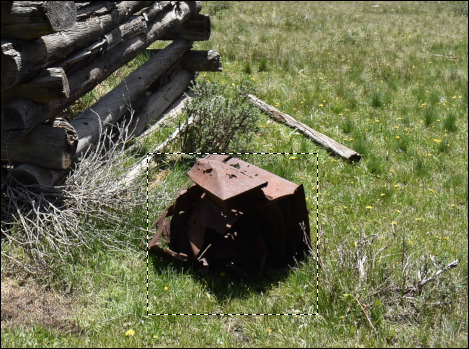 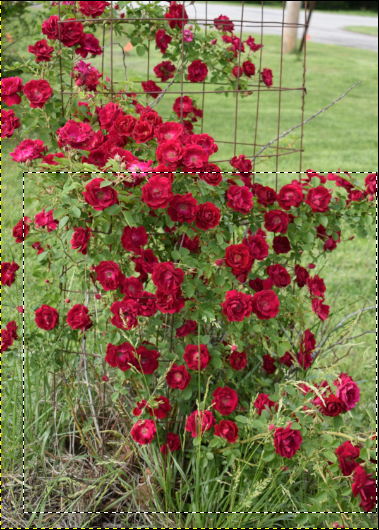 The window you get looks like this: 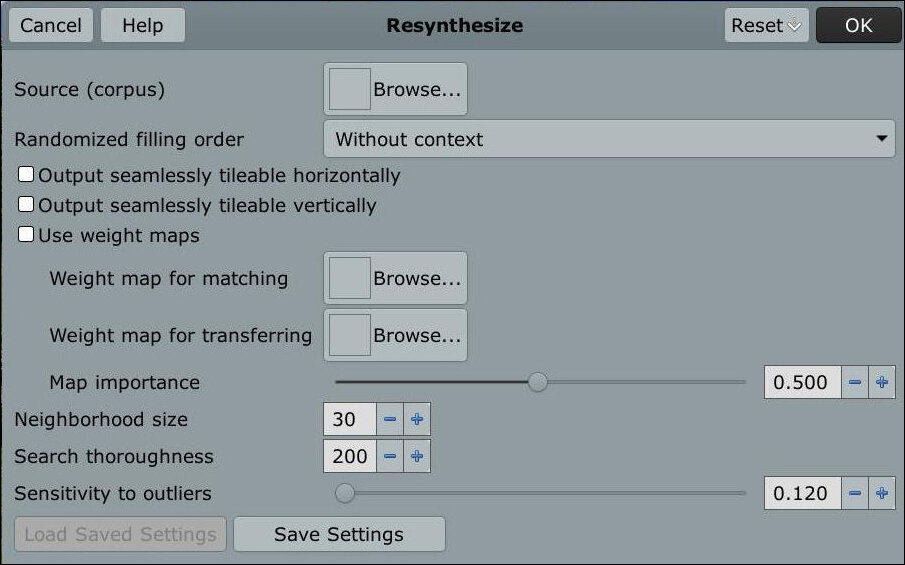 If you have layers in your project, the Source setting will let you browse to each layer so you can use part of it. I loaded each picture into GIMP separately, so the Source selection button will show each image I have loaded. The left side of the Source window shows what’s available, and the right side shows what layers you can use (if you have layers). Choose what you want to use on the left, and choose from the layers on the right, then click OK. 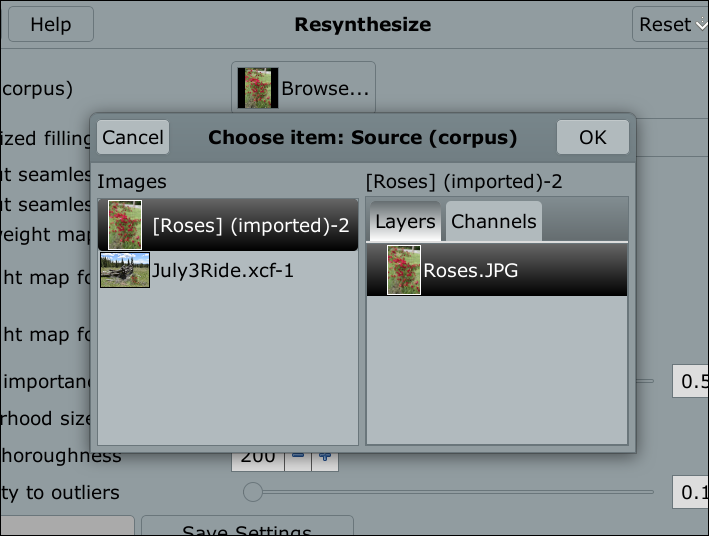 I left all the other defaults the first time.  It’s not perfect, but you can see what the filter does. I’ll have to unselect the rose bush and clean up around it before I’m finished. I’m sure that with some practice, you can do something really cool. I’m still trying to figure out the tiling feature, so I’ll cover it later. |