| Previous Page |
PCLinuxOS Magazine |
PCLinuxOS |
Article List |
Disclaimer |
Next Page |
Inkscape Tutorial: More Path Effects |
|
by Meemaw
This effect does a few cool things! If you want a pattern of interlocked rings, you can do it here. I used a simple circle for this. 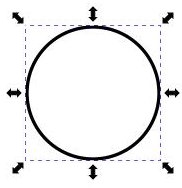 Opening the Path Effects menu (I’ve shown the menu before) and adding Rotate Copies, you get this window: 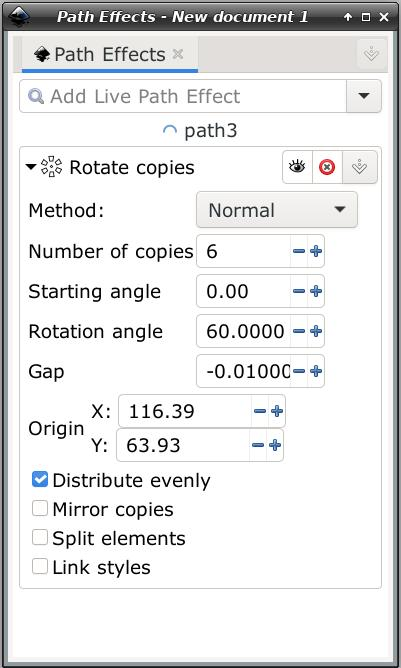 Using the Normal method (just under the name of the effect), you’ll get interlocking circles. In the summary I read in the Inkscape manual, using a Gap of something small & negative (the default is -0.010000) will even up the connections so they are aligned. 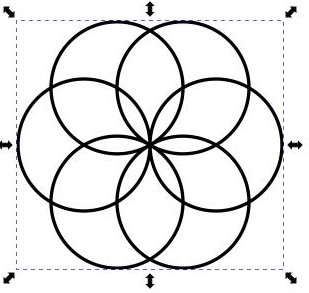 However, using the Kaleidoscope method, it’s a bit different. I changed the Gap to 20. 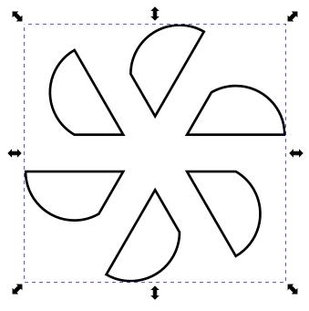 Also, using the Fuse Paths method it’s a bit more different. I changed the Gap to 15. I’m sure it will look different if you use a different shape. 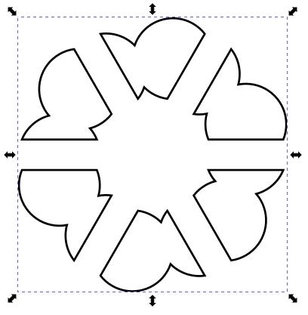
I was watching another tutorial when I saw this one. You can draw a line with your pen tool, and it will make it thicker in the middle. I’m sure the stroke settings do a lot of this, but this is really easy. I made a straight line with my pen tool, then moved some nodes to give it a curve. 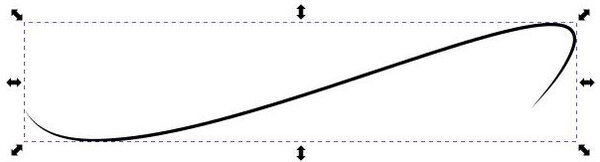 Choosing the Taper Stroke effect, I get this window. 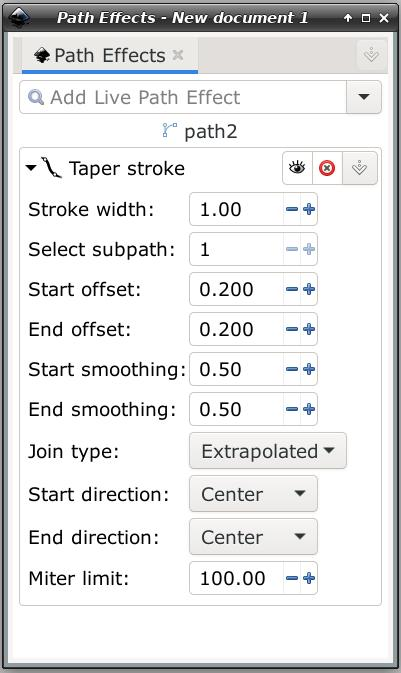 I used the defaults, but changed the stroke width to 20 or 25. 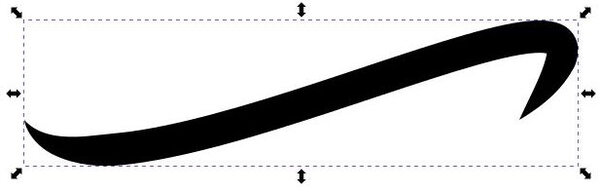 Adjust the stroke width however you want. You can also try changing to the nodes tool. There will be two nodes in the middle of your line, which you can adjust in and out to give you the result you want. 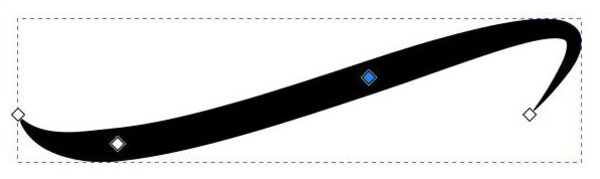
This is a neat little tool! It draws a grid around your object and lets you change it pretty much however you want to. I used a star.  Choosing Lattice Deformation in the path effects menu draws a grid around the object. You won’t see it until you change to the Nodes tool. 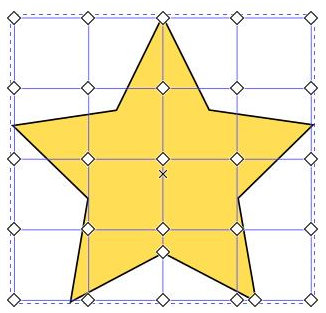 Using all these nodes, you can change the form of your object however you want. I only did a little bit. I’m sure you can make something really cool. 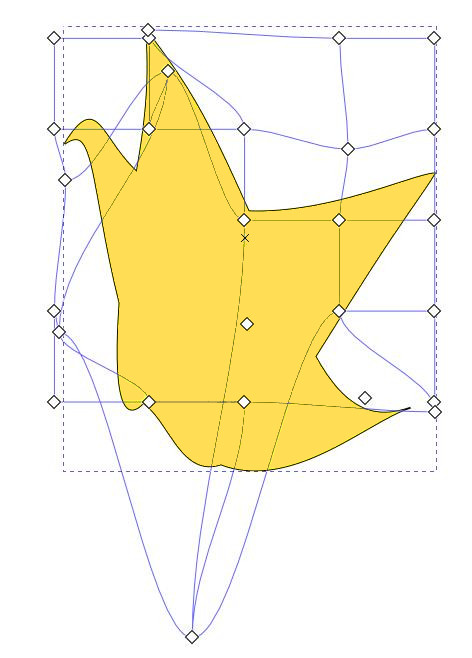
This tool works well, too. You can do some of this with the Clone tool as well (which just goes to show that there is more than one way to do something). I started with my circle again, but this time I chose Tiling. As soon as the window comes up it’s already done with whatever settings were there (the default setting is a 3x3 grid with no gap between objects). The window looks like this. 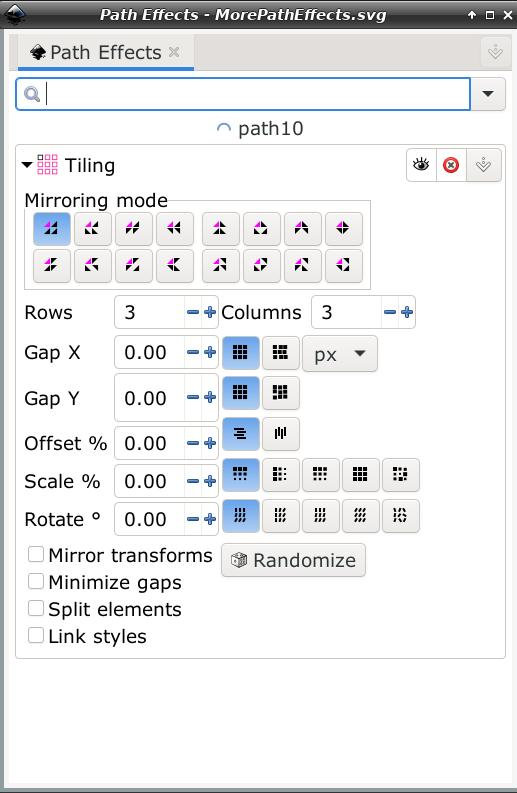 The buttons at the top are pre-programmed mirroring modes. The top left one is the default which shows the default settings. The others flip and rotate what you have. Before I tried them, I experimented with the Gap settings, and the Offset setting. I made both Gaps 10 px, and the Offset 40 or 50%. 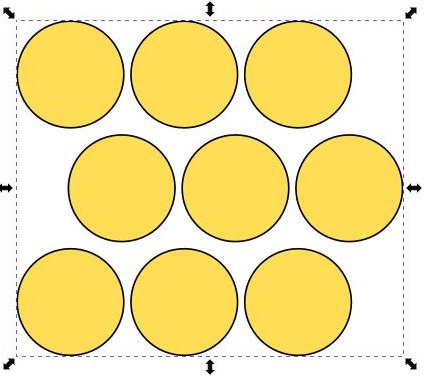 I changed to a star and left the Gaps at 10 px, but chose one of the other mirroring modes. 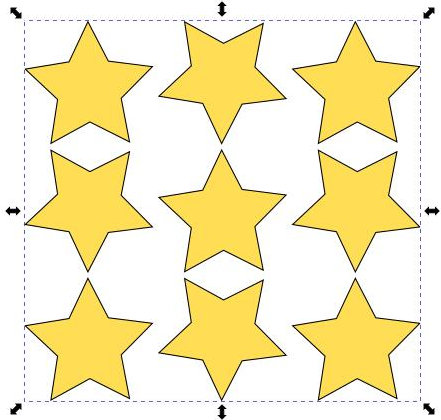 Then I changed to a hexagon, altered the rows and columns to fill the page, left the Gaps at 10 px, and changed the offset to 50%. 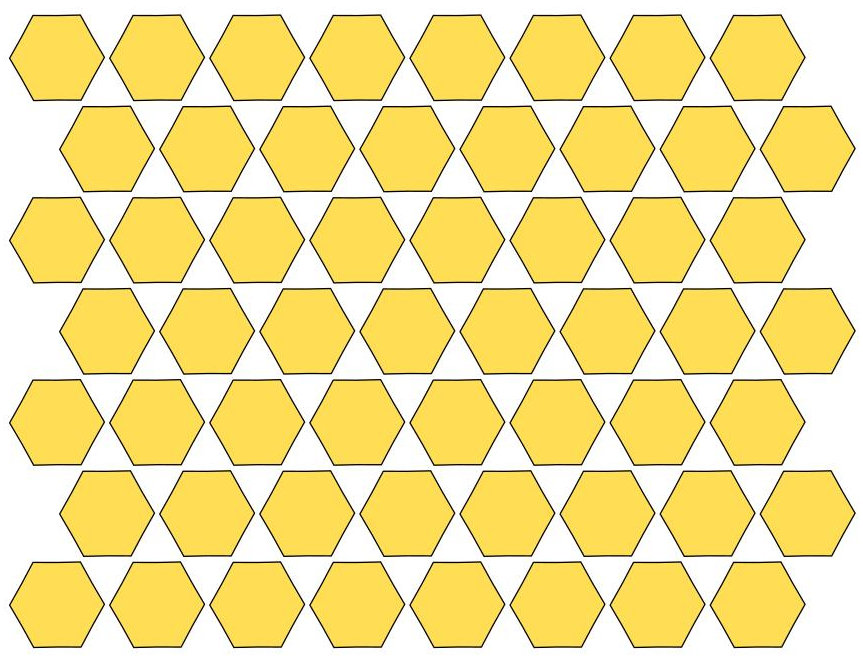 I then got the idea for a checkerboard. I’m sure there are many checkerboard images, but it sounded fun. I made an 8x8 grid of squares with Gaps of 10 px. When I got finished with that, I experimented with what command would separate the objects. I remembered that Path > Fracture Path would separate the grid into separate squares. Selecting half of them, I changed the fill to black, then drew a larger square around the group, filled it with yellow, and sent it under the group. I finished by grouping everything together. 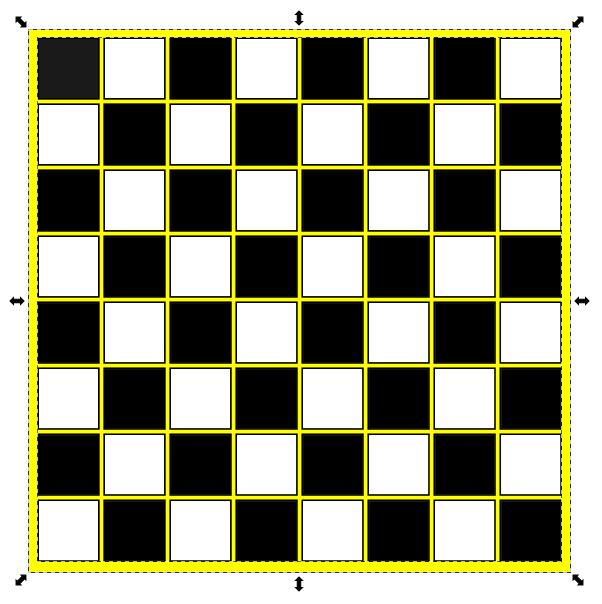 I’m sure that with a bit of experimentation, you can make something awesome. We’ll do more path effects later. |